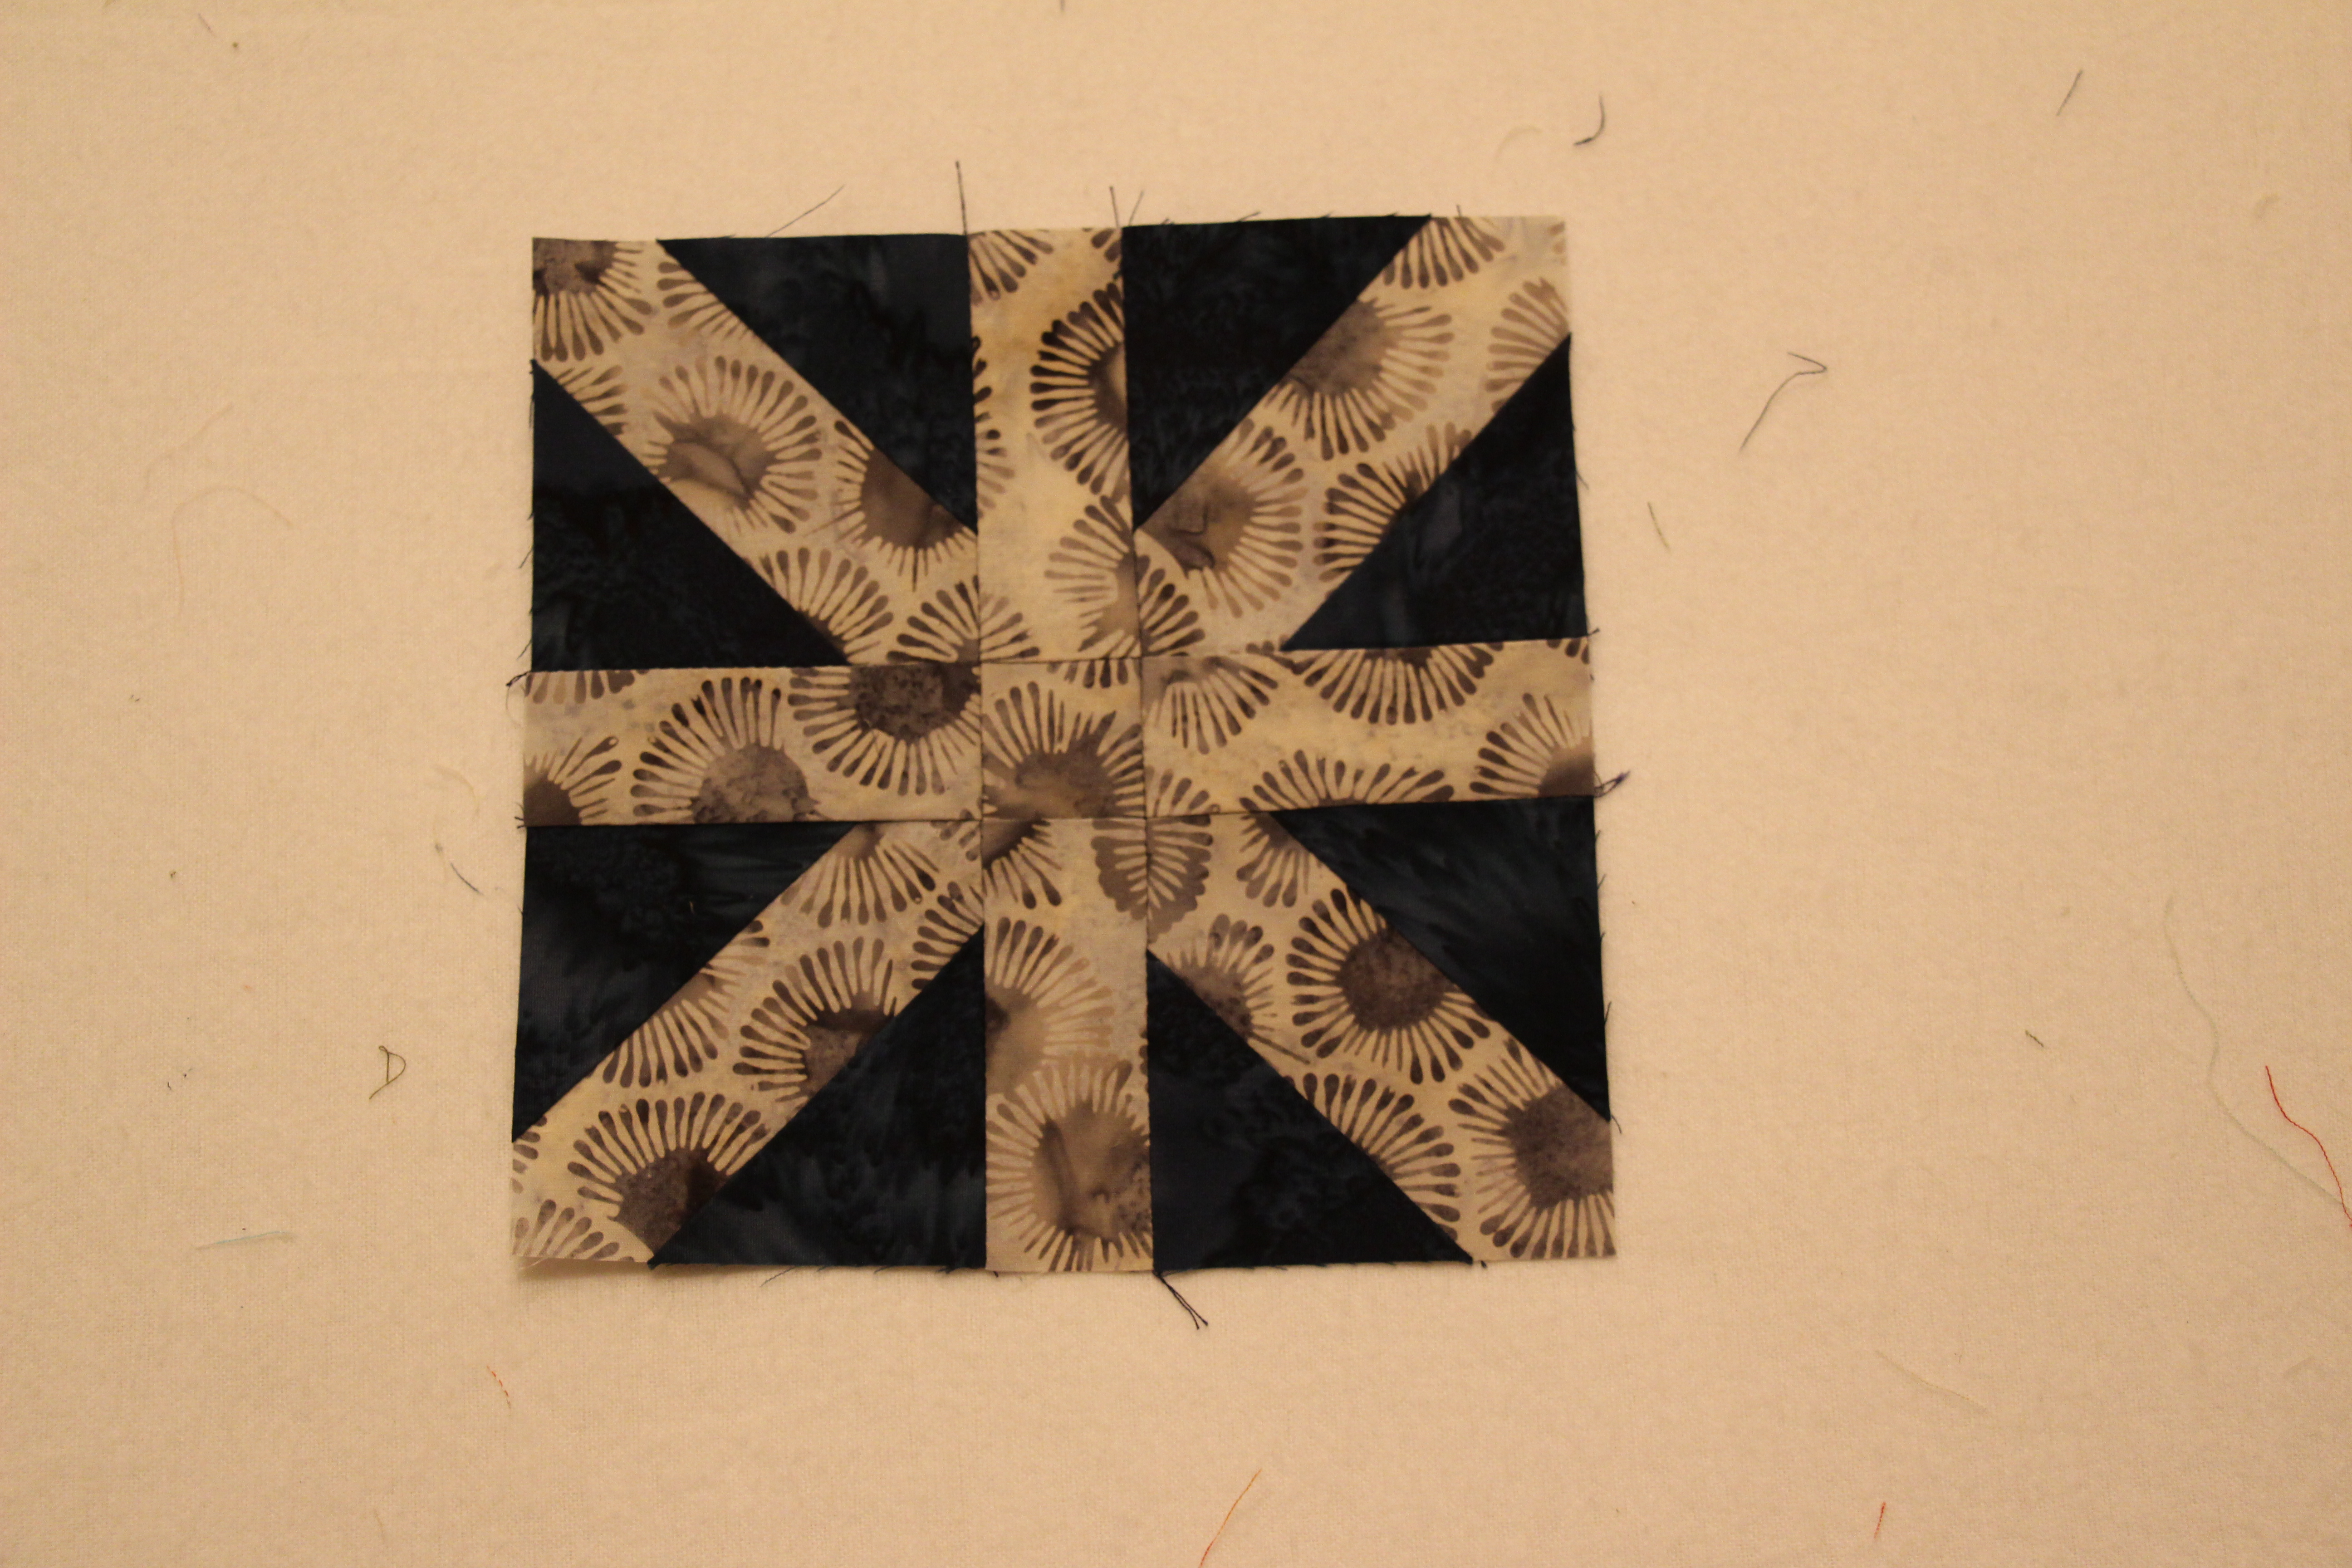
Engineer Kate and I figured out how to create a Snowflake block for the back of Let it Sew. We tried surfing the web for tutorials to follow but were unsuccessful. We knew there had to be a way without resorting to paper piecing.
Playing off of a “square in a square” block and sashing we managed!

Here is the how-to for a Snowflake Quilt Block:
Note: These measurements are for an 6″ snowflake block with 1″ wide snowflake lines.
Cut fabric:
- 4 squares 3 1/4″ white
- 1 square 1 1/2″ white
- 4 rectangles 1 1/2 x 3″ white
- 8 squares 3 1/4″ blue
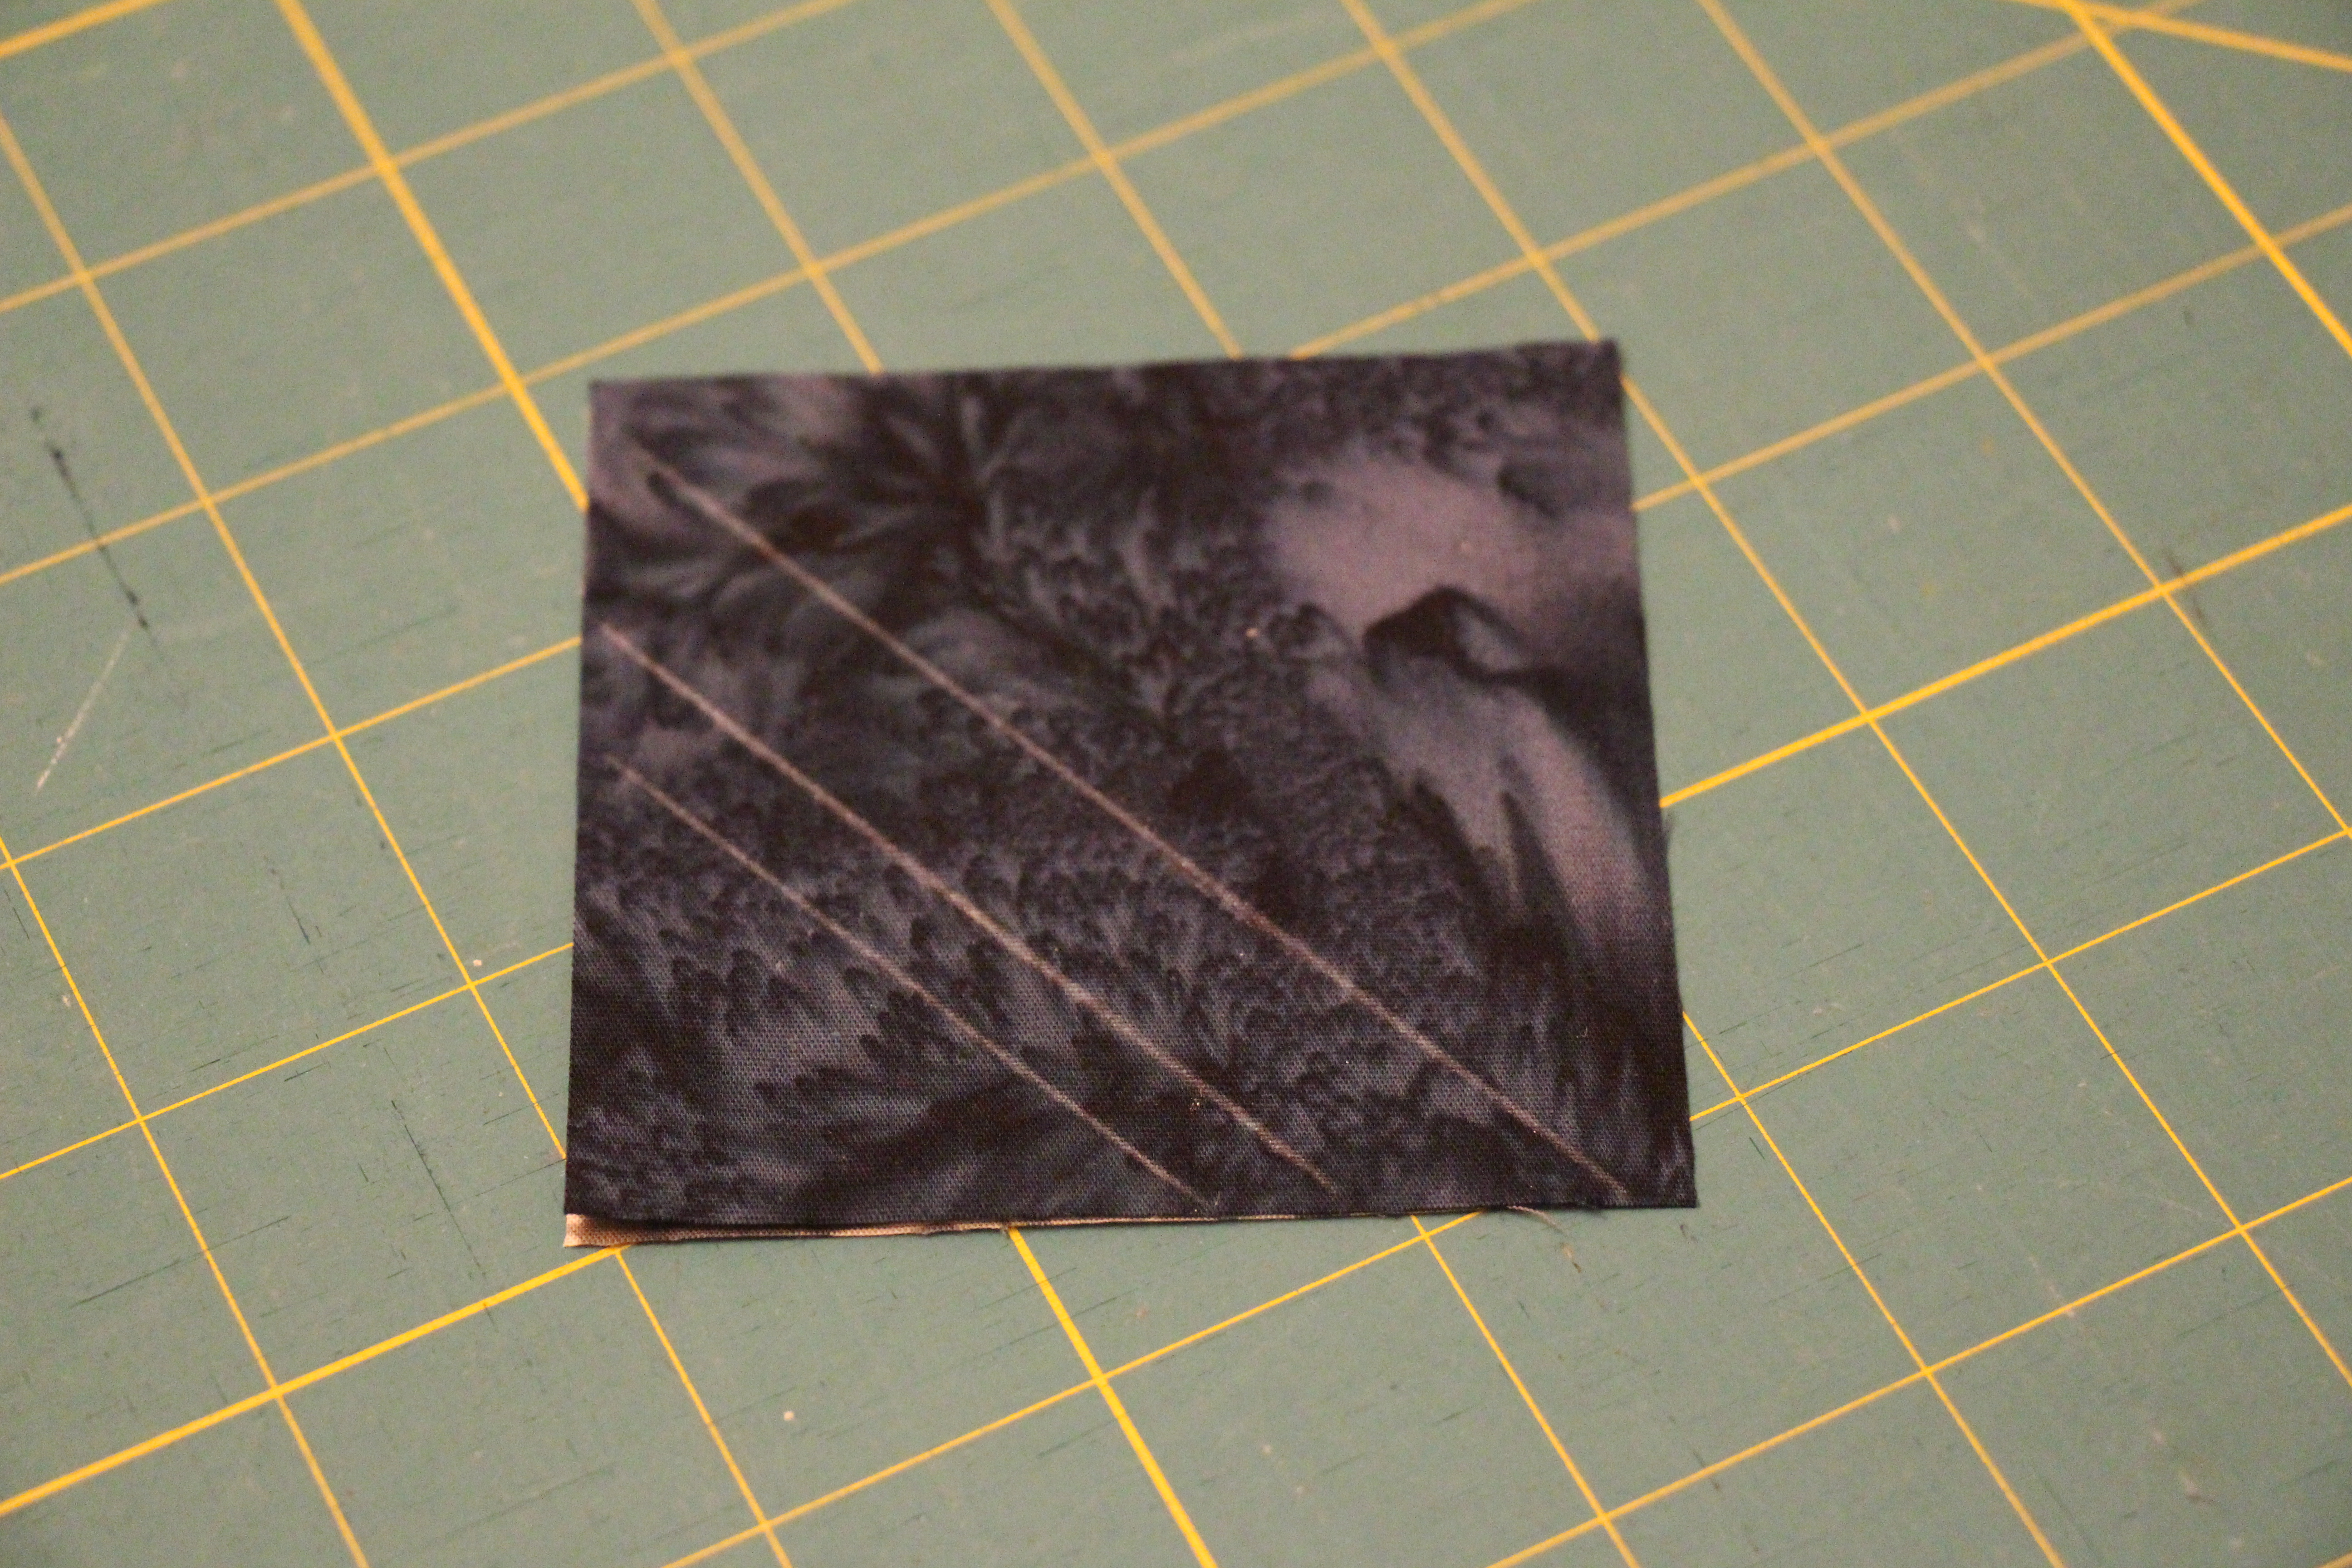
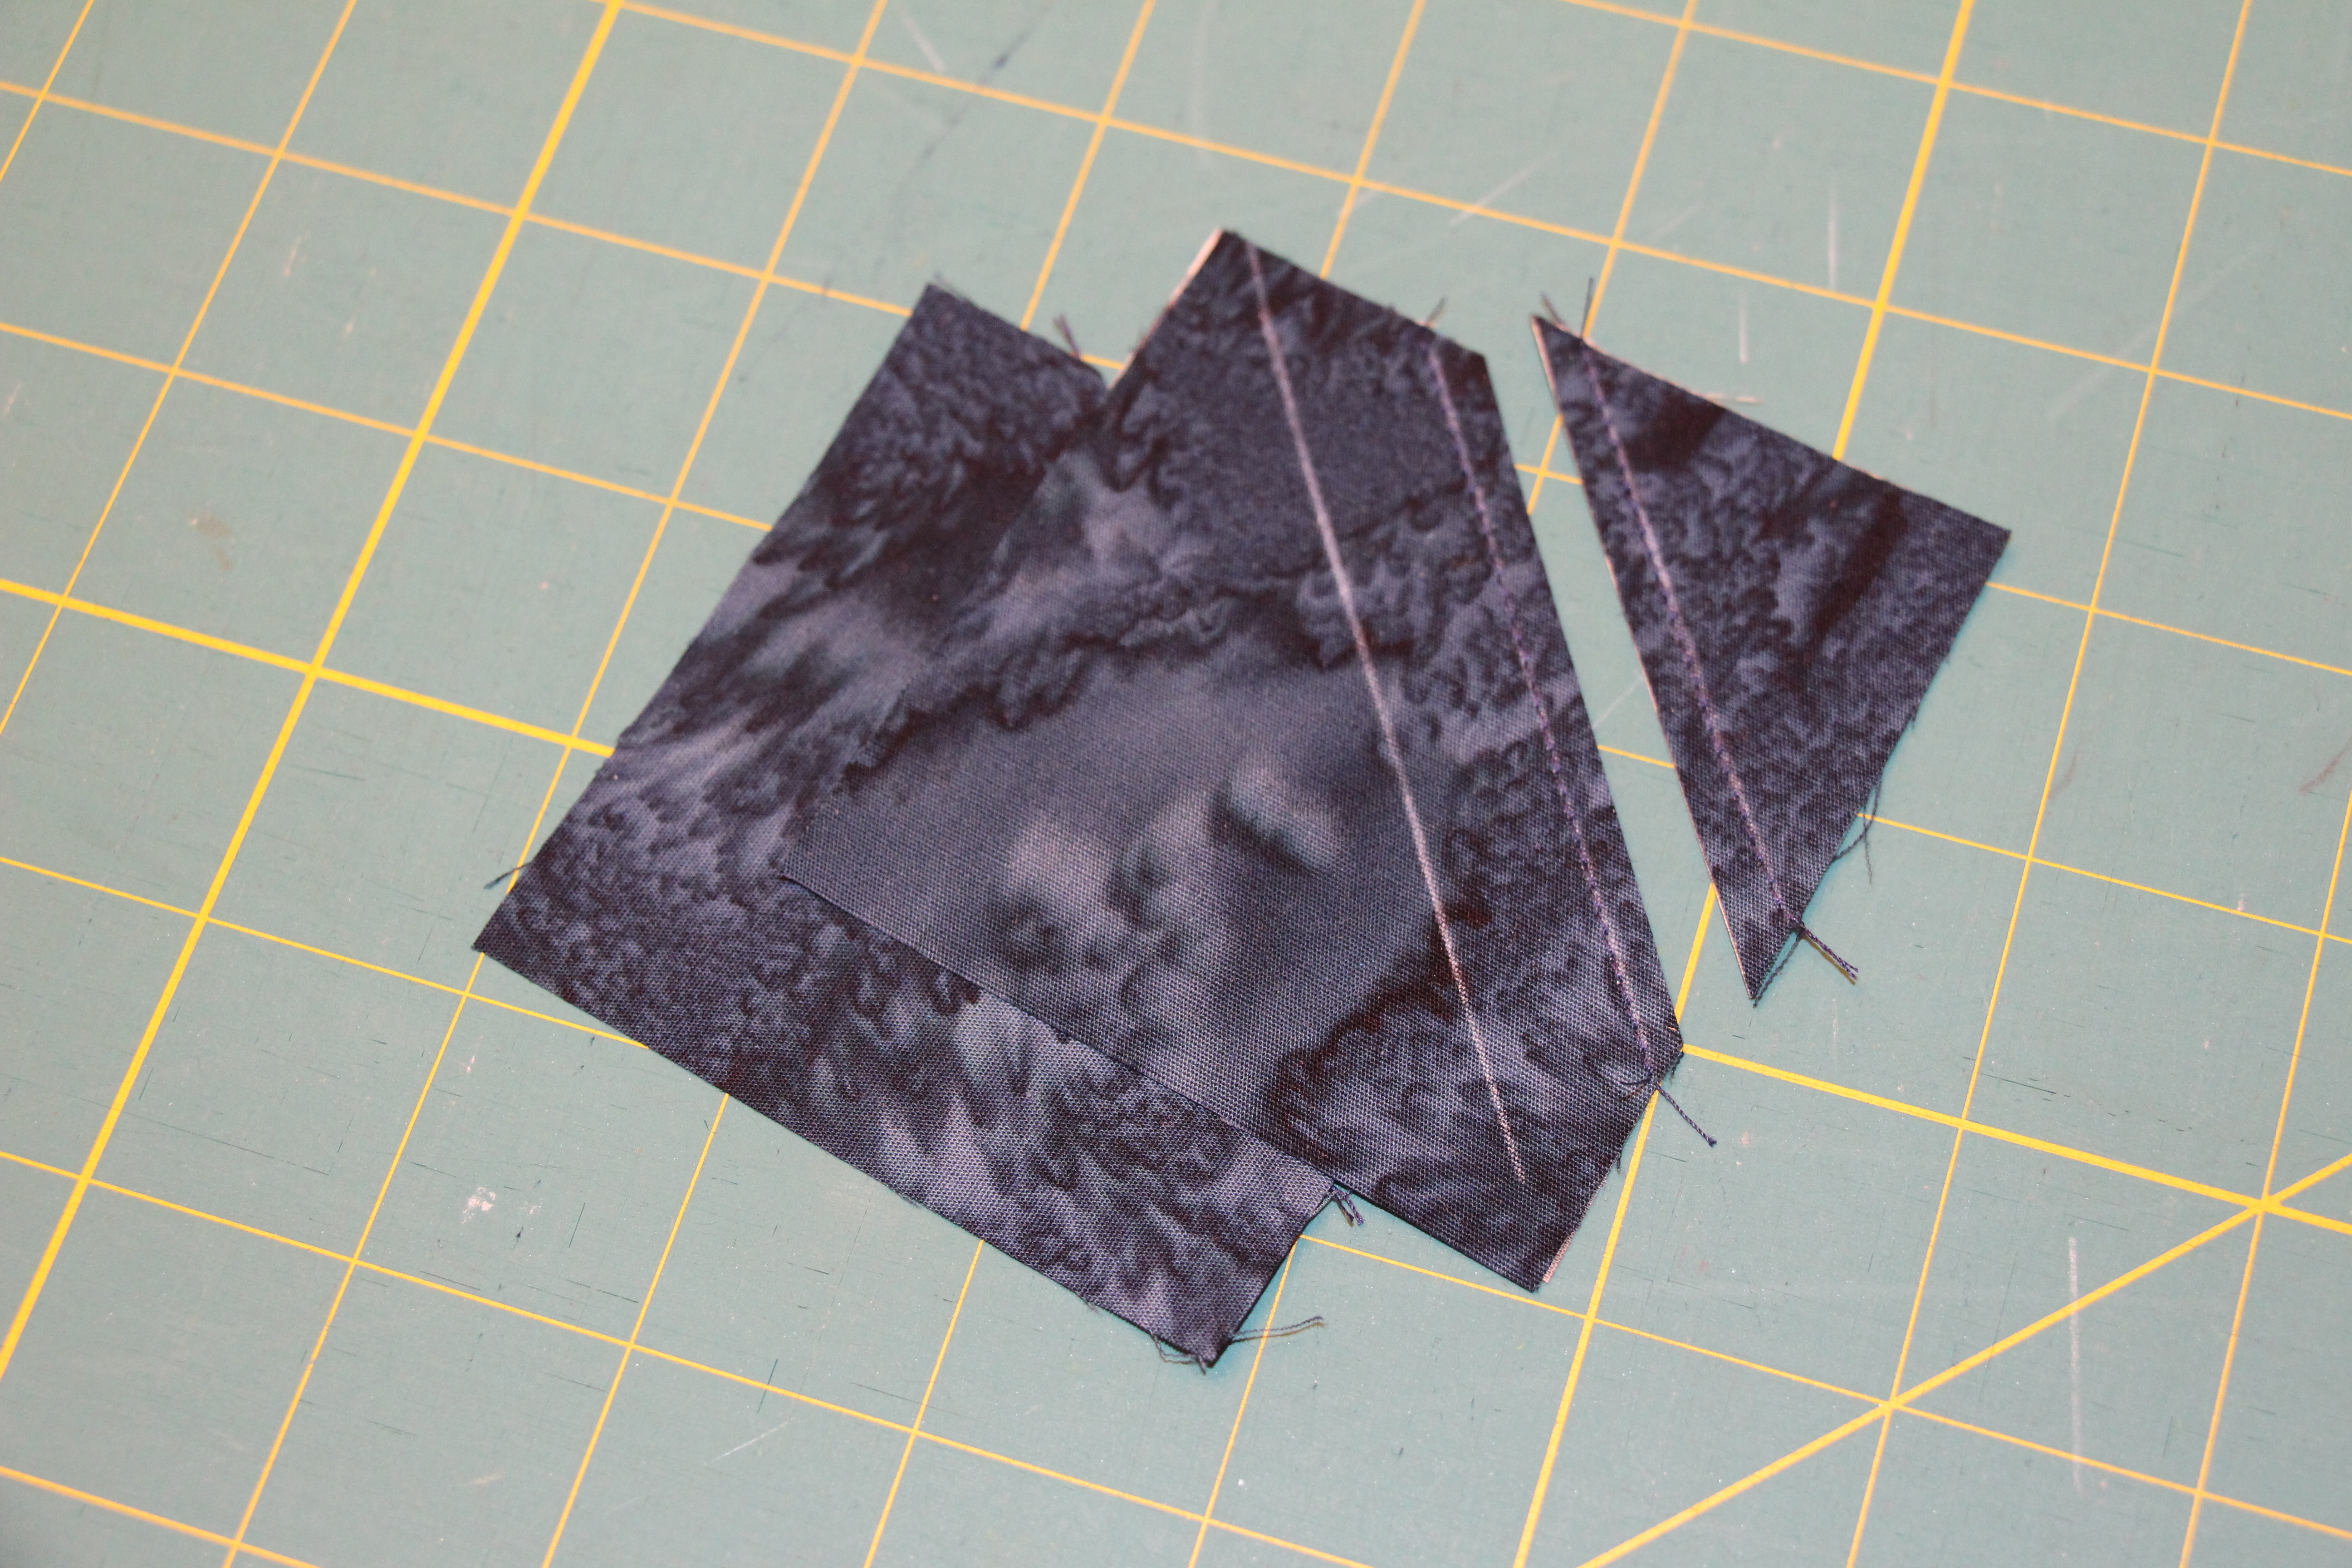
Layer one blue square atop a white square. Mark the center diagonal, 1/2″ off of the diagonal, and an optional another 1/4″ off of that. (A bonus half square triangle will result from the optional 1/4″ steps!)


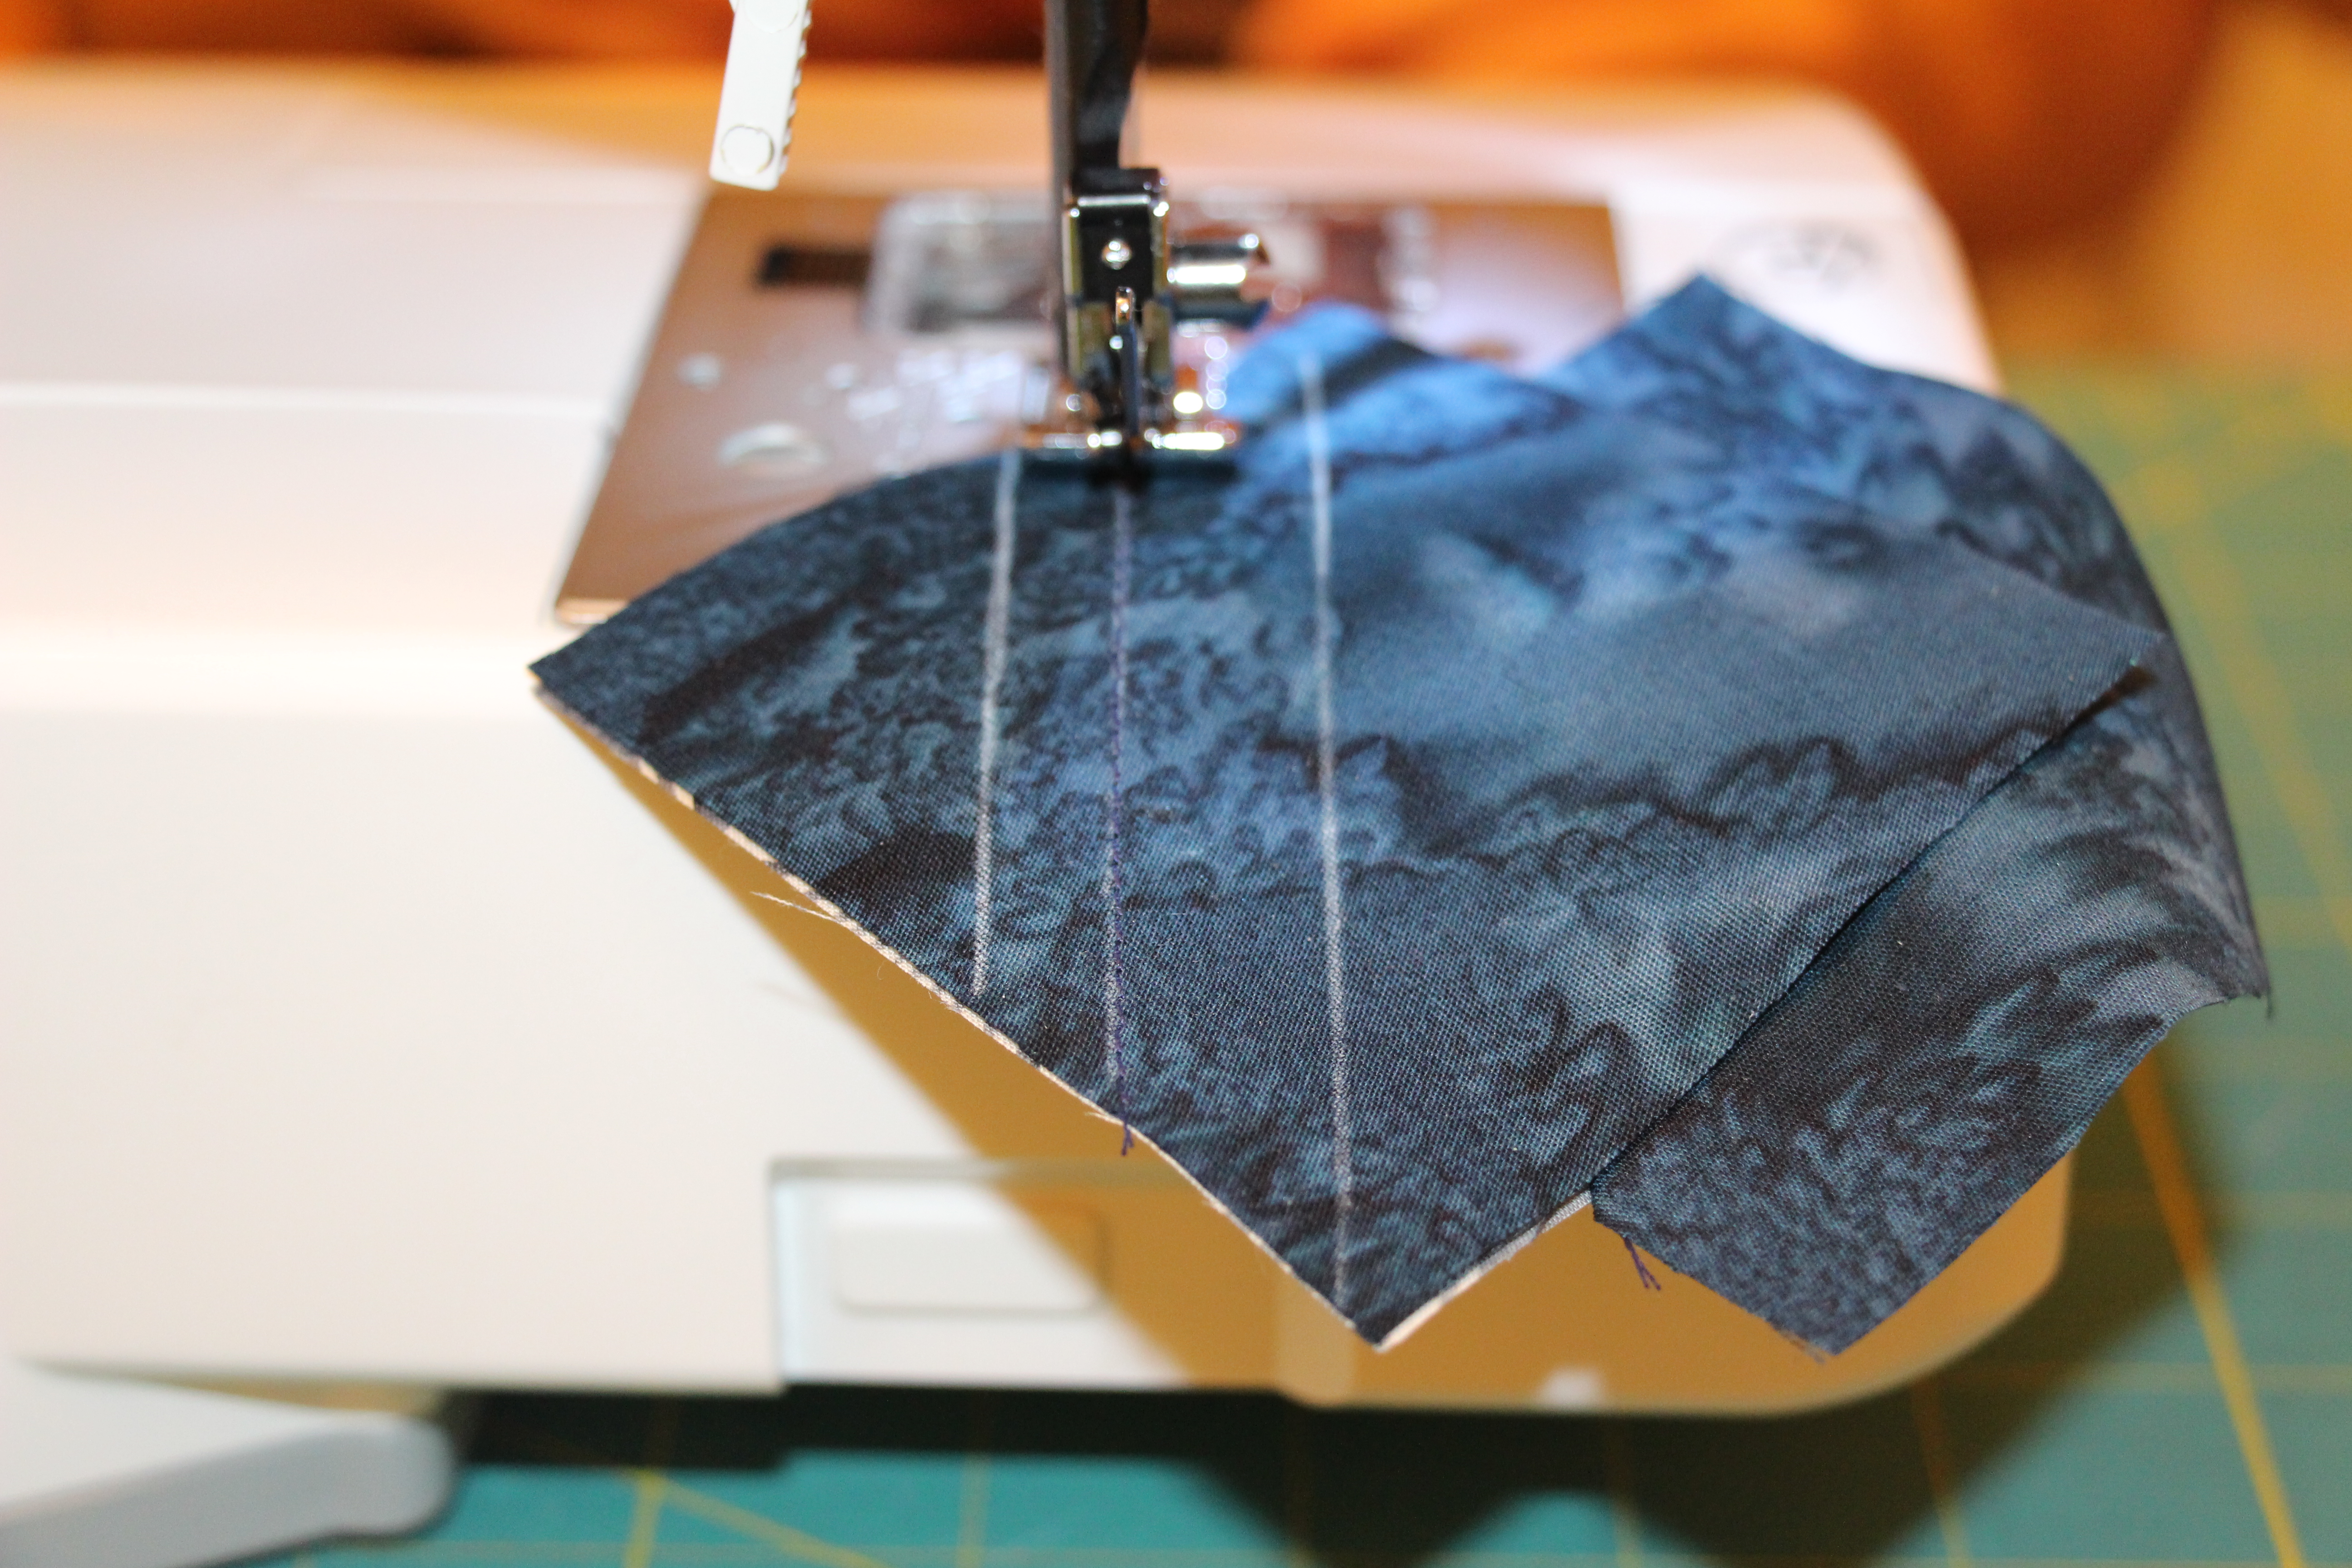
Sew on the 1/2″ line. Also sew on the 1/4″ if using. Cut in between the two stitches.

Iron the blue away from the white fabric. Take another blue square piece of fabric and line it up with the white on top of the resulting “block” from the previous steps.

Repeat the above steps and again iron the blue away from the white.
If you used the 1/4″ lines you now have two bonus half square triangles to do with what you wish! (For a project this small I would skip this step, but if you’re doing something larger by all means enjoy your bonus blocks!)
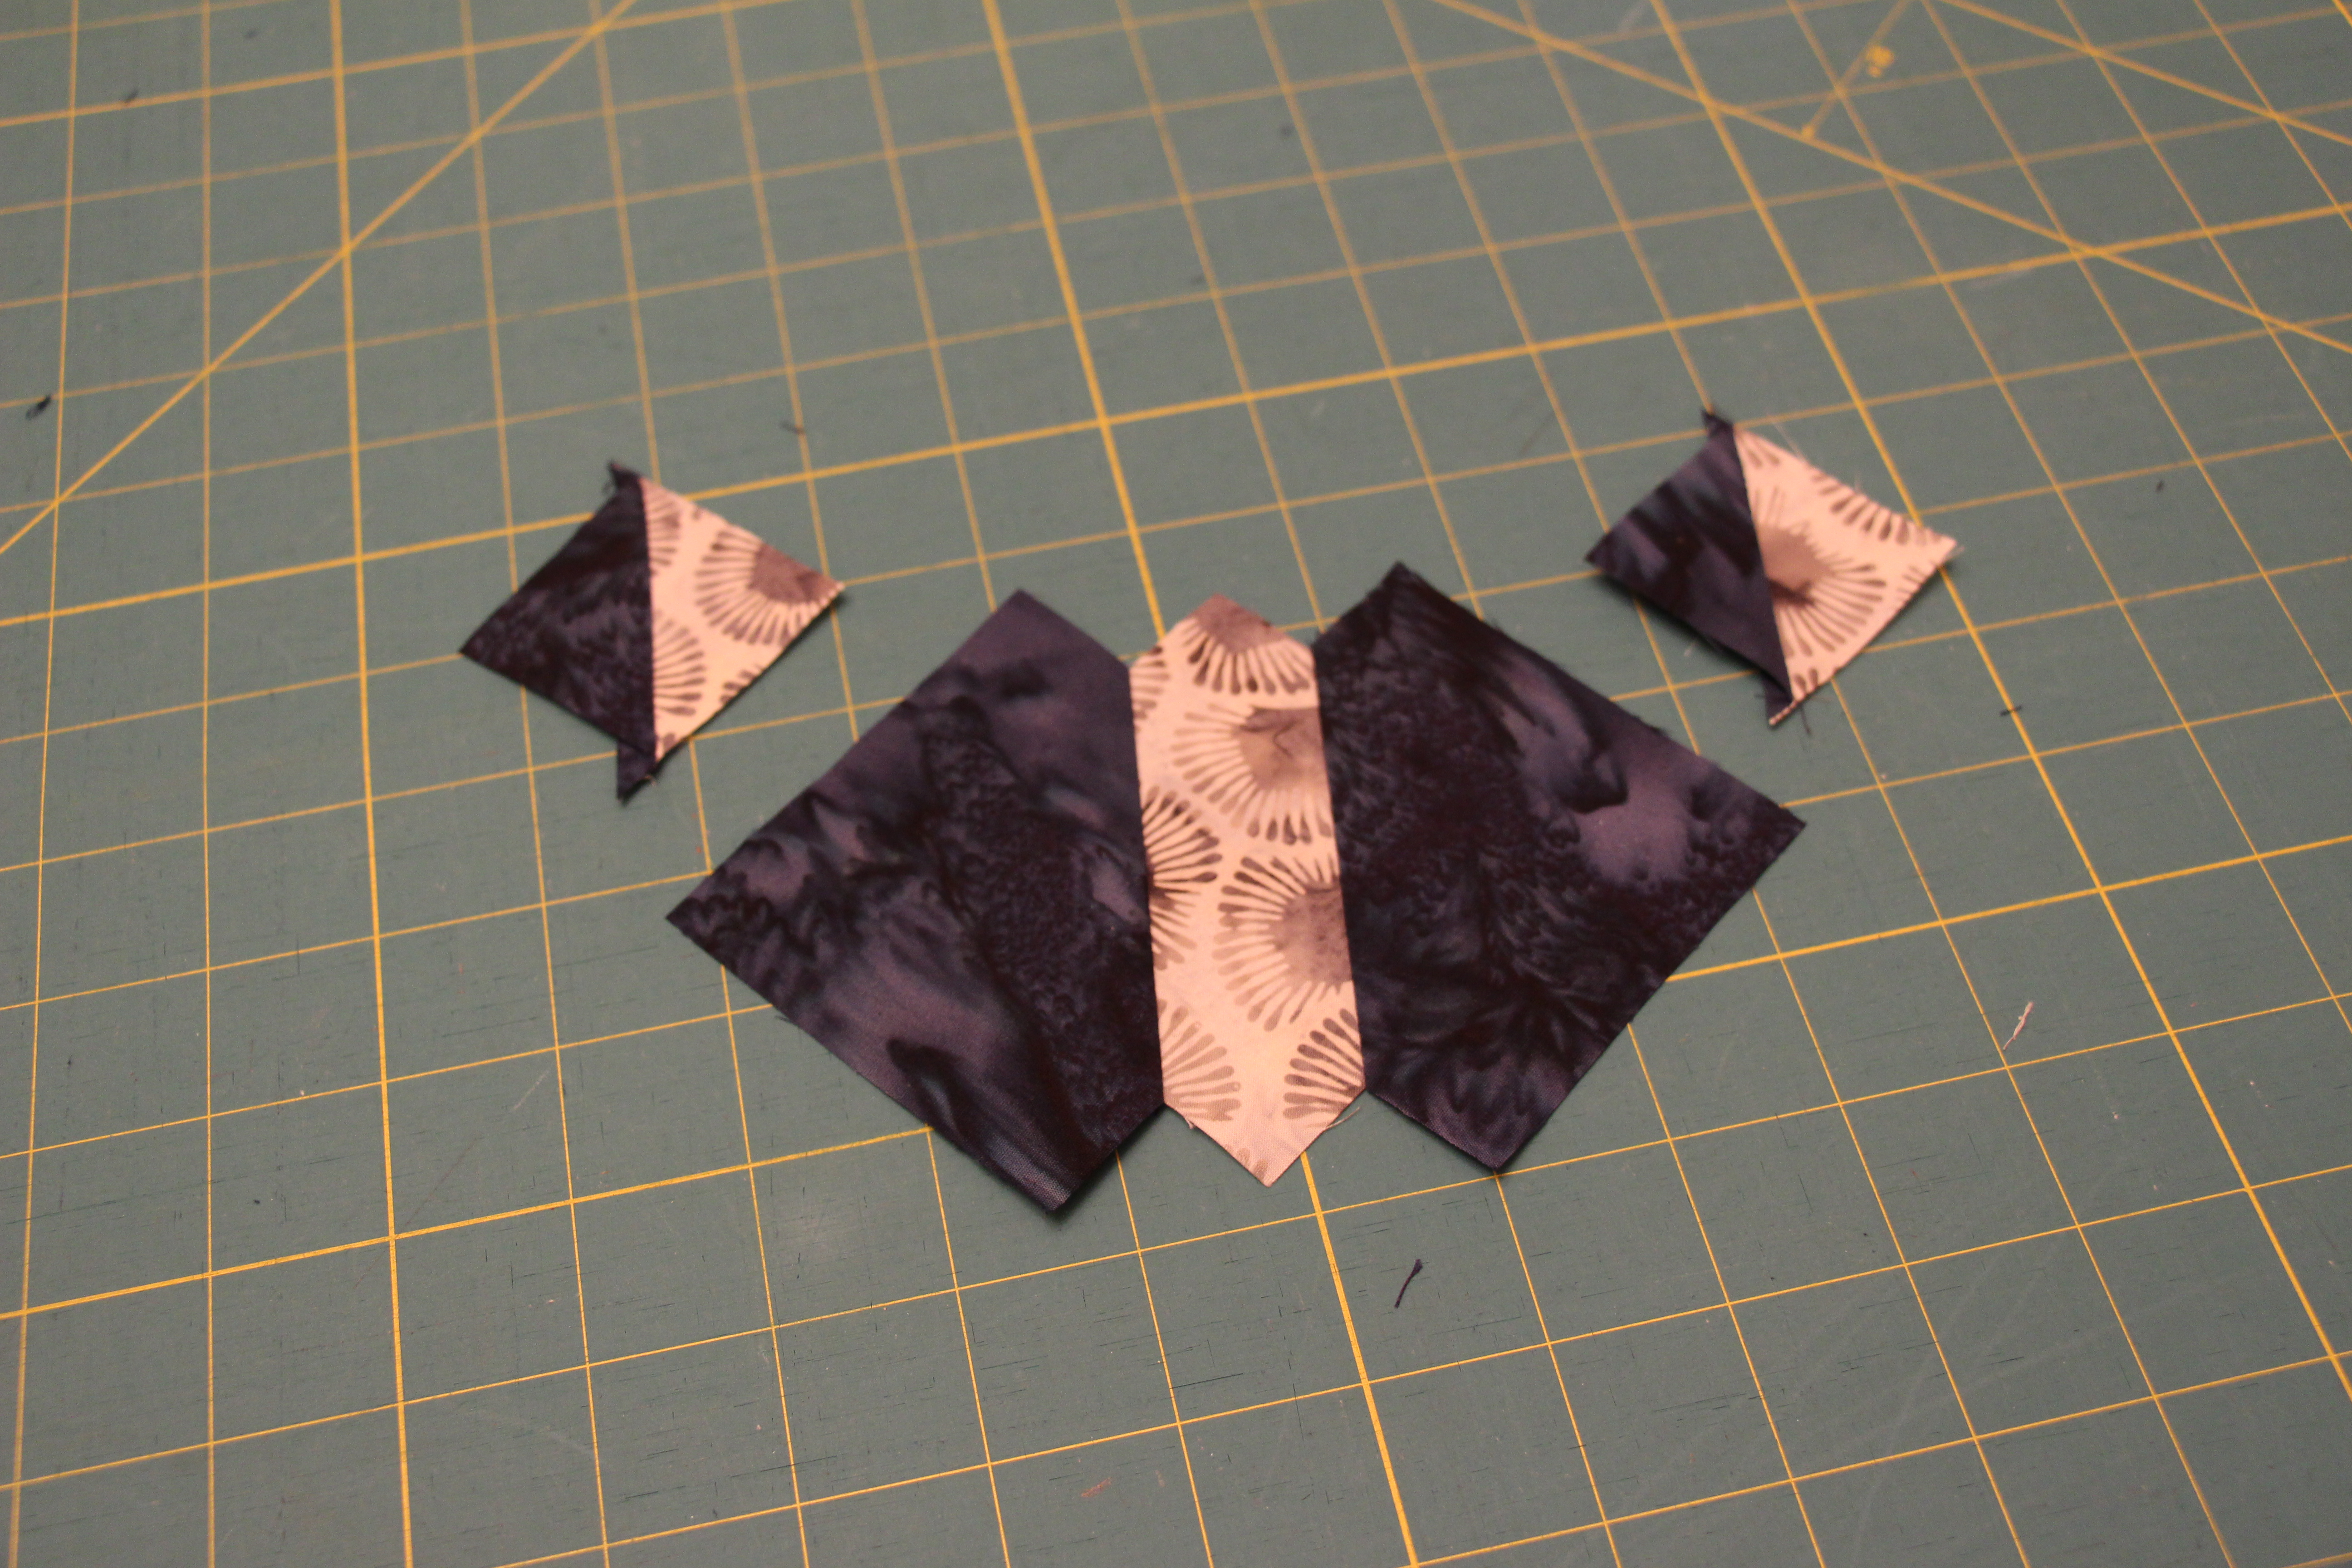
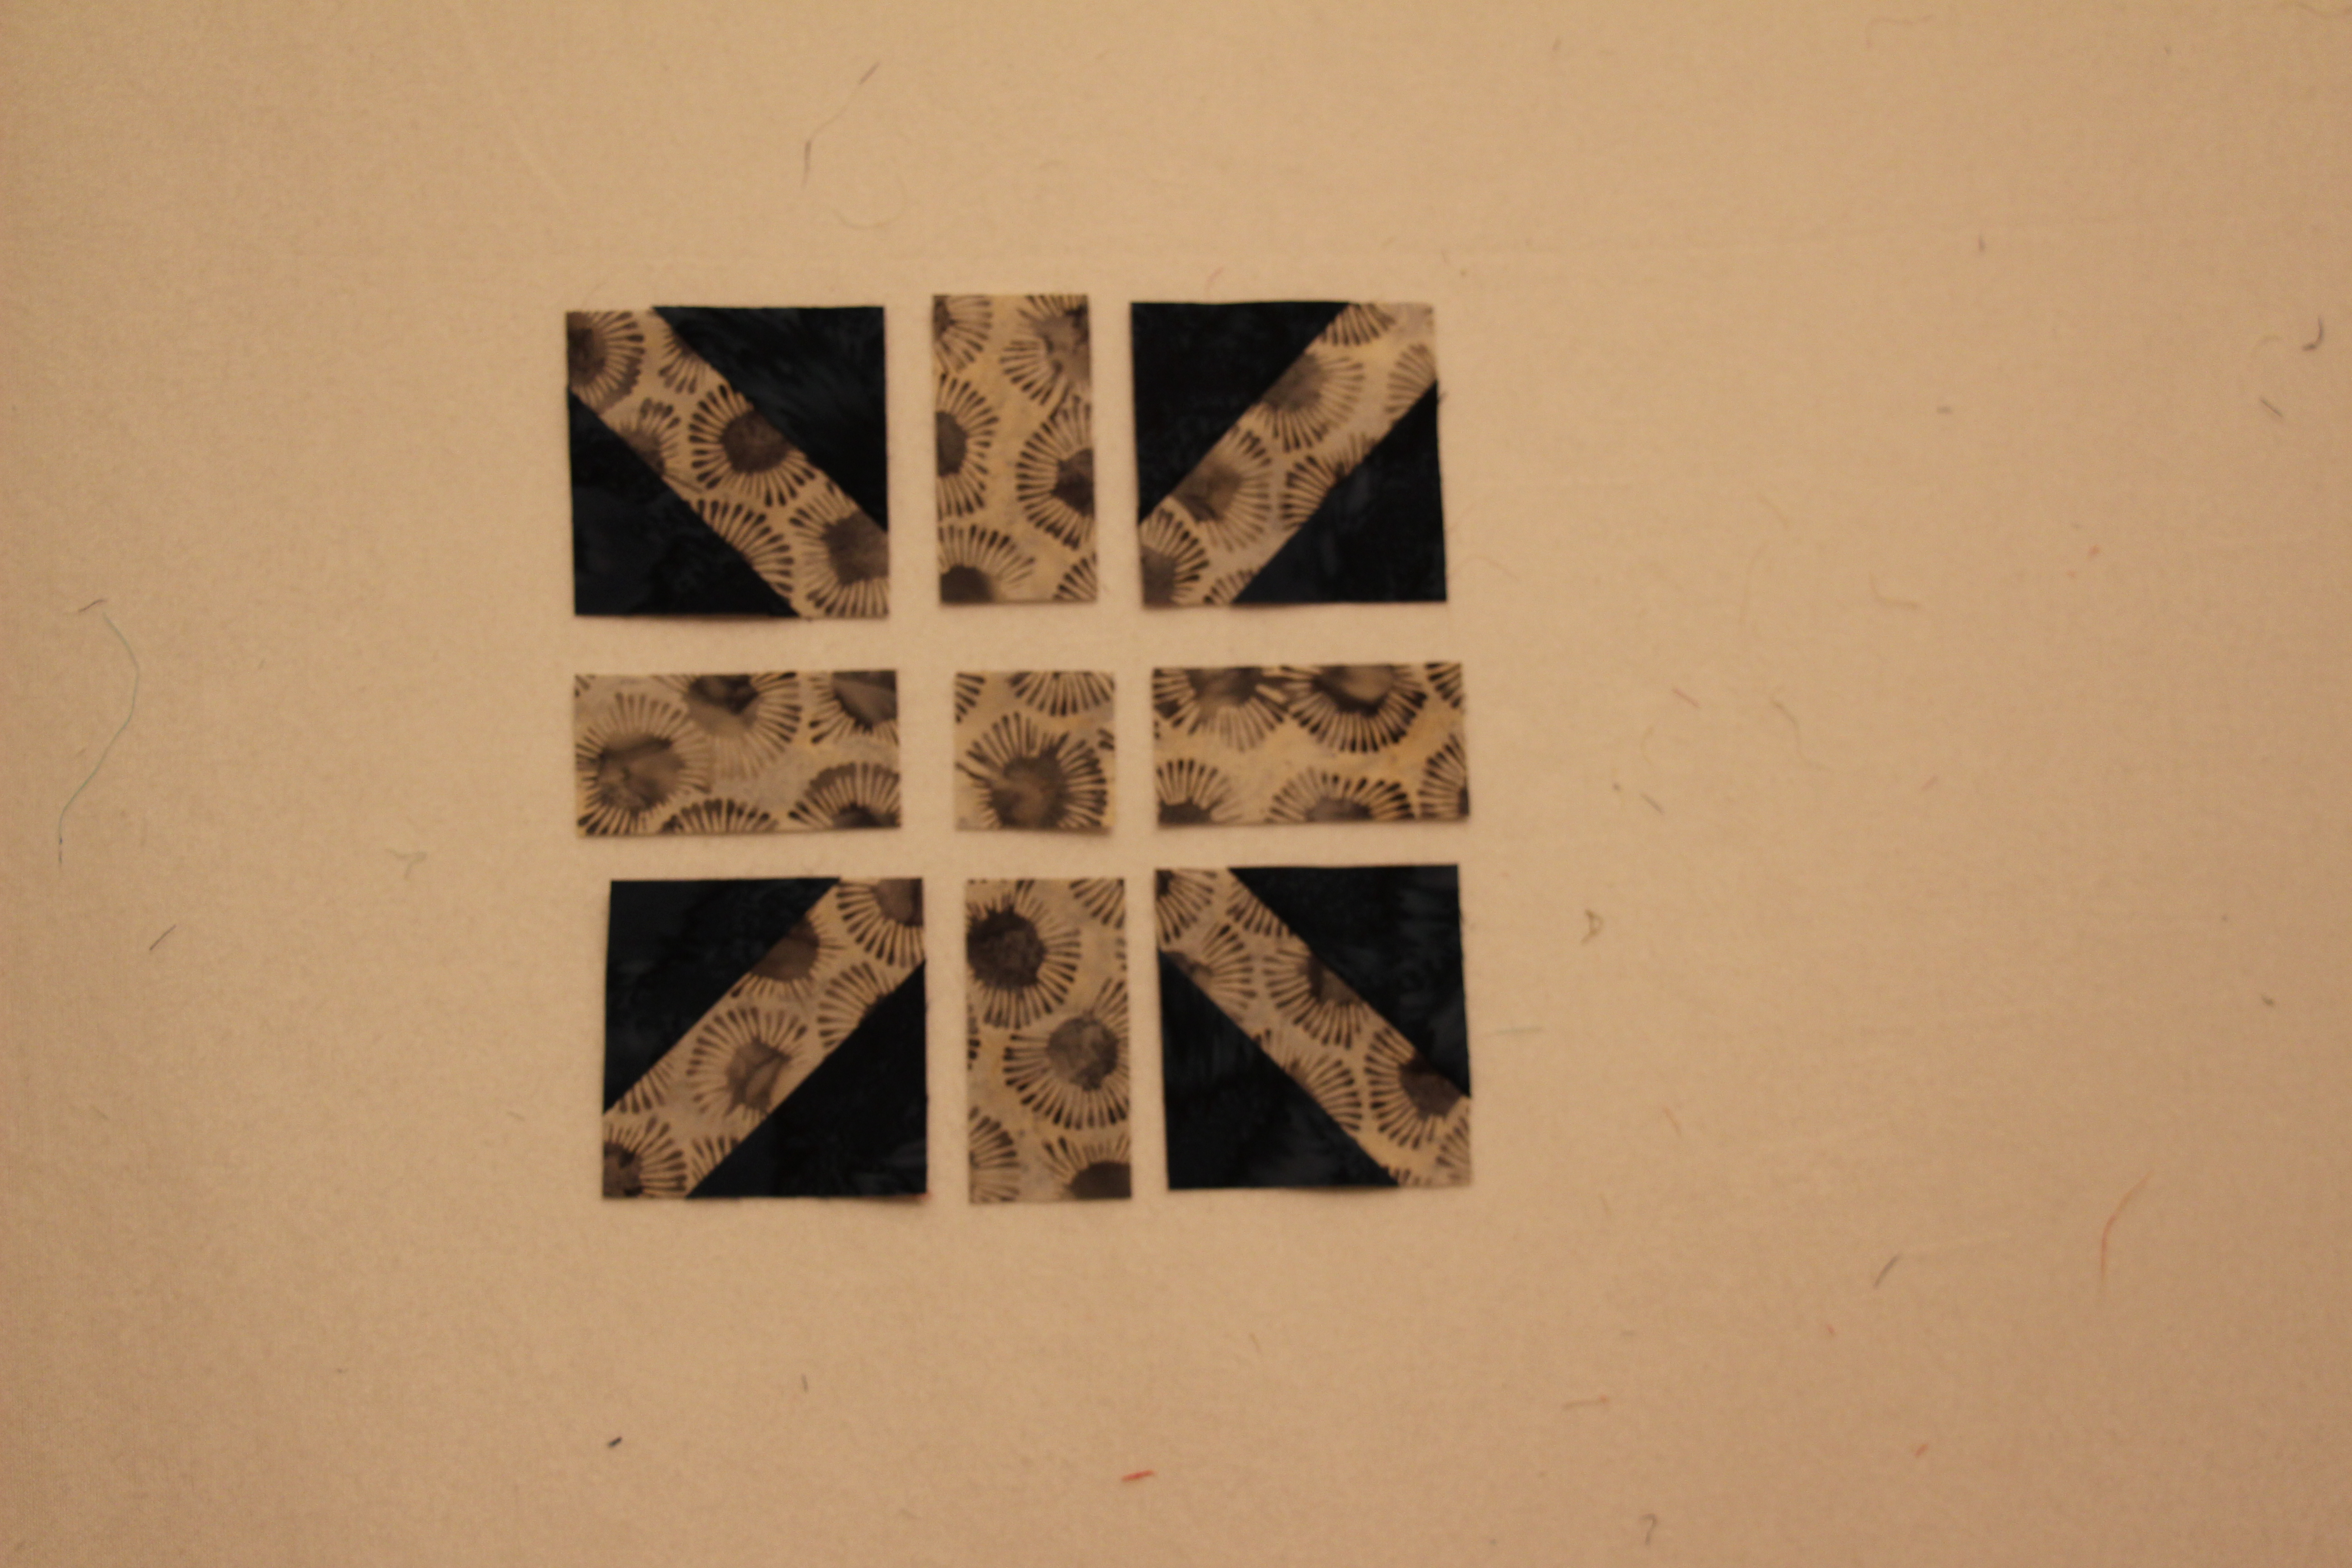
Using the center white line as a guide, trim the block to a square of 3×3″.


Repeat 3 more times so that you have 4 diagonals to your snowflake.
Follow my sashing tutorial to finish off the snowflake block!