Just because I revealed the final version of Old Glory that doesn’t mean I’m done with quilt block tutorials! Today’s block is called the School Girl’s Puzzle. This block isn’t in my quilt, but it is (or will be) in my mother-in-law’s version, which she’s named “Older Glory”. Her version of this American Flag sampler quilt is a scrappy sampler – meaning each of her blocks uses a different fabric. I can’t wait to see how hers turns out. I wasn’t brave enough to mix hundreds of fabrics so I used only 3 different reds and 2 different blues.
Here is the how-to for the School Girl’s Puzzle Quilt Block:
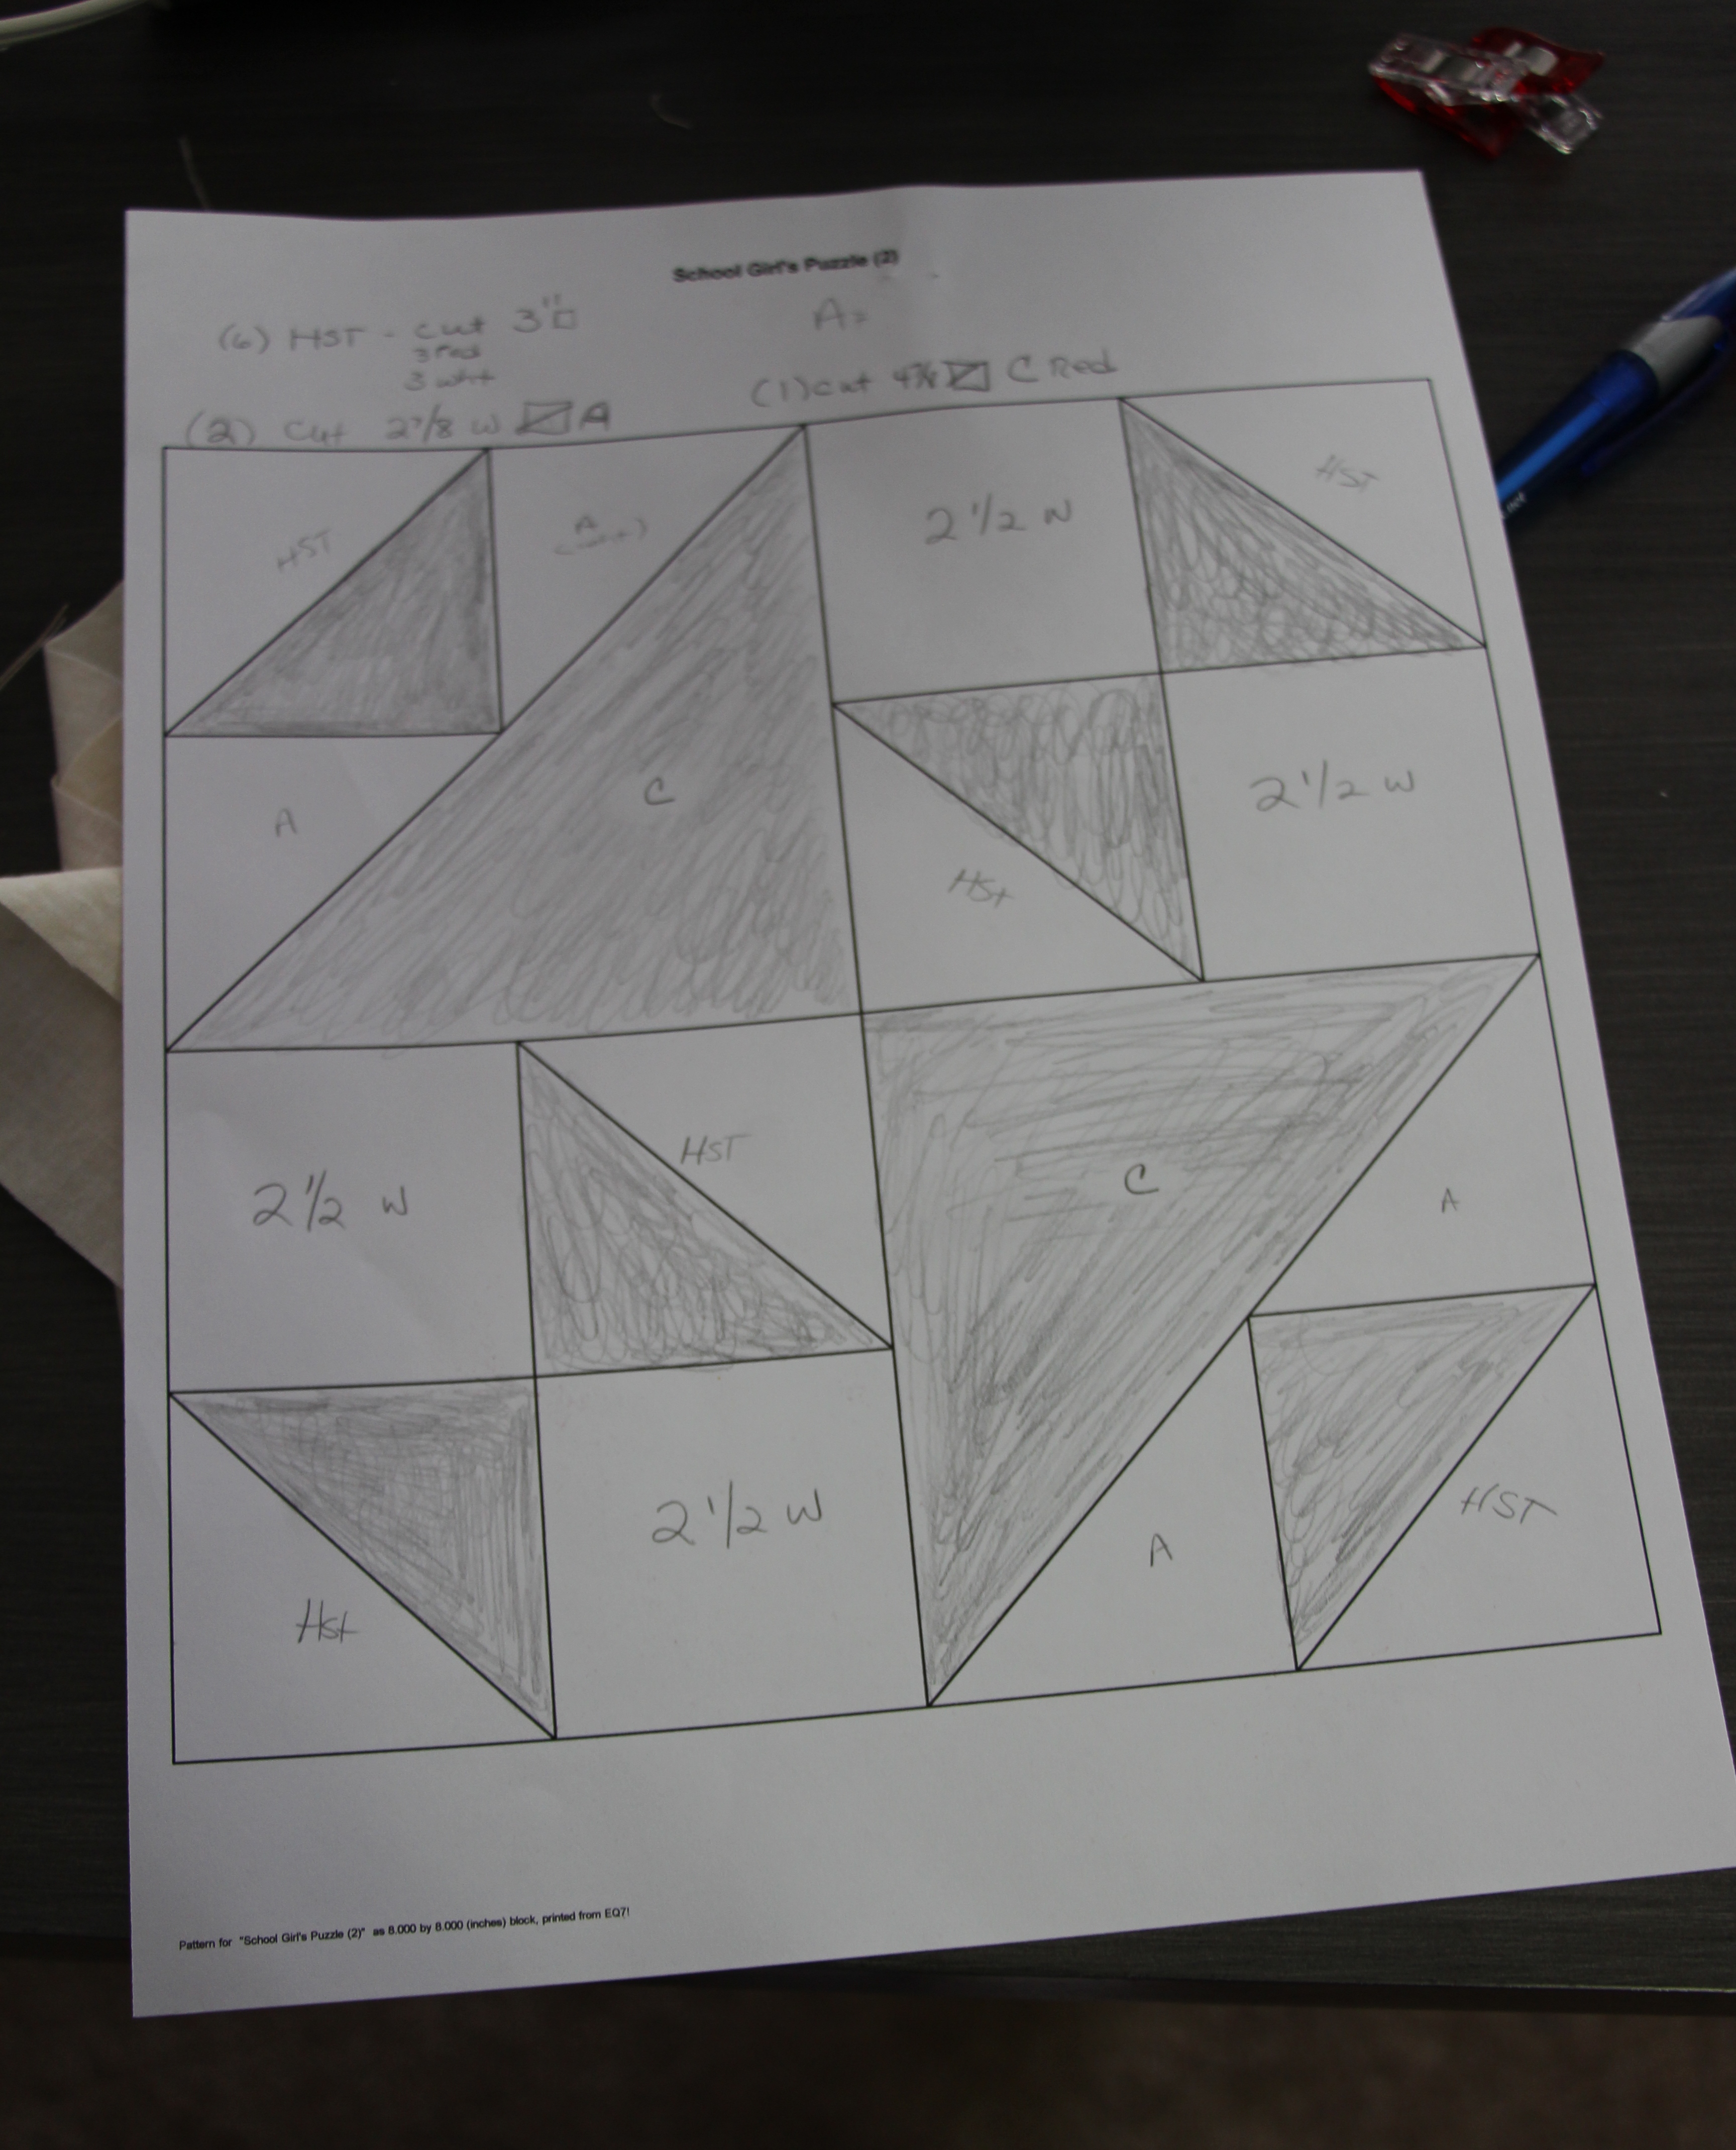
Note: These measurements are for an 8″ block. Sew using a scant 1/4″ seam allowance.
Cut fabric:
- 4 squares 2 1/2″ white
- 3 squares 3 1/8″ red
- 3 squares 3 1/8″ white
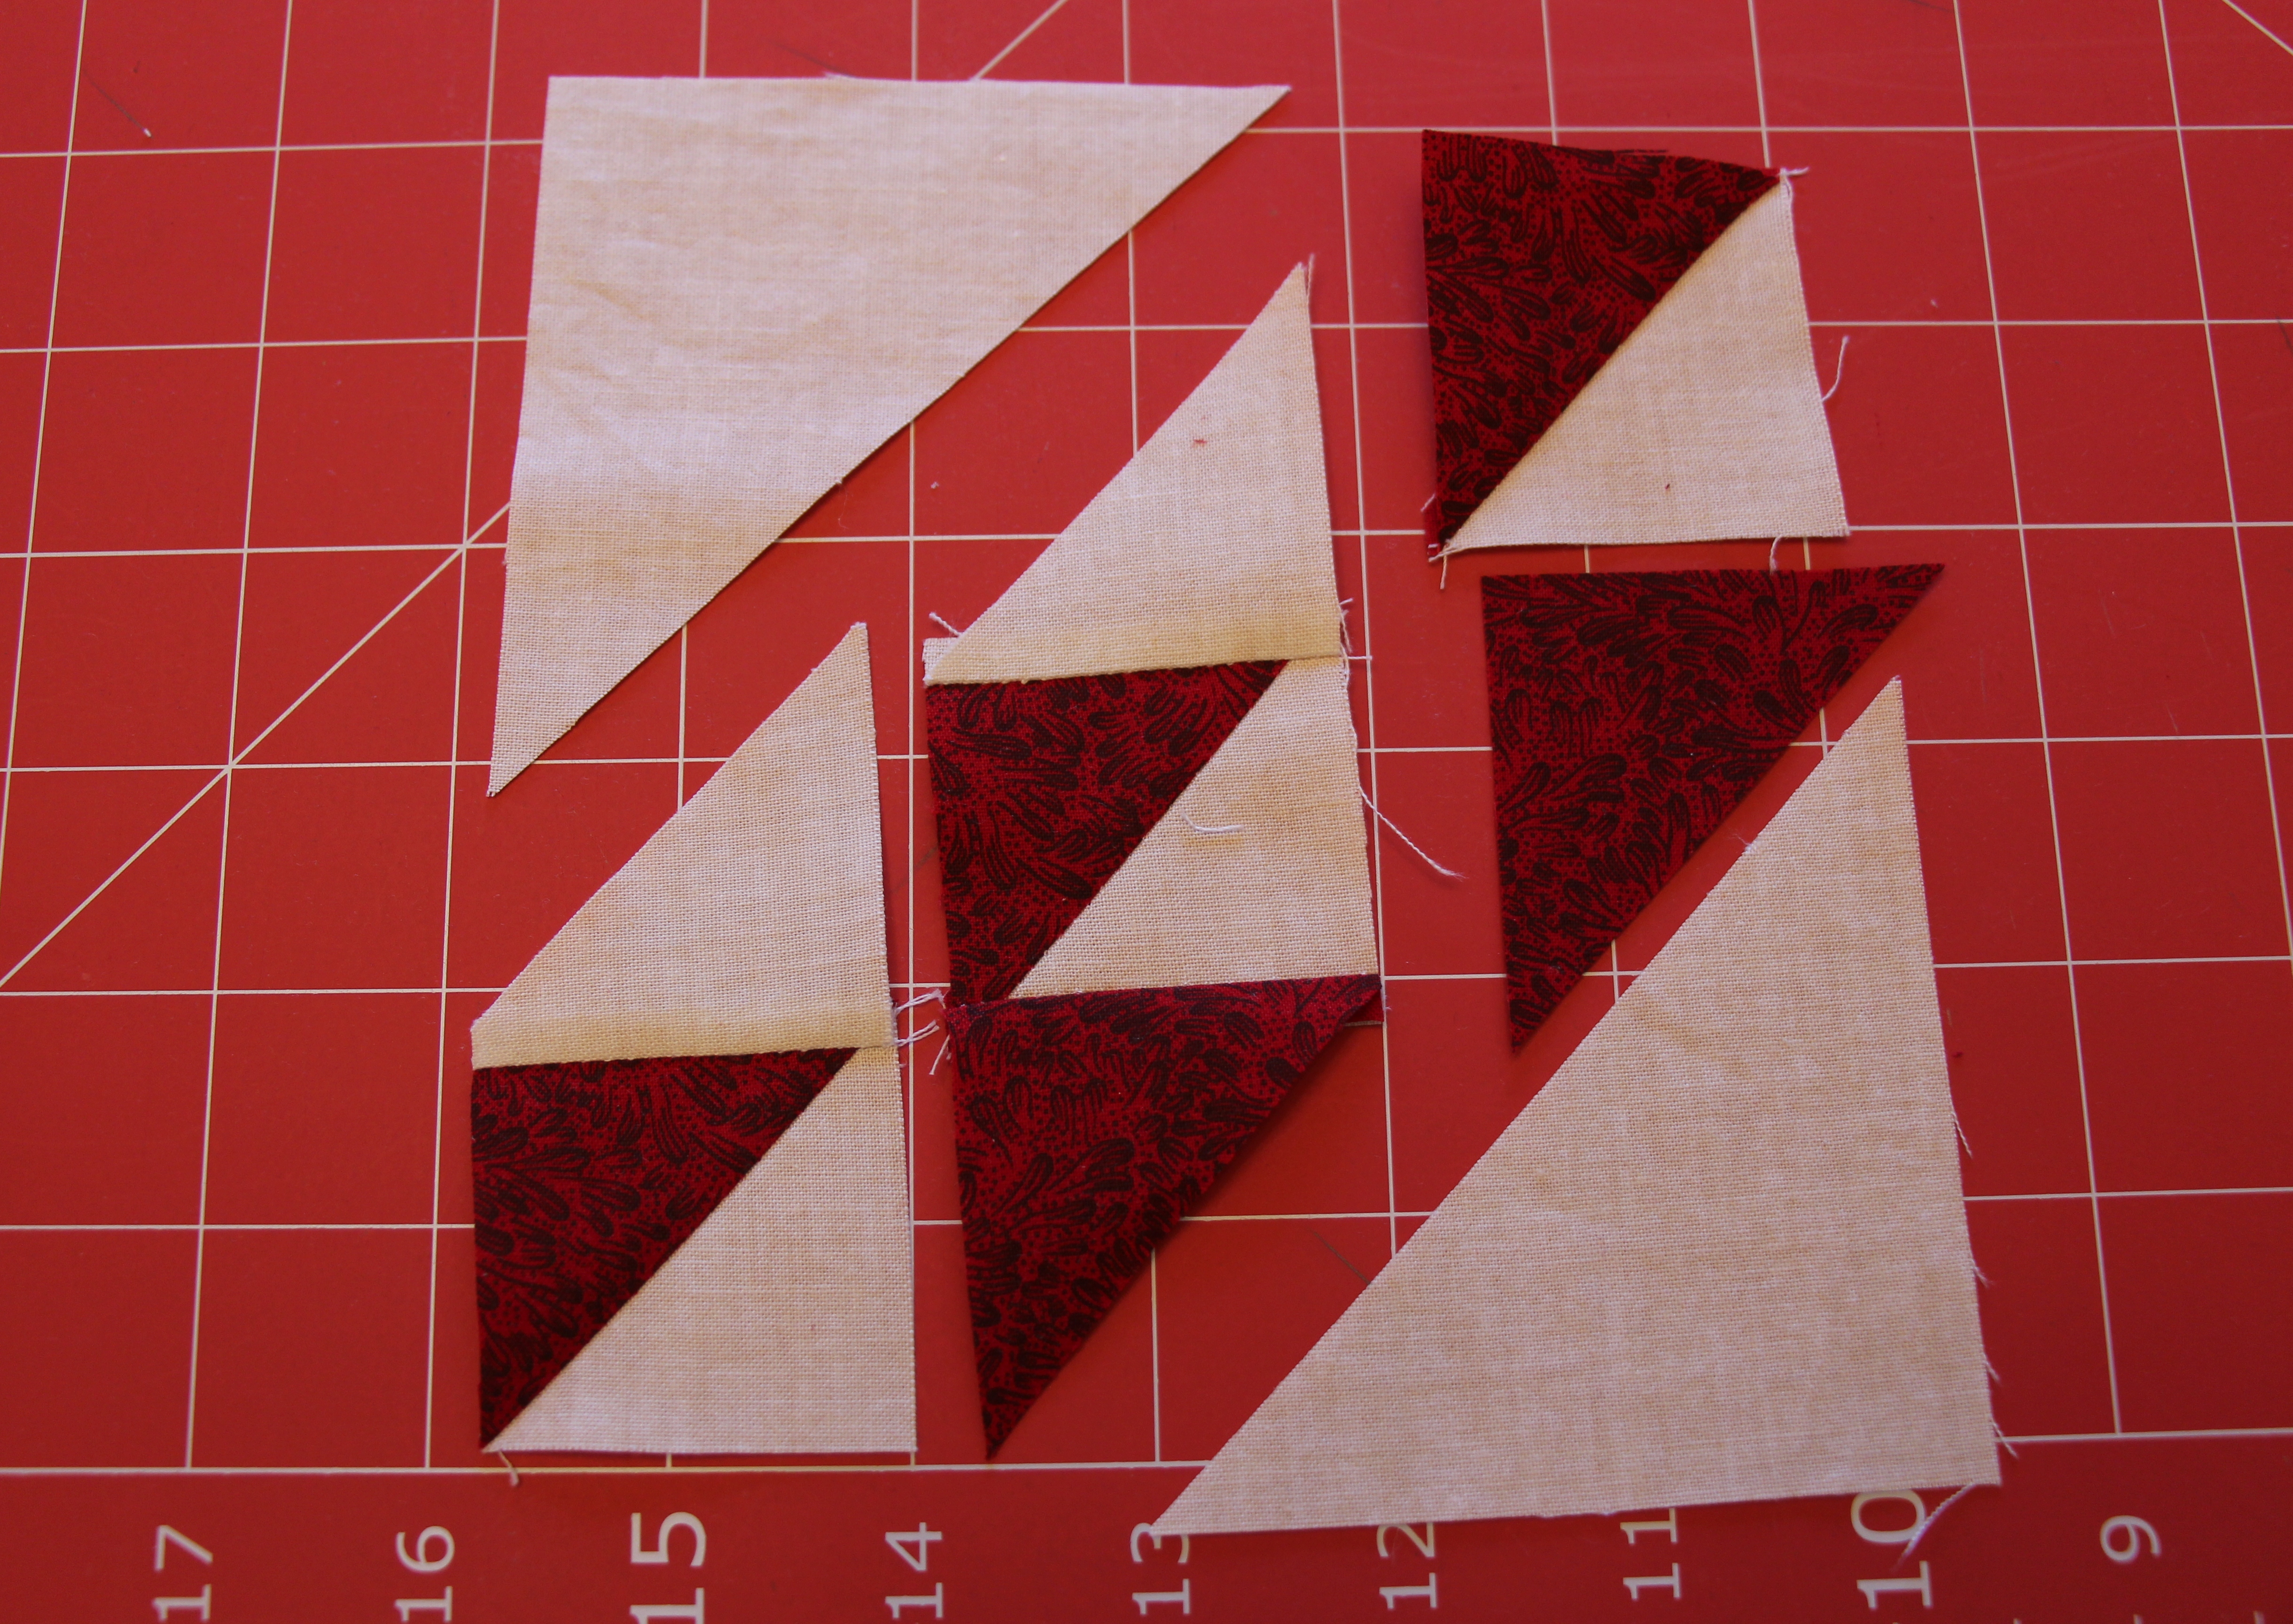
- 2 squares 2 7/8″ white, then cut on the diagonal
- 1 square 4 7/8″ red, then cut on the diagonal
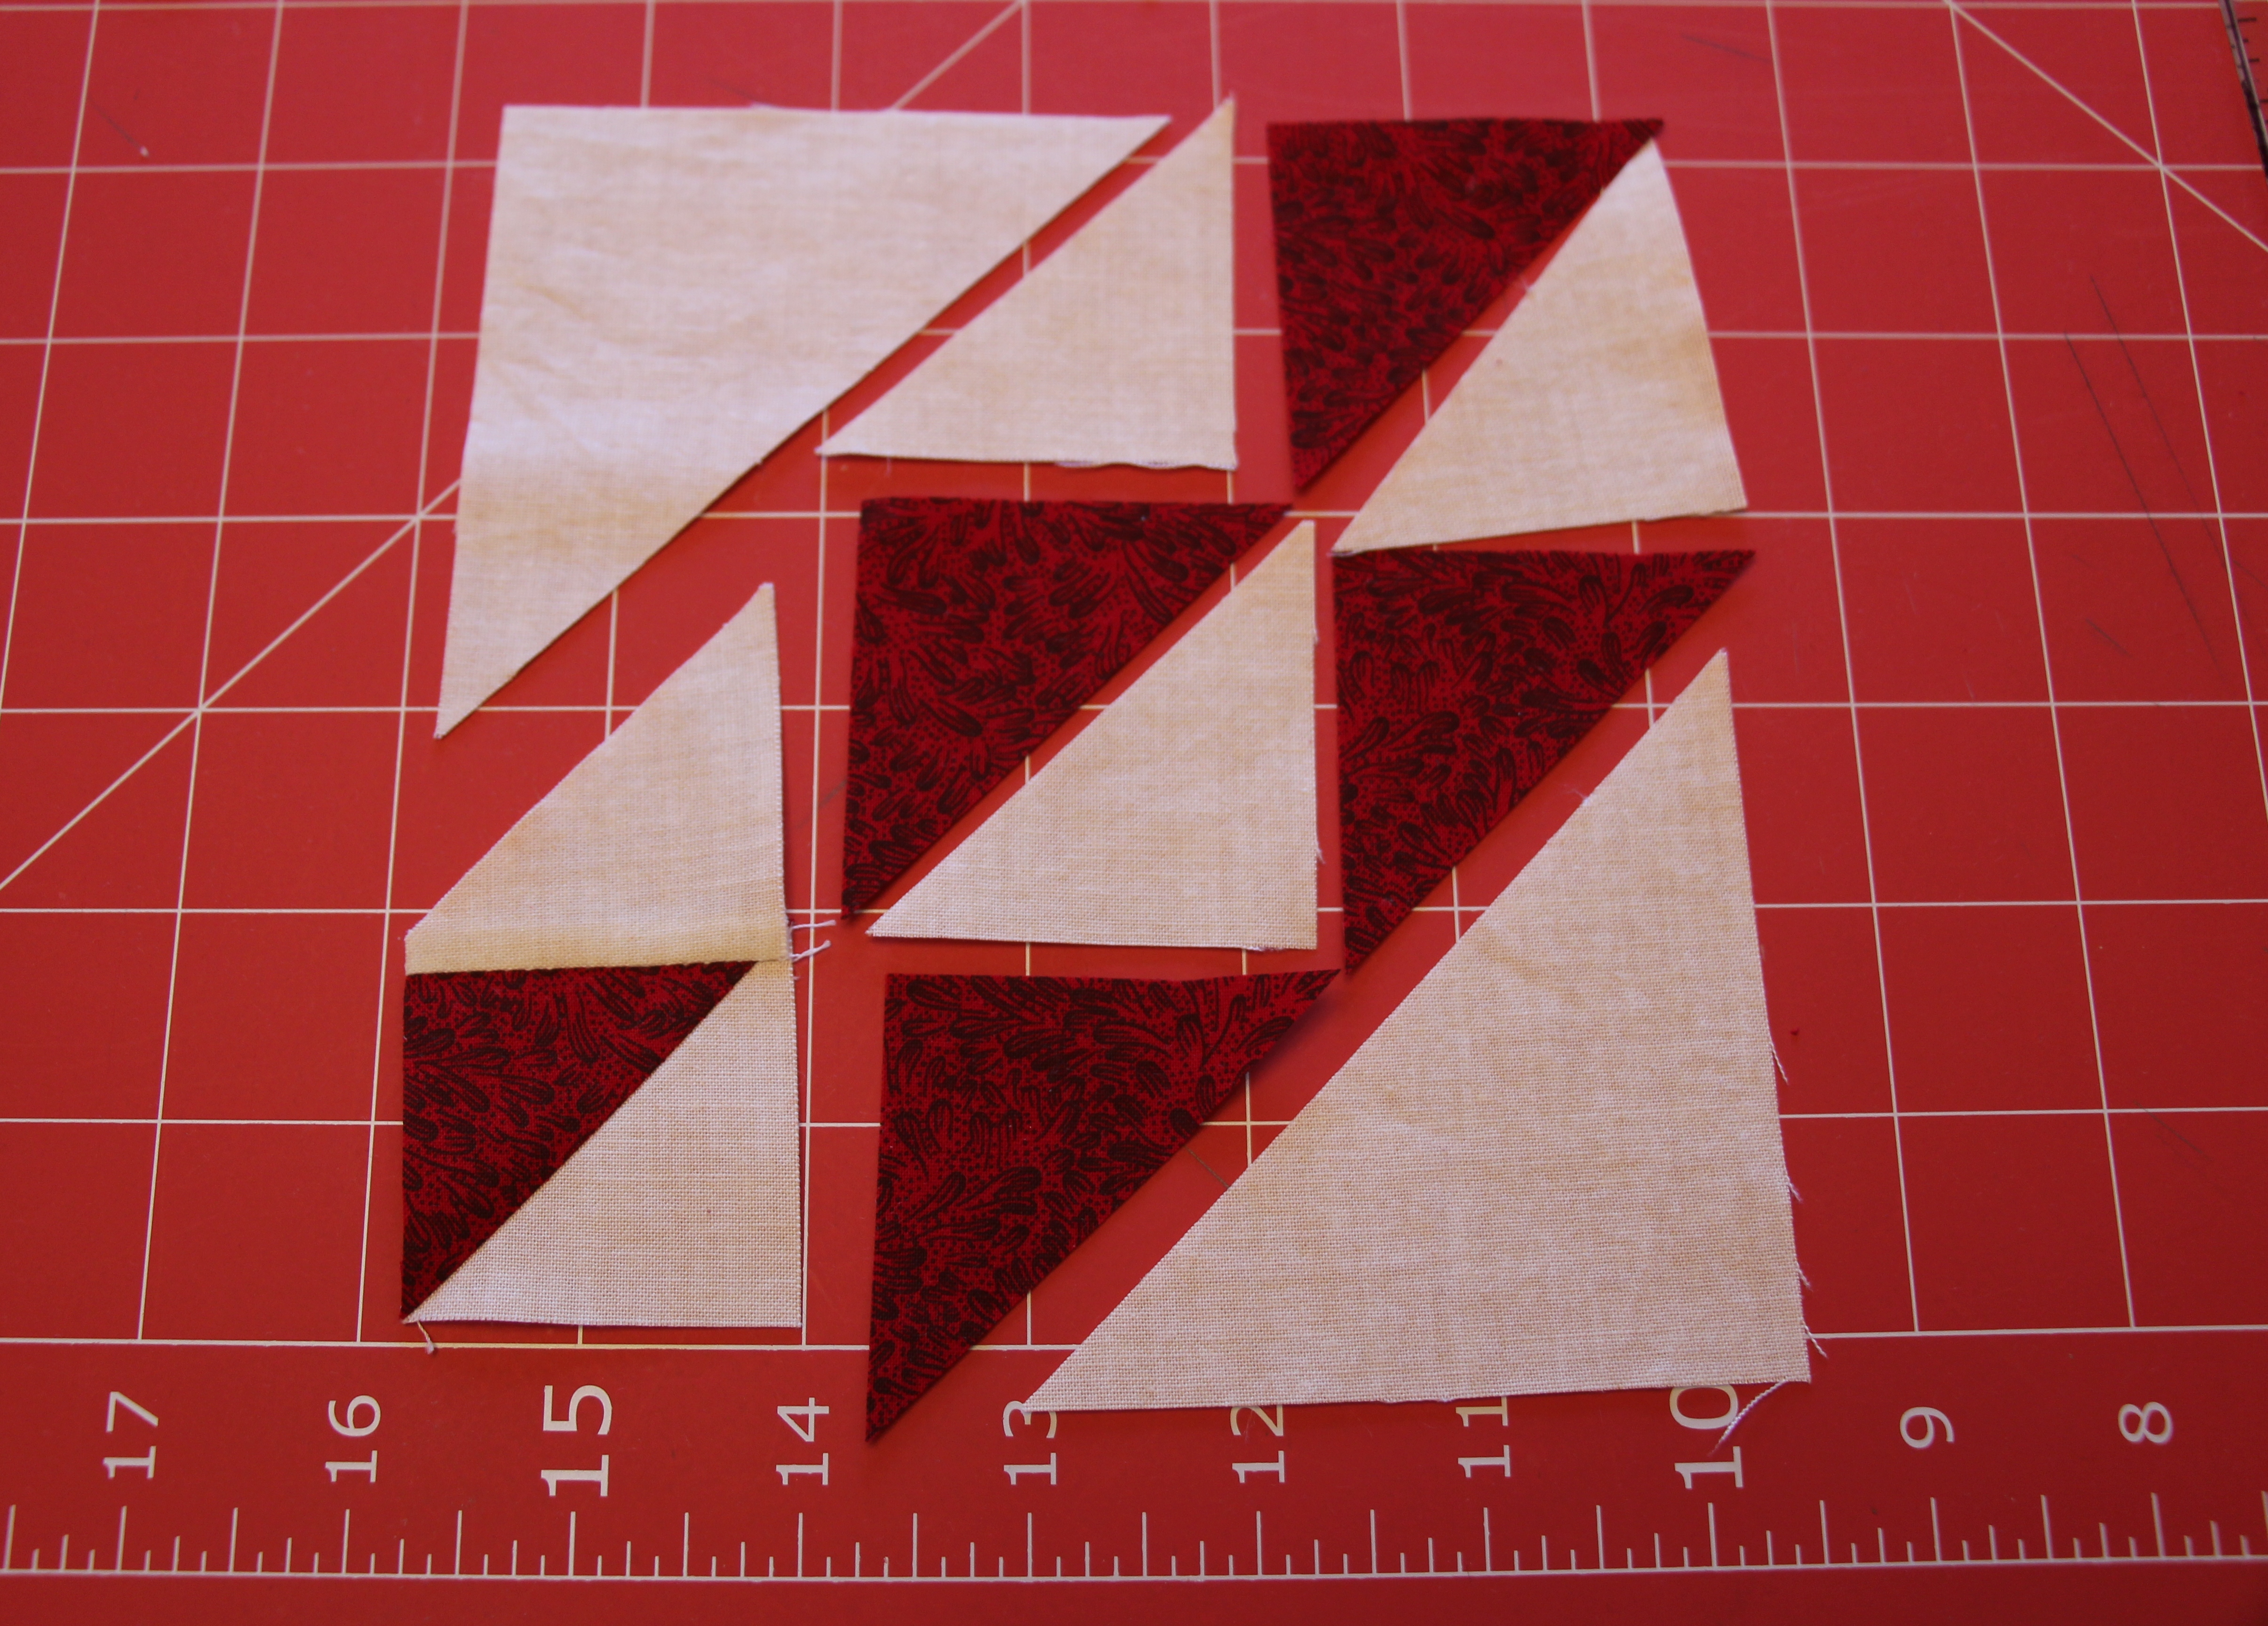
Use the 3 squares of 3 1/8″ red and white to create 6 Half Square Triangles (HSTs) trimmed down to 2 1/2″. Click here for my tutorial on how to make Half Square Triangles.
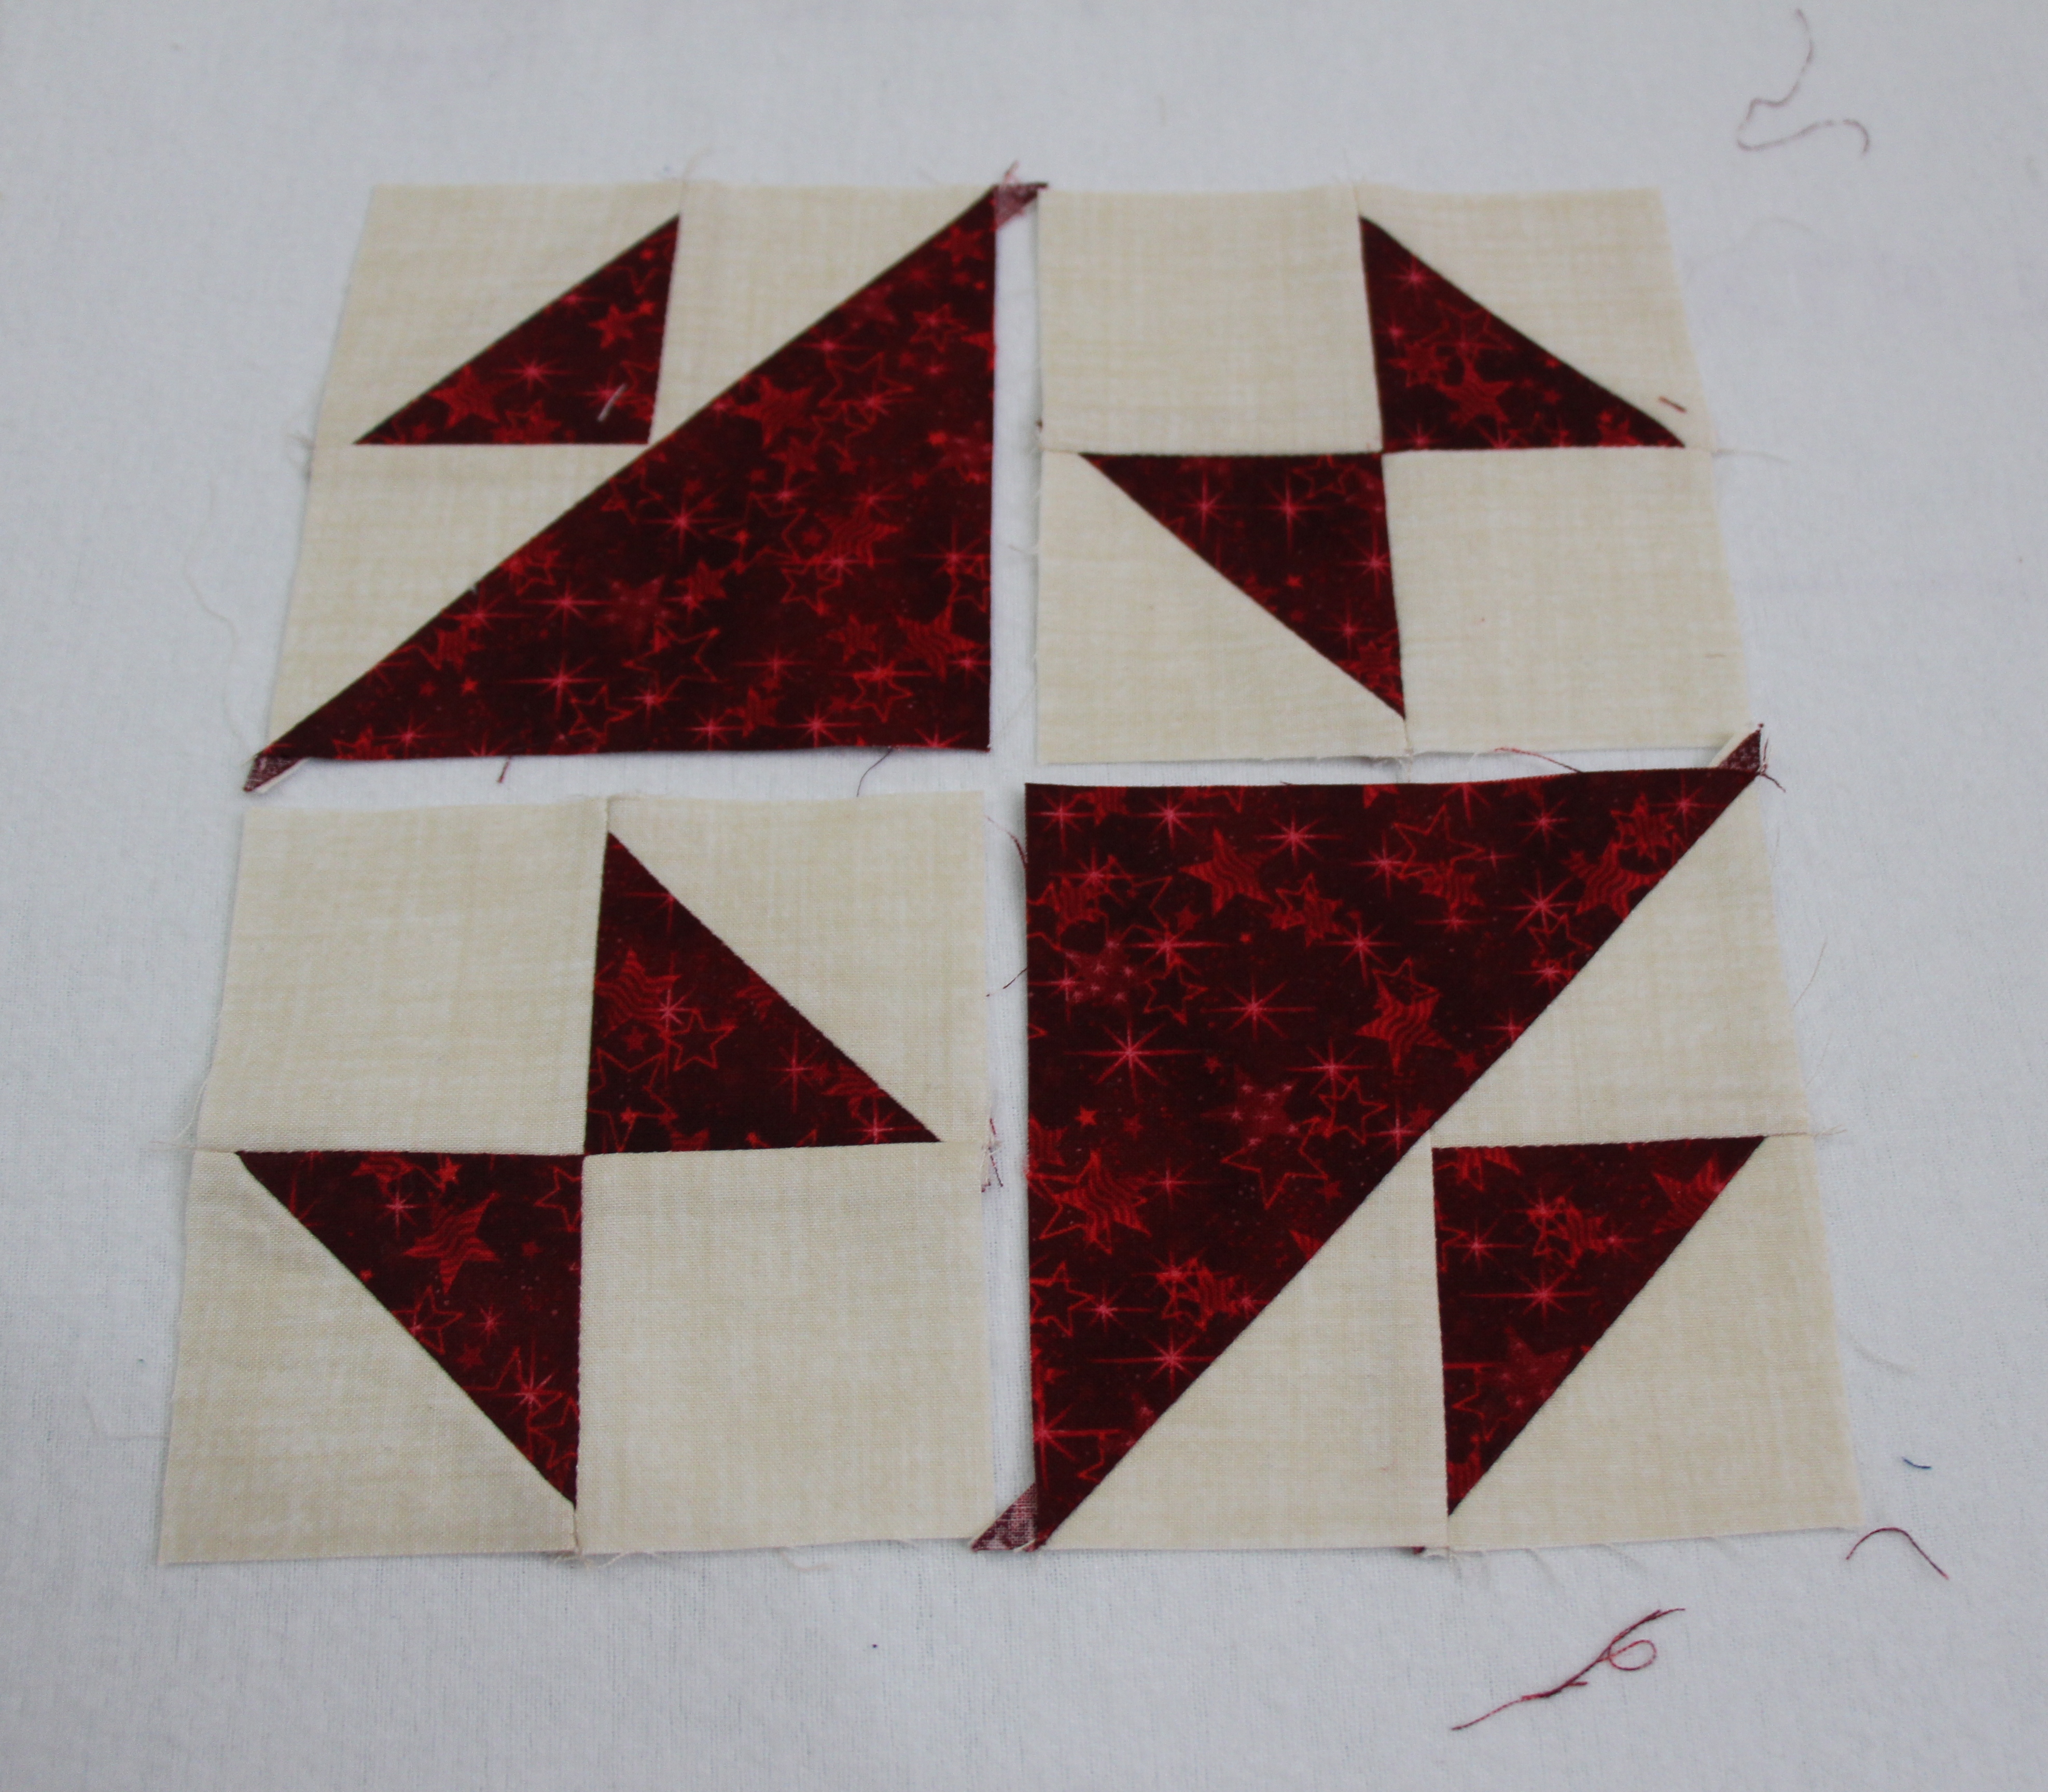
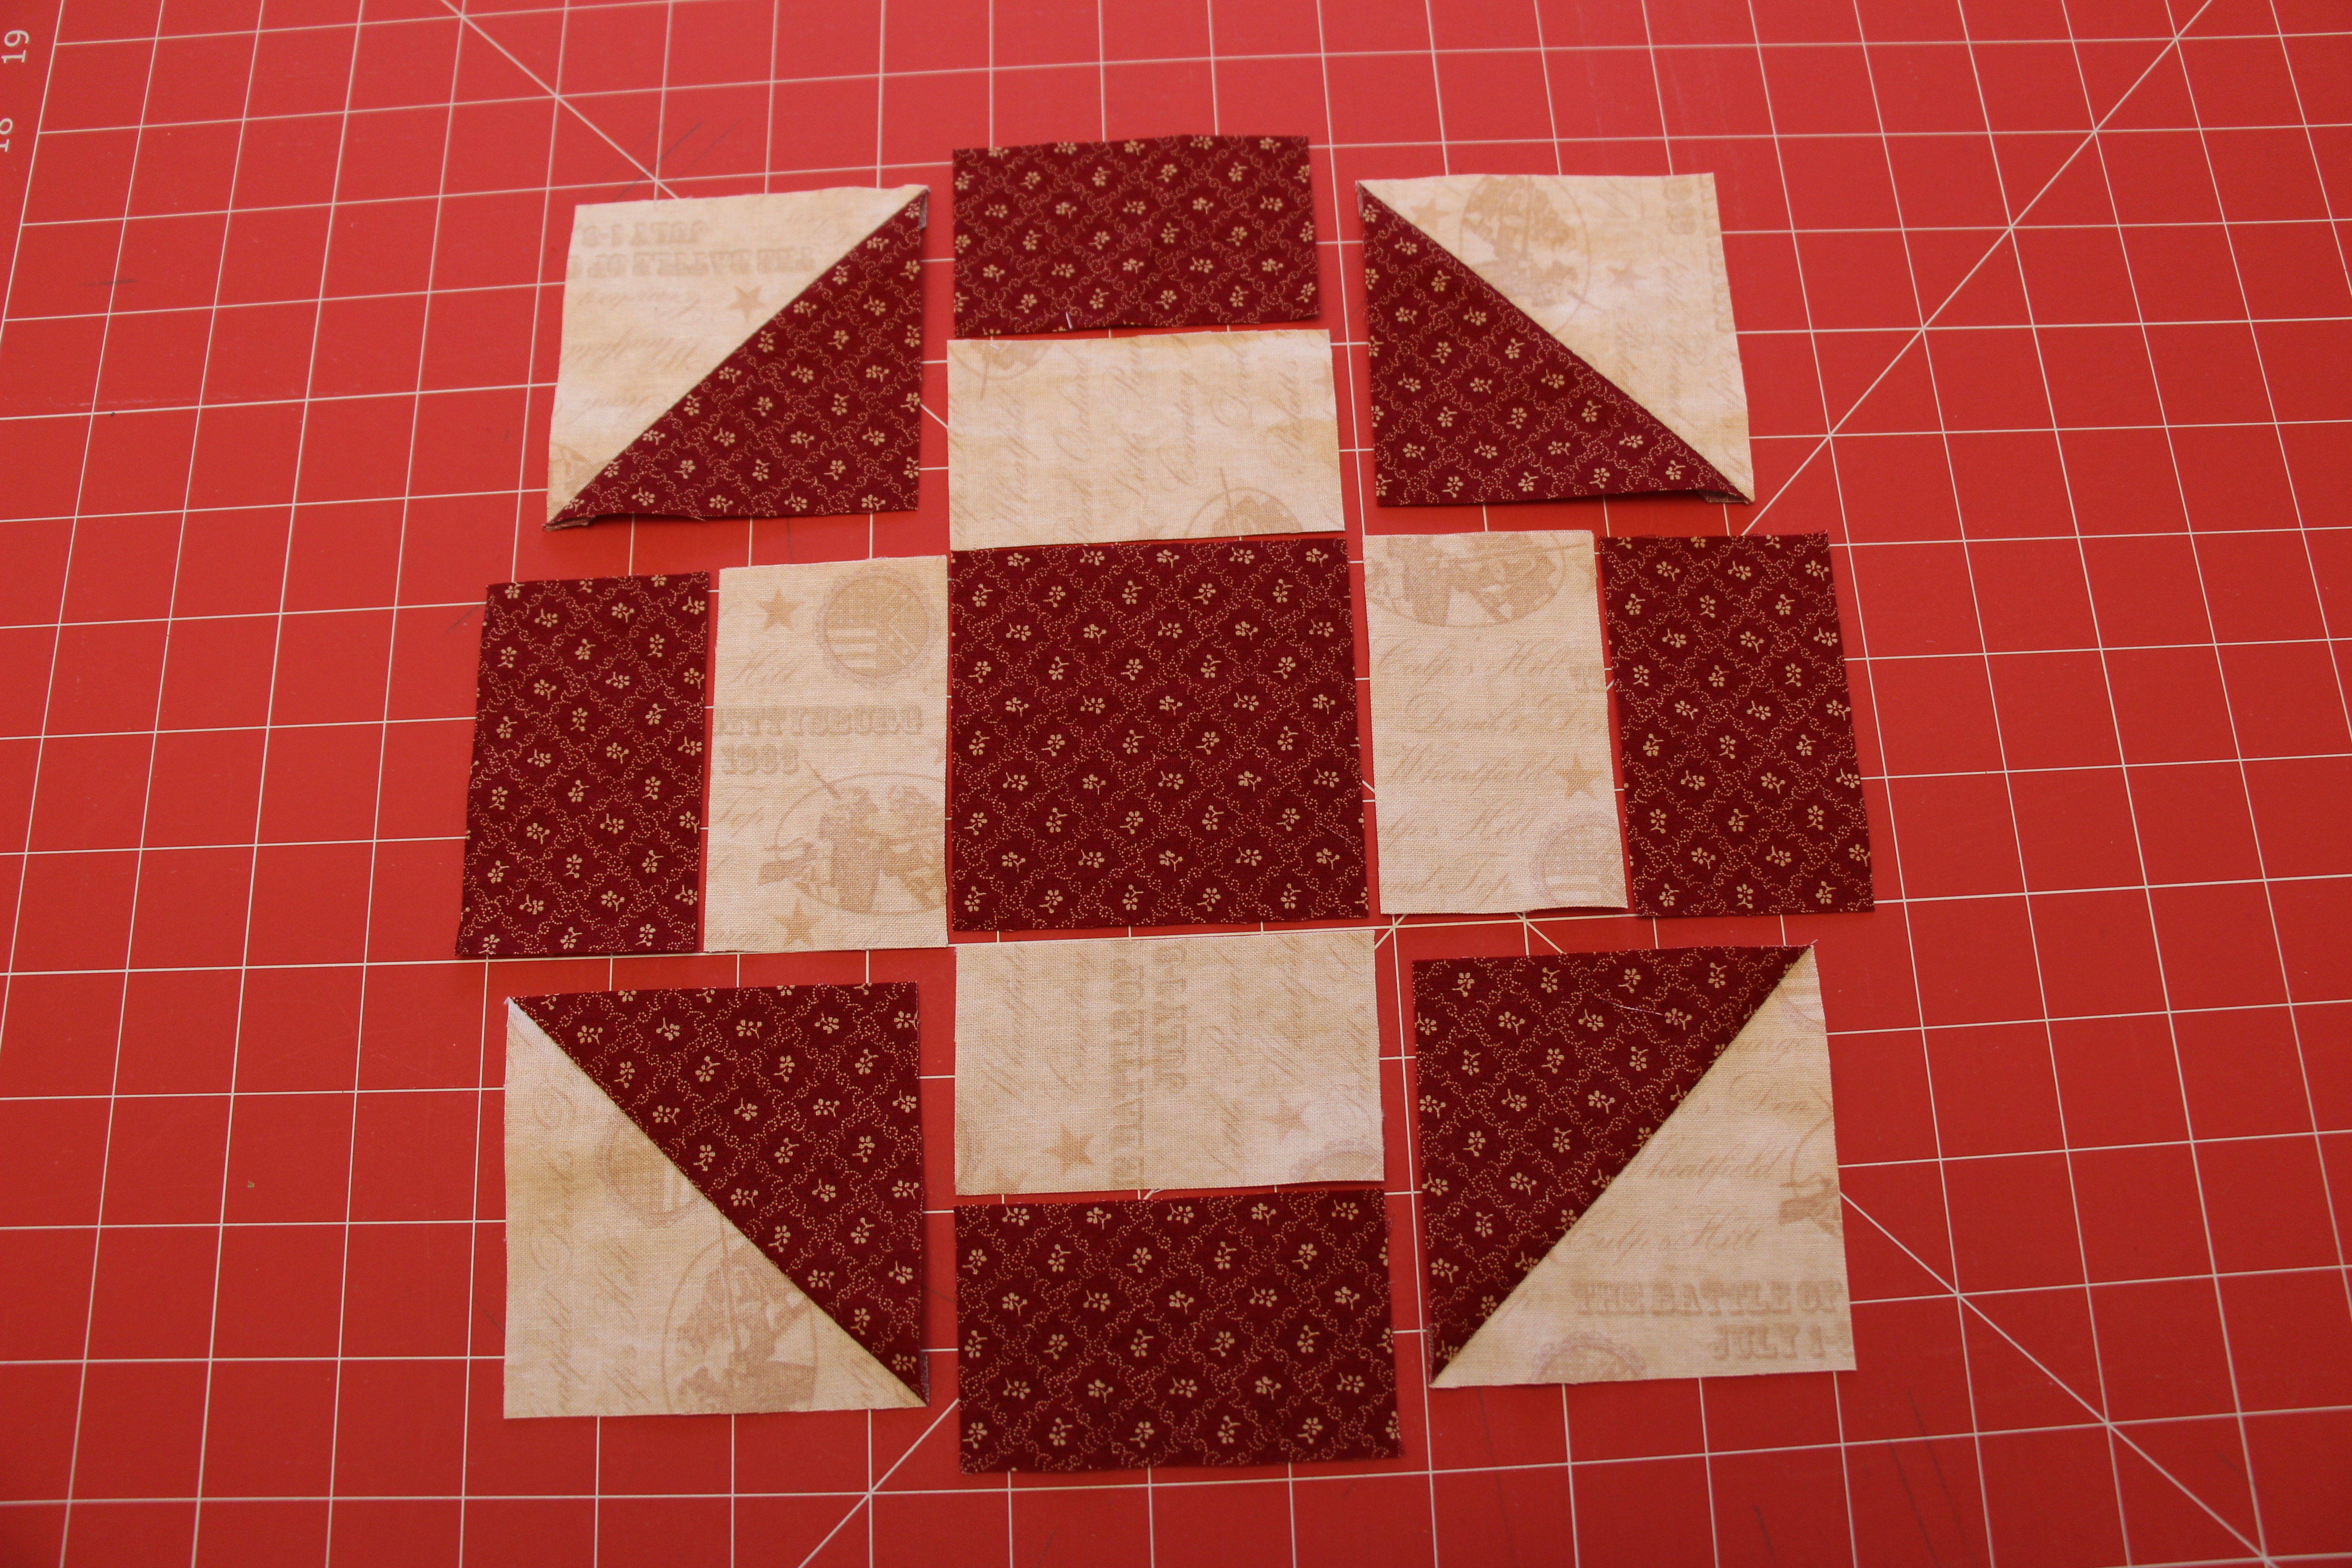
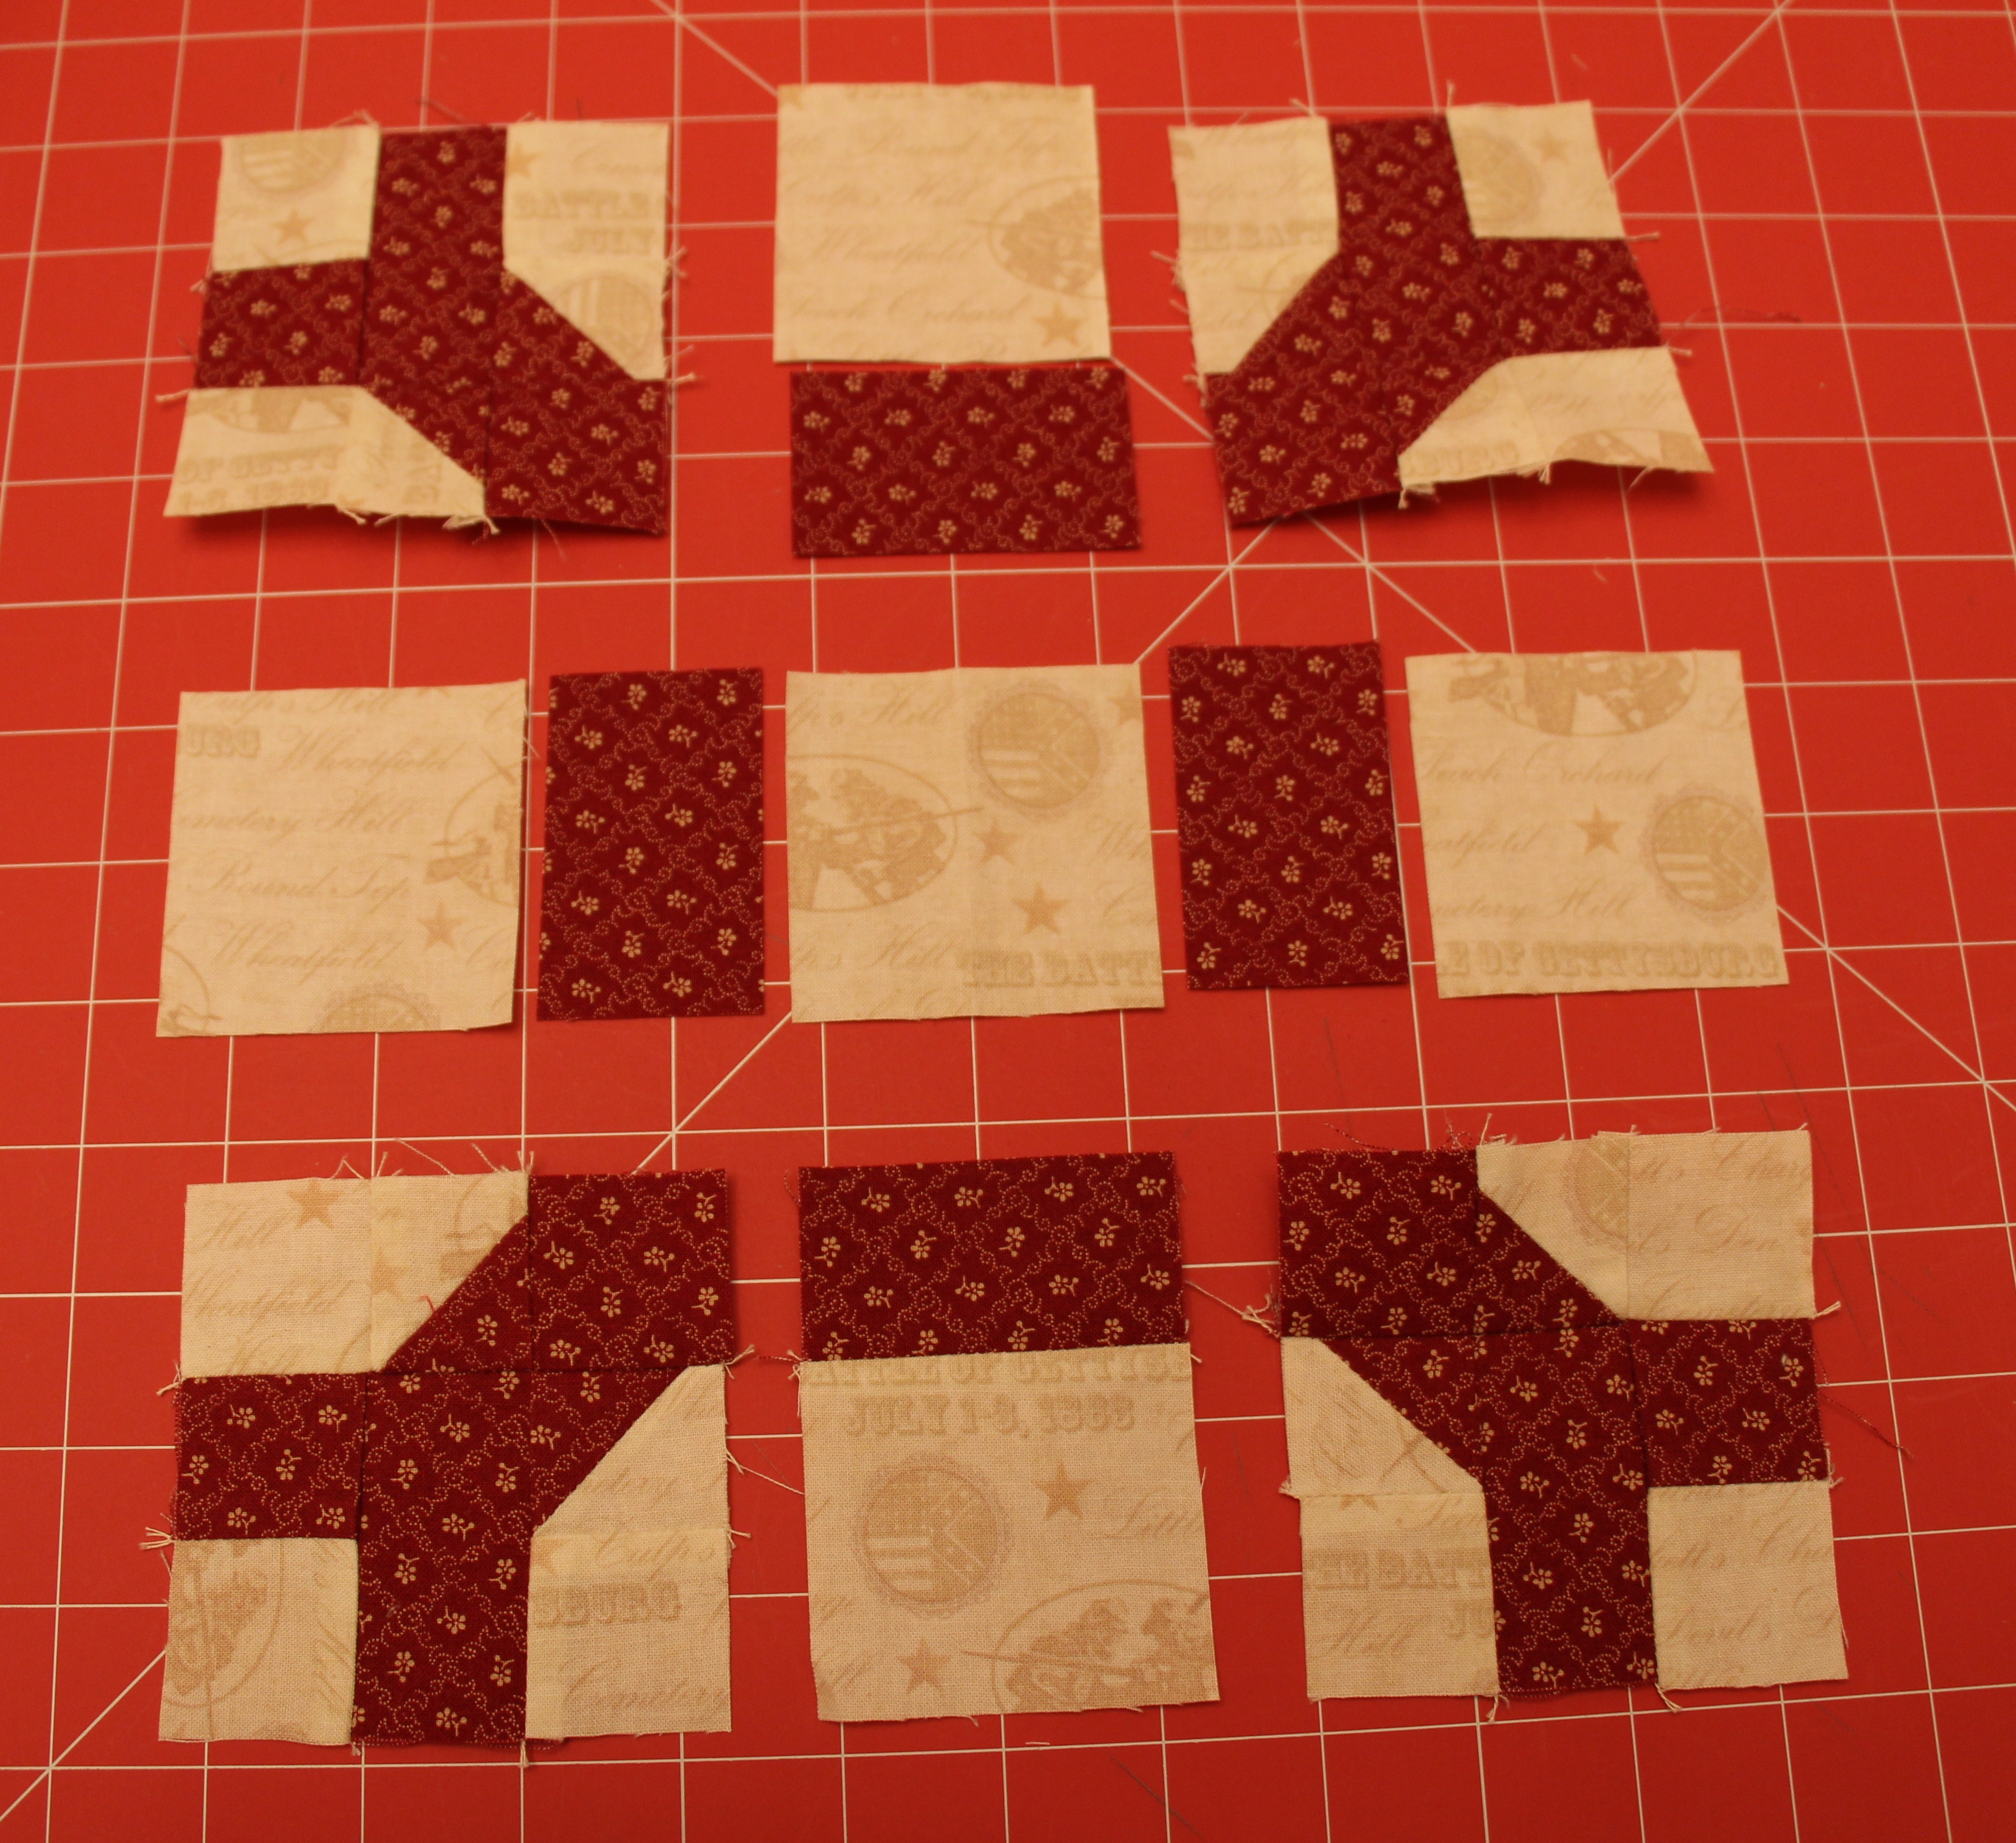
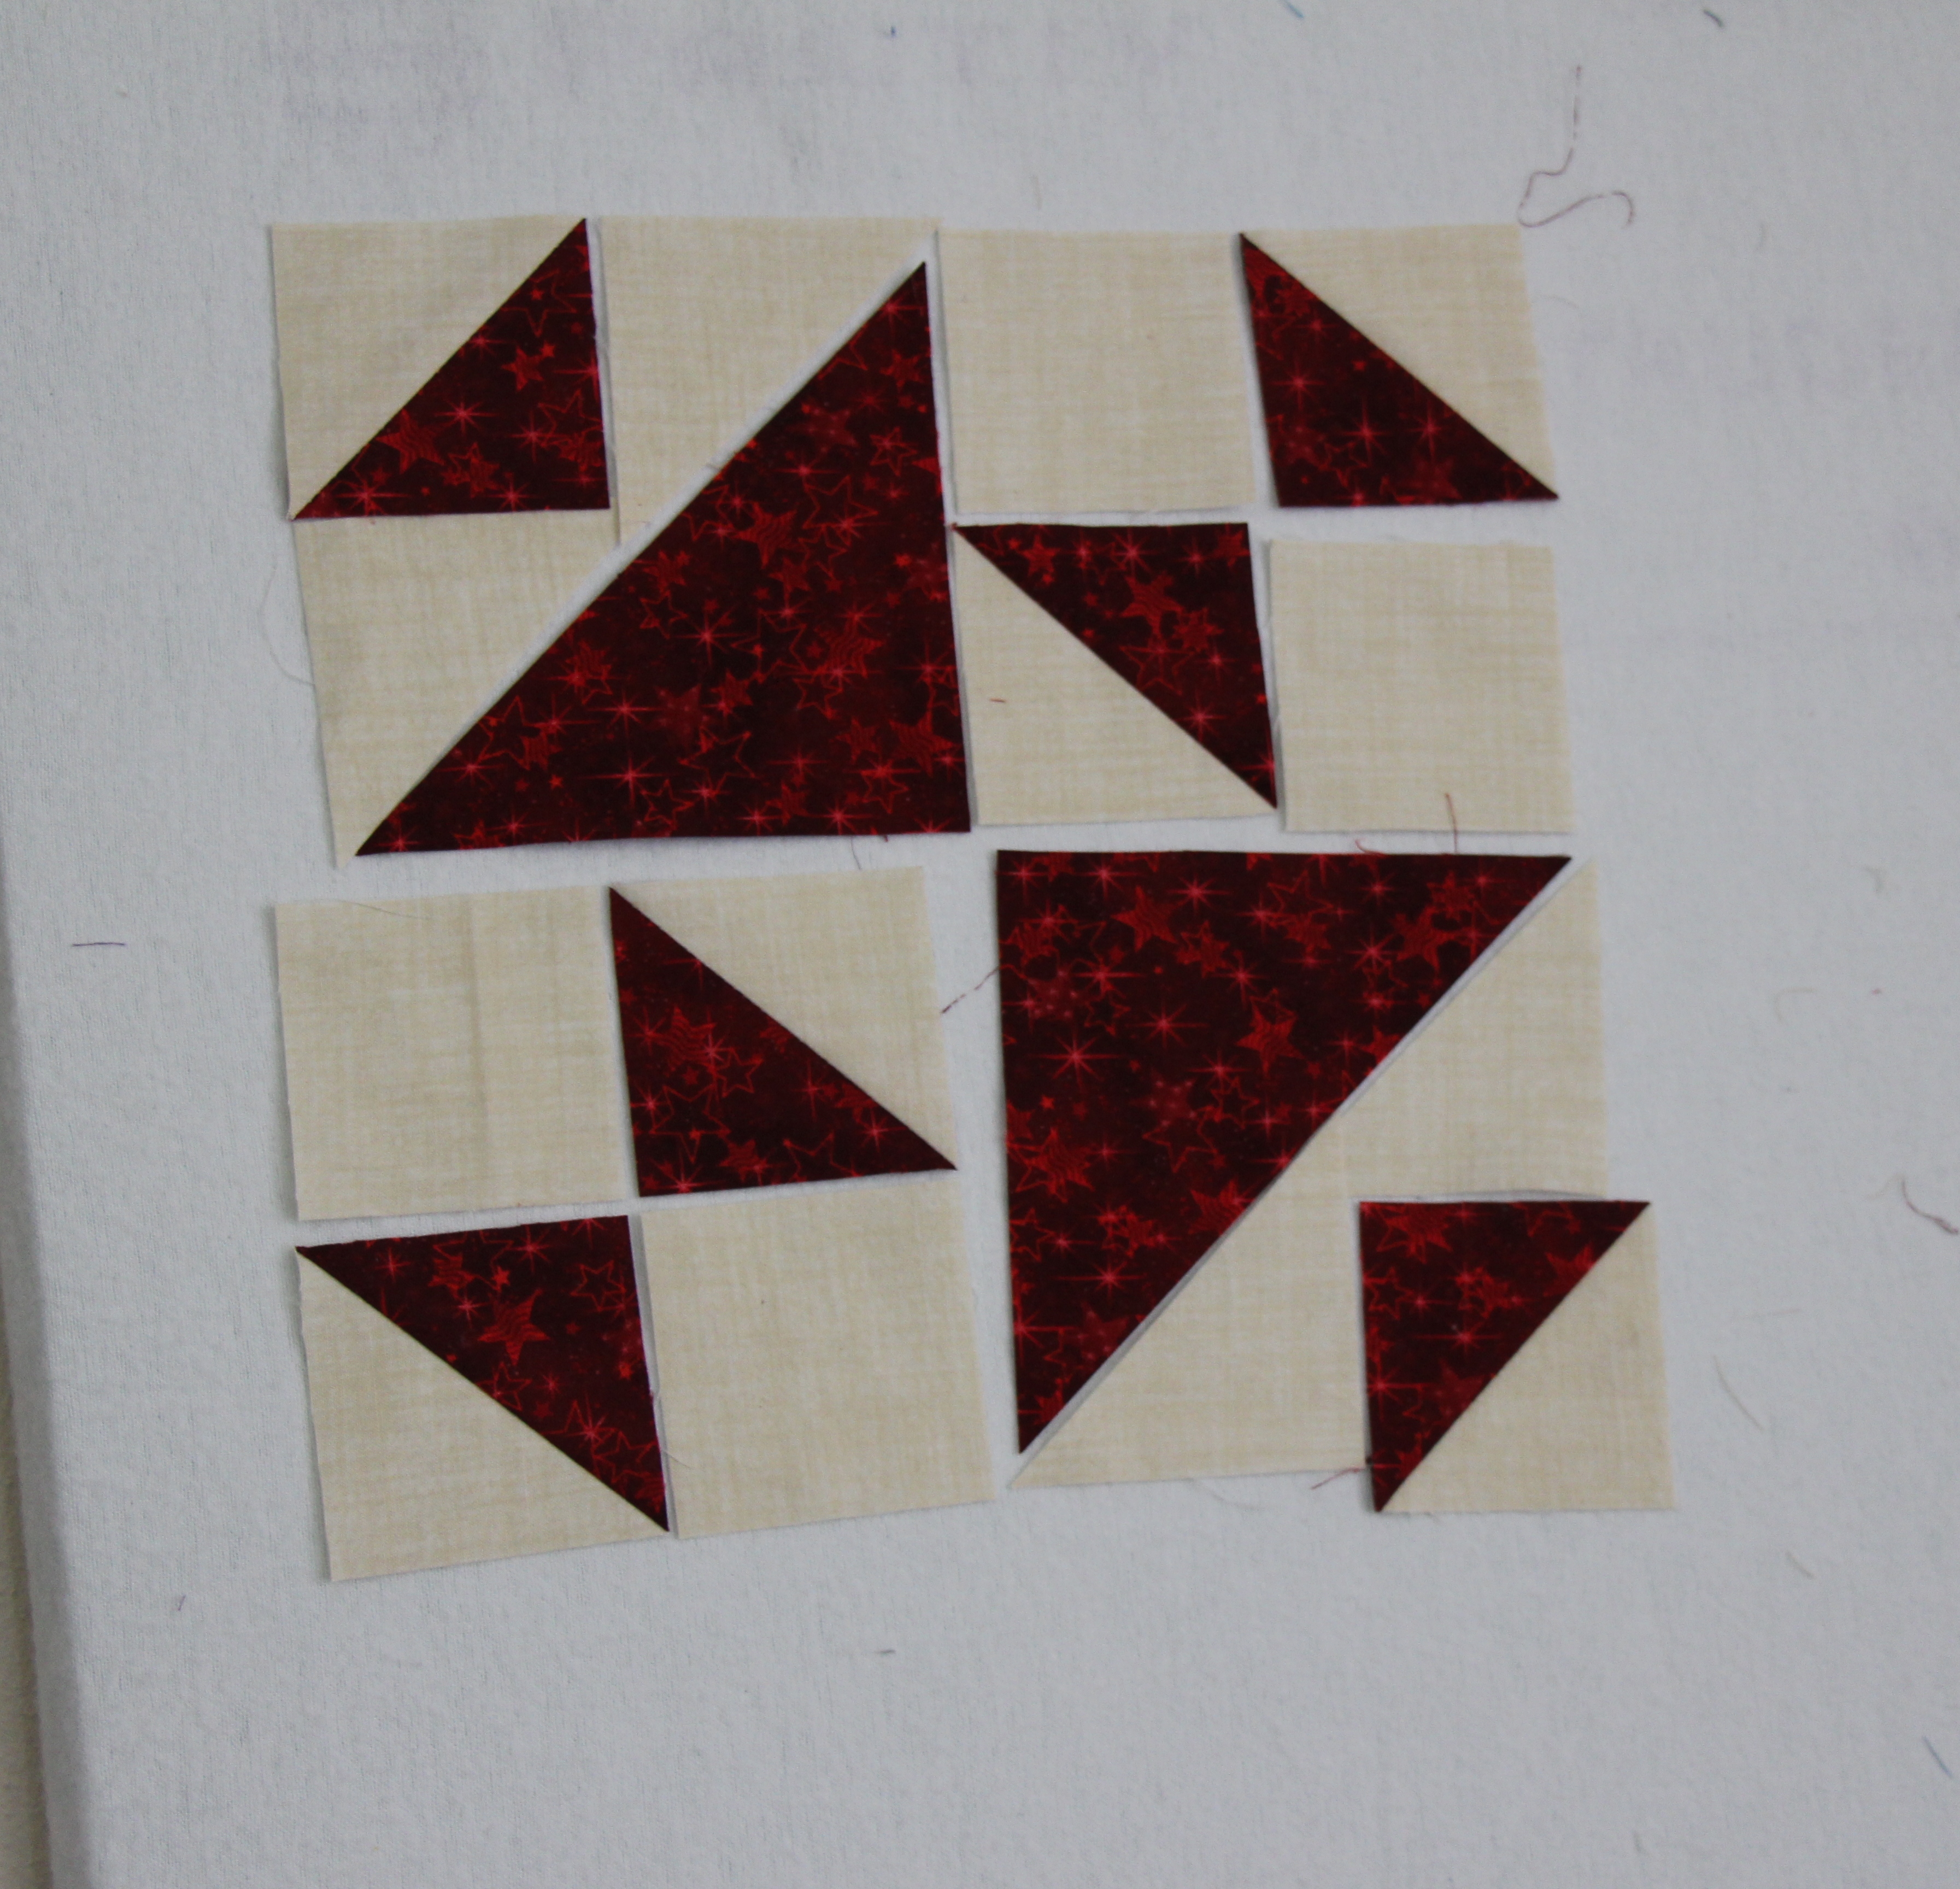
Lay out the School Girl’s Puzzle quilt block:
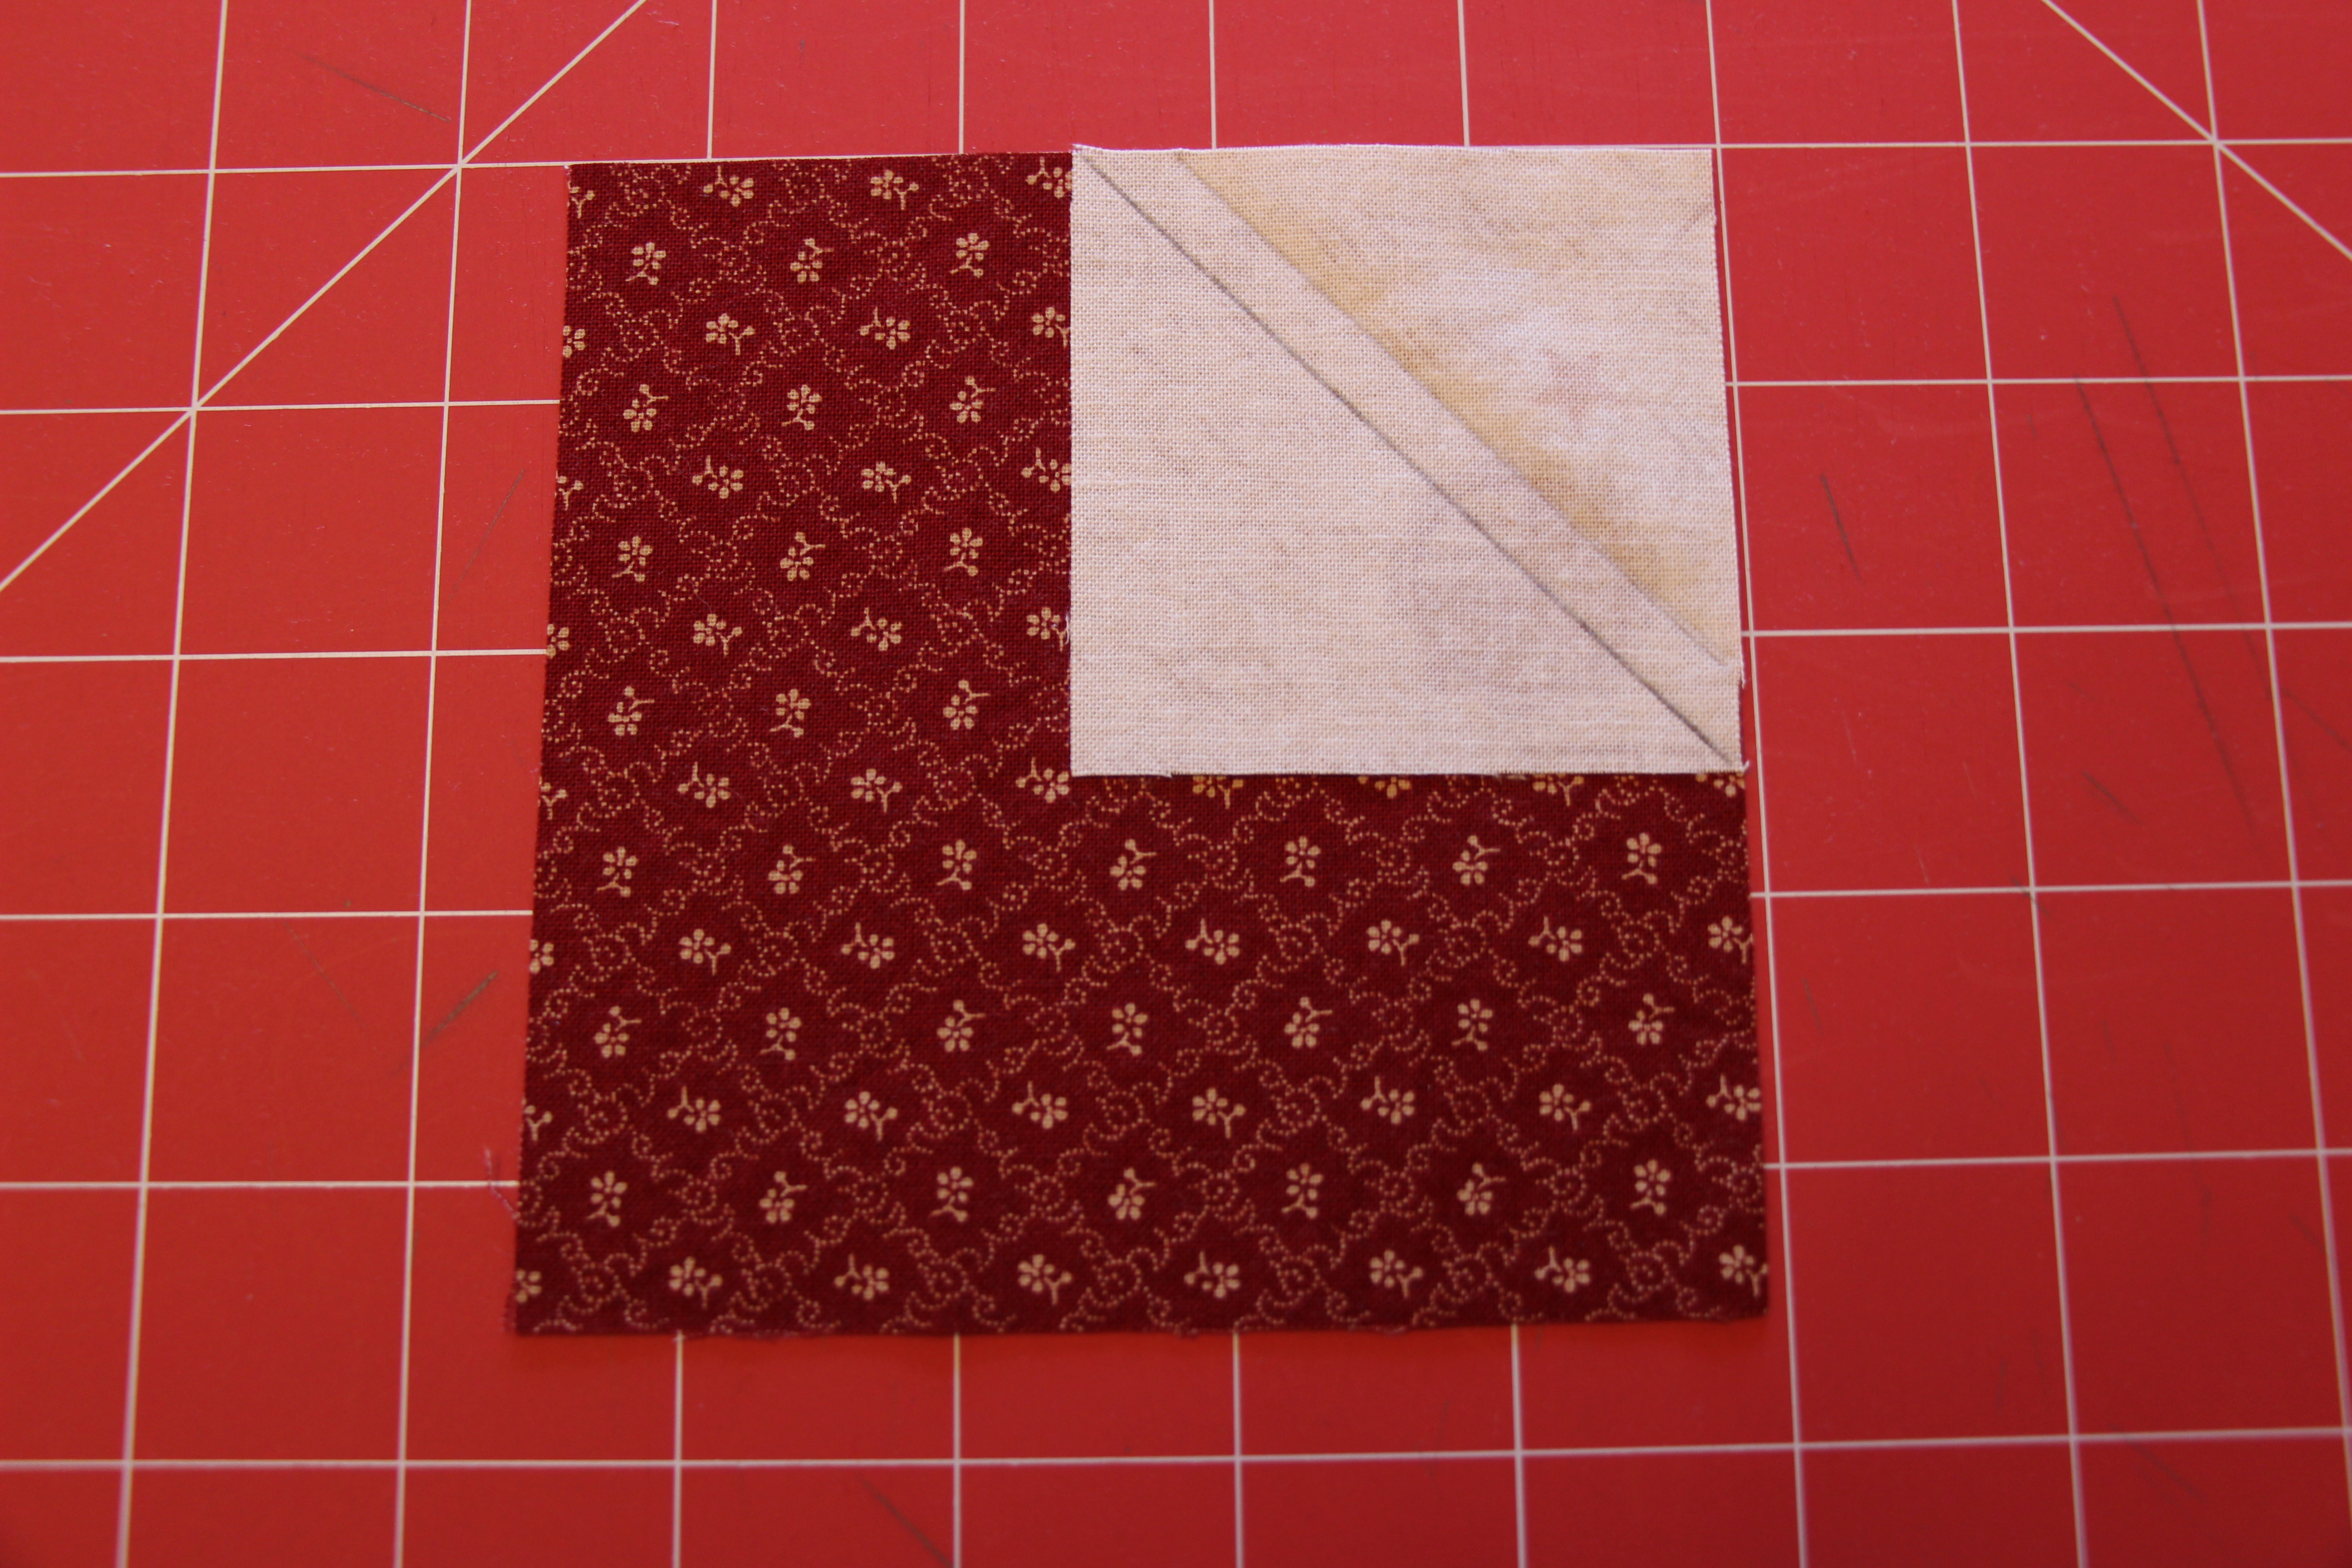
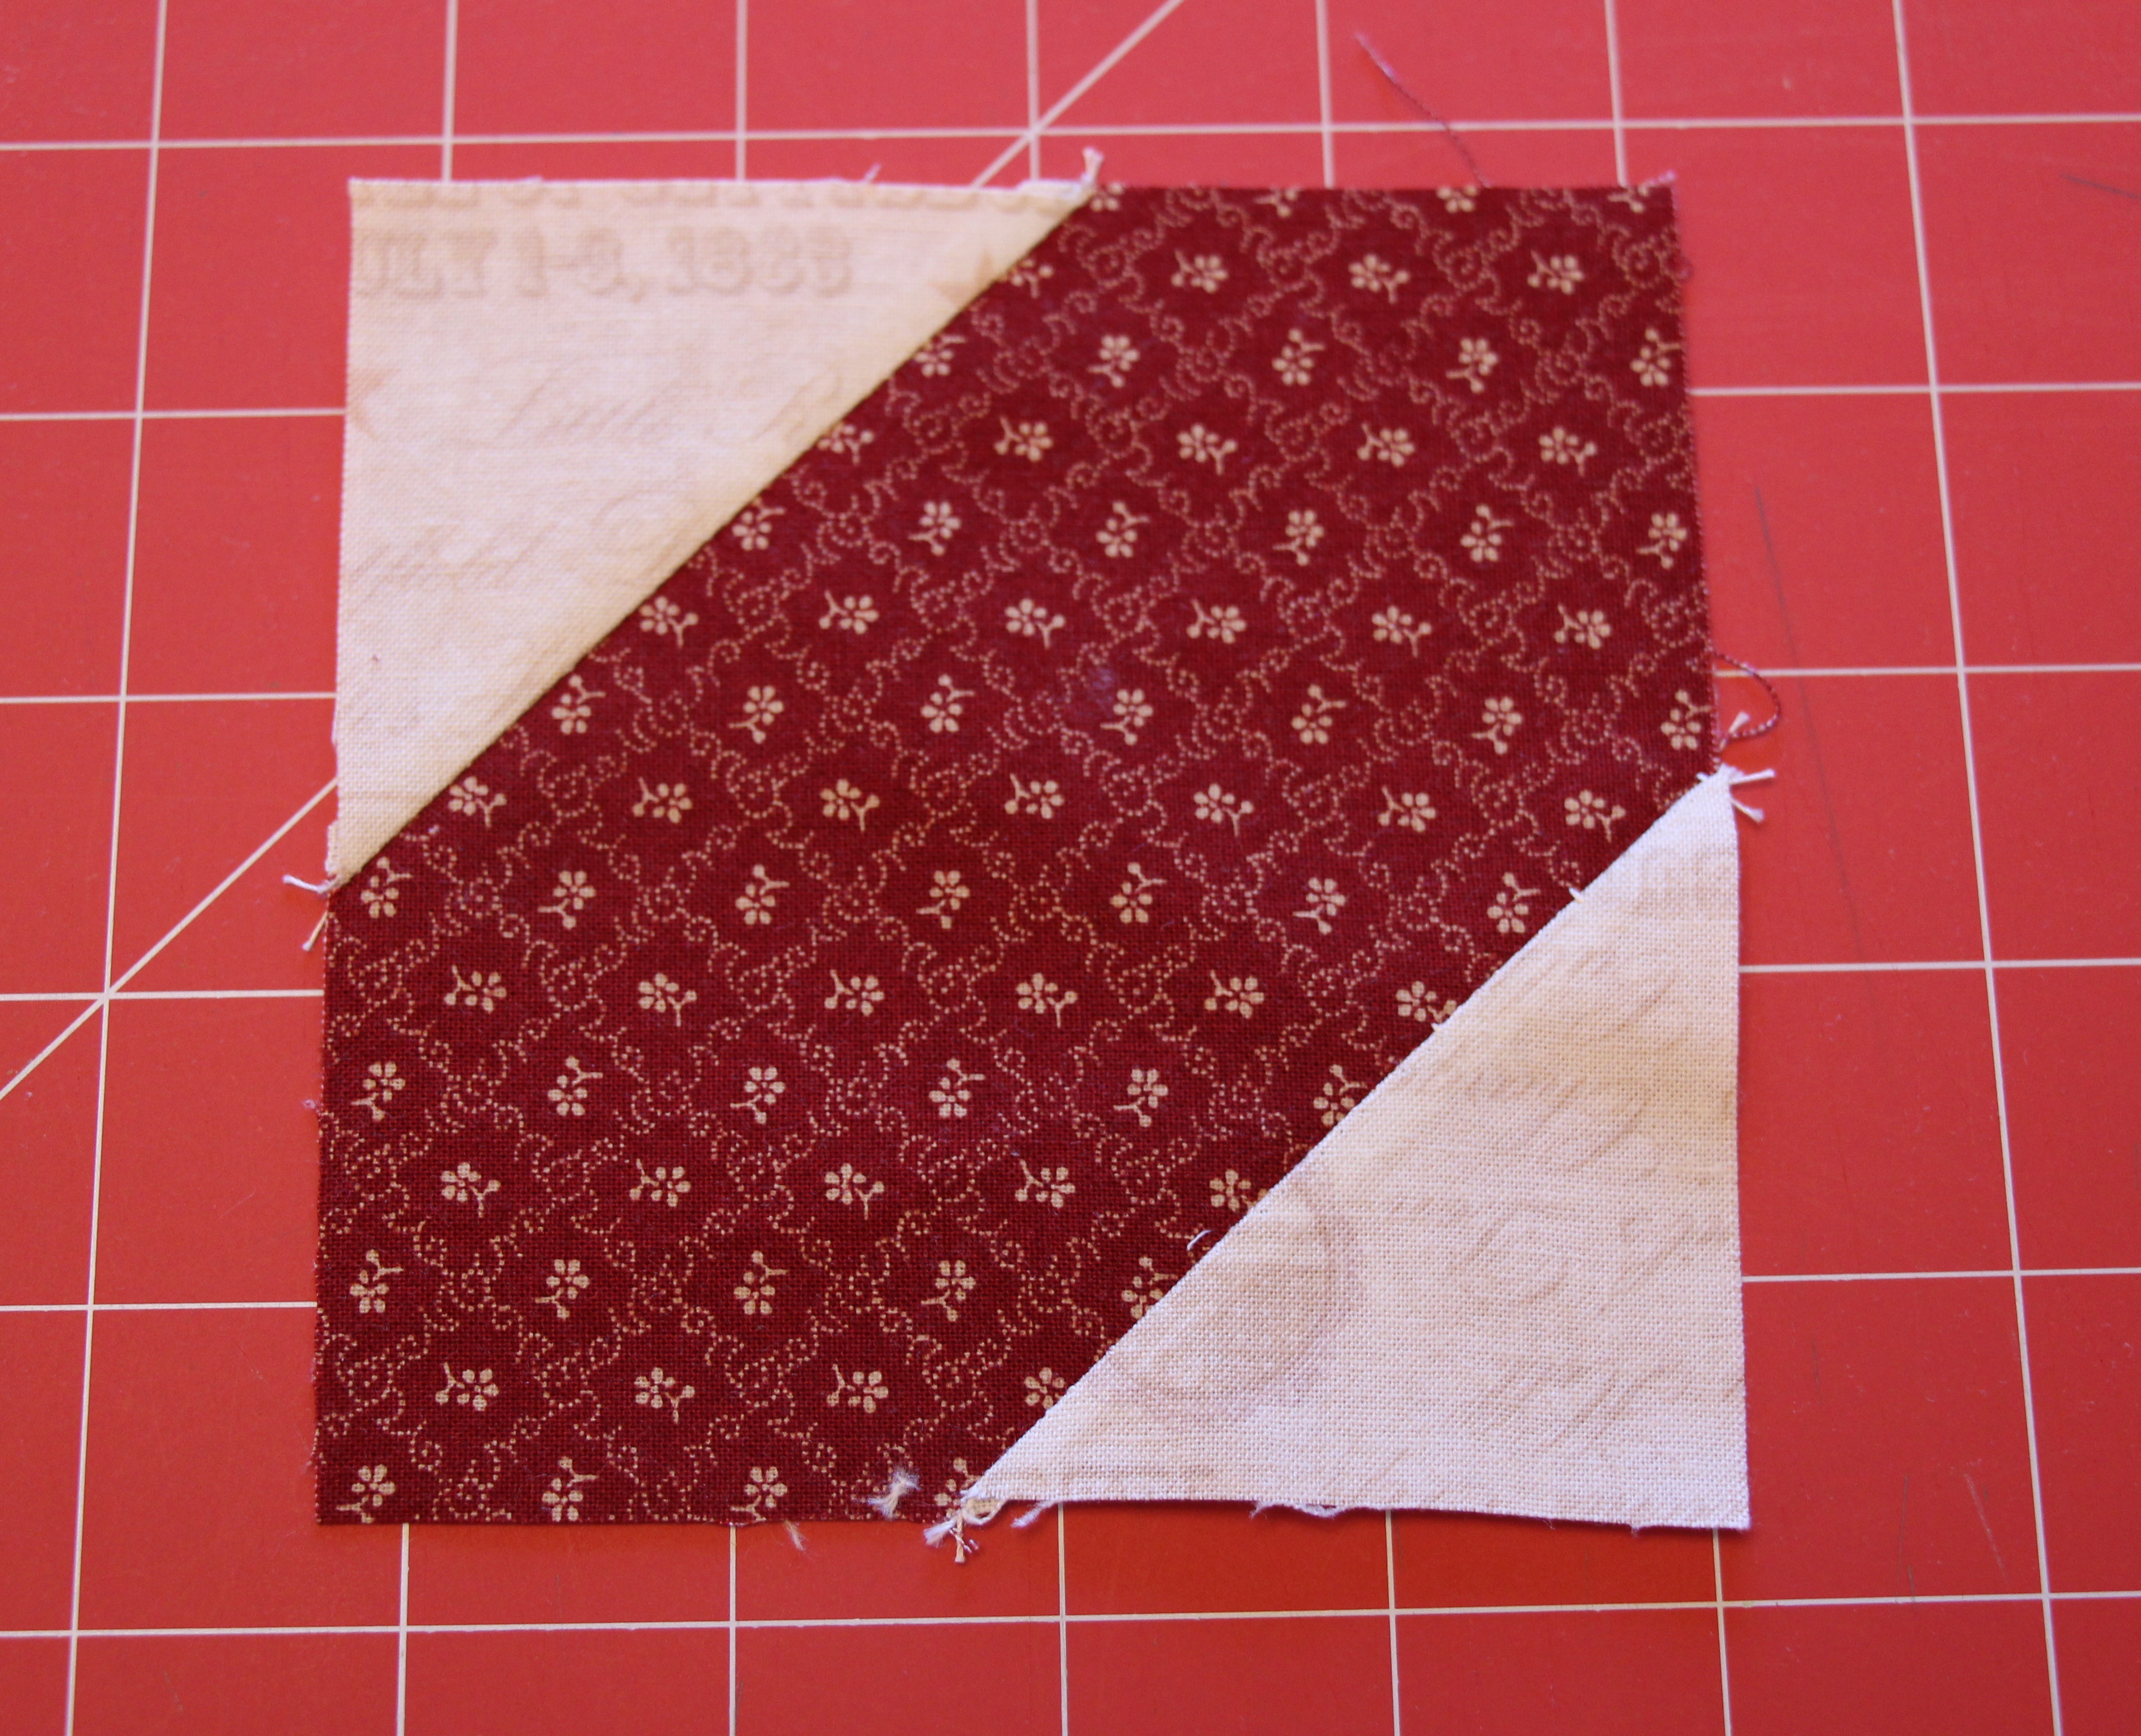
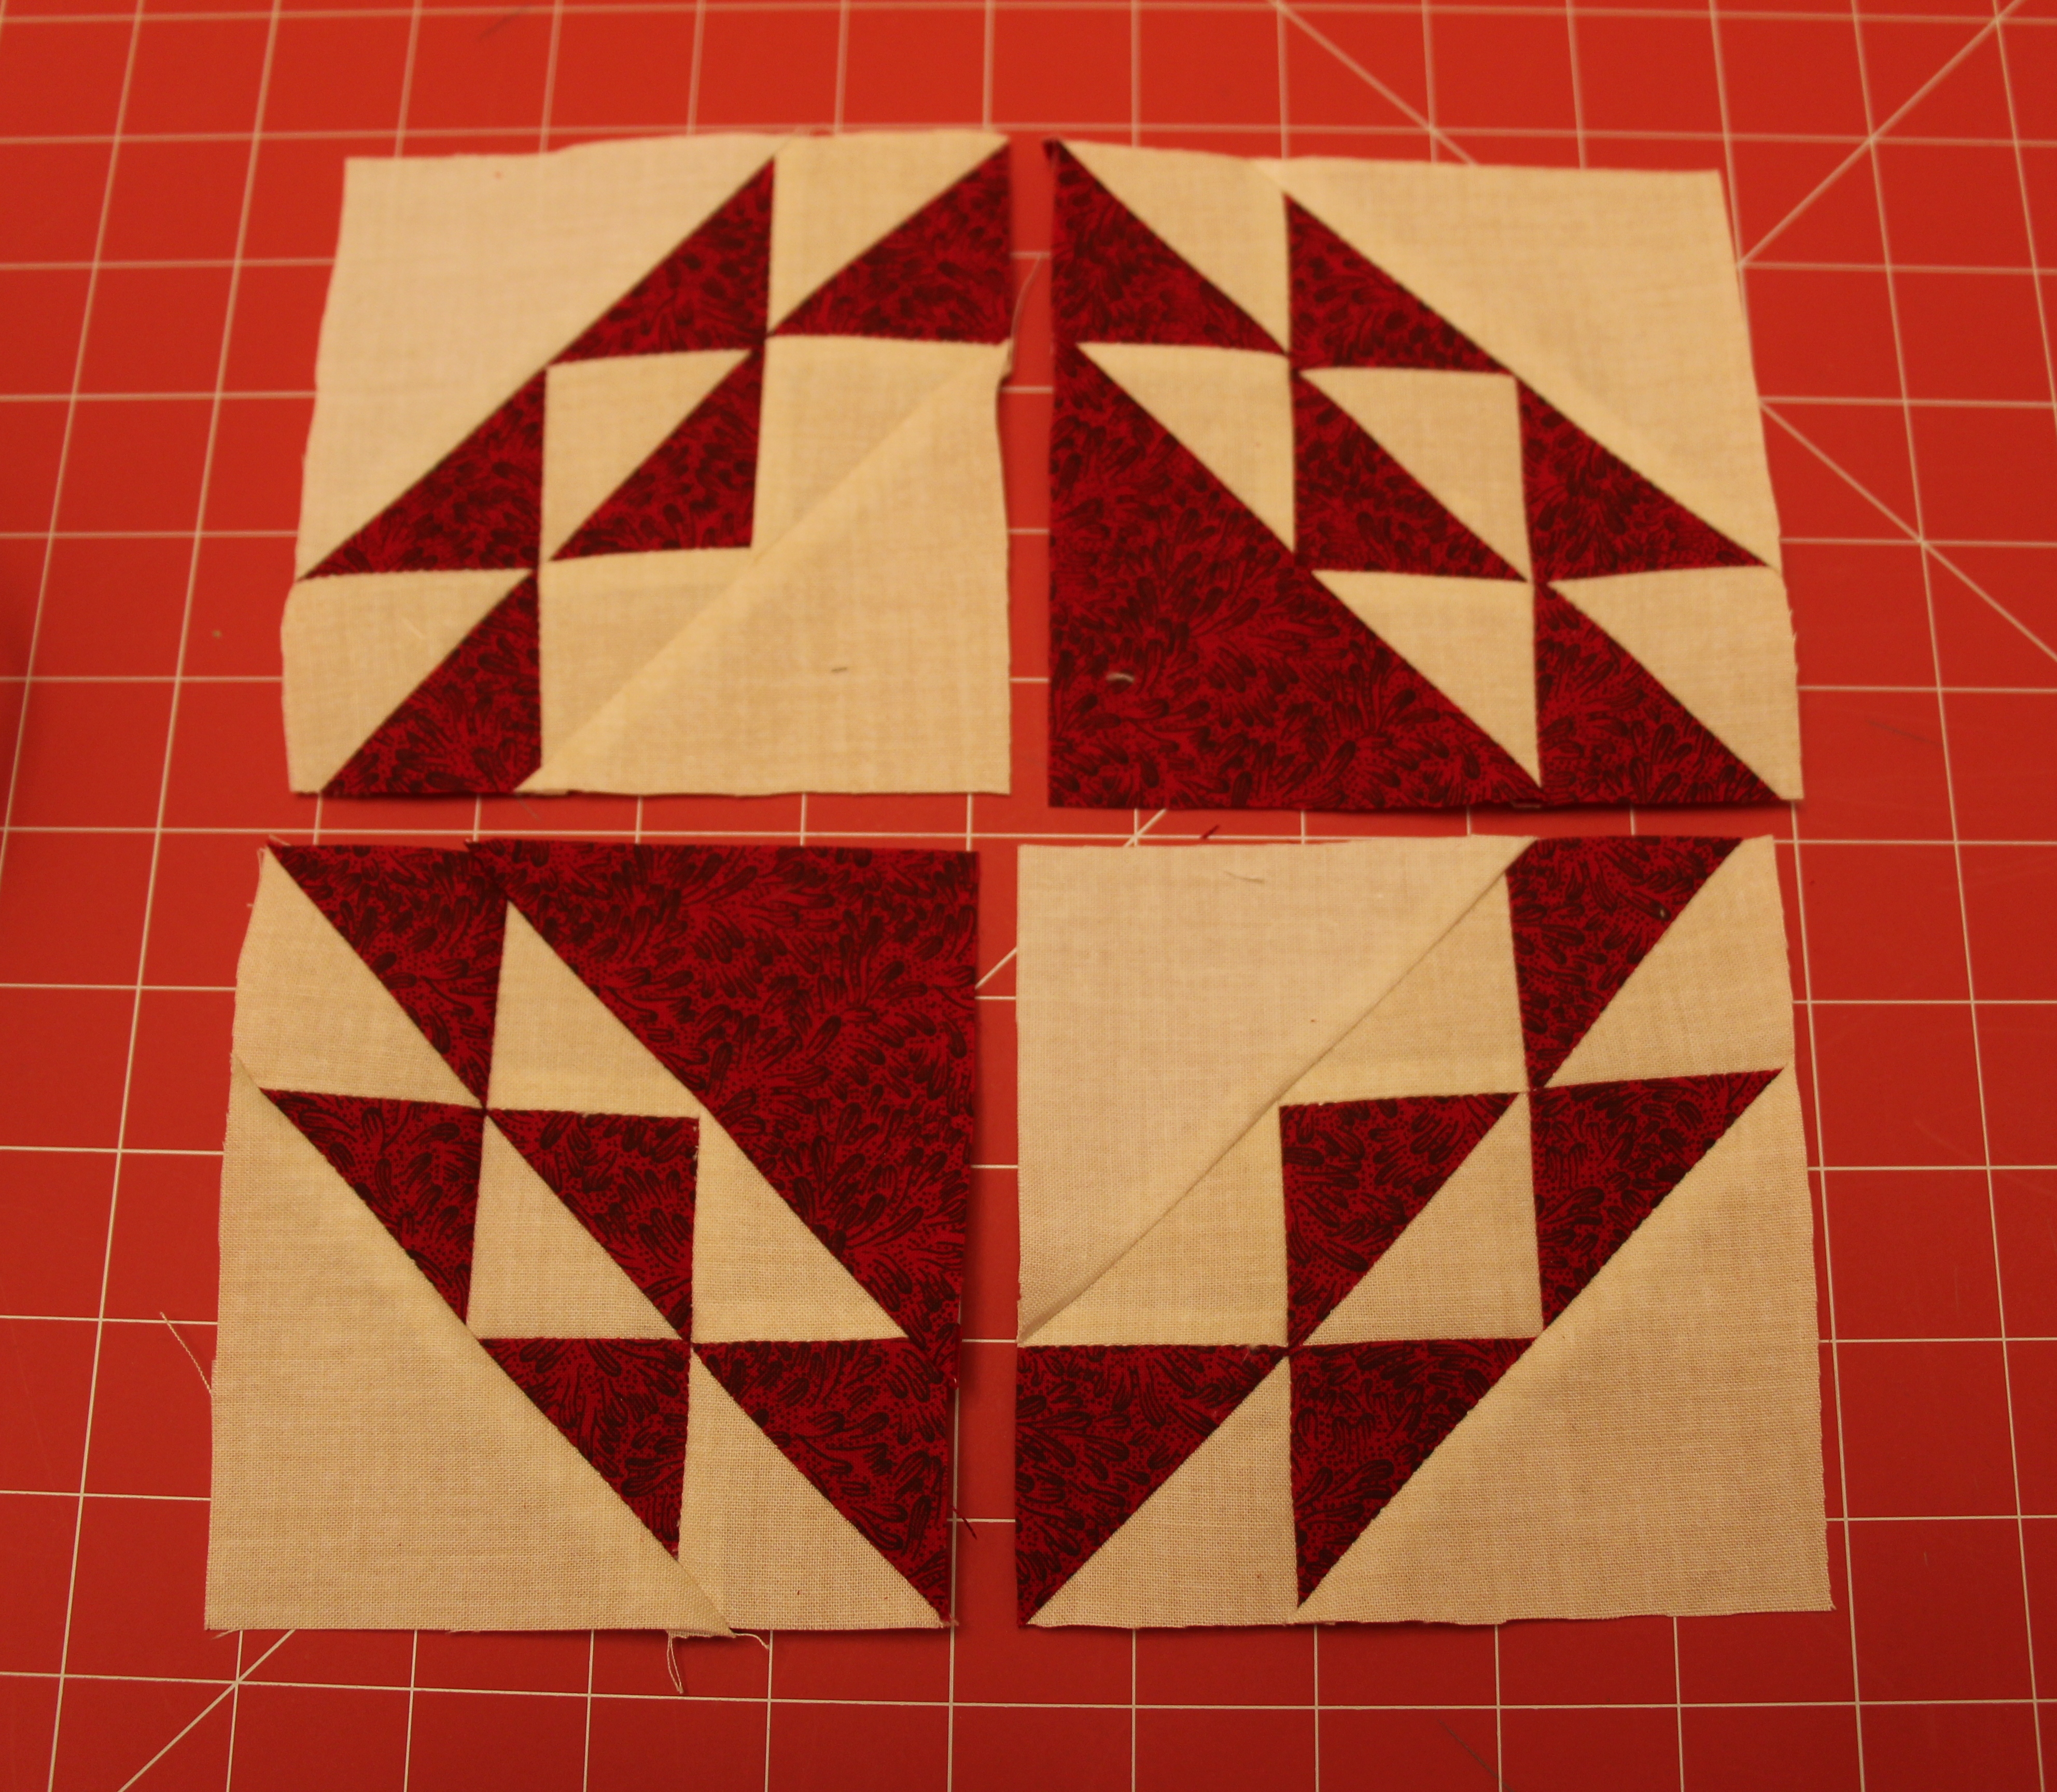
Looking at the top left quadrant, sew a white triangle to the HST:

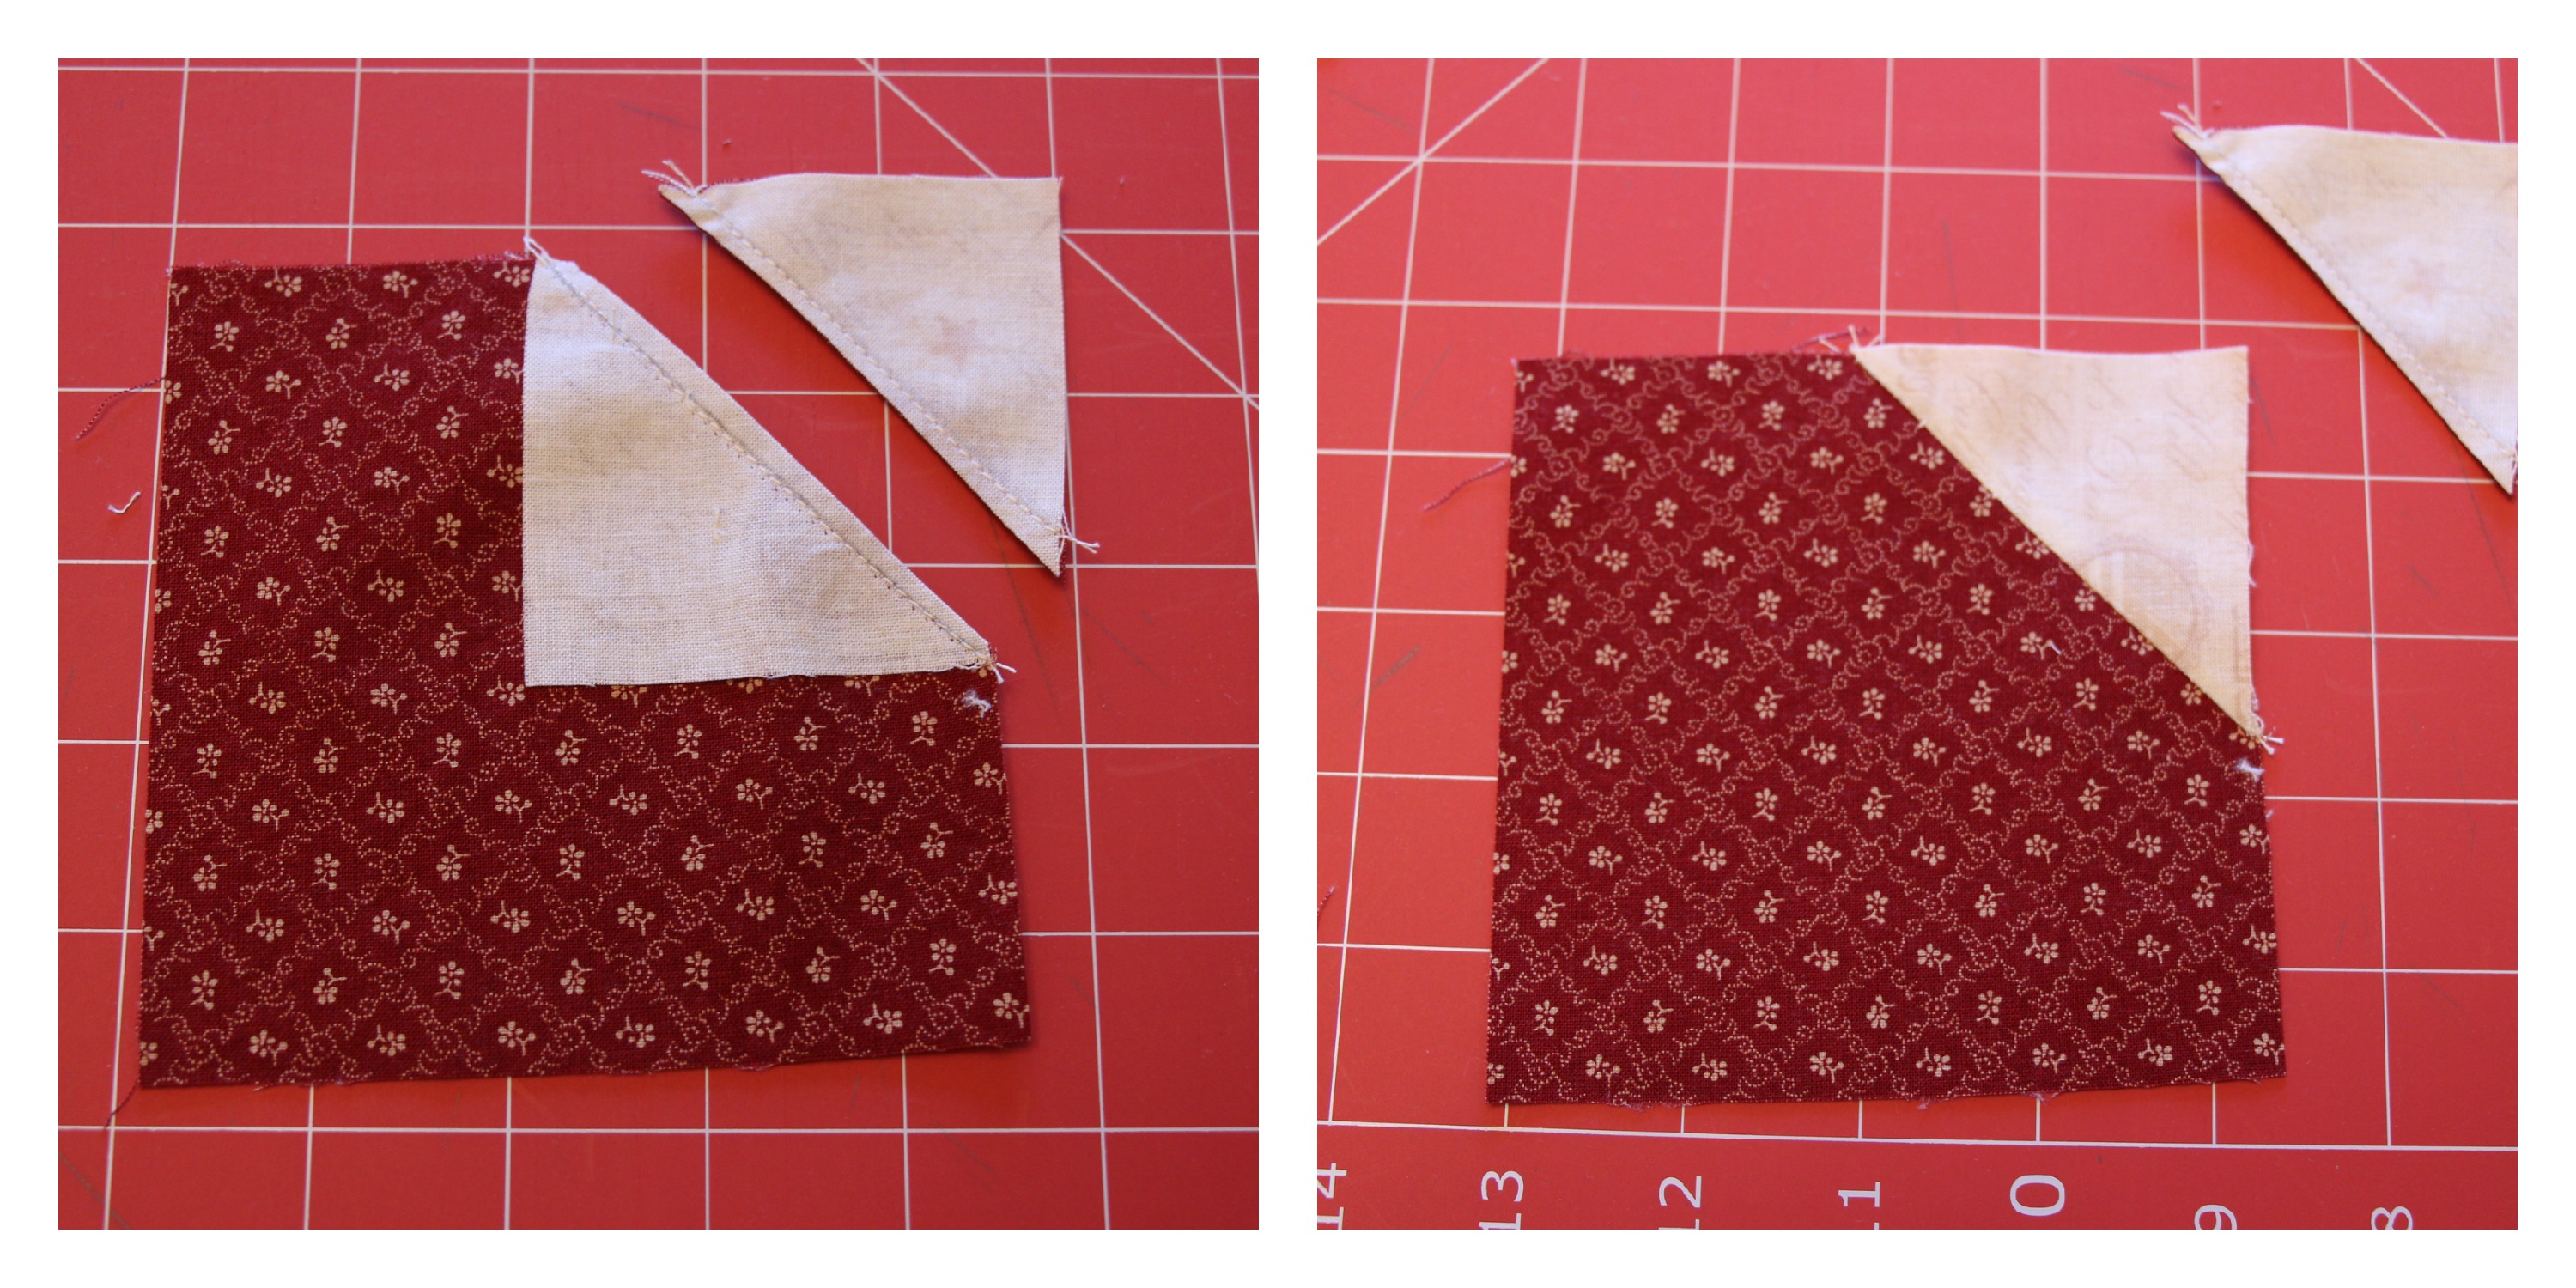
Then sew the other white triangle to the HST:

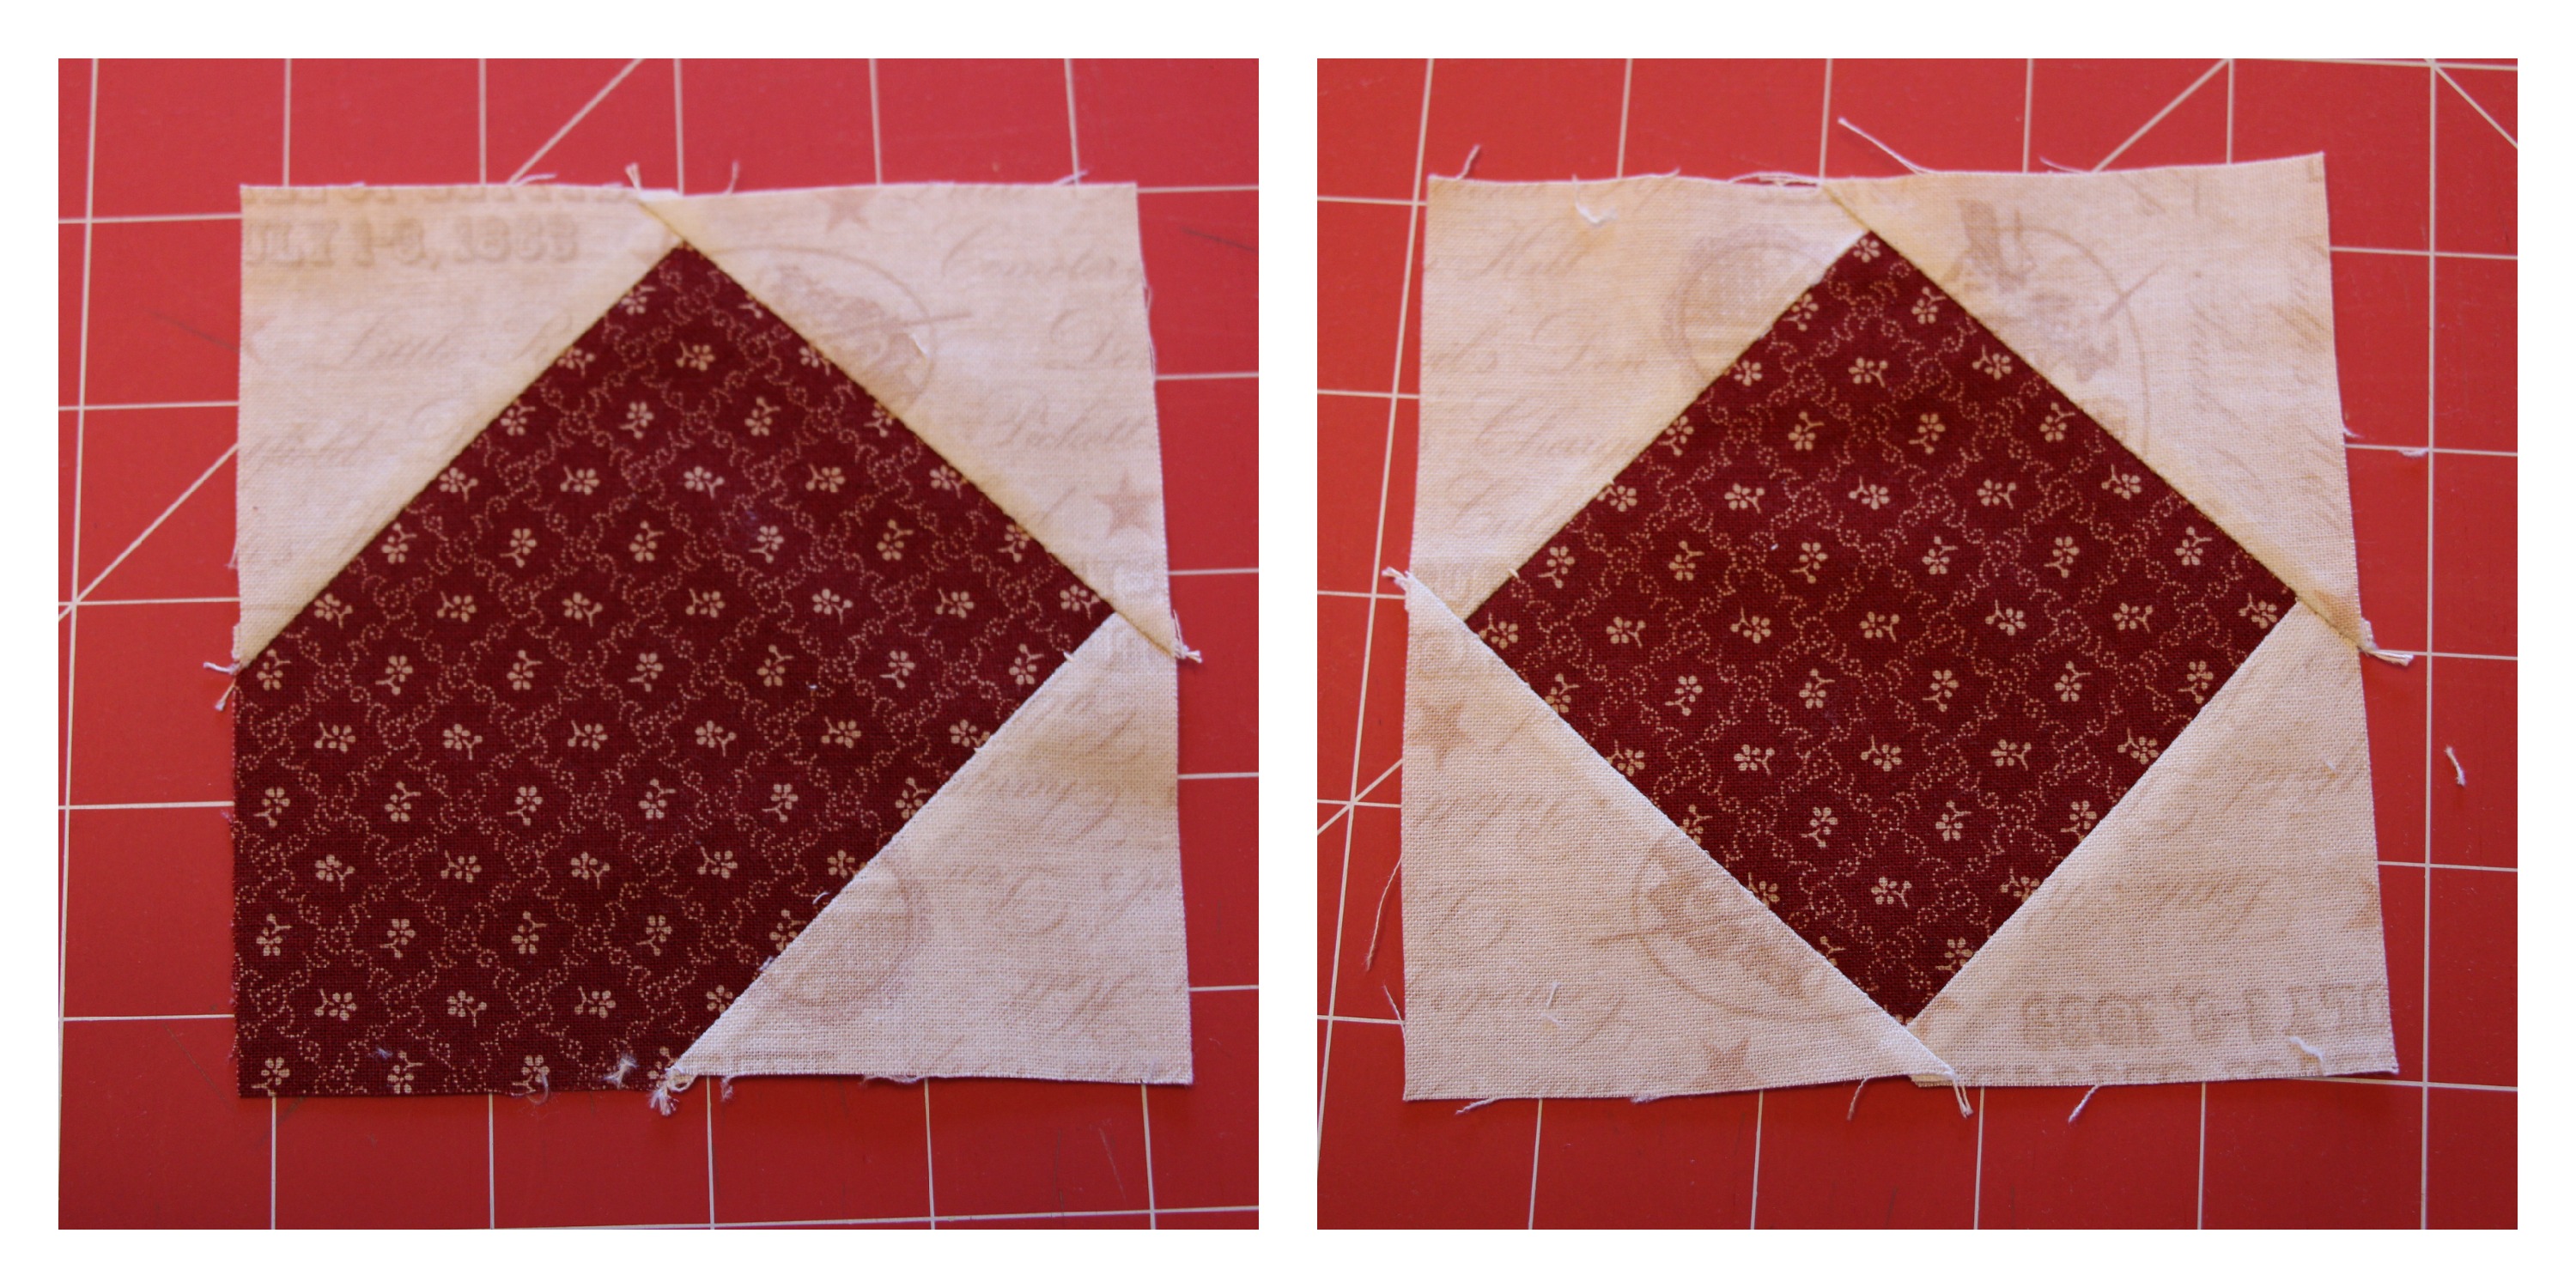
Sew the new triangle to the red triangle. Repeat with the bottom right quadrant.
The remaining two quadrants are four patches, sew accordingly.
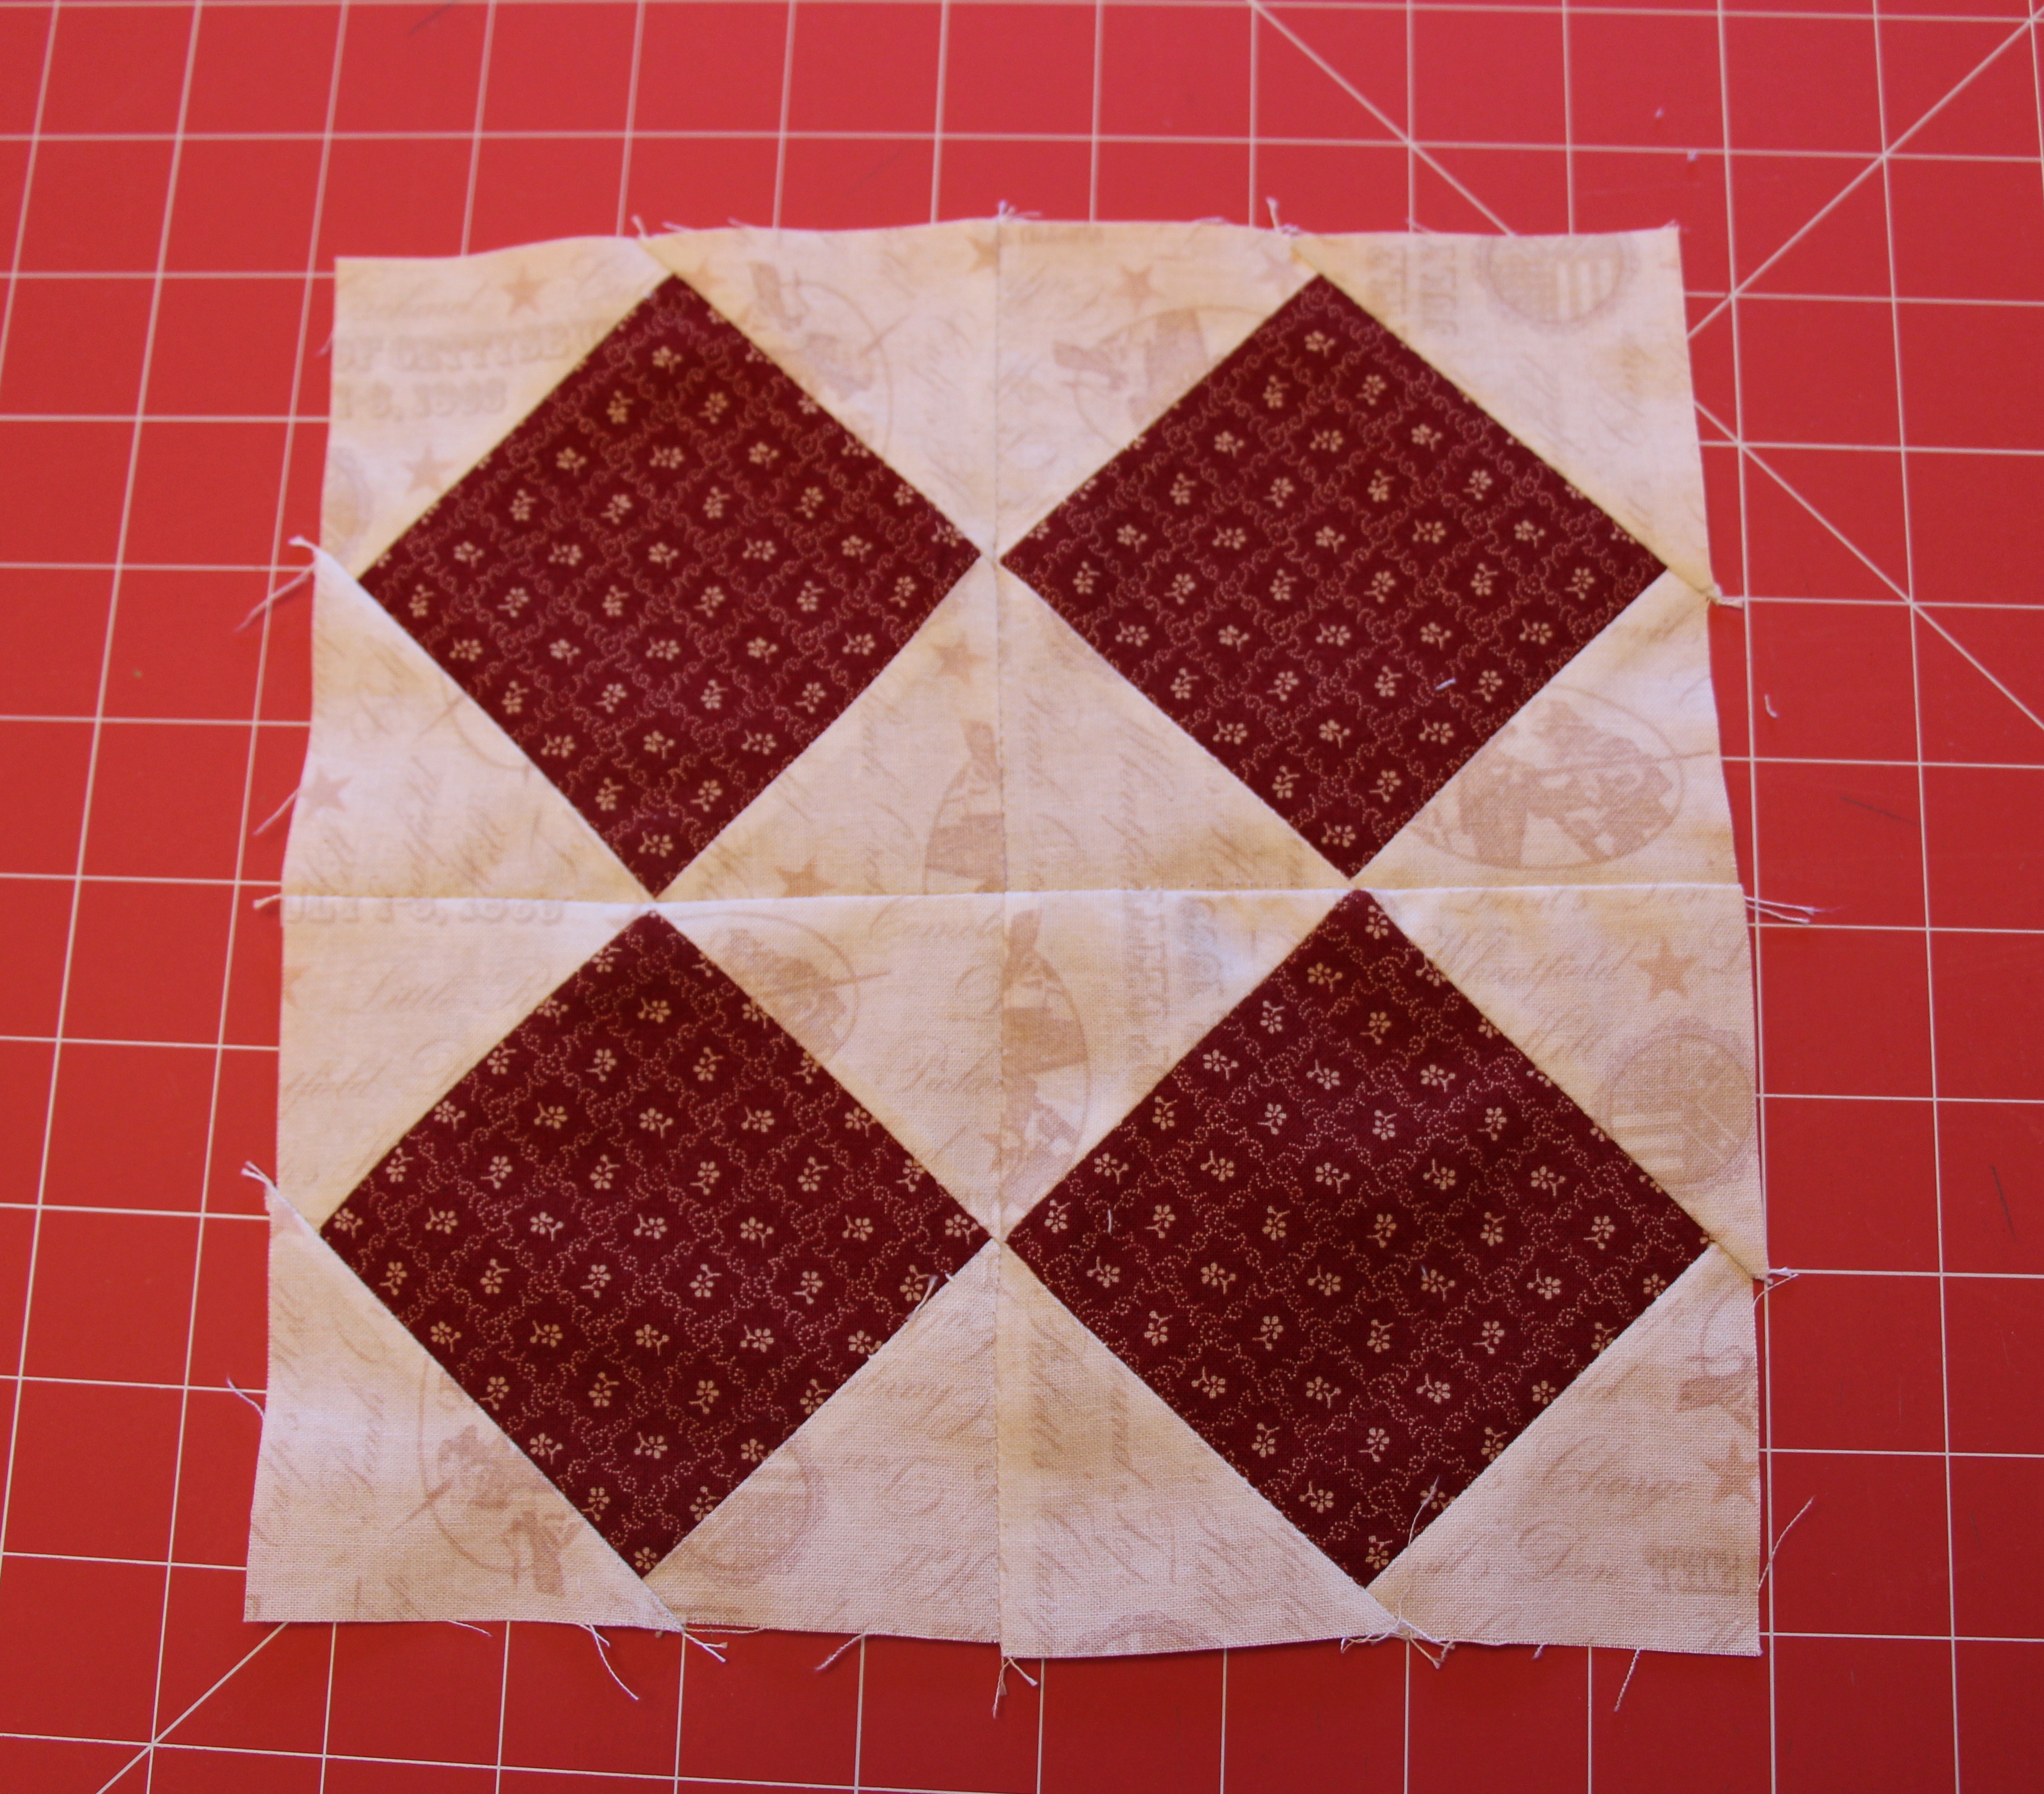
You now have a four patch ready to assemble: