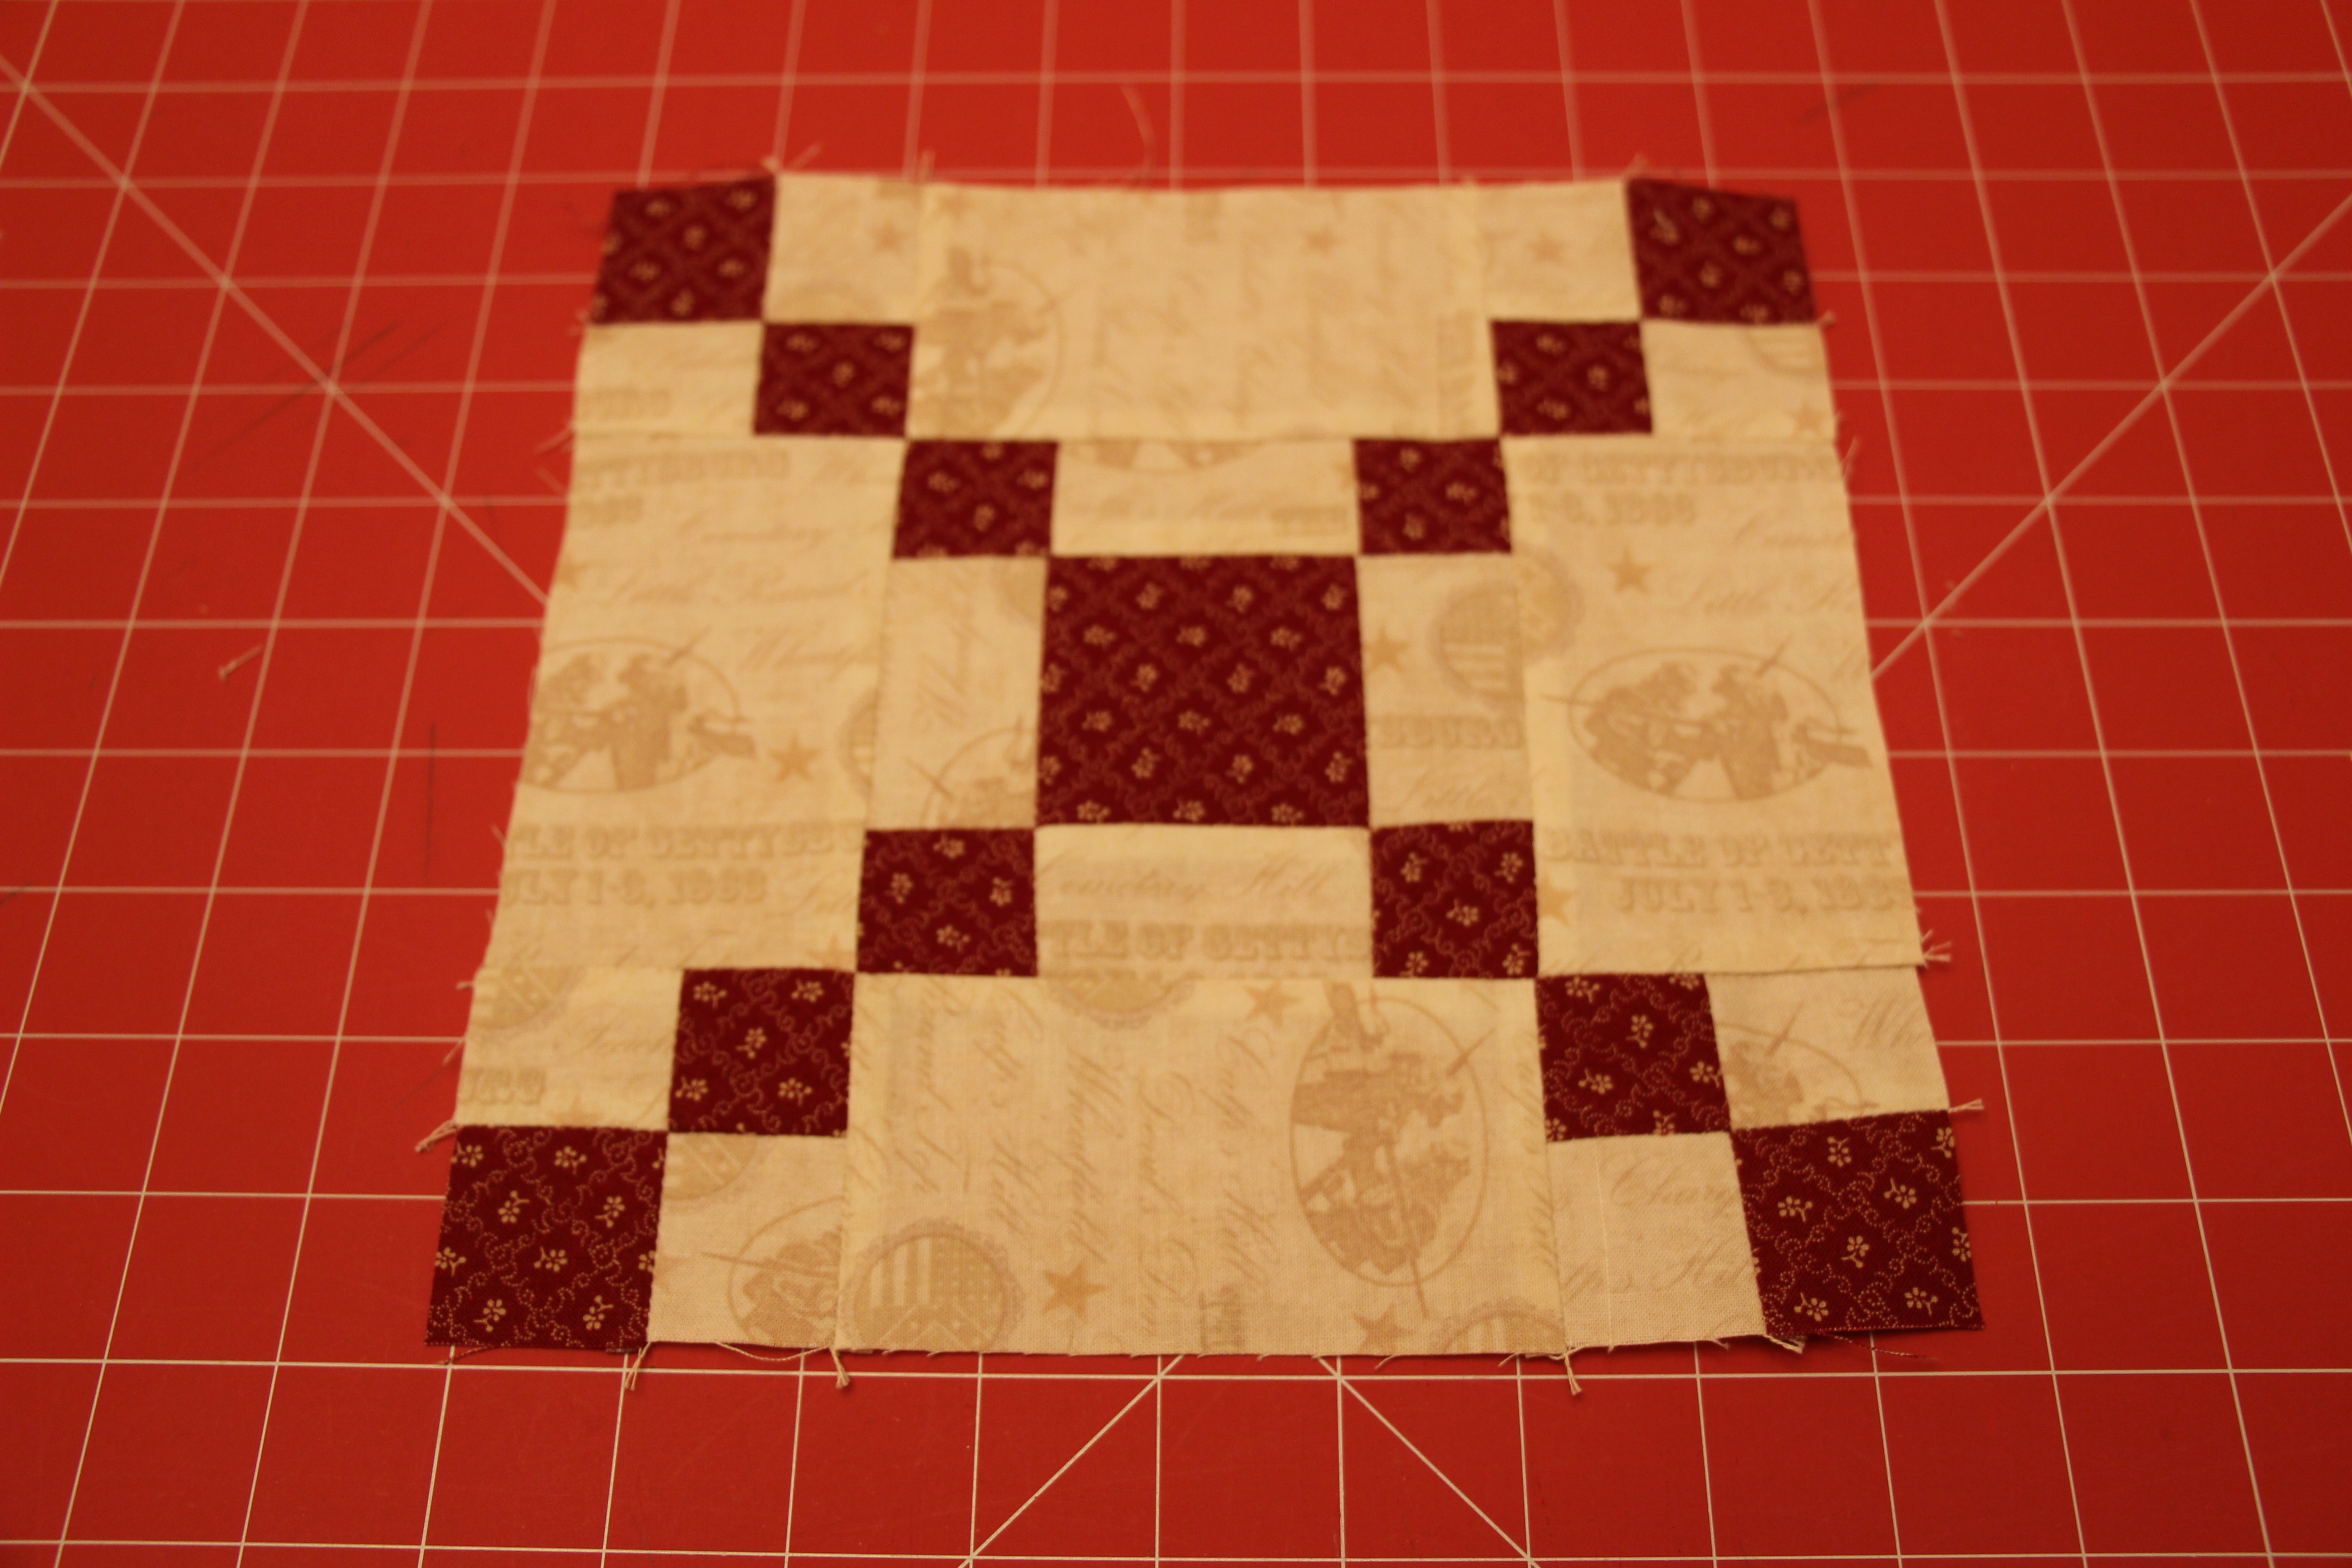
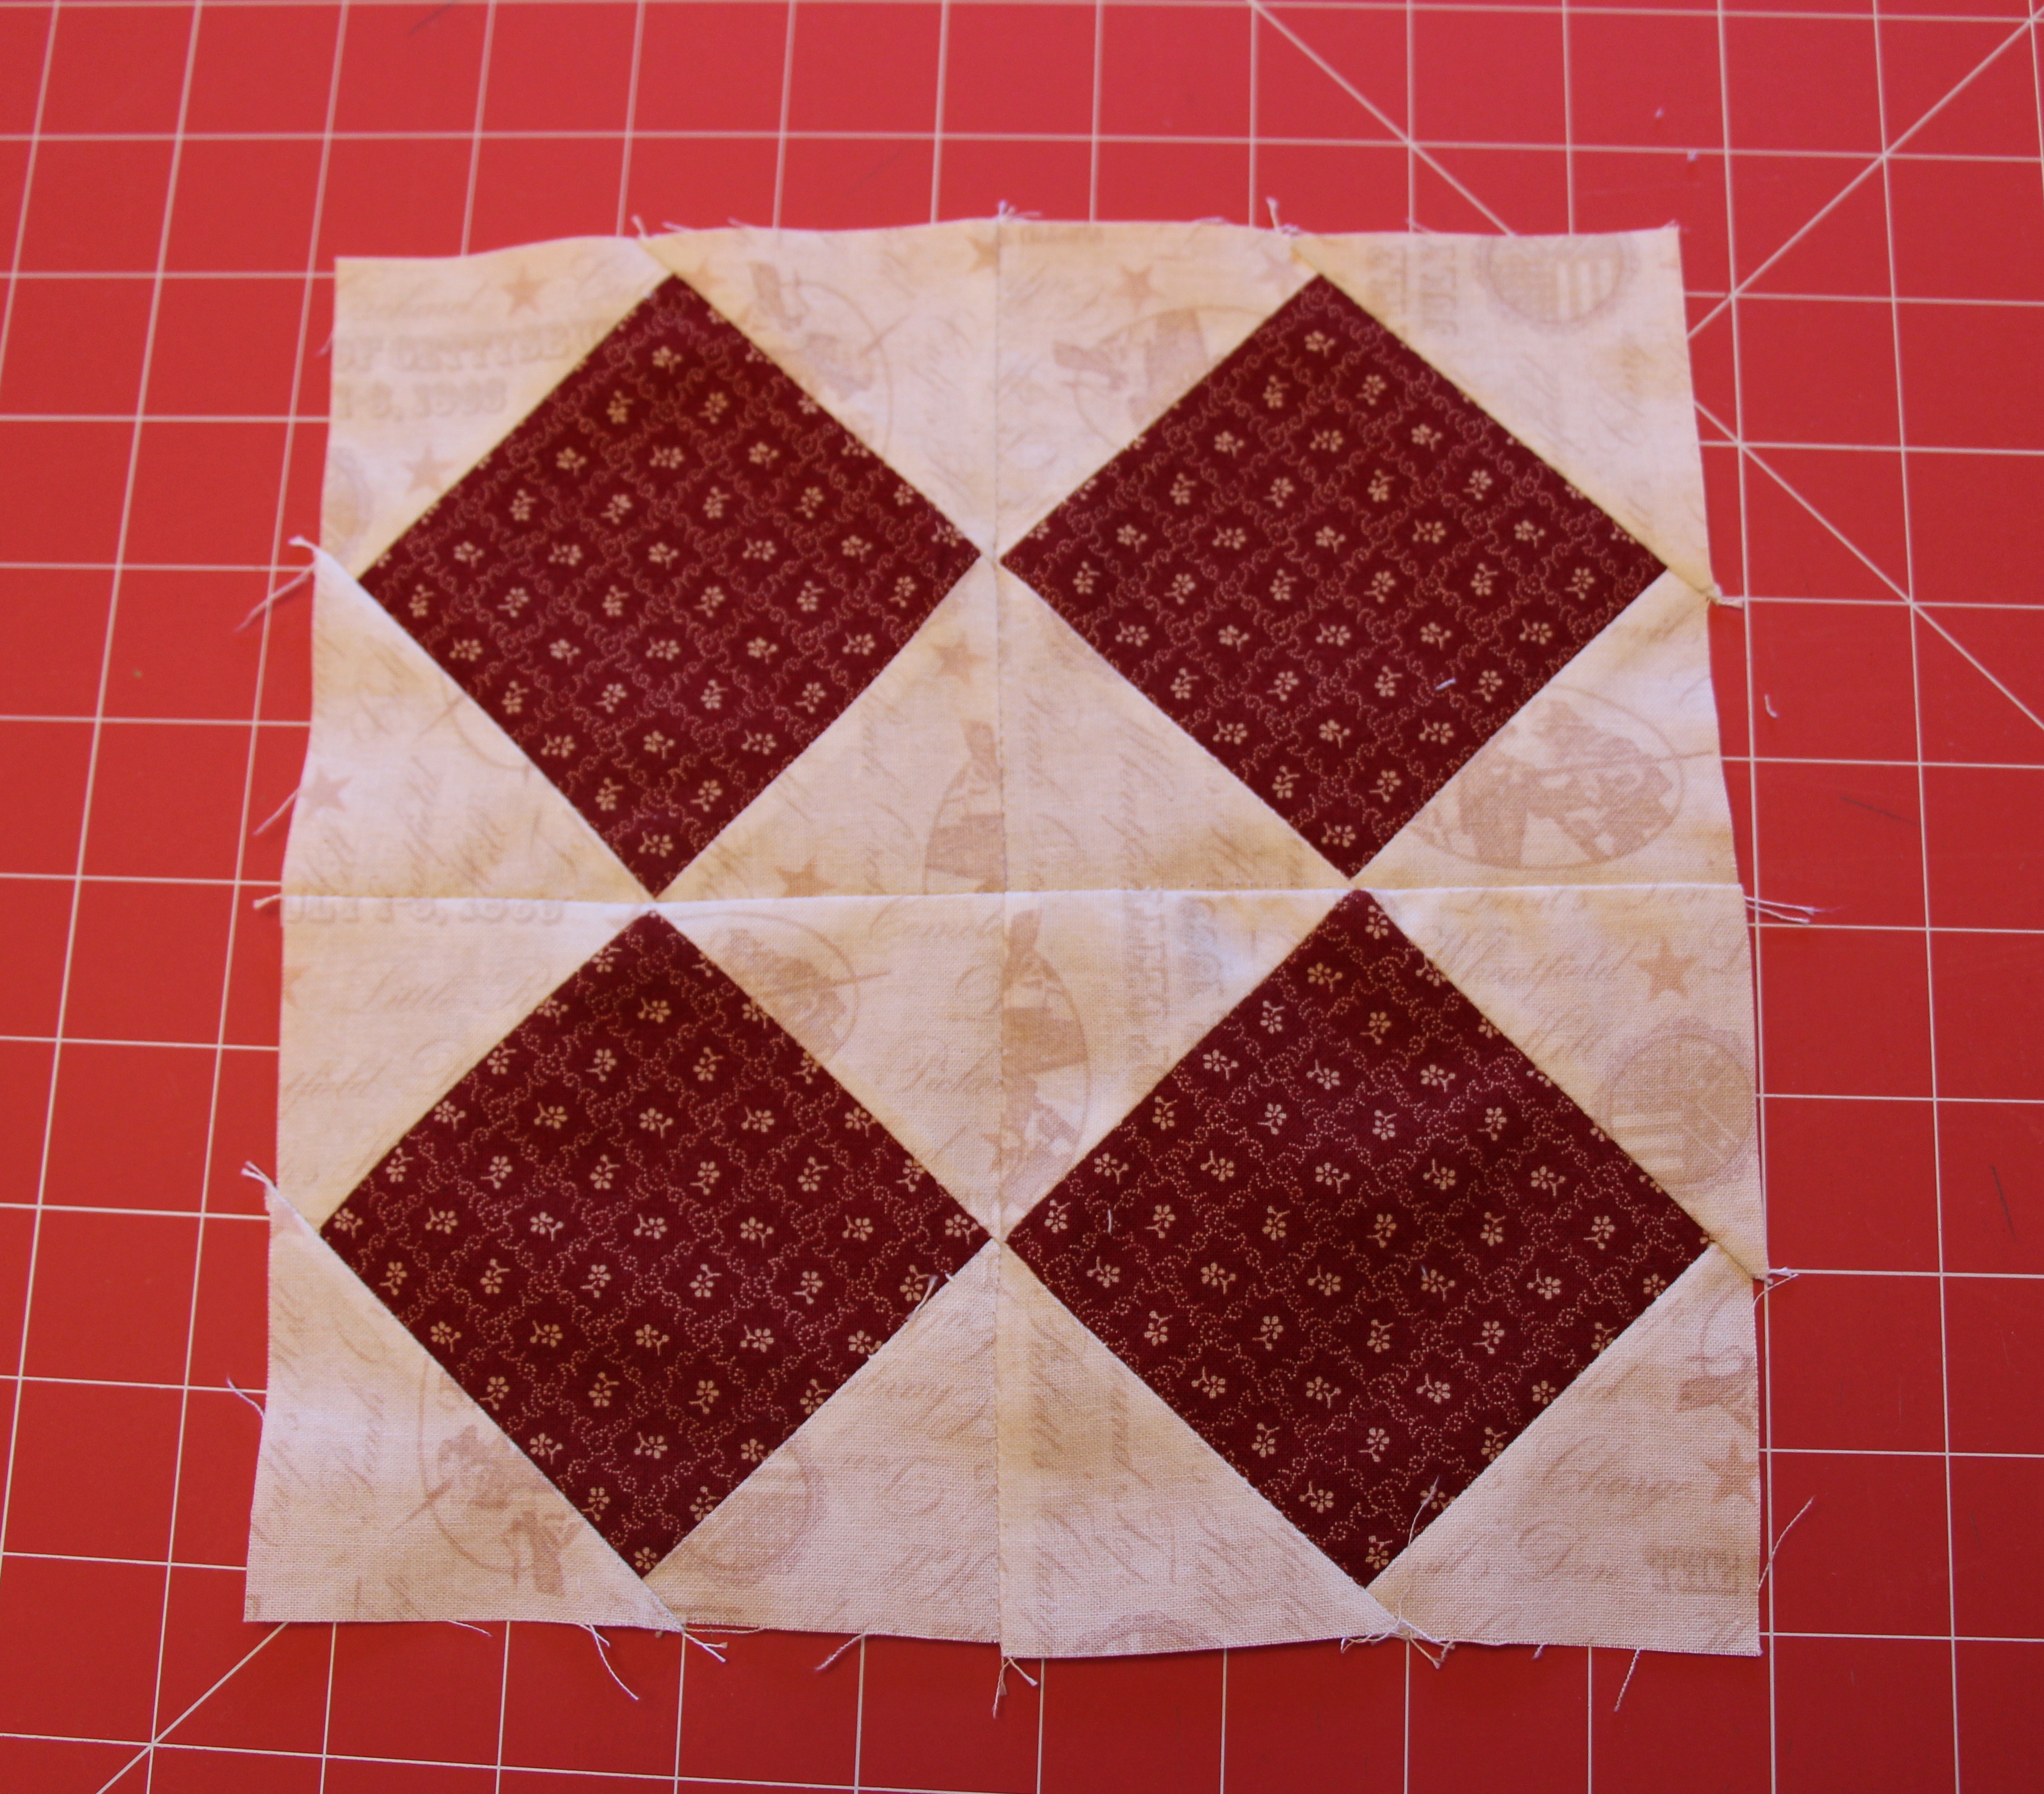
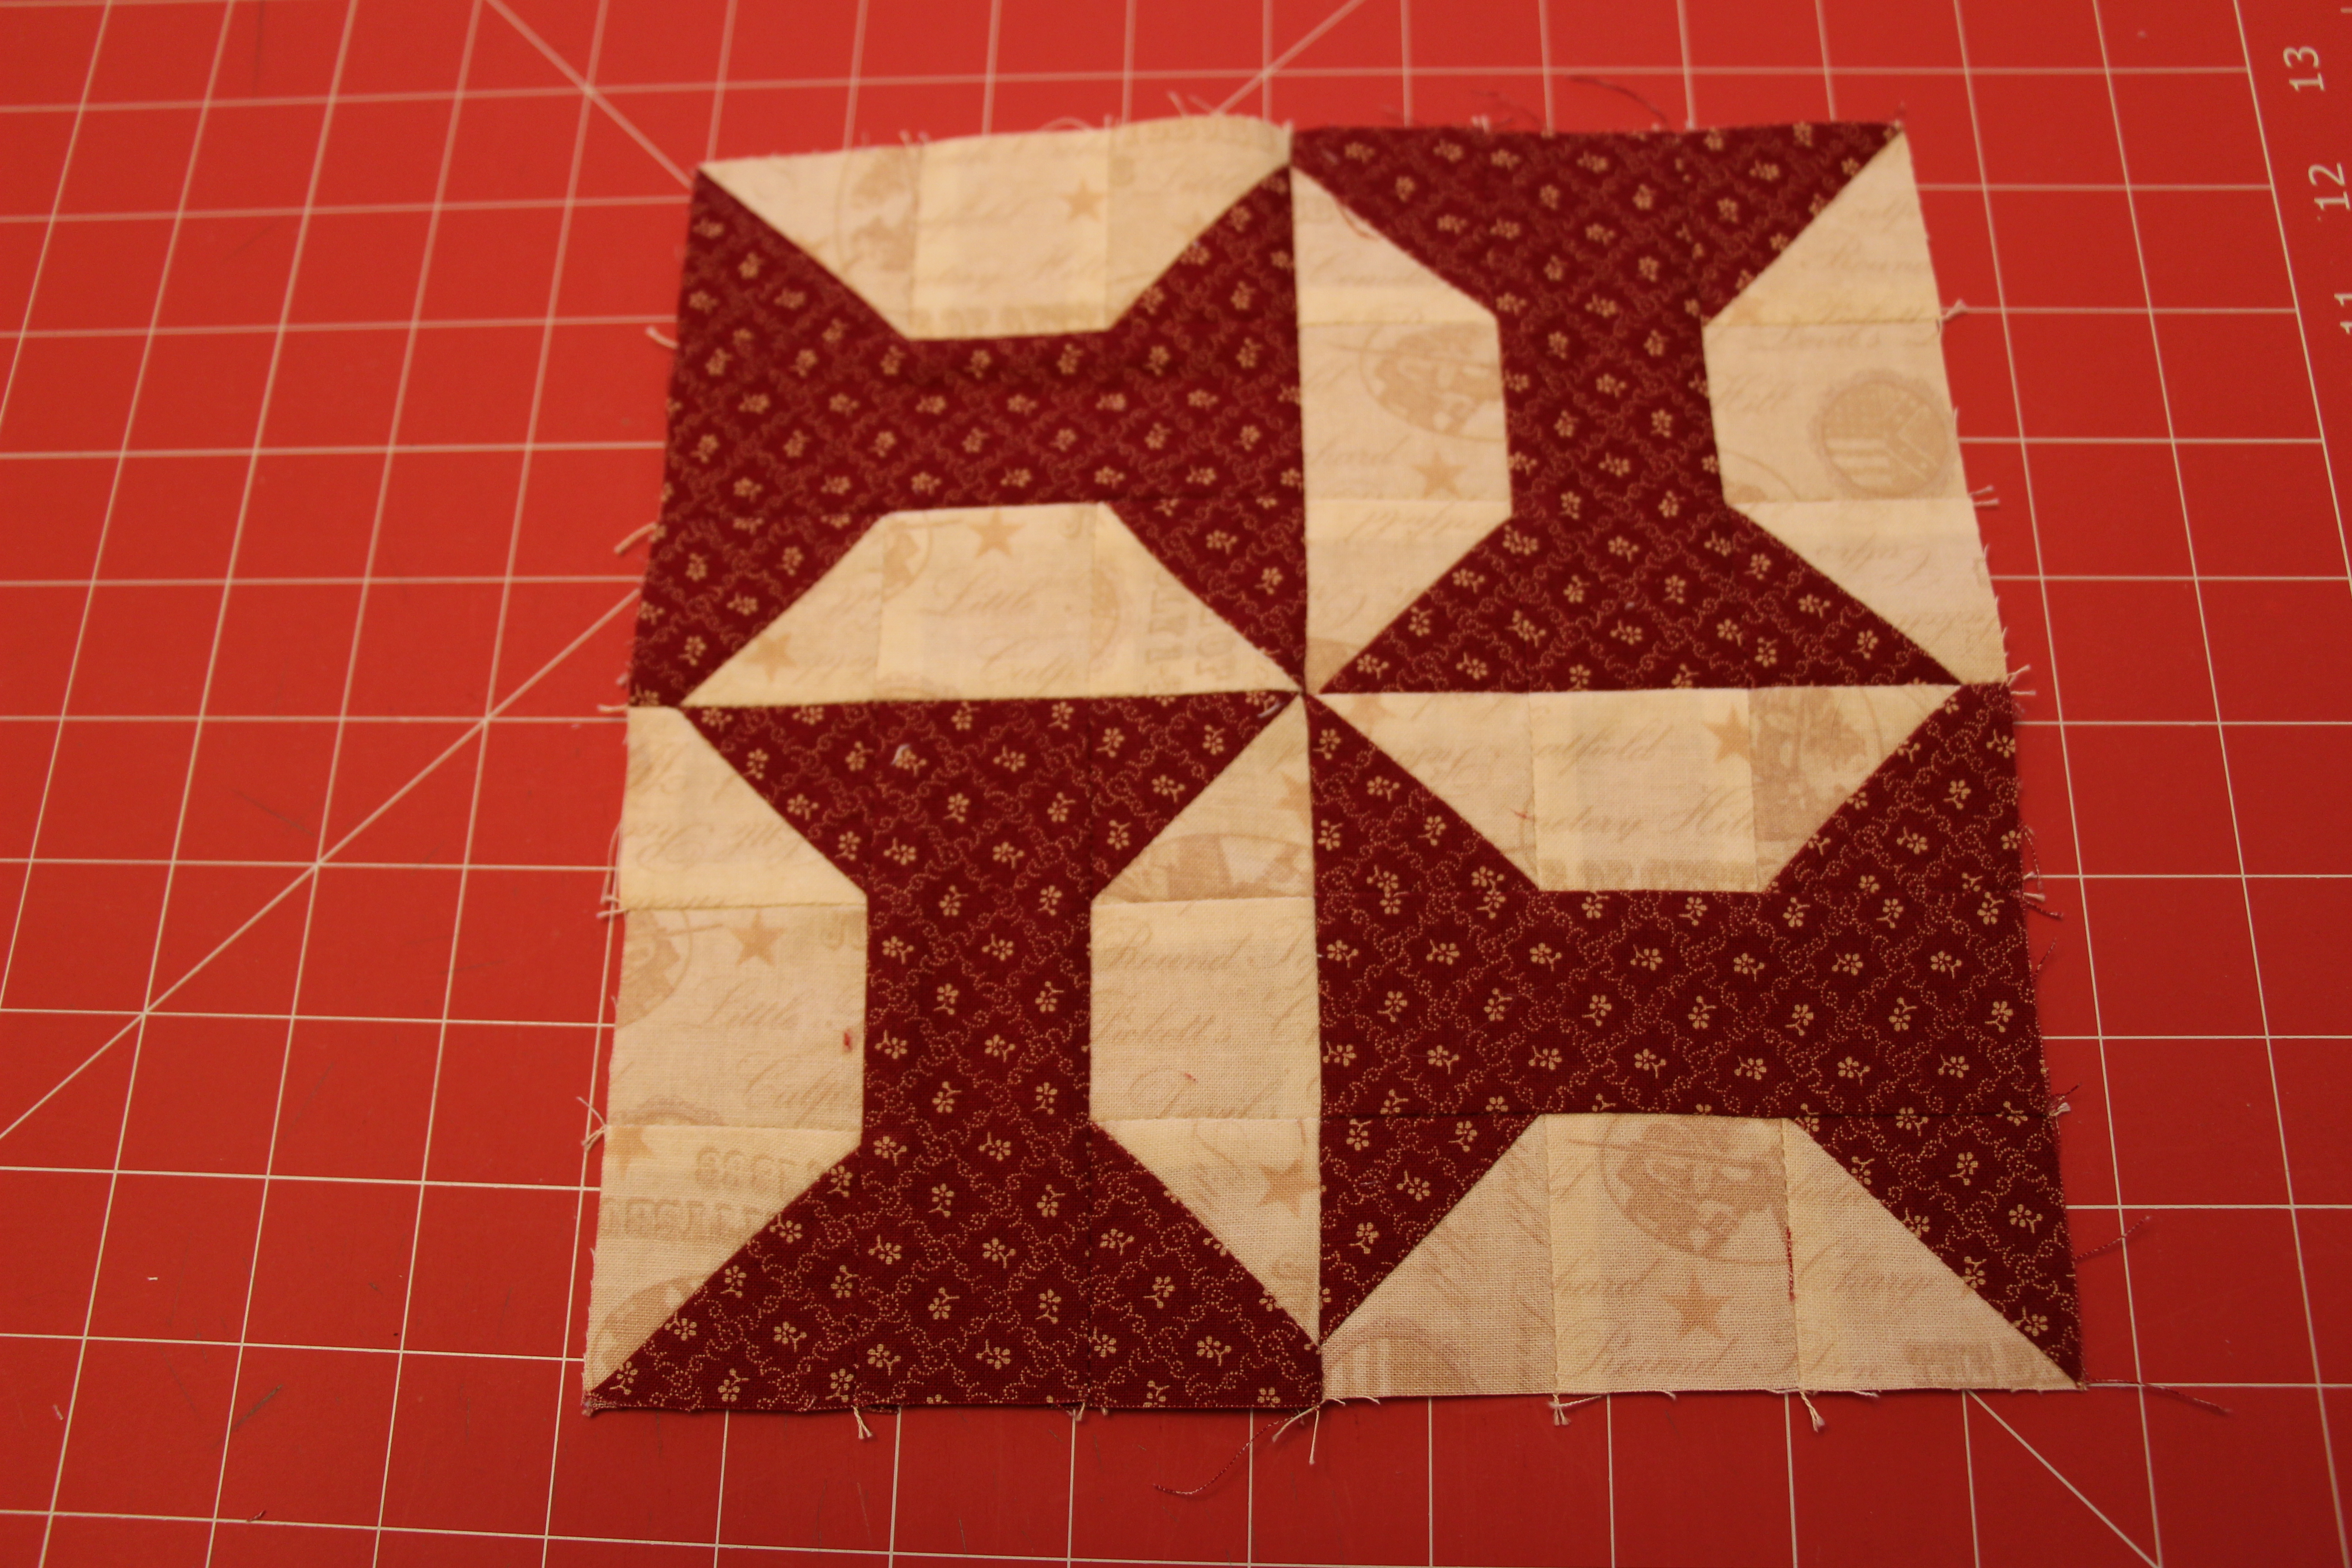
Flying Geese, just like Half Square Triangles (HSTs) are very versatile. Some people create entire quilts of Flying Geese, they look great strung together and used as the border of a project, and they can be arranged in an endless amount of combinations to make individual blocks.
An added benefit of making Flying Geese is that each “goose” creates two bonus HSTs! The size of your Flying Geese might influence your decision in if you want to take the extra steps to get that bonus block. Because I made small 4″ finished Flying Geese for my 8″ finished block within Old Glory I knew that very small HSTs would come in handy with other blocks in the sampler quilt!
Here is the how-to for Flying Geese:
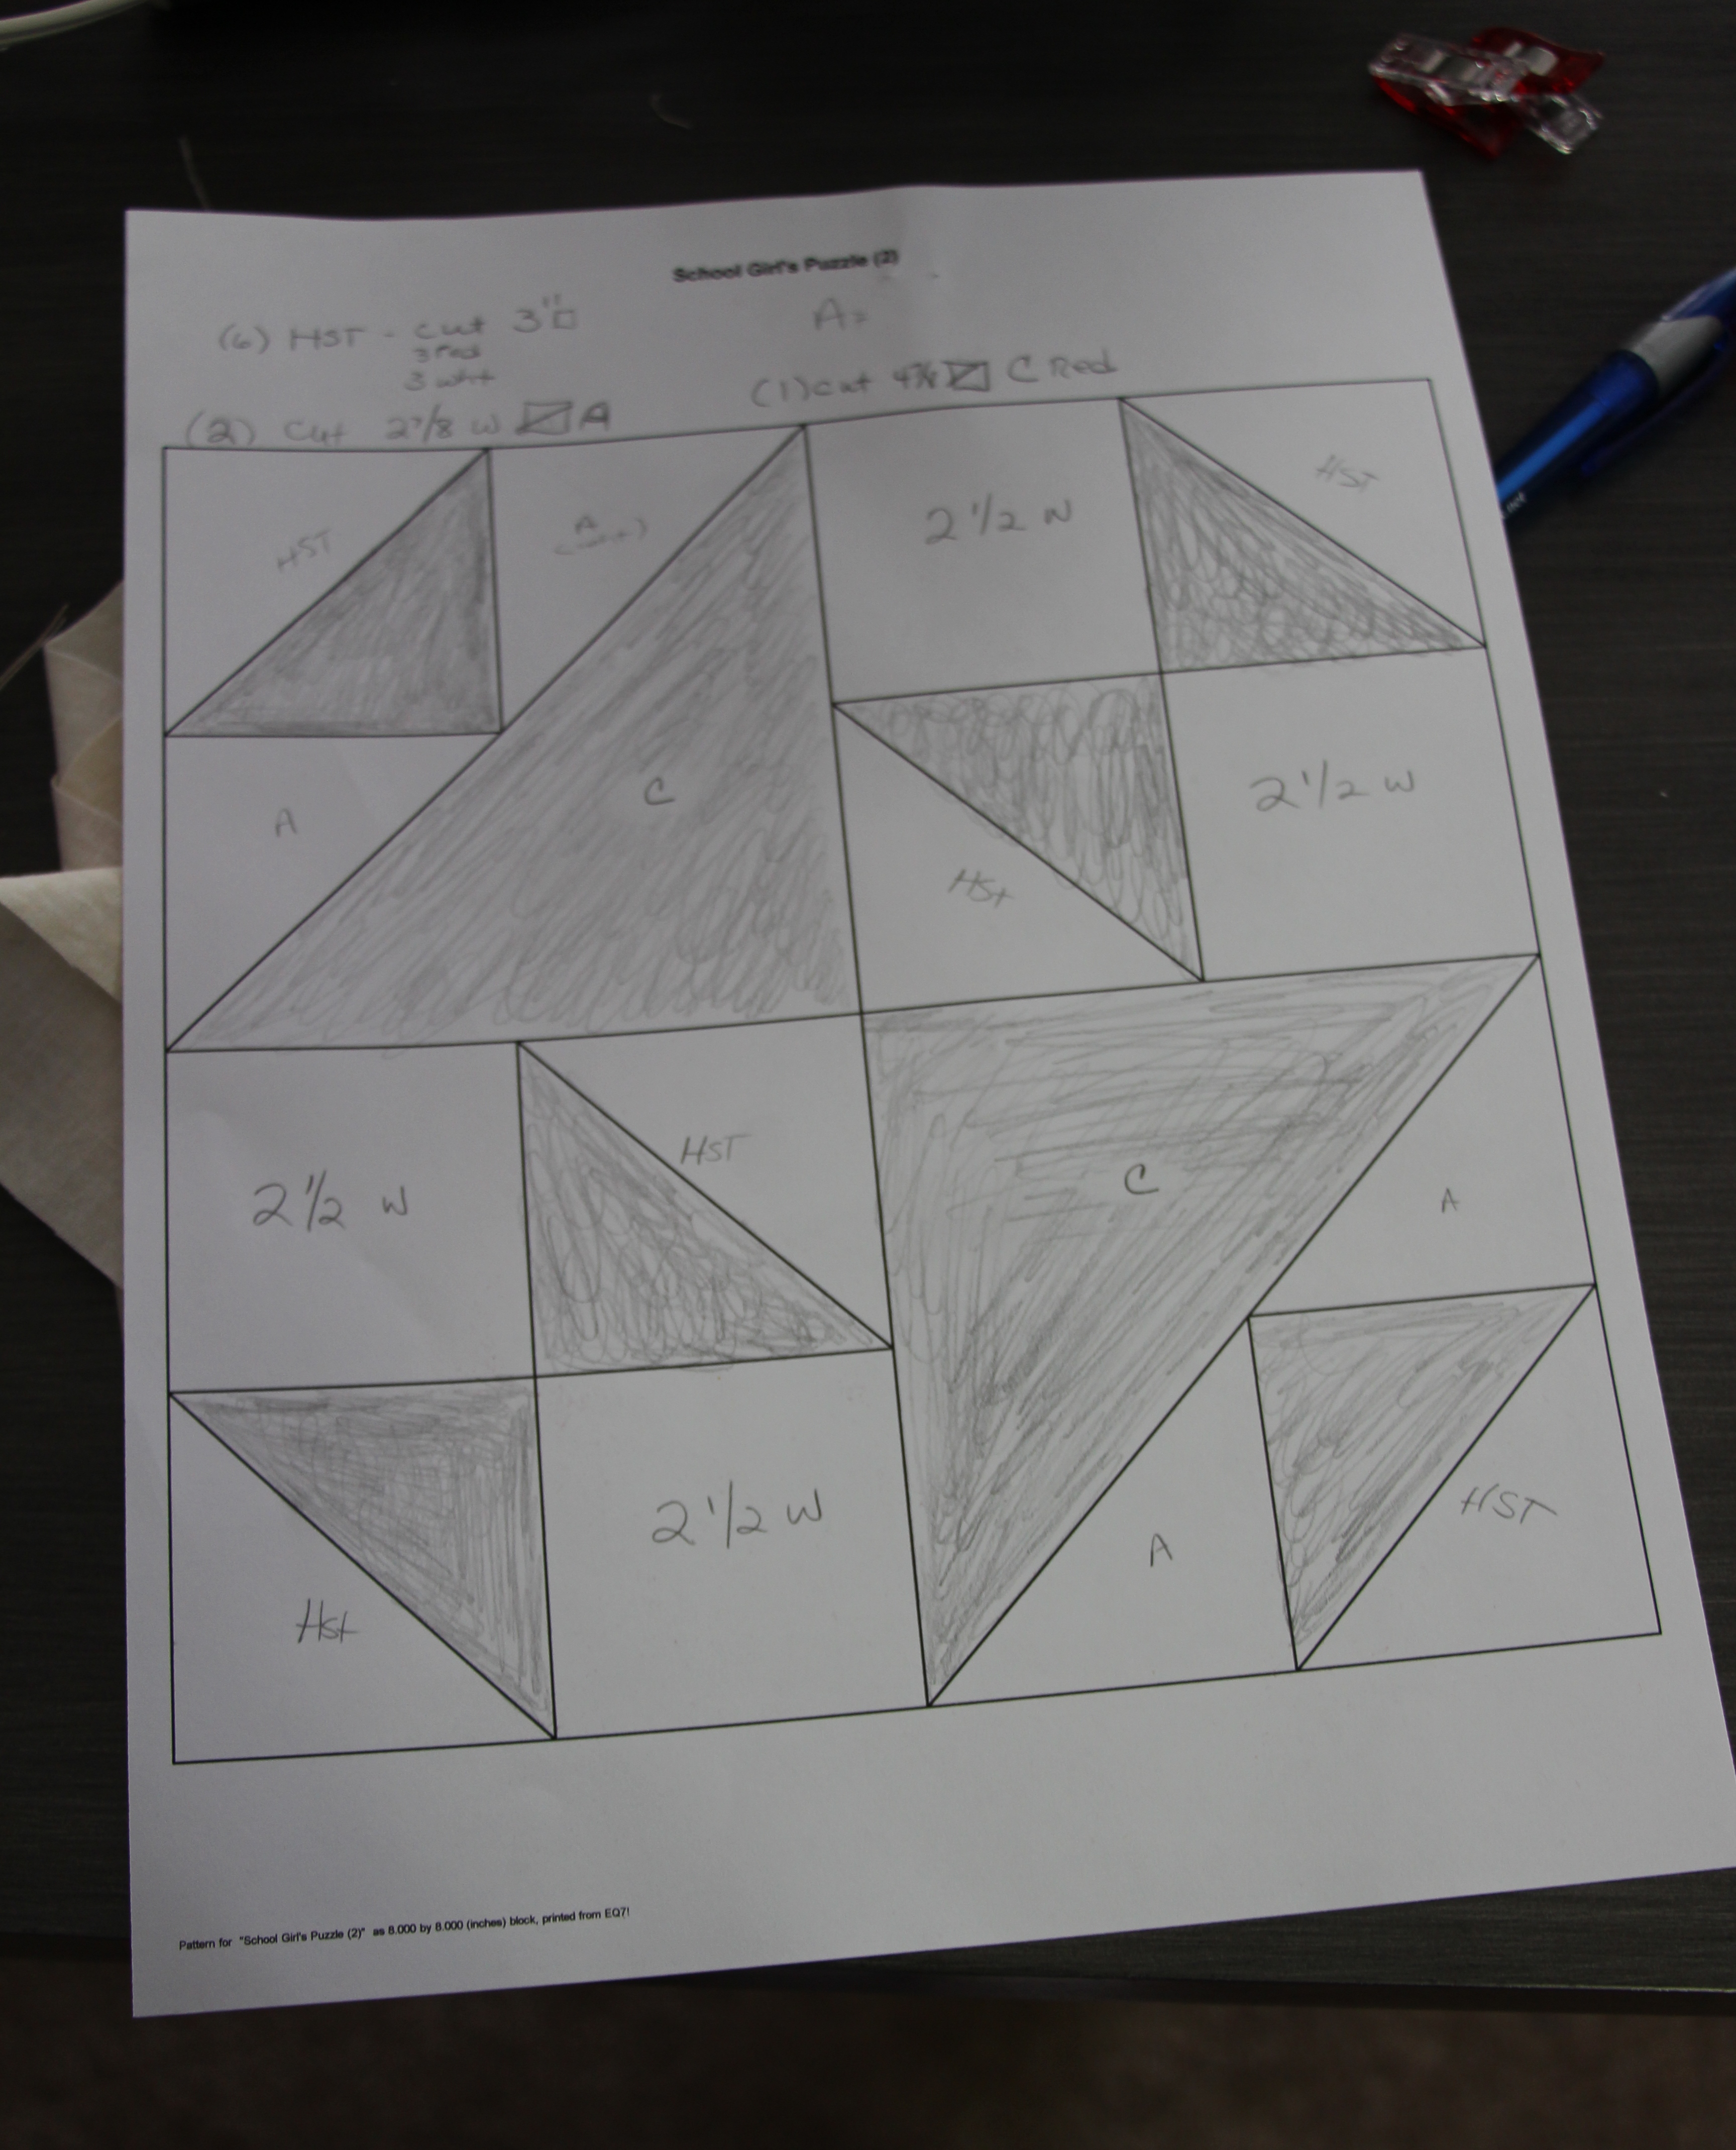
Your first step will be to determine what size block you’ll be working with. Think of the Flying Geese as simply replacing a solid rectangle. Take the size of that rectangle and add your 1/4″ seam allowance. That value will be the base. You will also need two squares cut to 1/2 of the rectangle plus the 1/4″ seam allowance. Example: 2″ x 4″ finished Flying Geese will require one 2 1/2″ x 4 1/2″ rectangle and two 2 1/2″ squares. Don’t forget to ALWAYS make a practice block with scrap fabric before committing.
Cut your fabric:

Draw on the diagonal of each square and if you want the bonus HST draw a line 1/4″ off center in one direction:

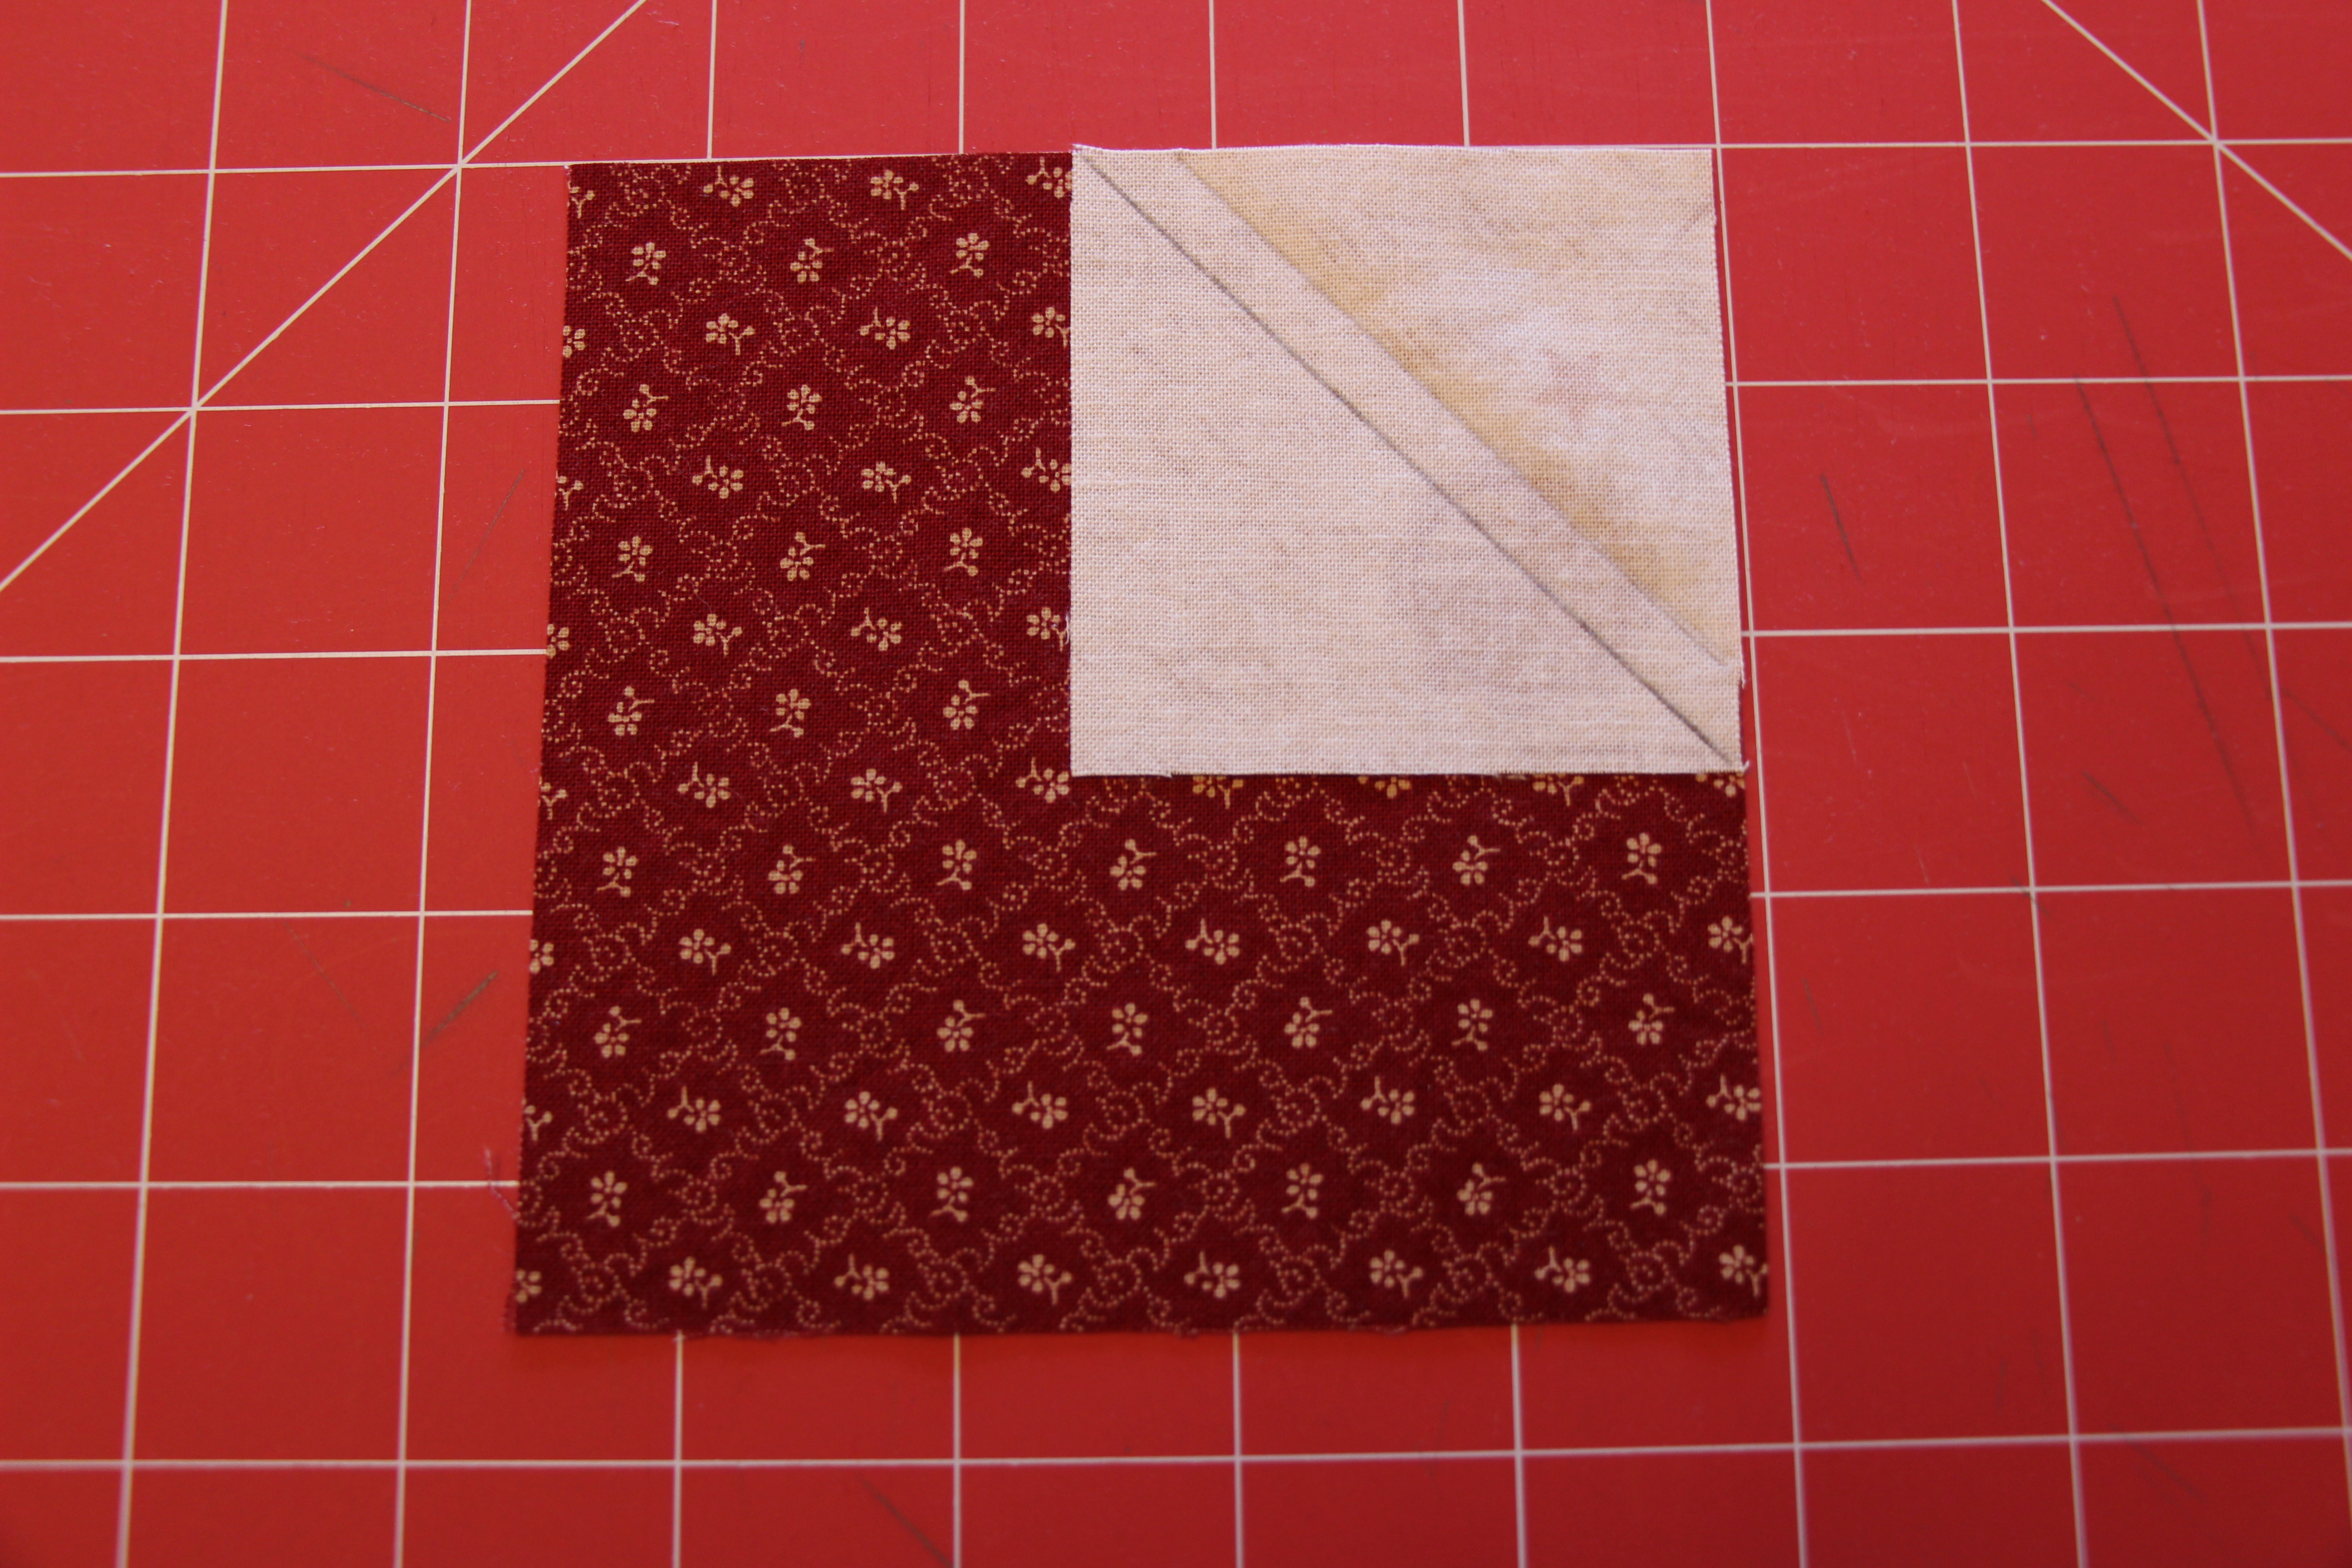
Place one square on the rectangle, corner to corner. The diagonal line needs to run from corner to center of the rectangle. If making a HST that bonus 1/4″ line needs to be on the side of the block towards the corner:

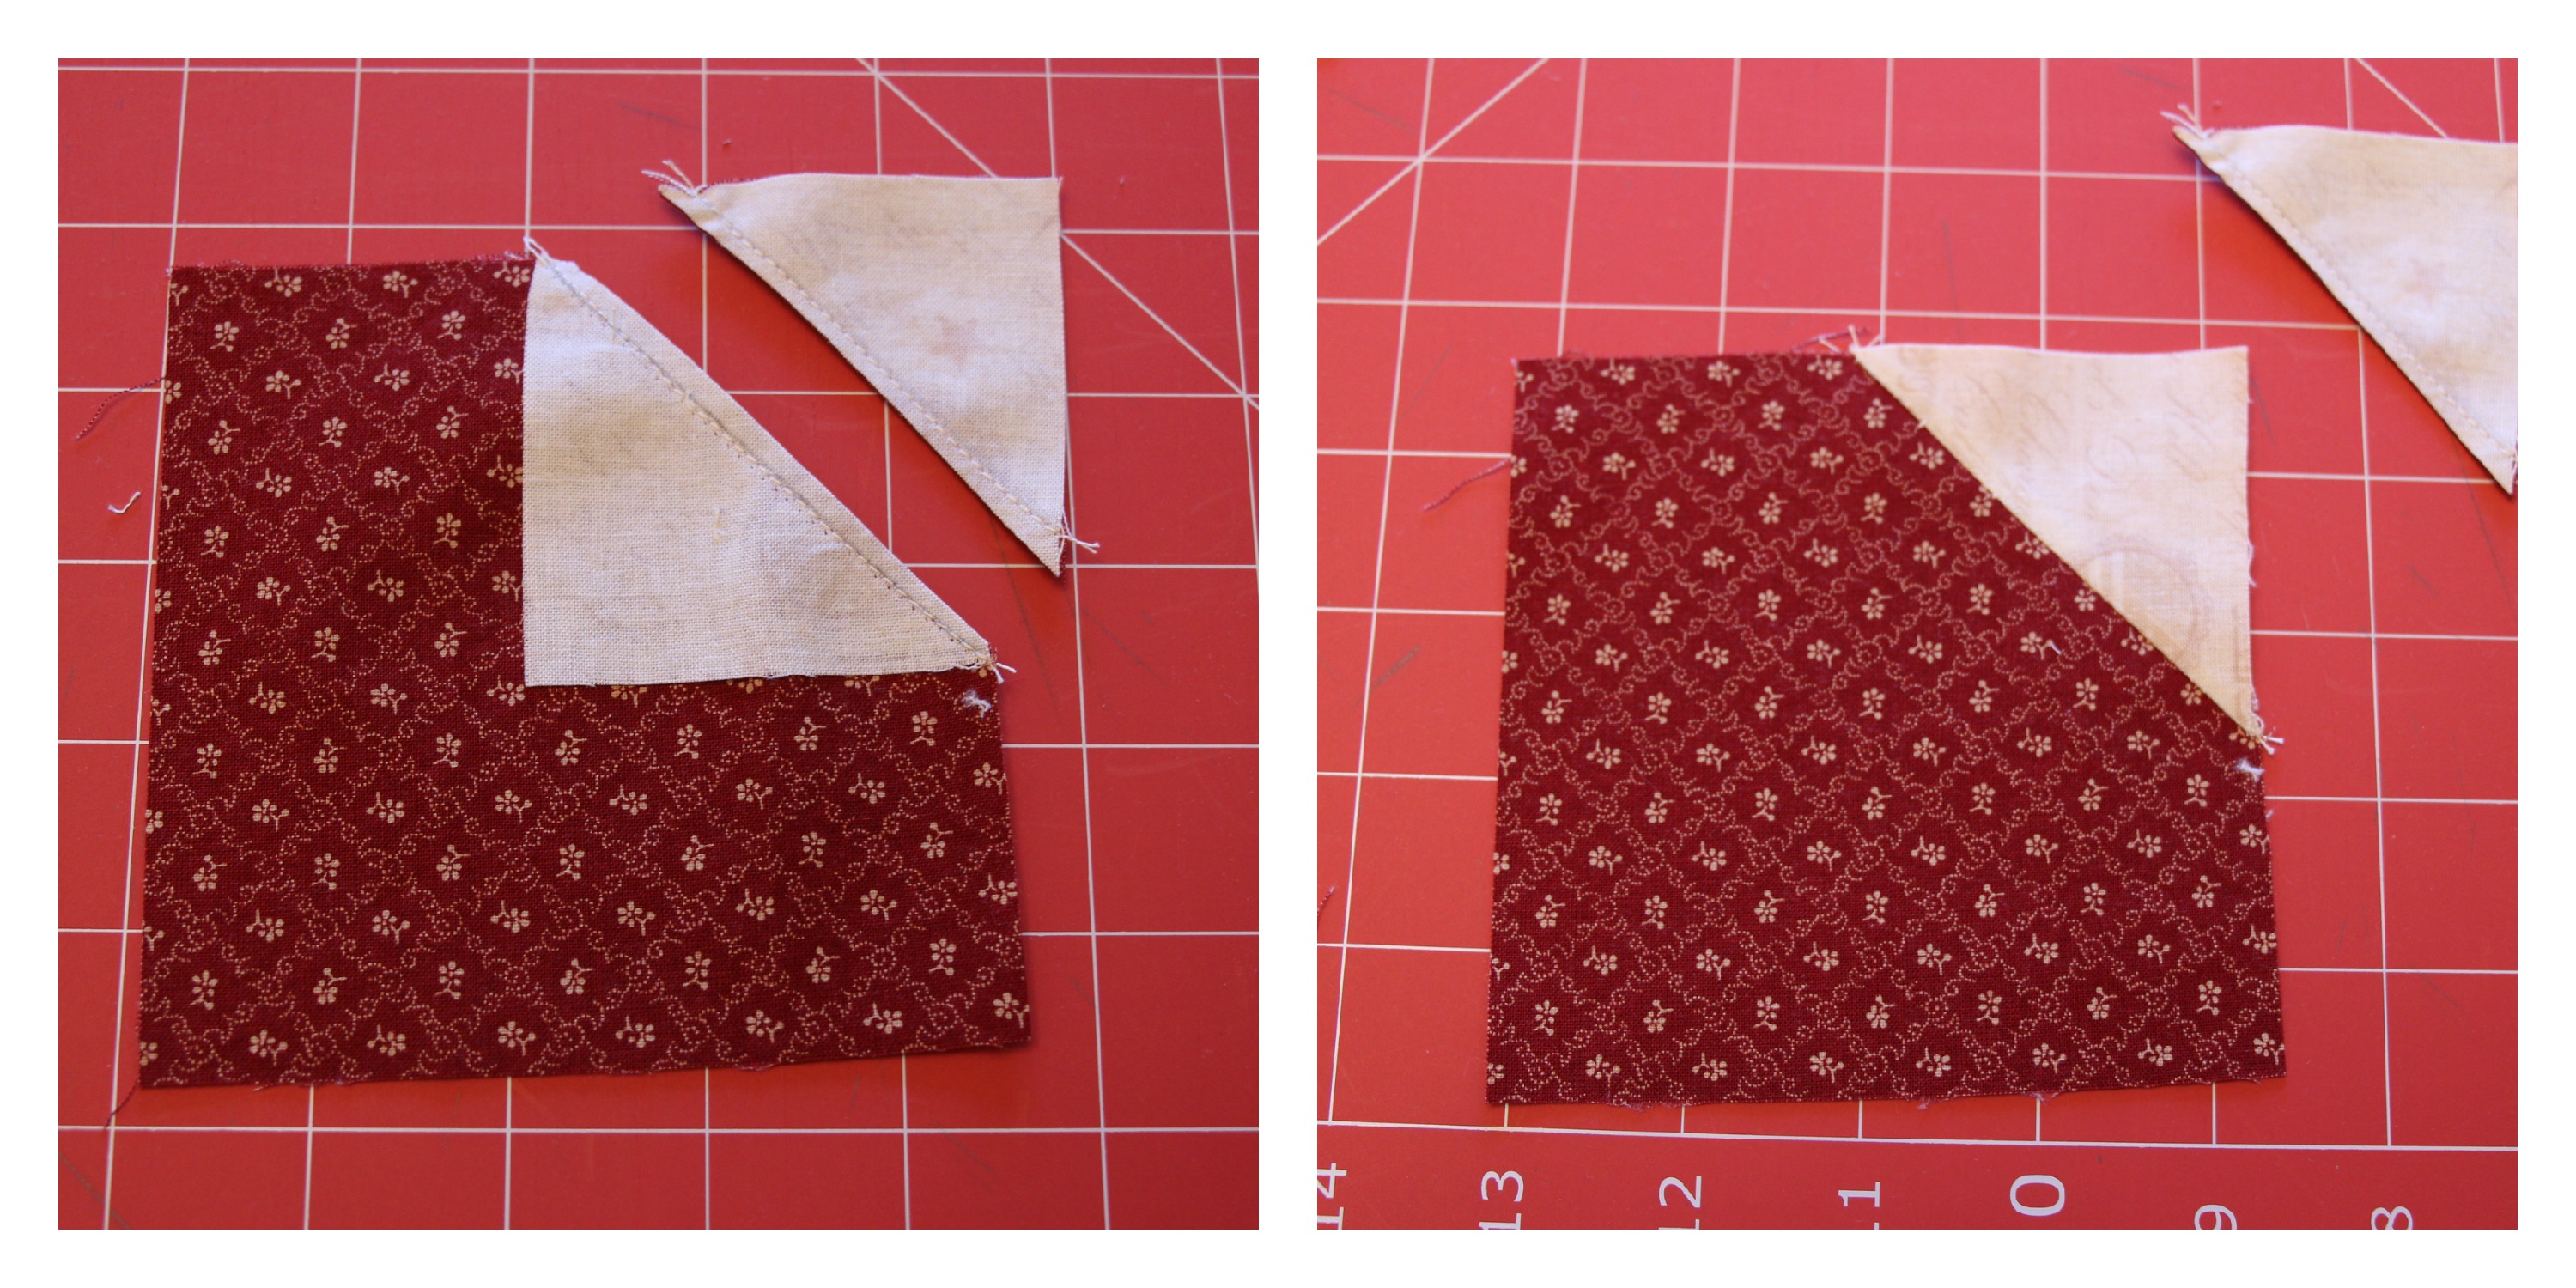
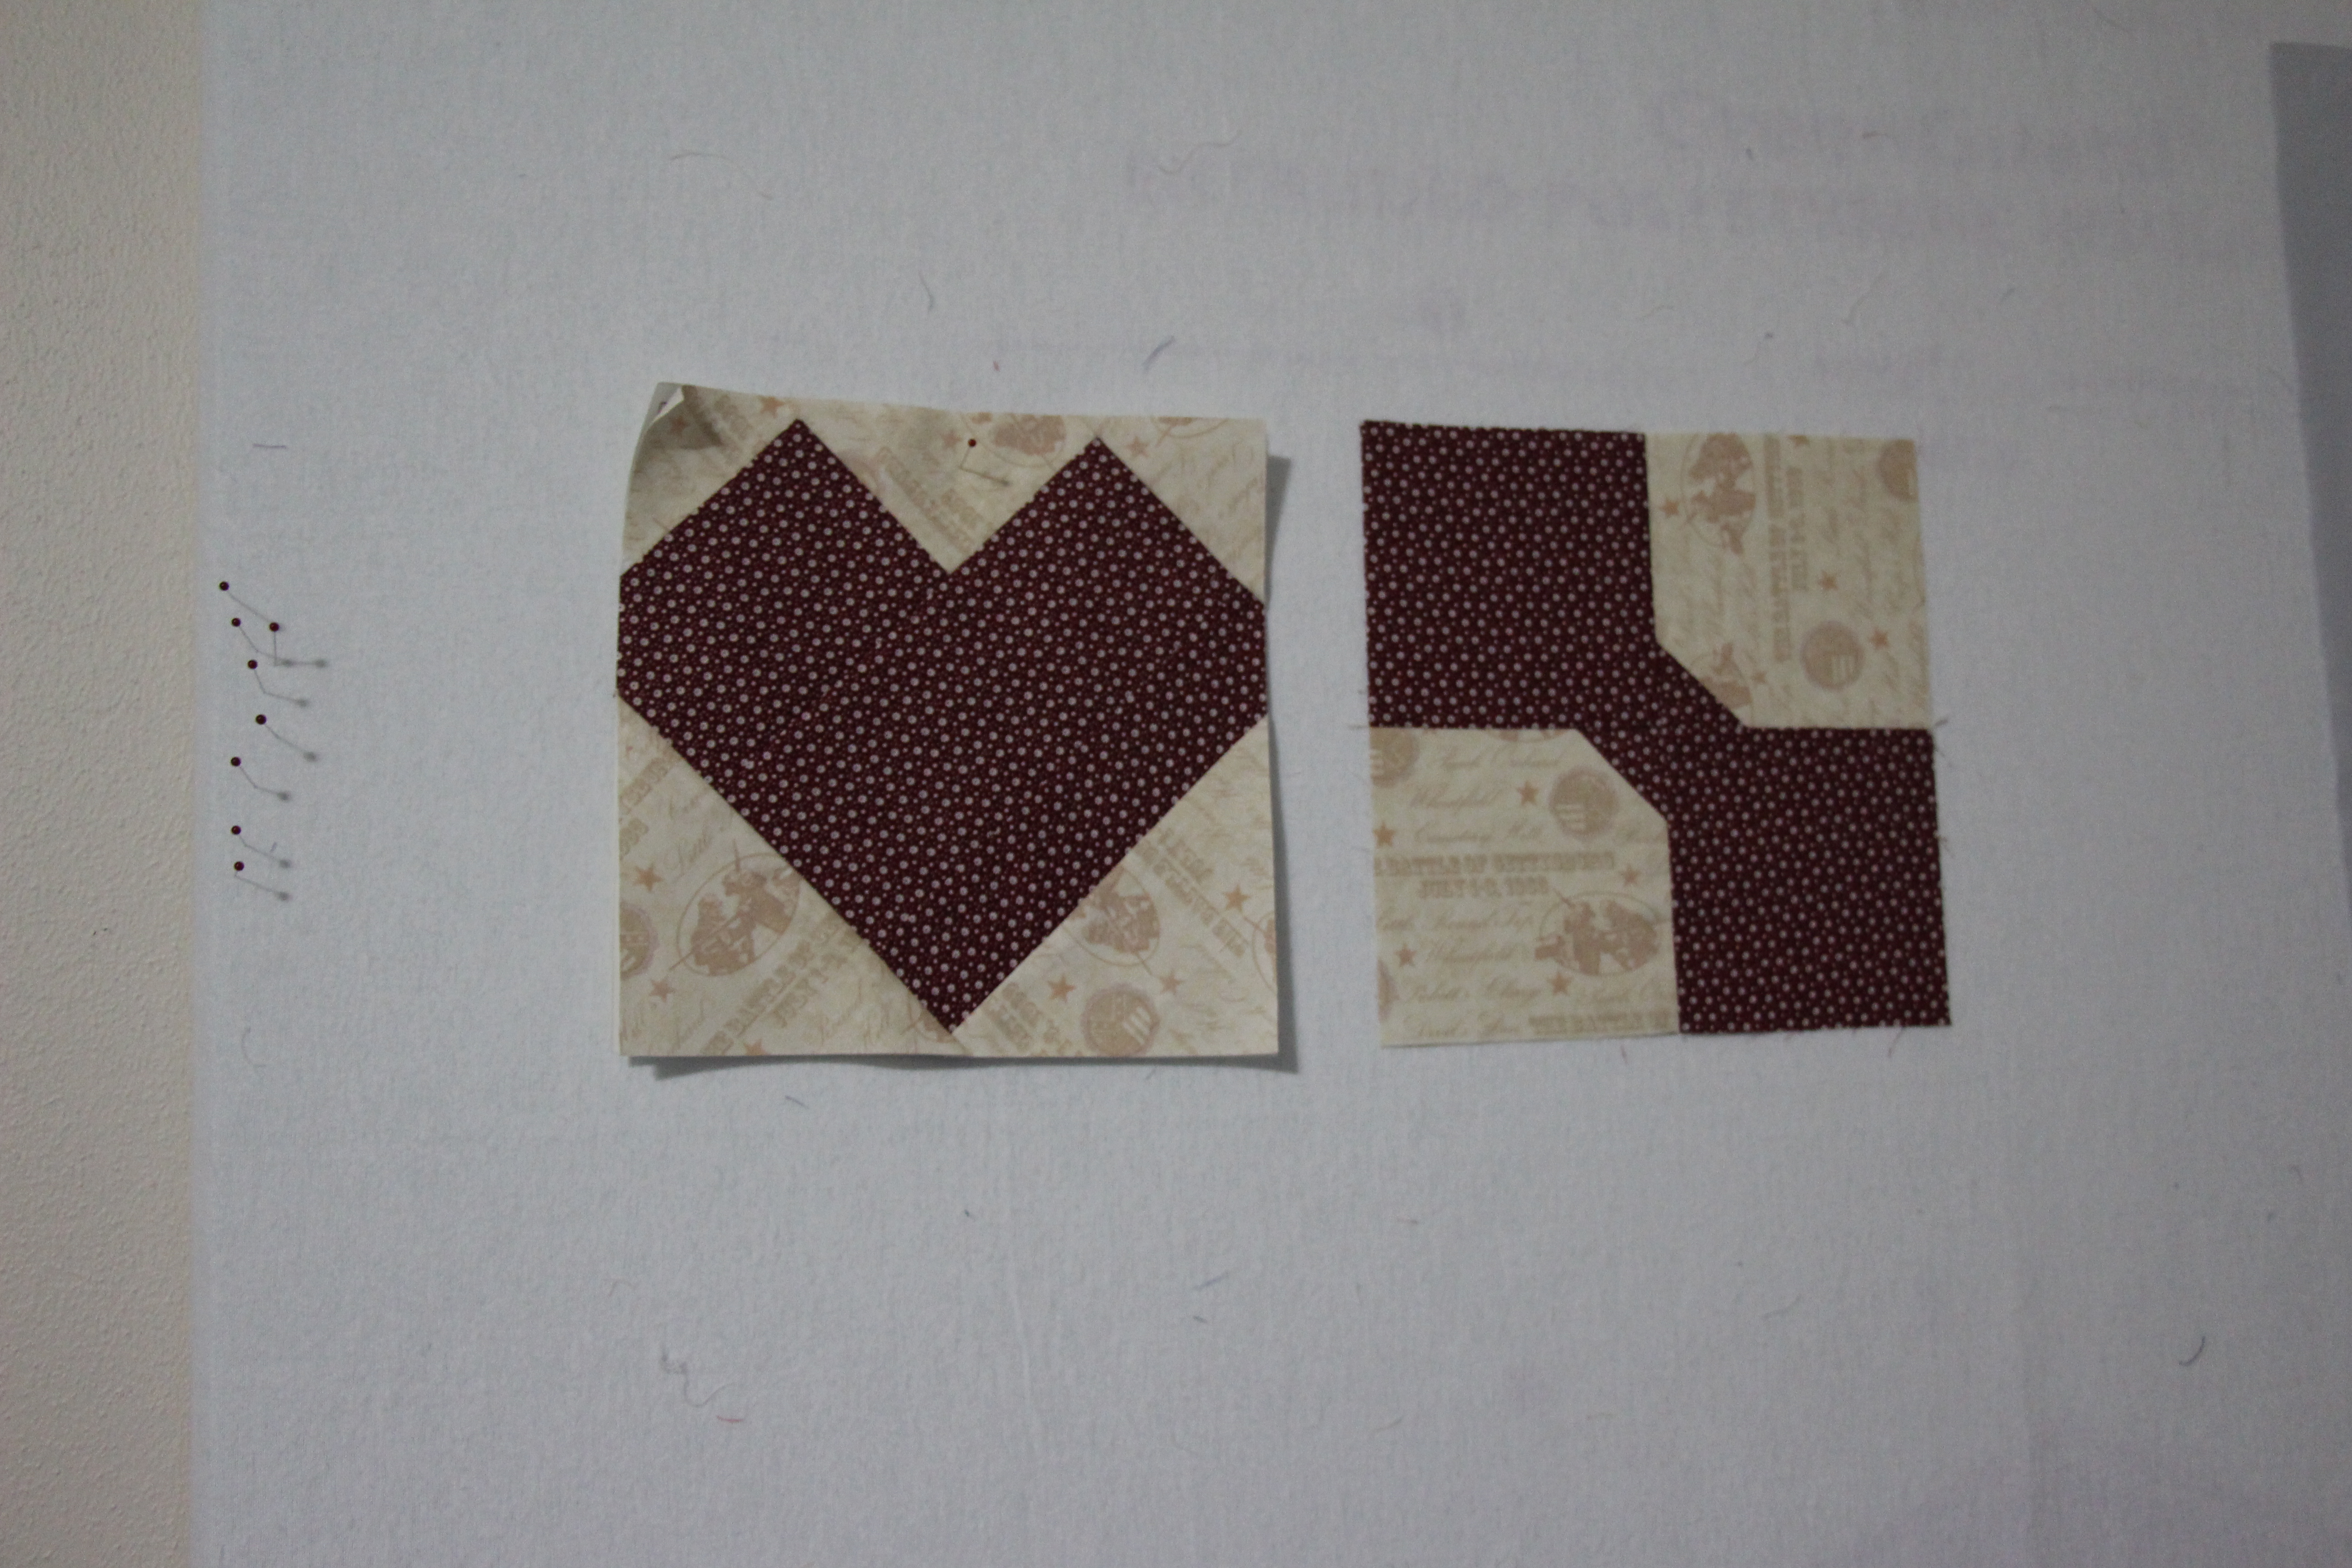
Sew on both drawn lines, cut between the seams, and iron open:

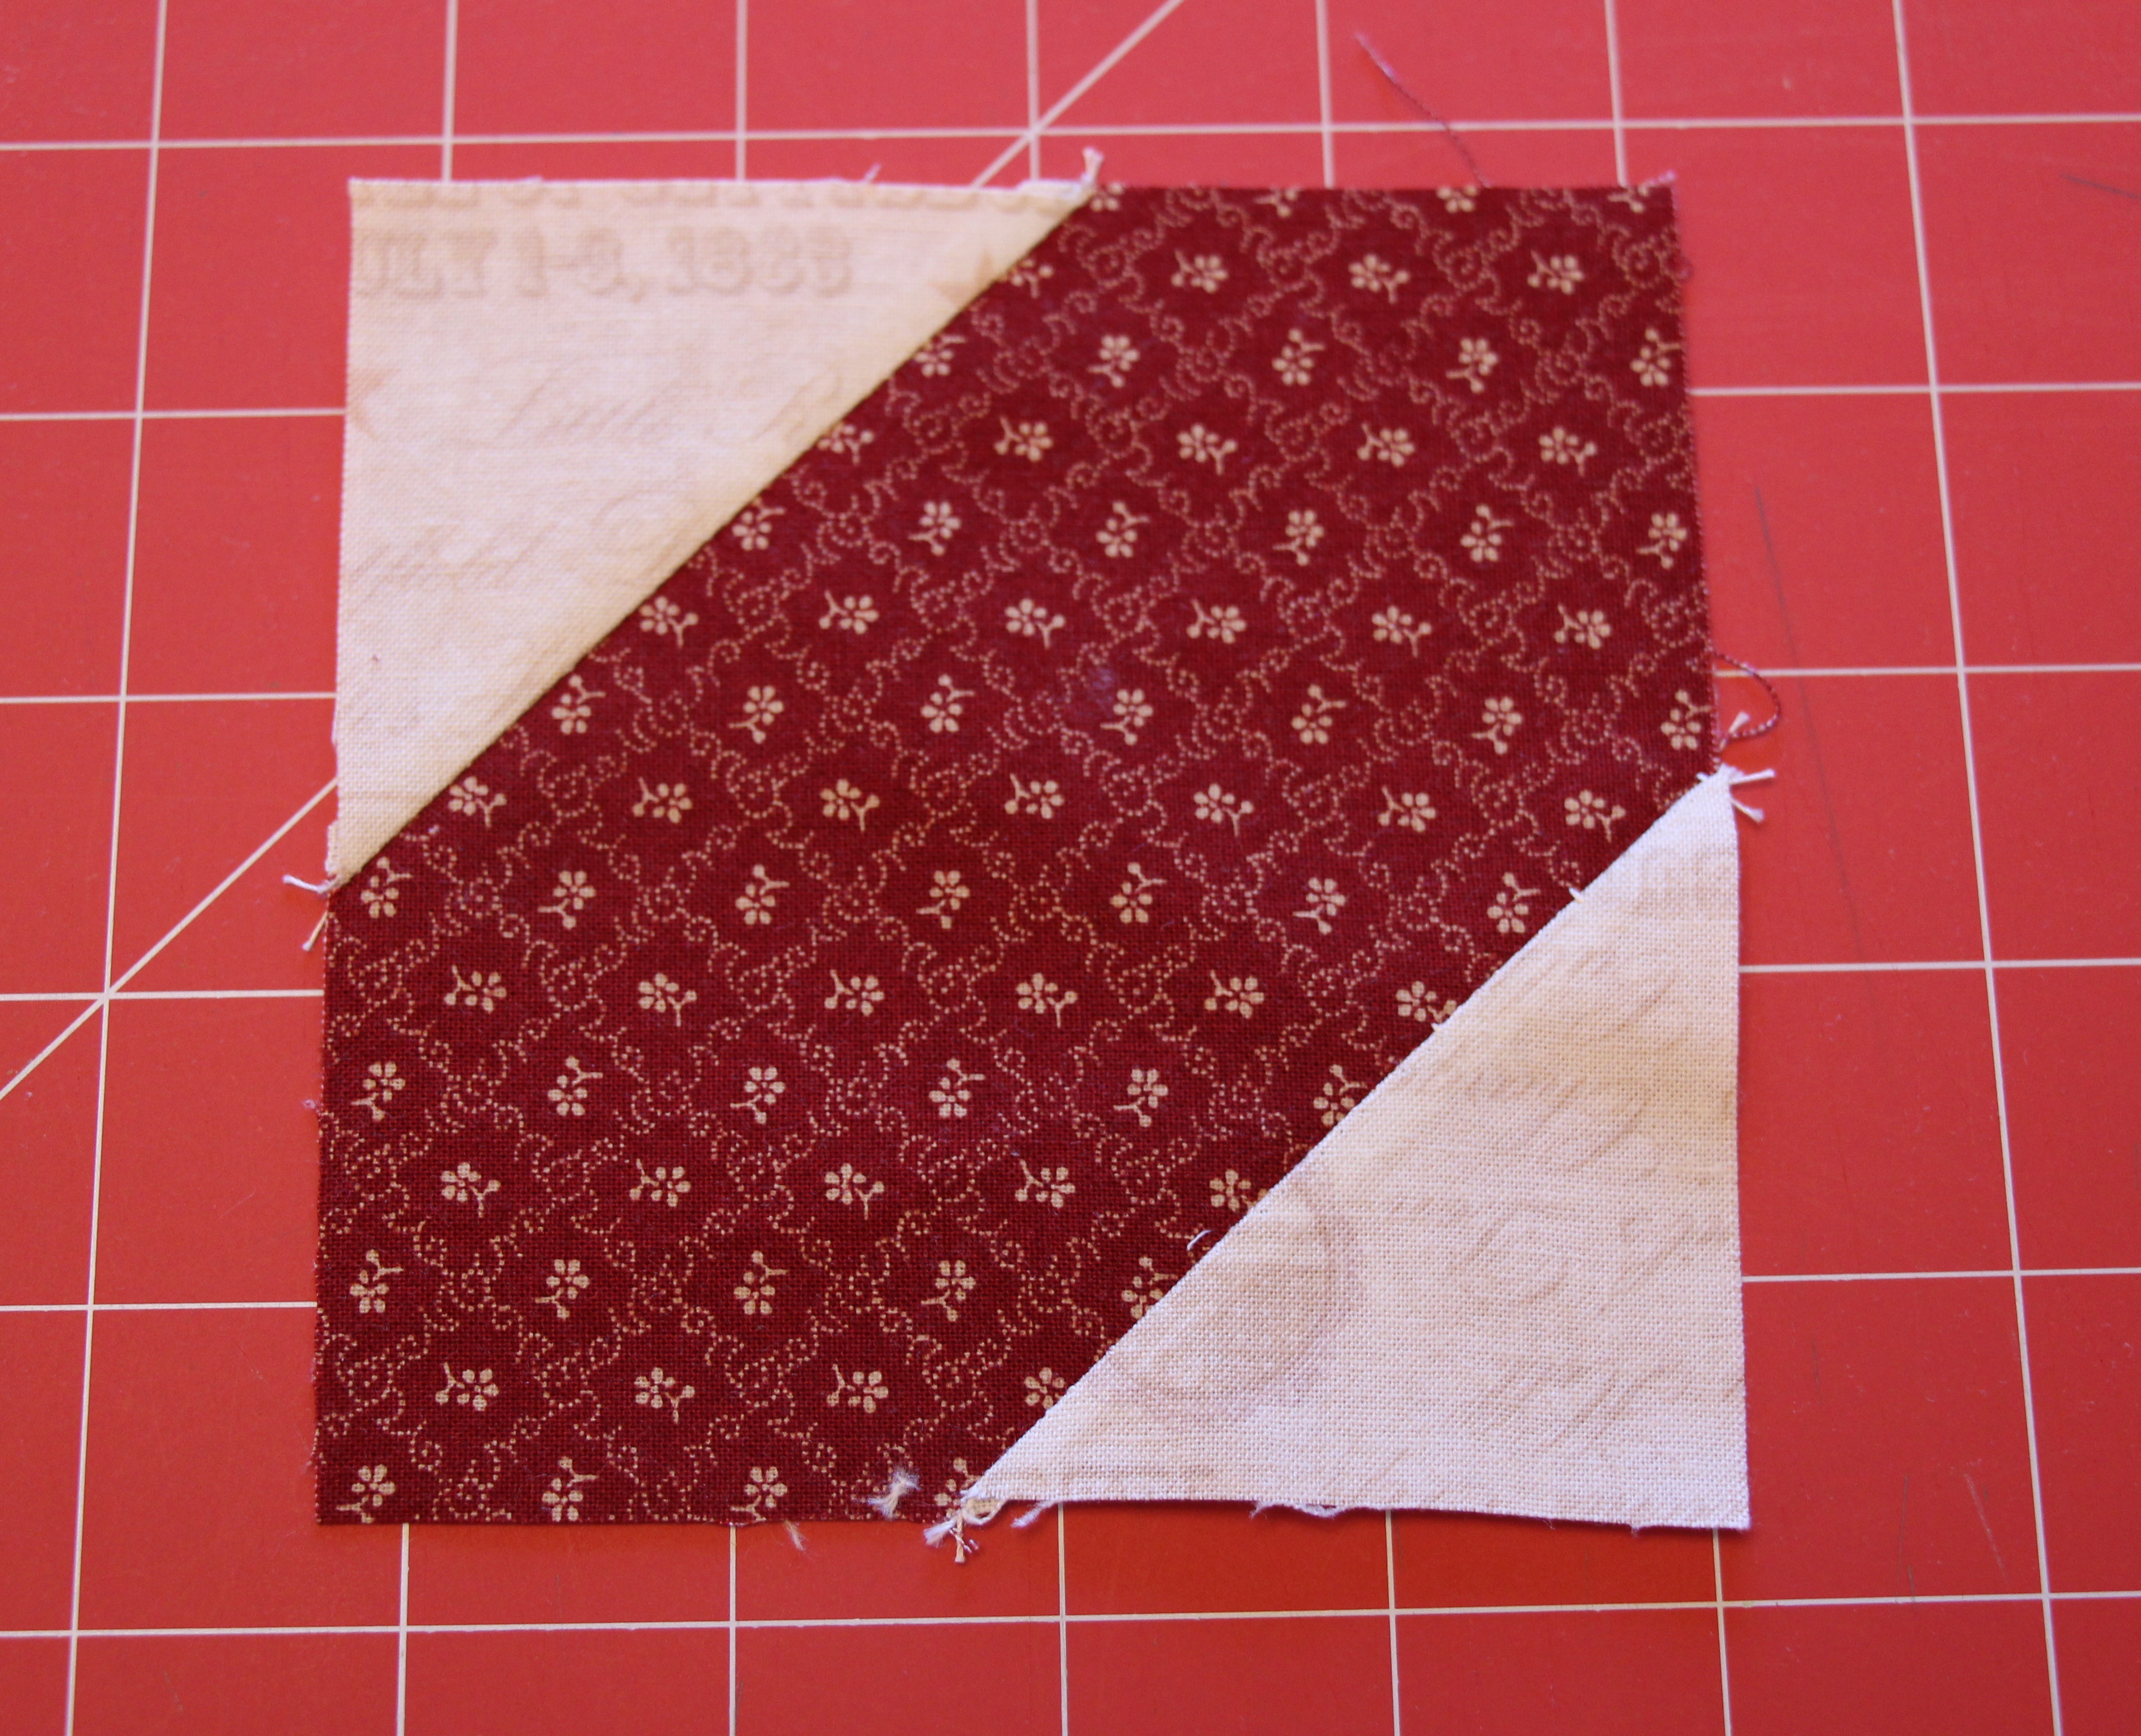
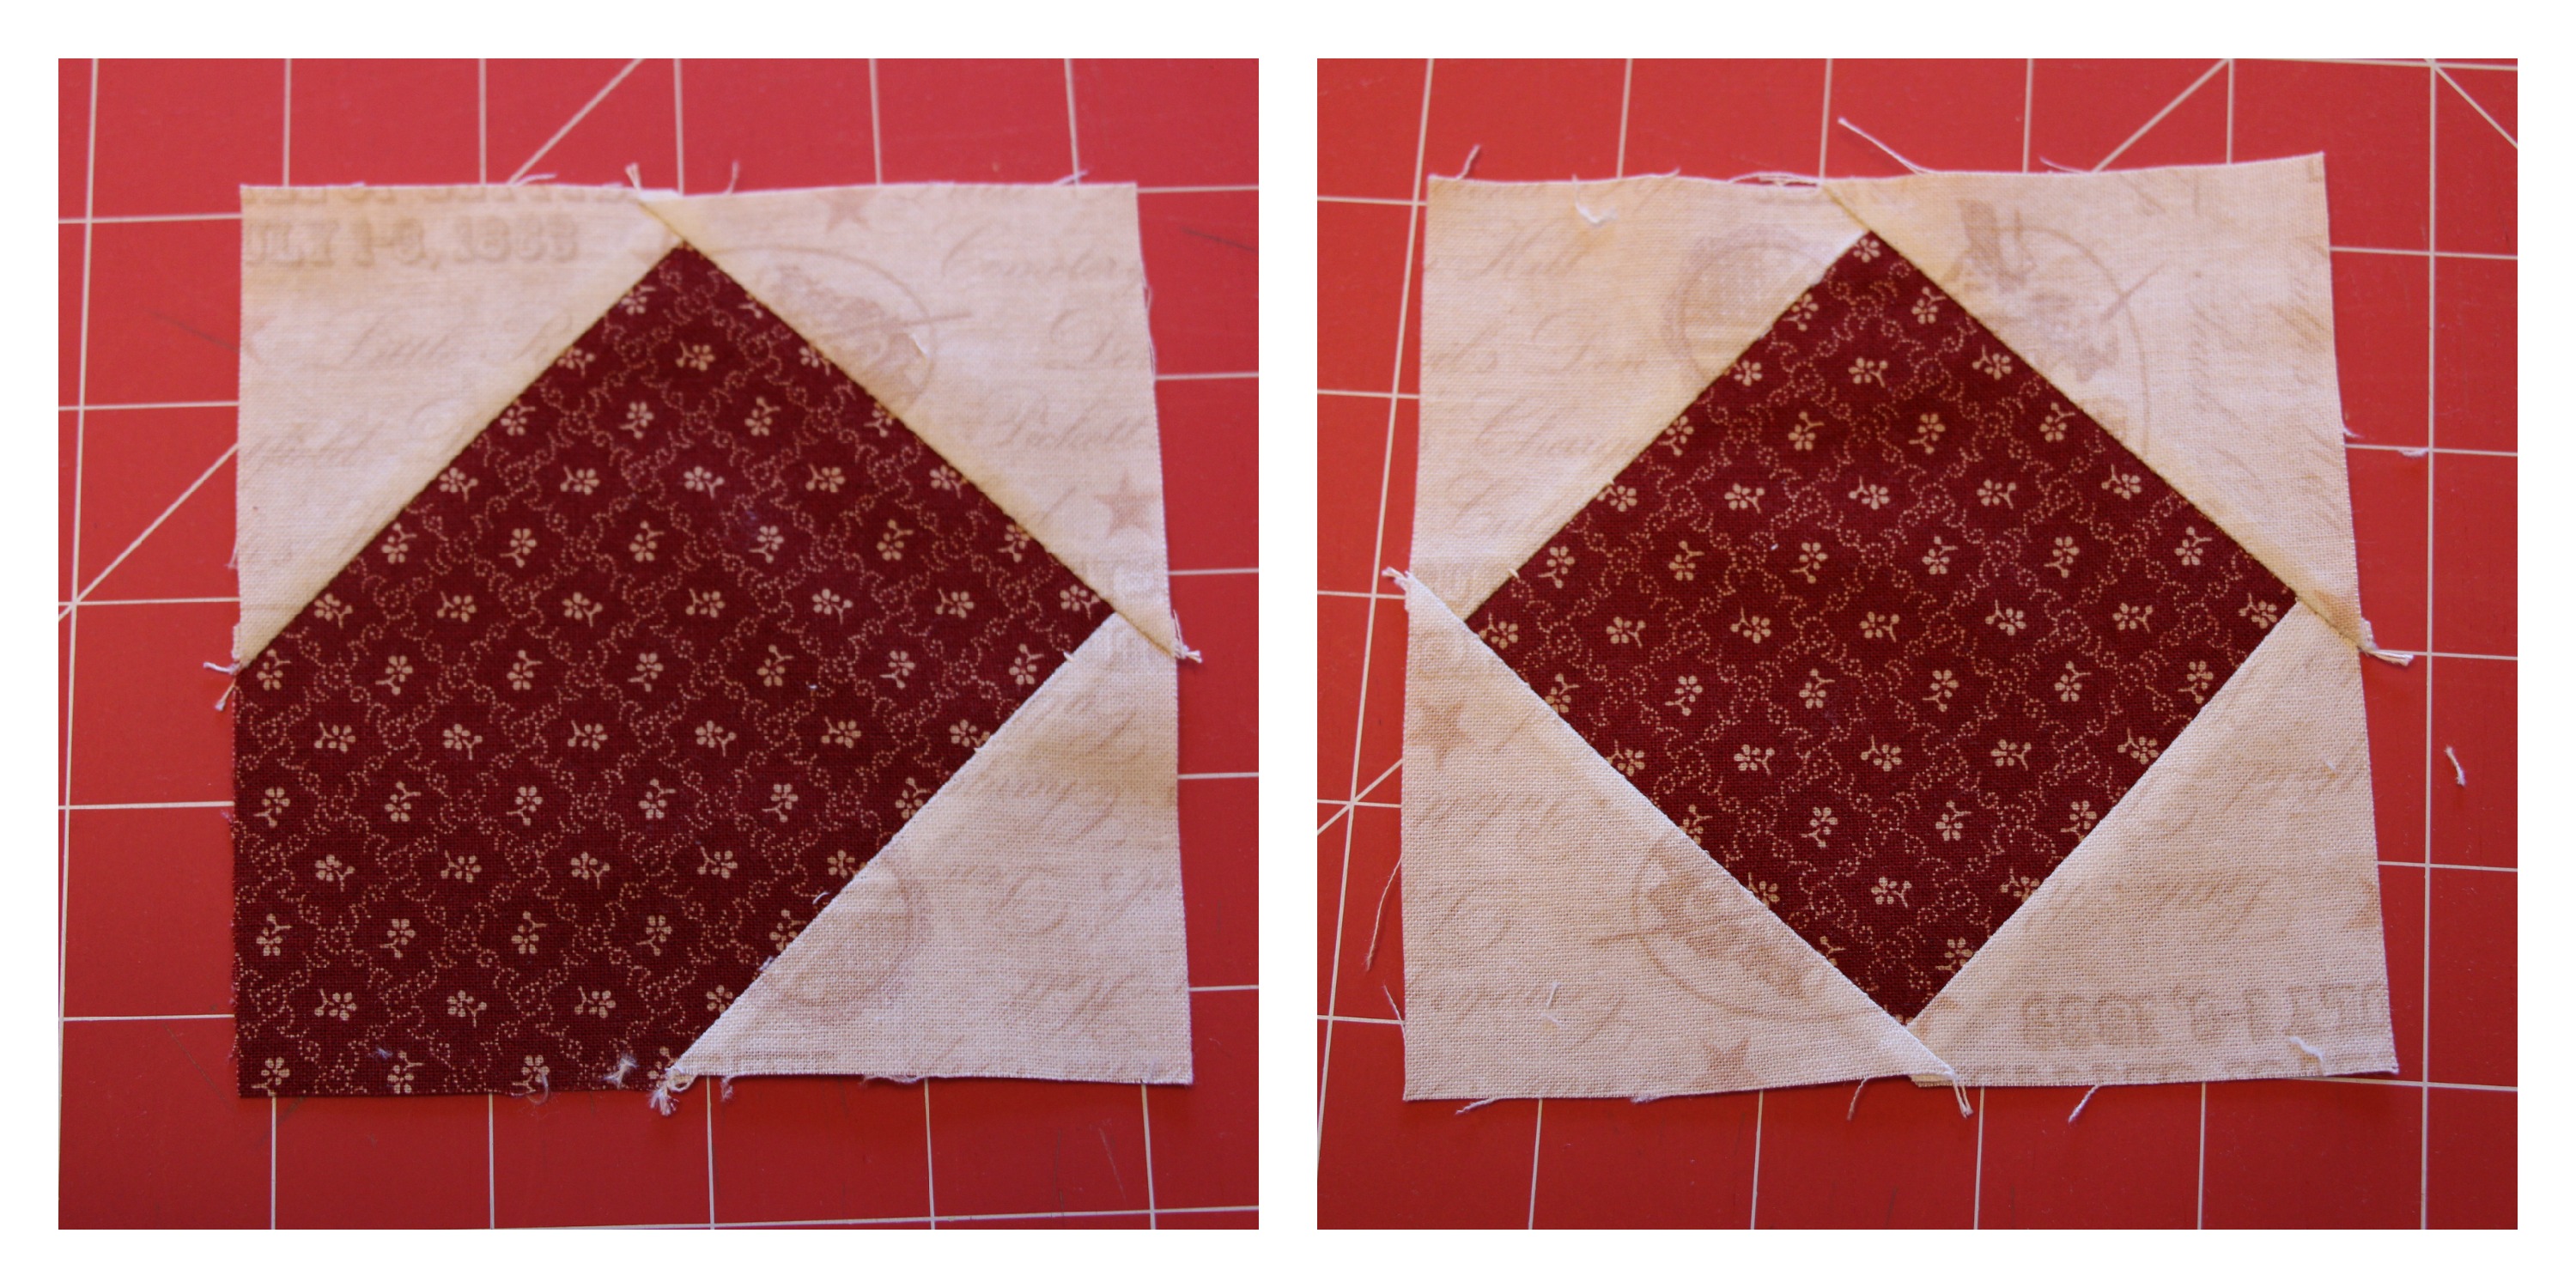
Repeat with the other square. (It will overlap the center of the rectangle, but that will be taken care of in the seam allowance.):

Again, sew on the diagonal and the bonus HST seam if using. Cut between the seams and iron open:


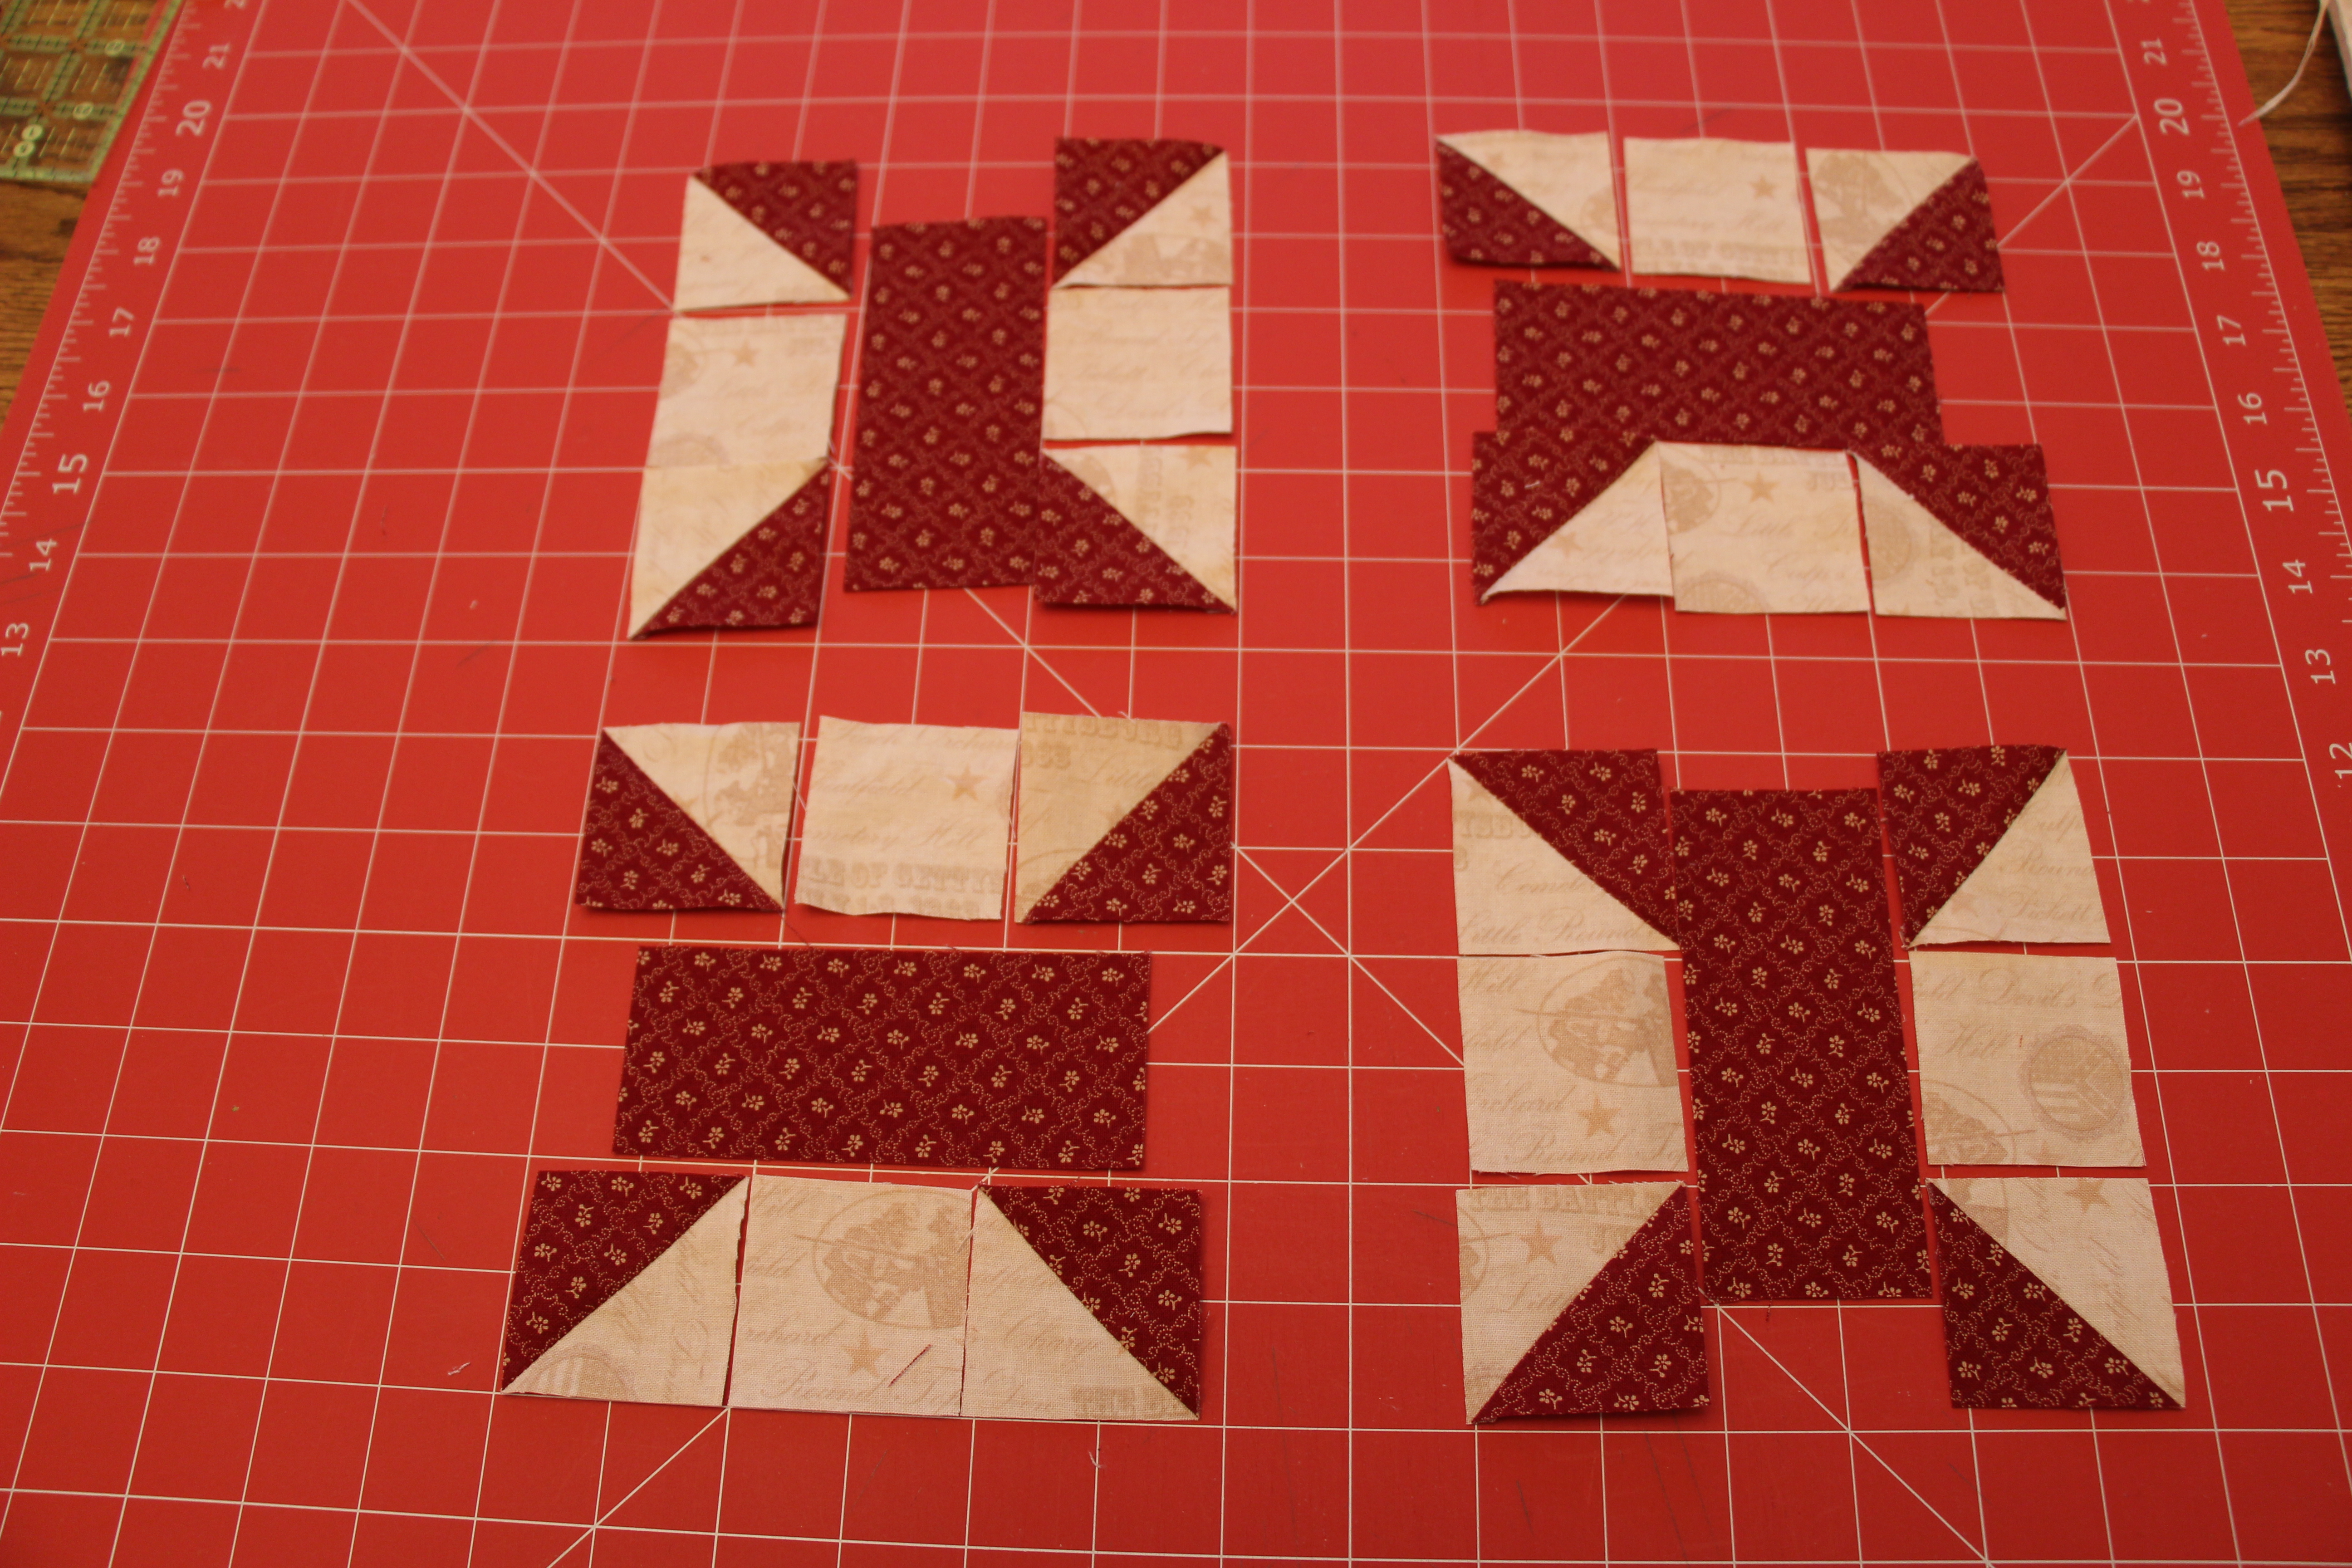
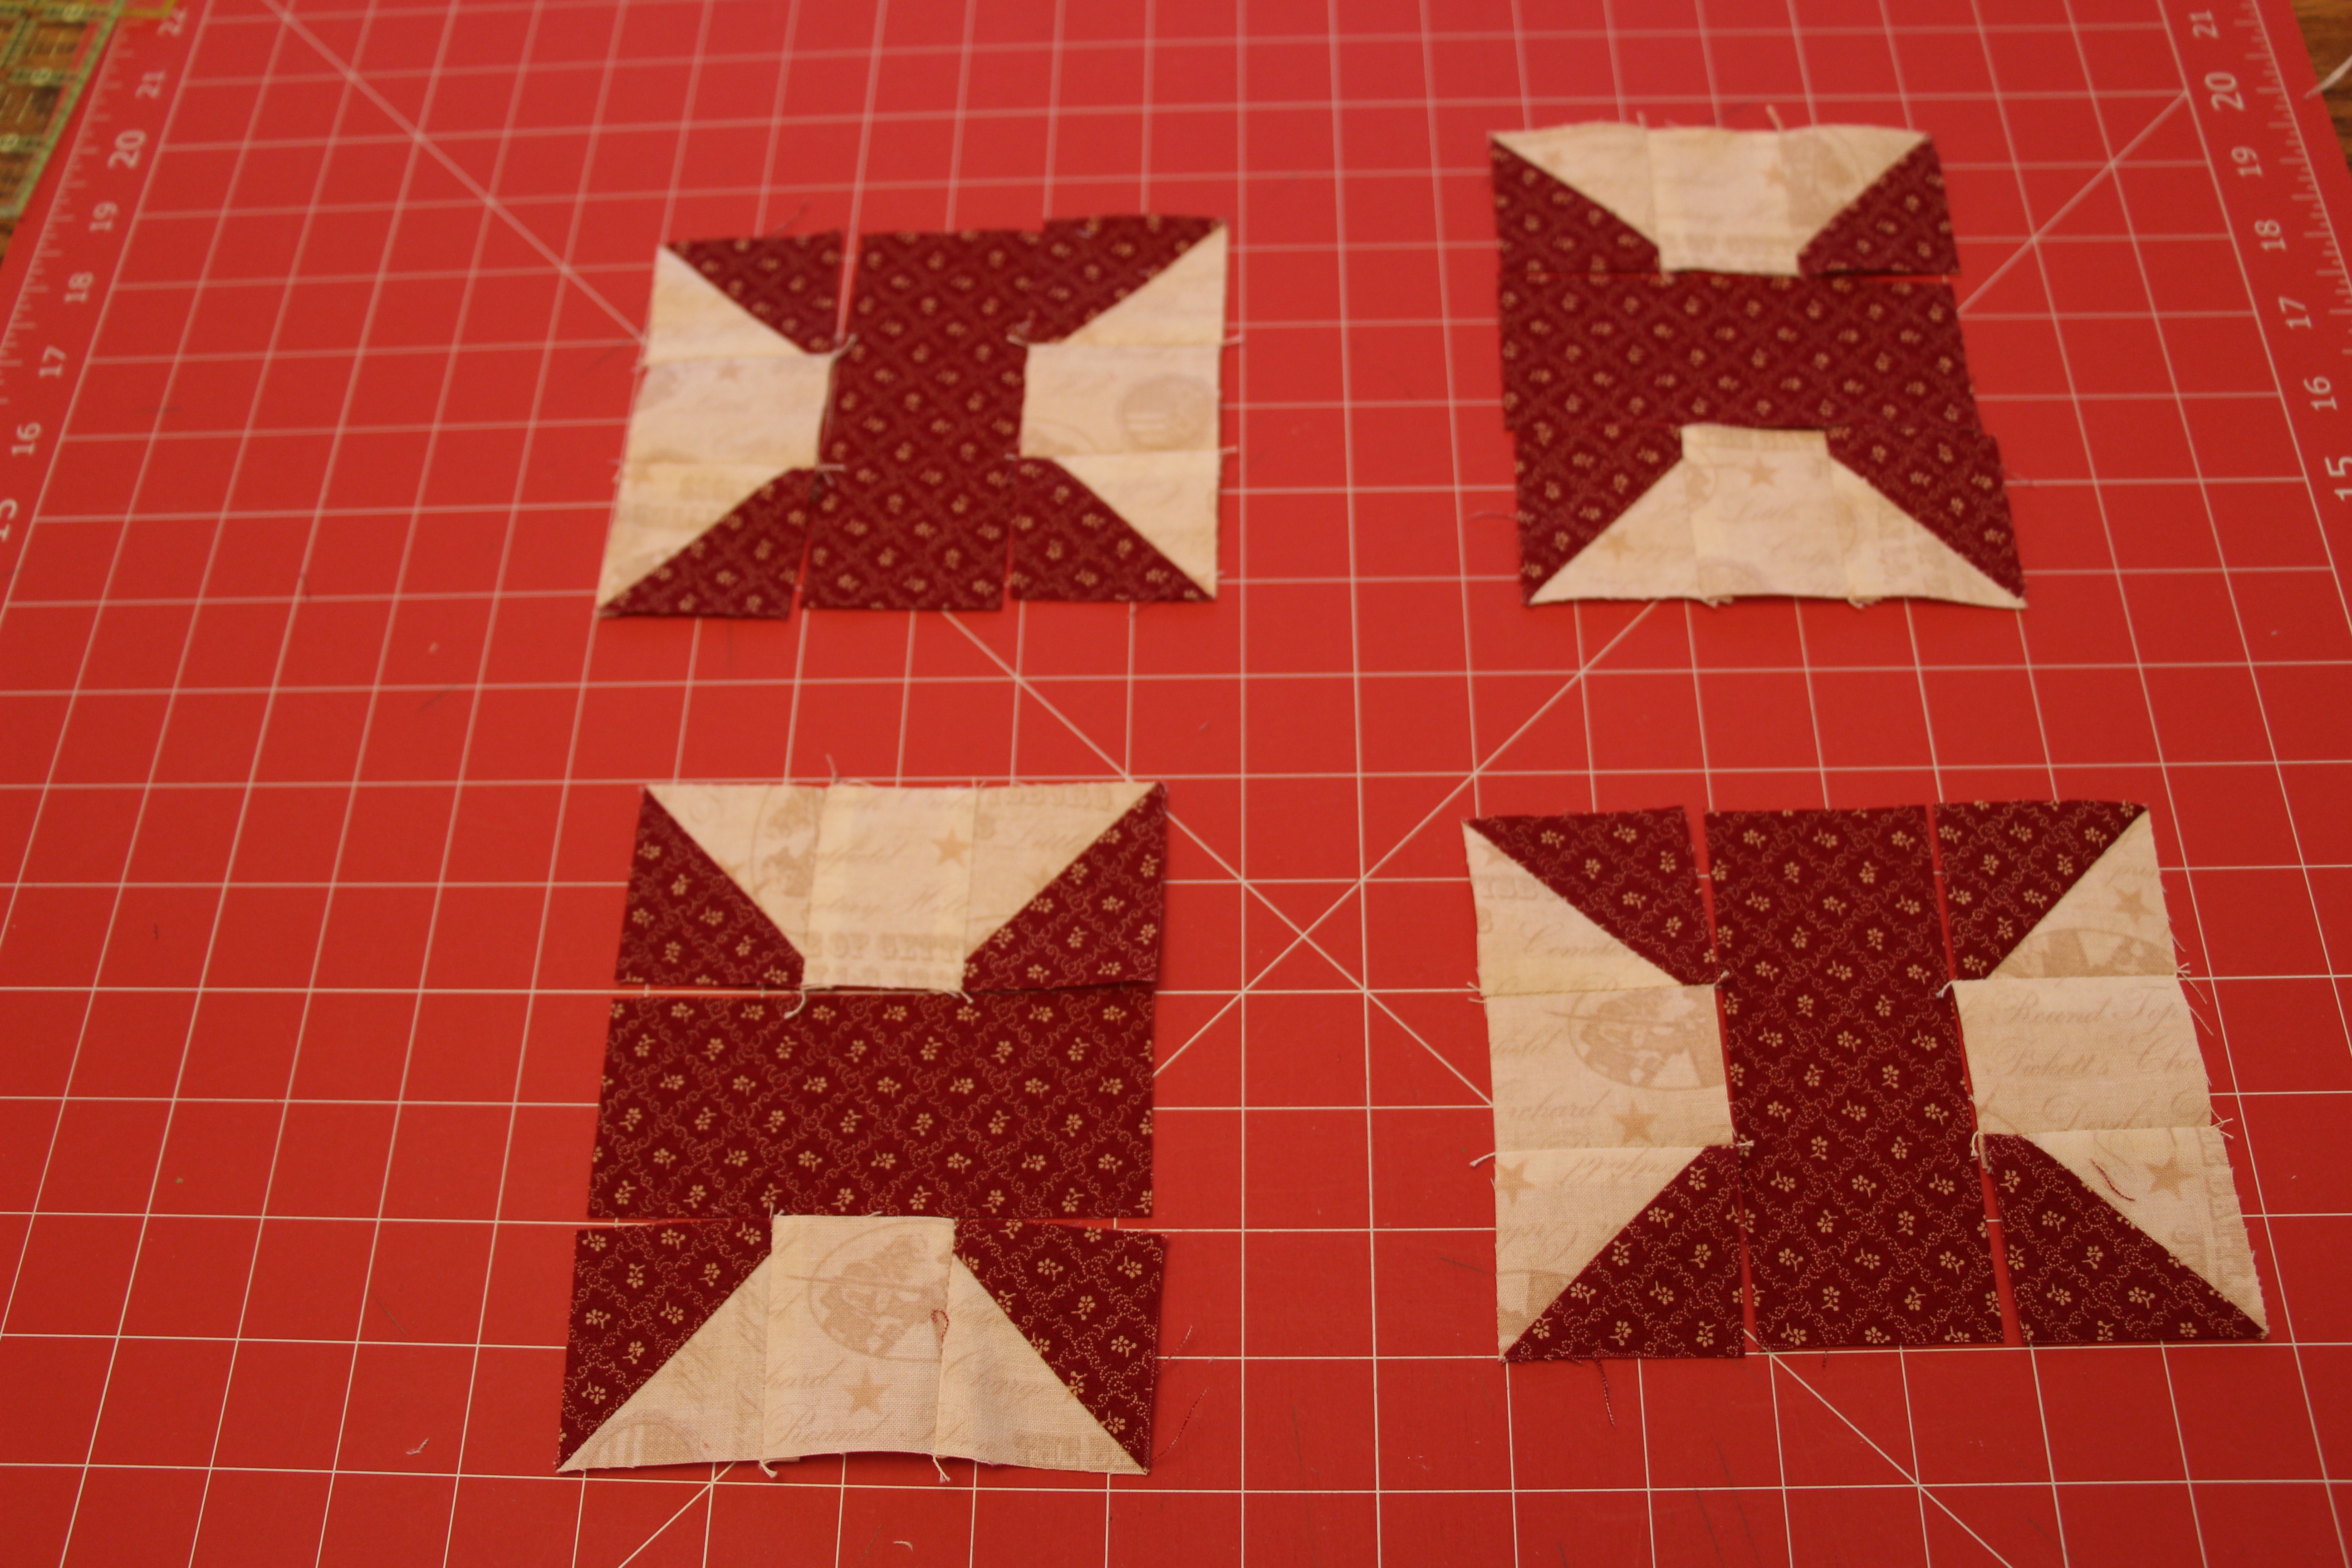
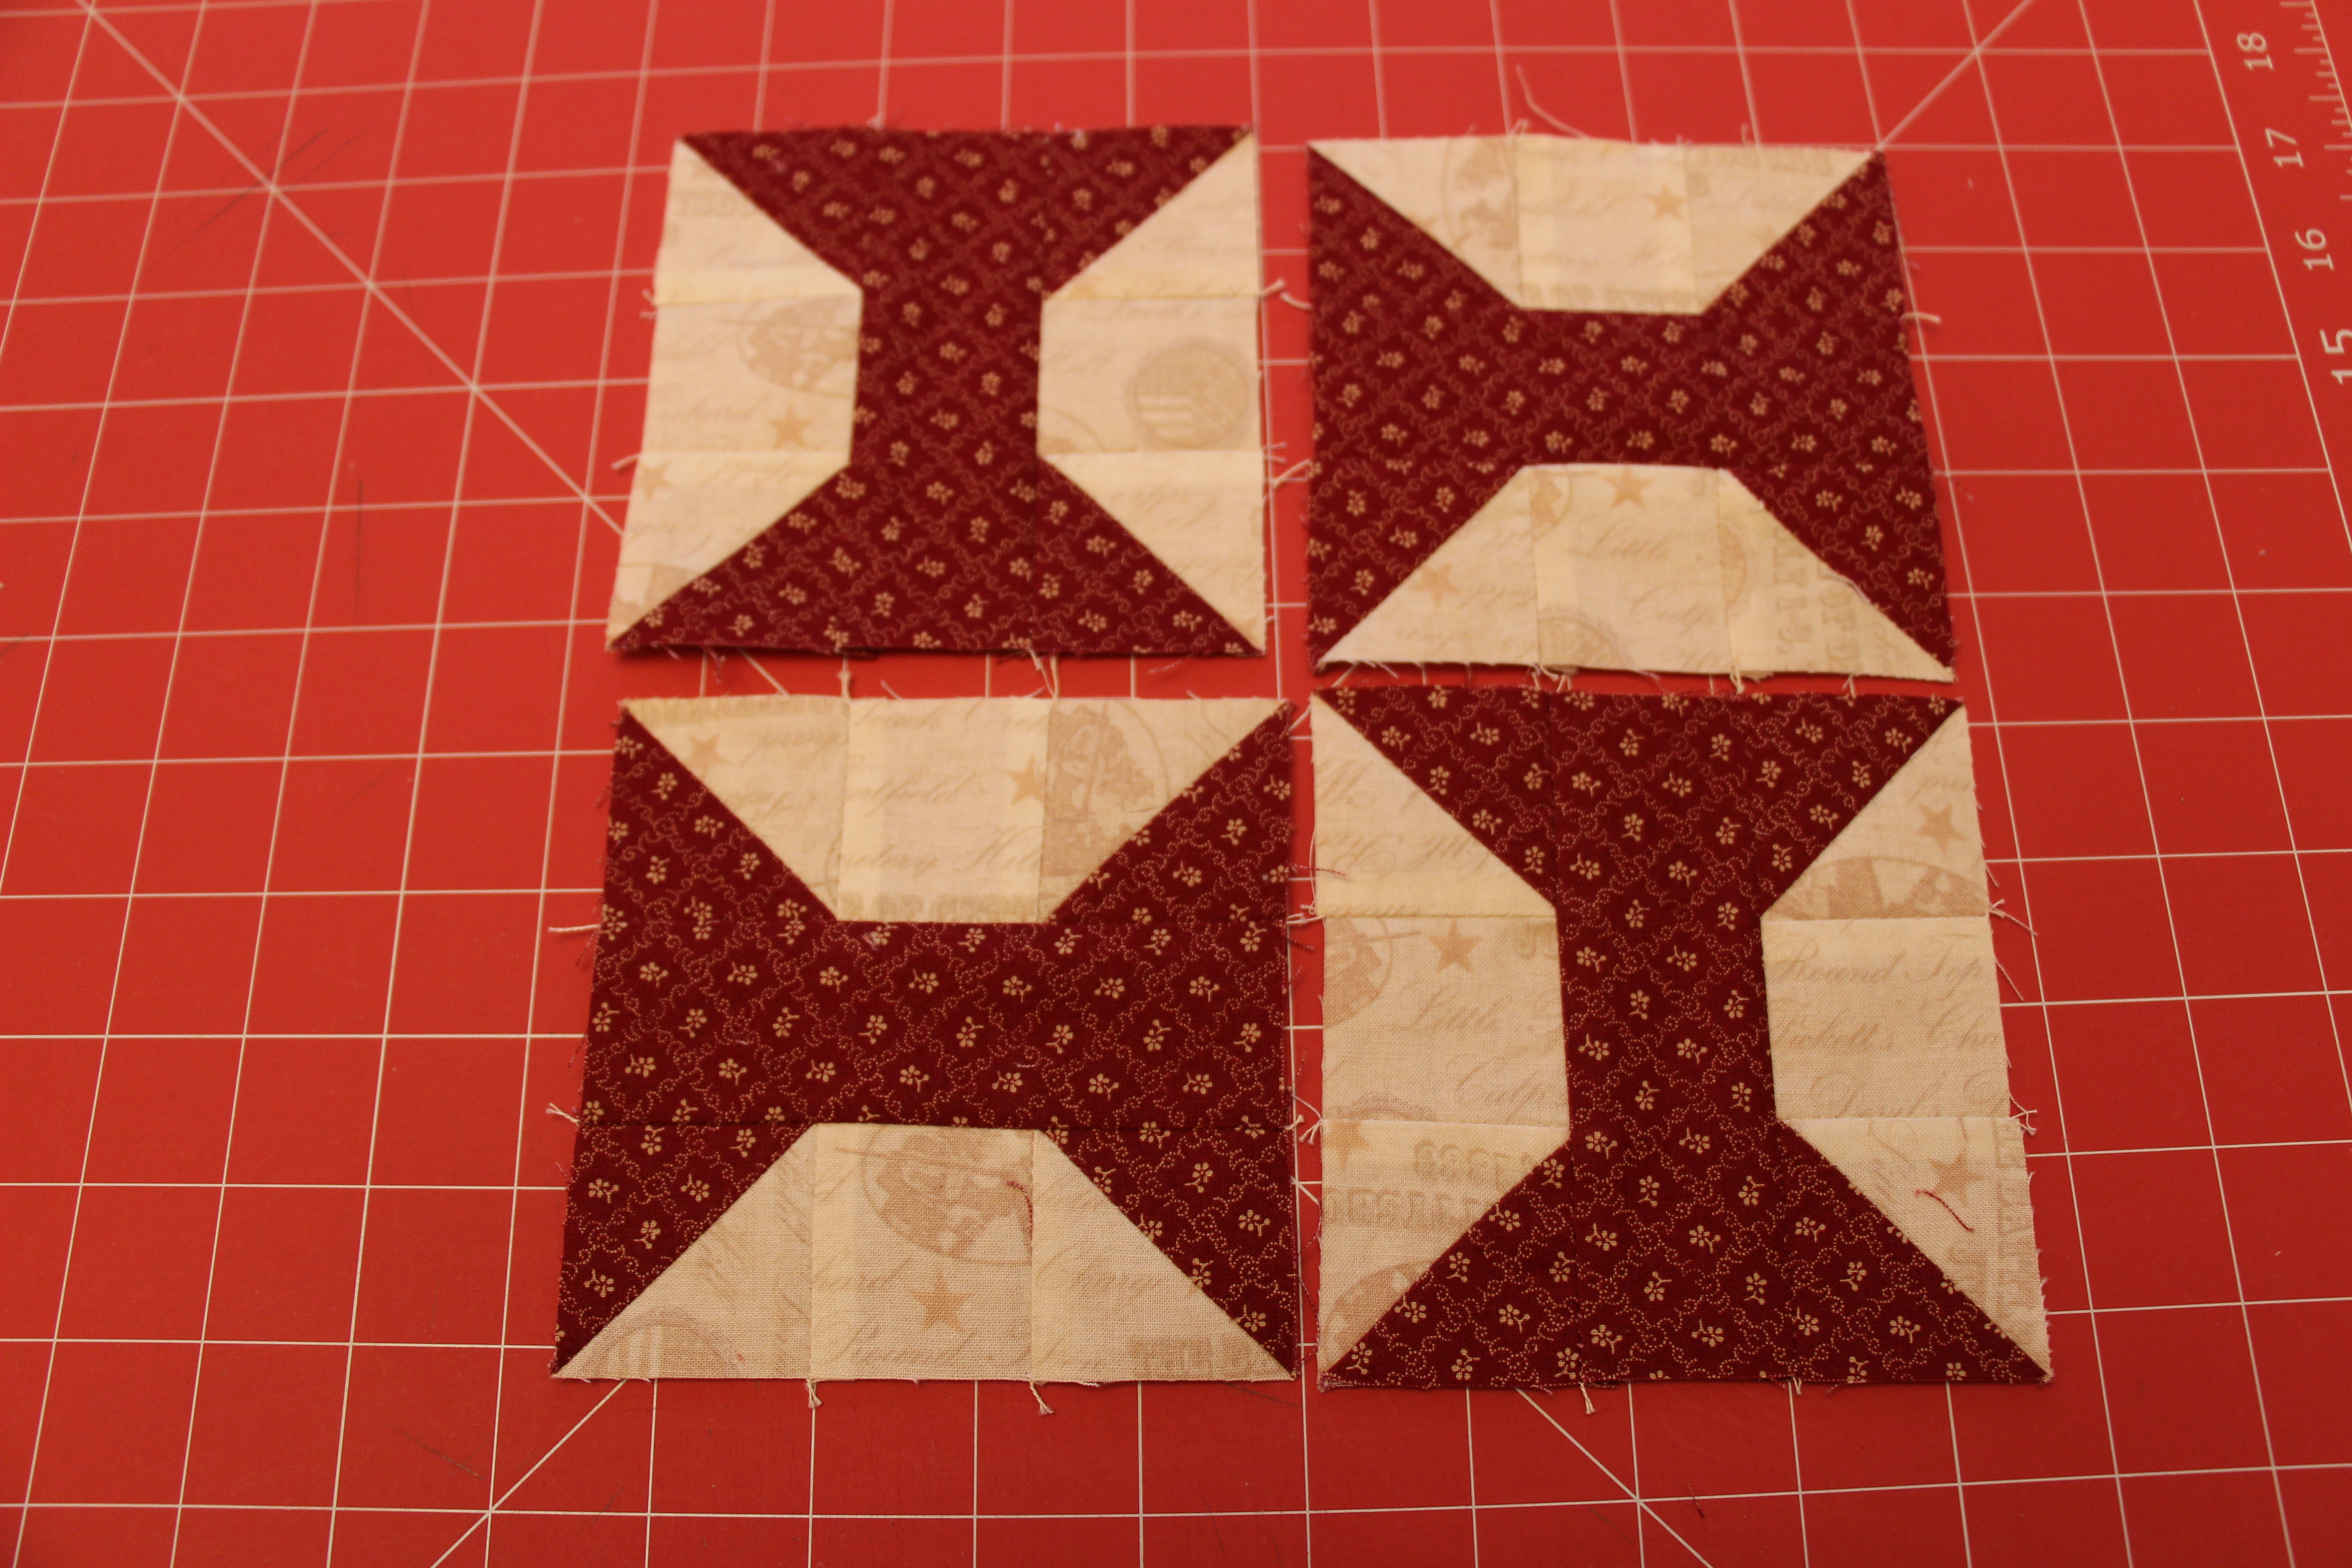
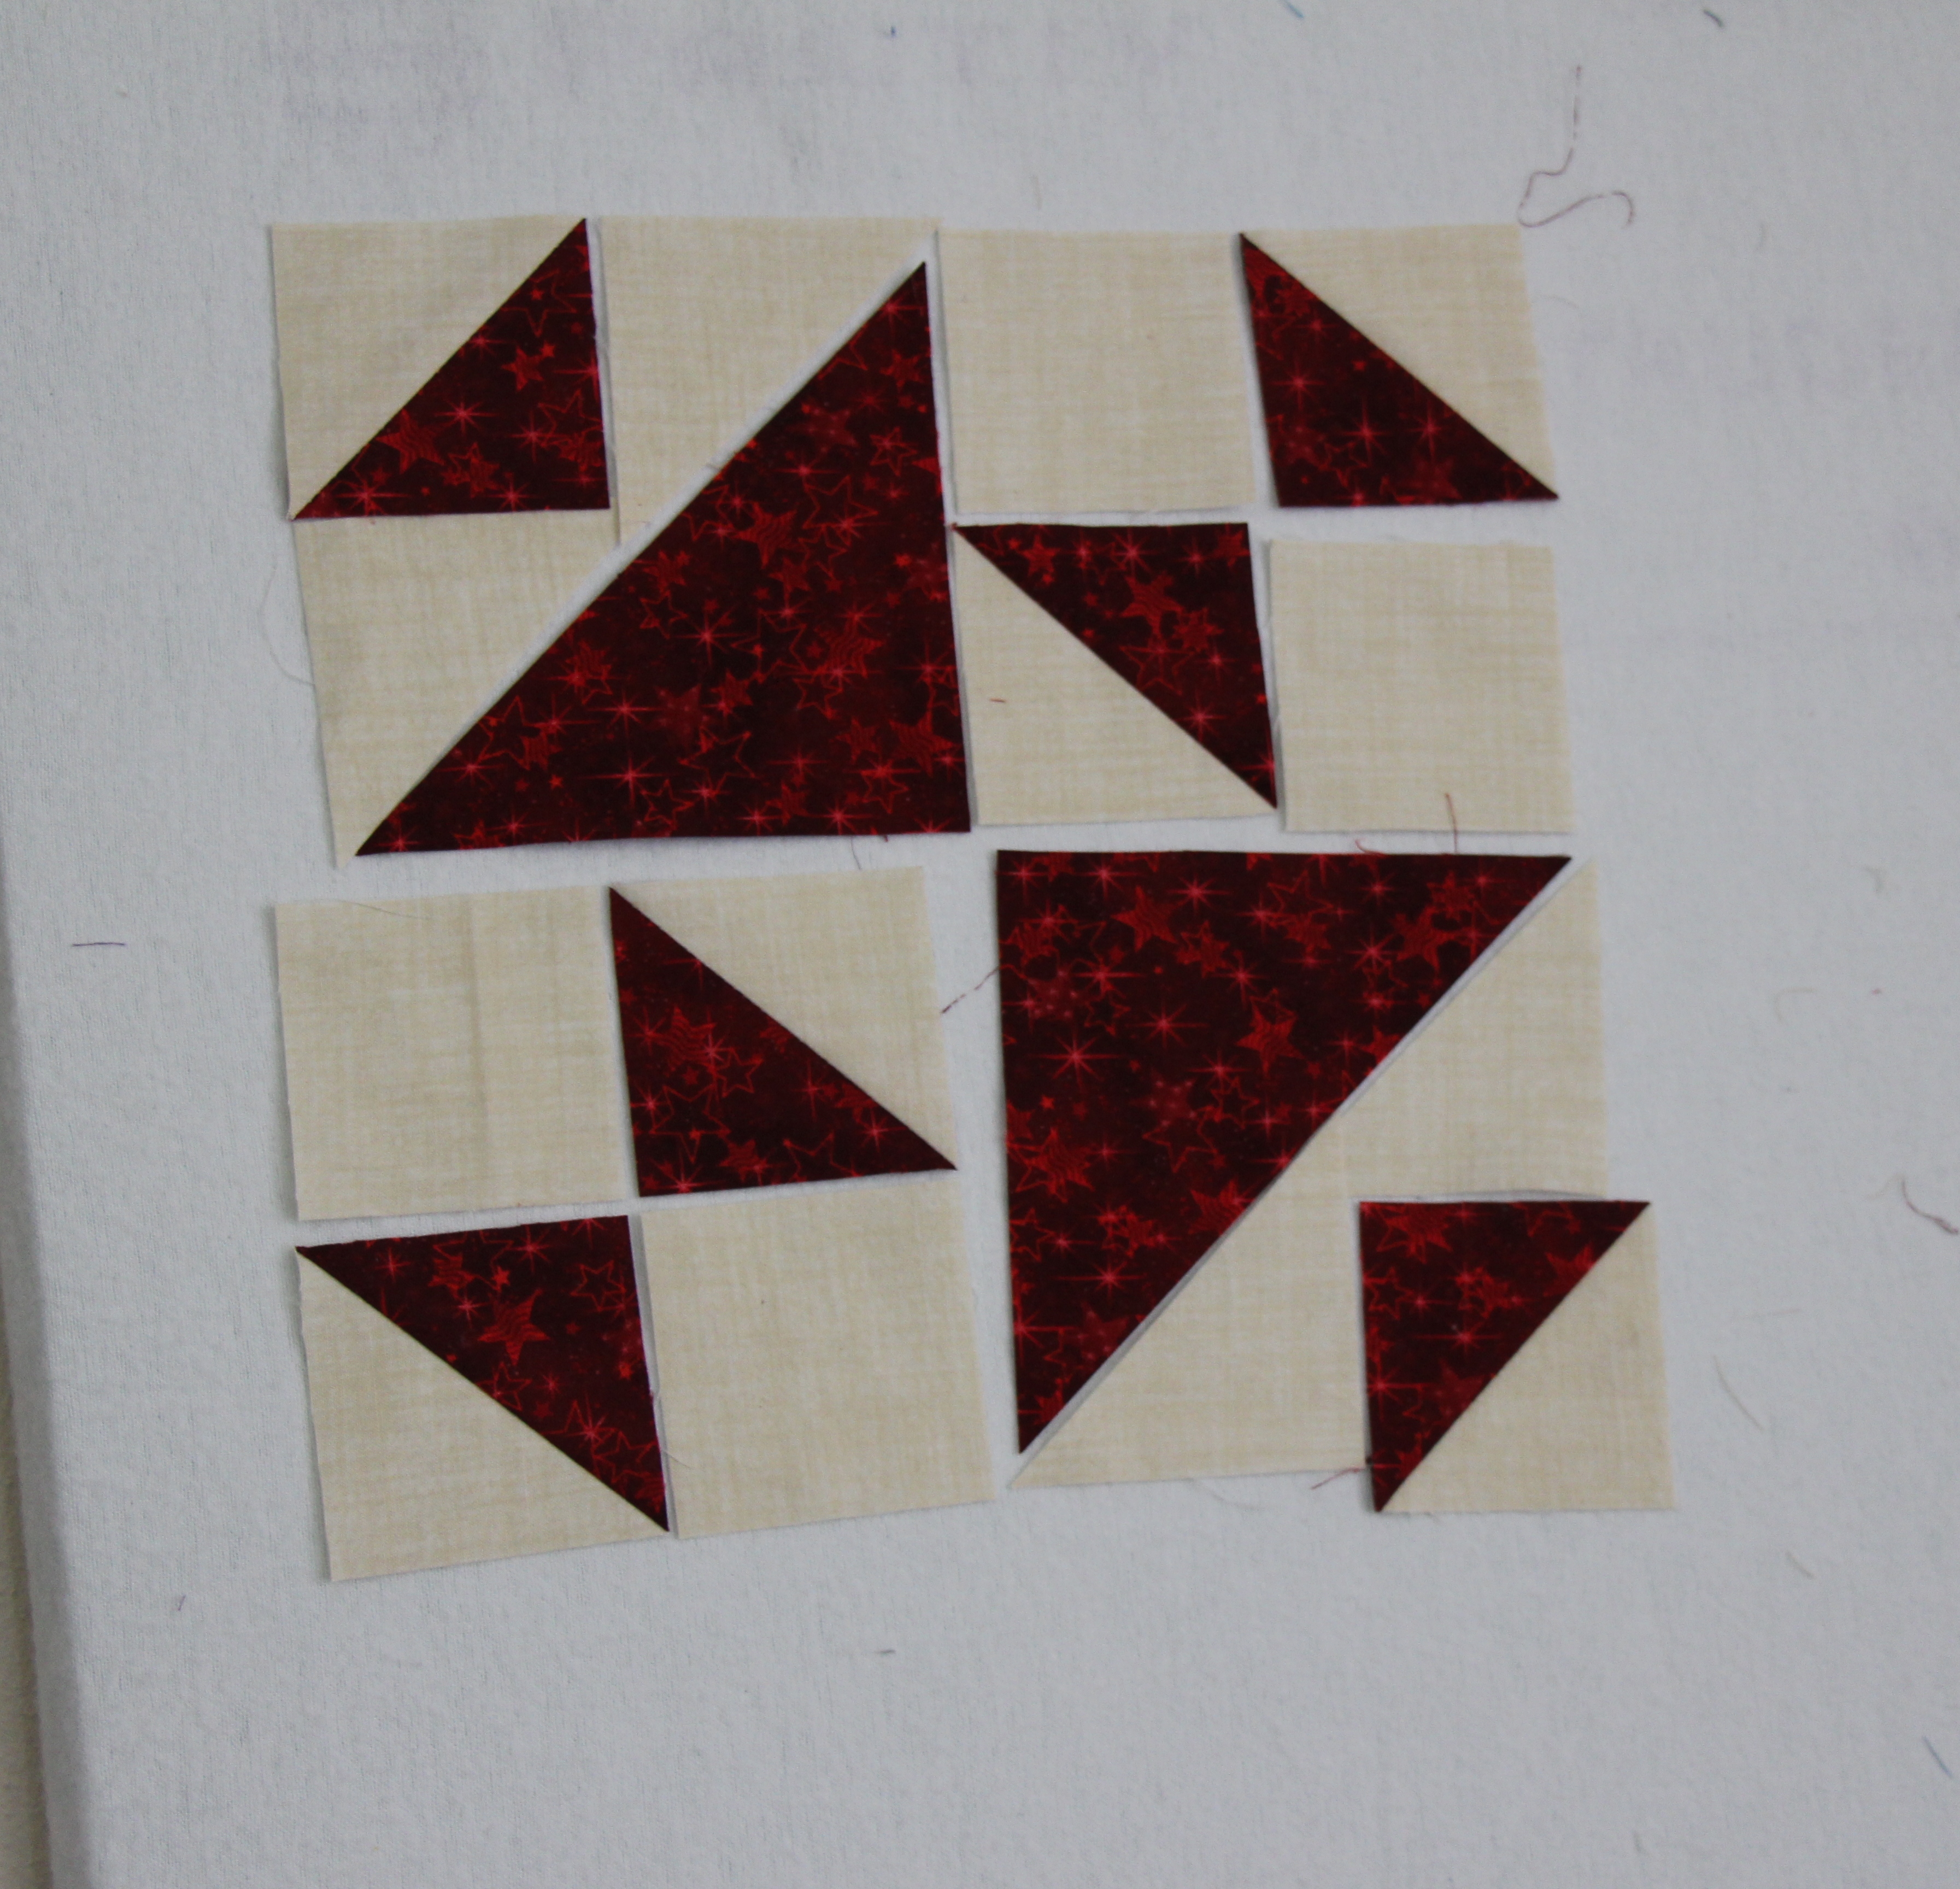


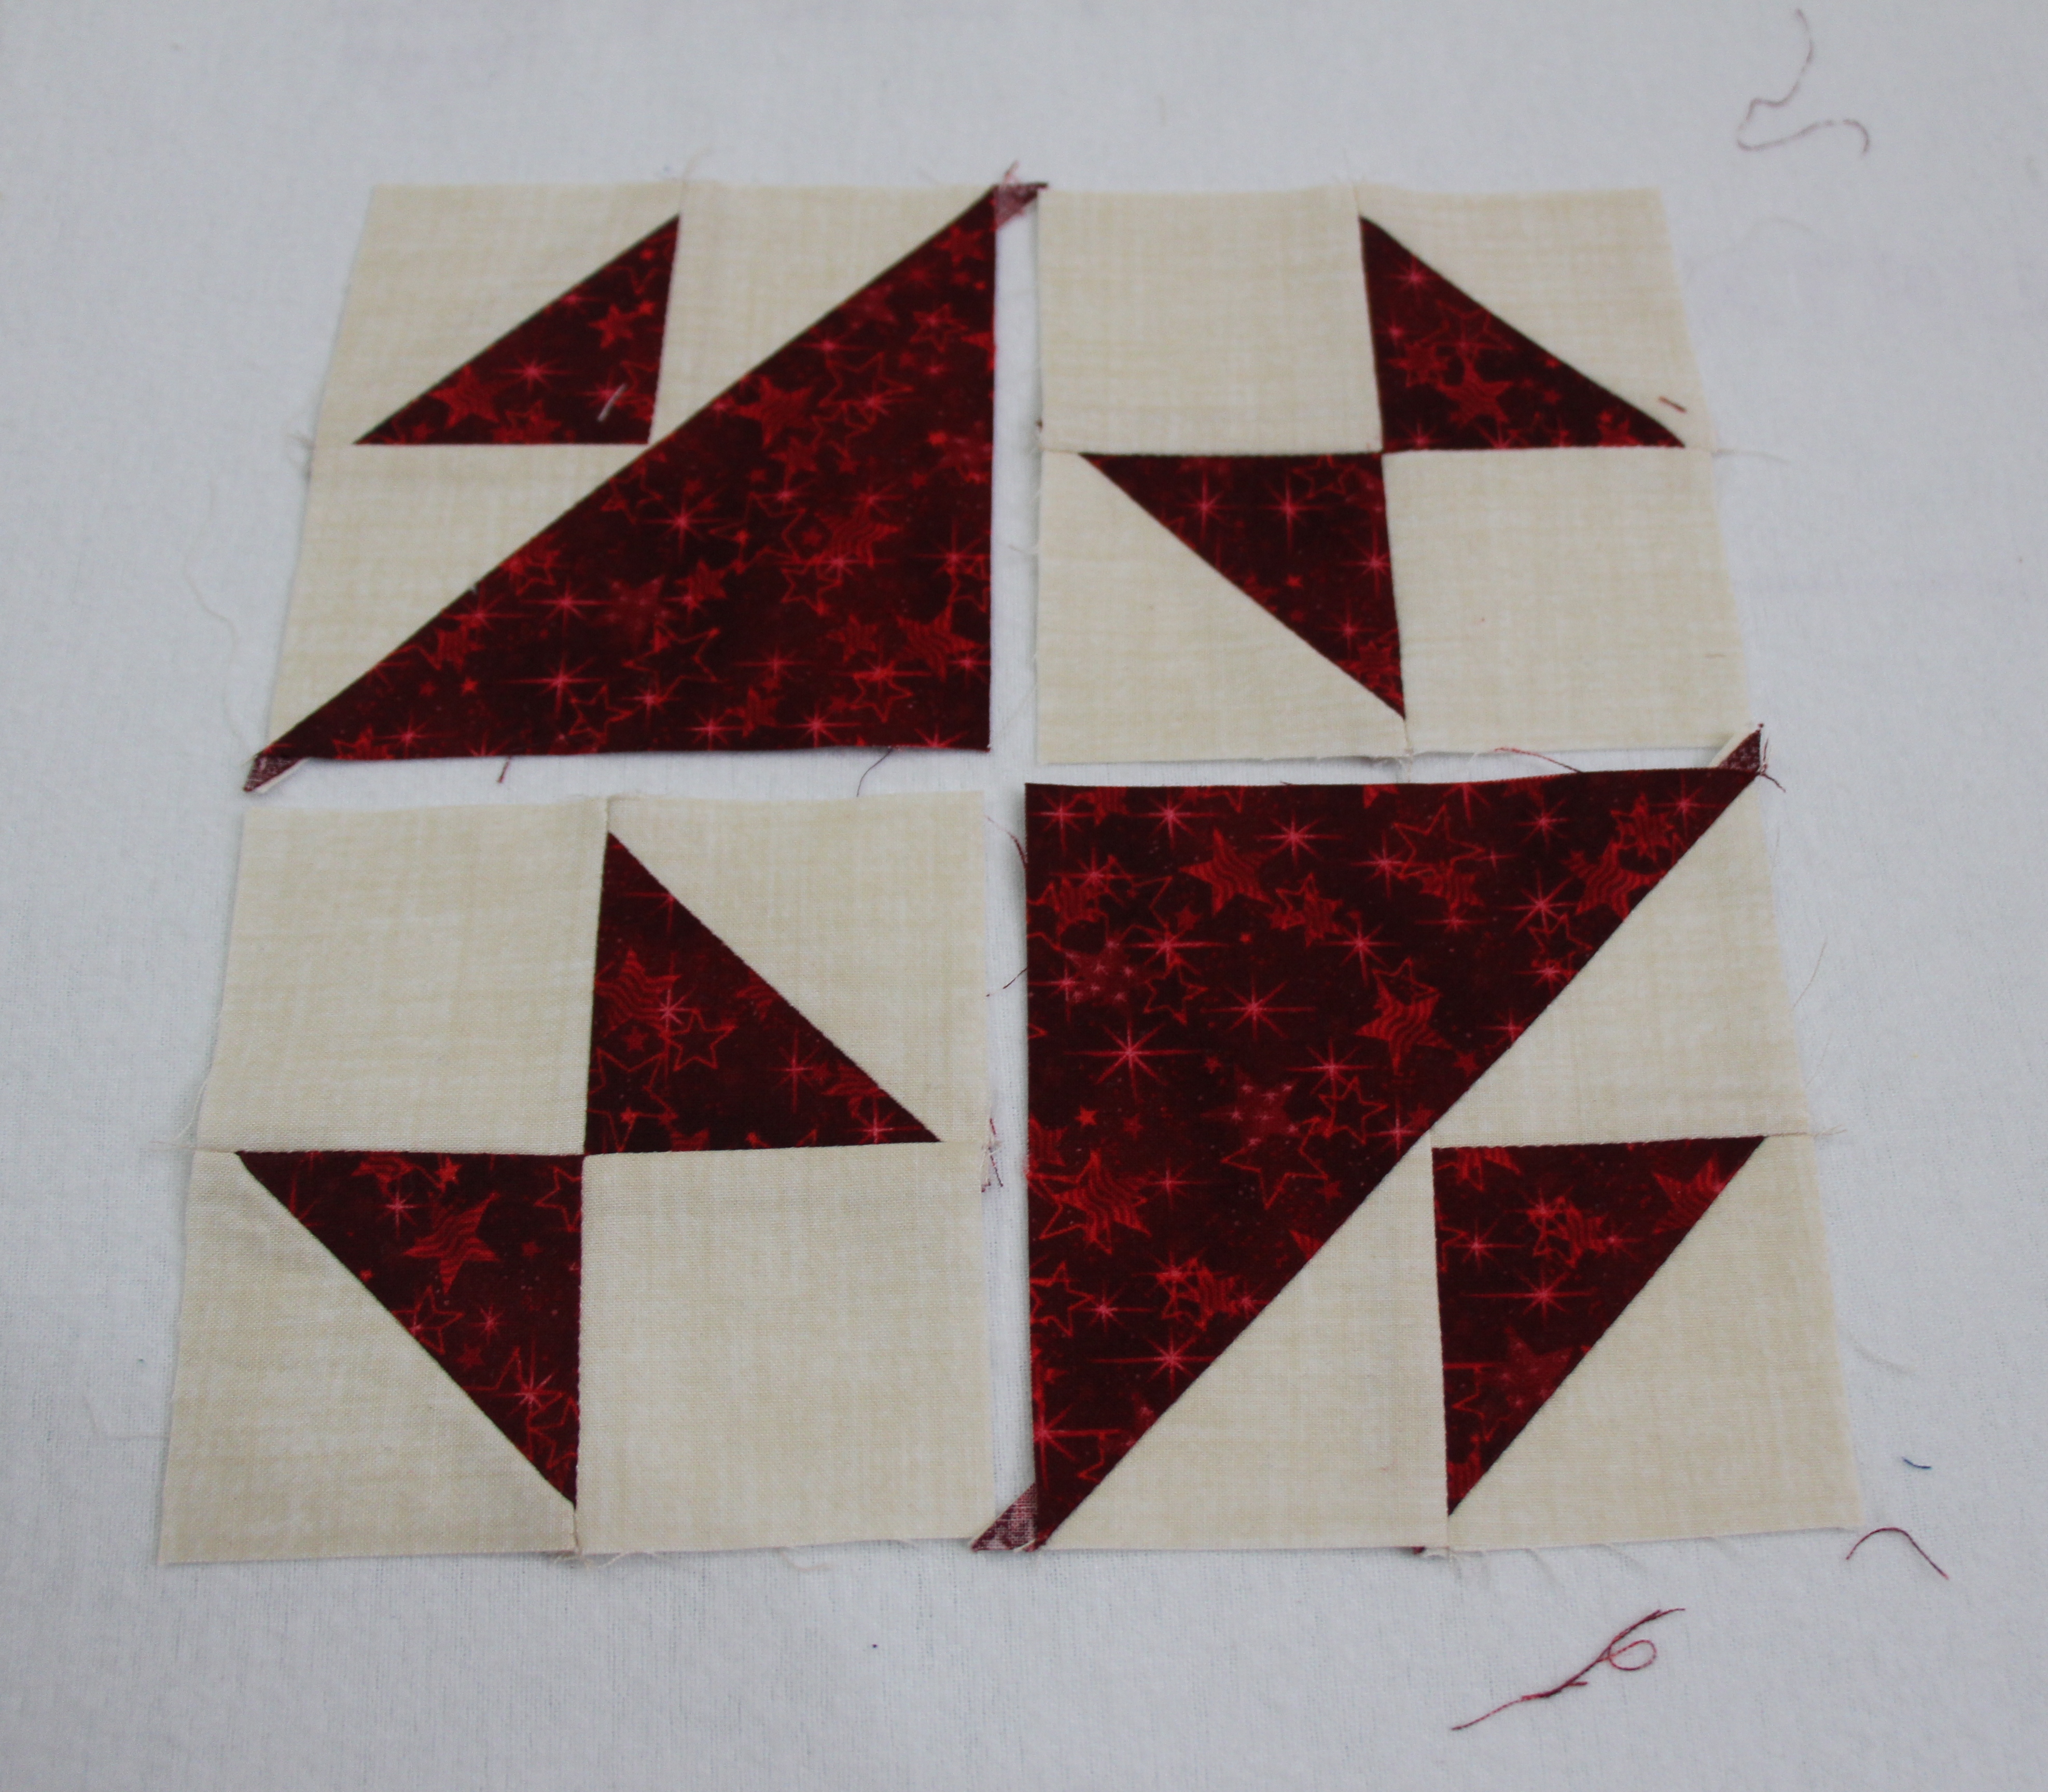


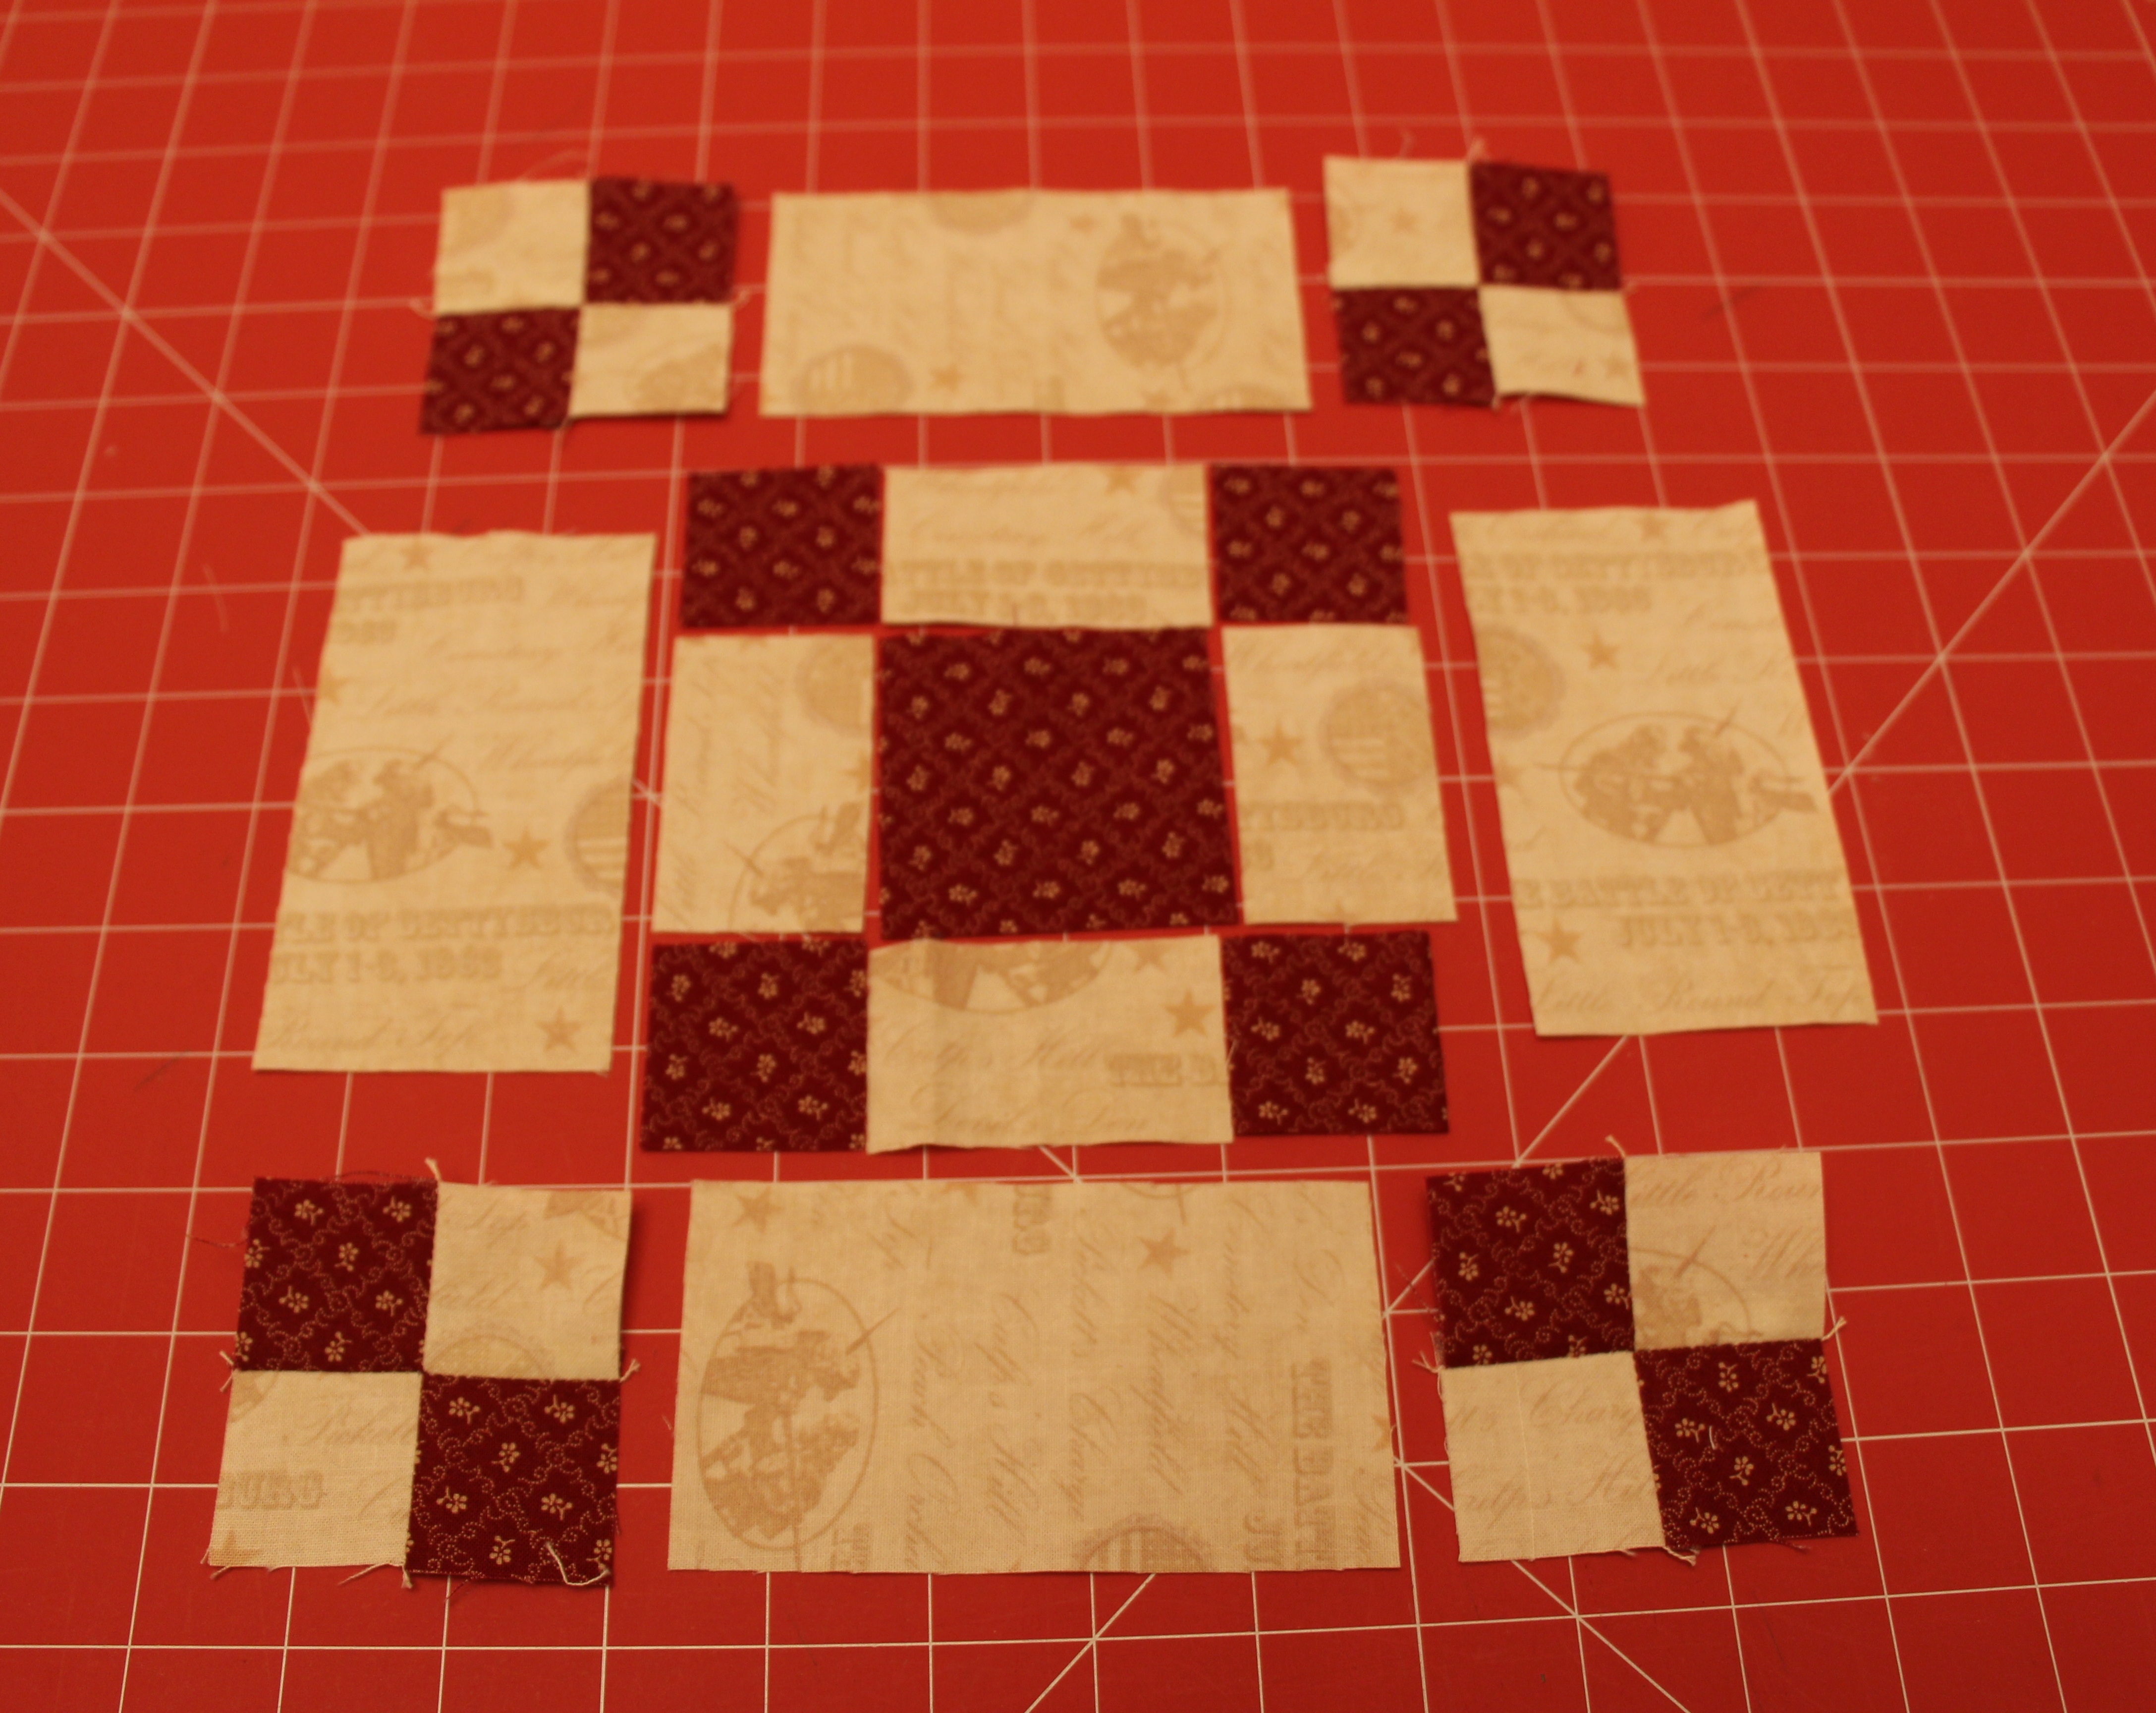
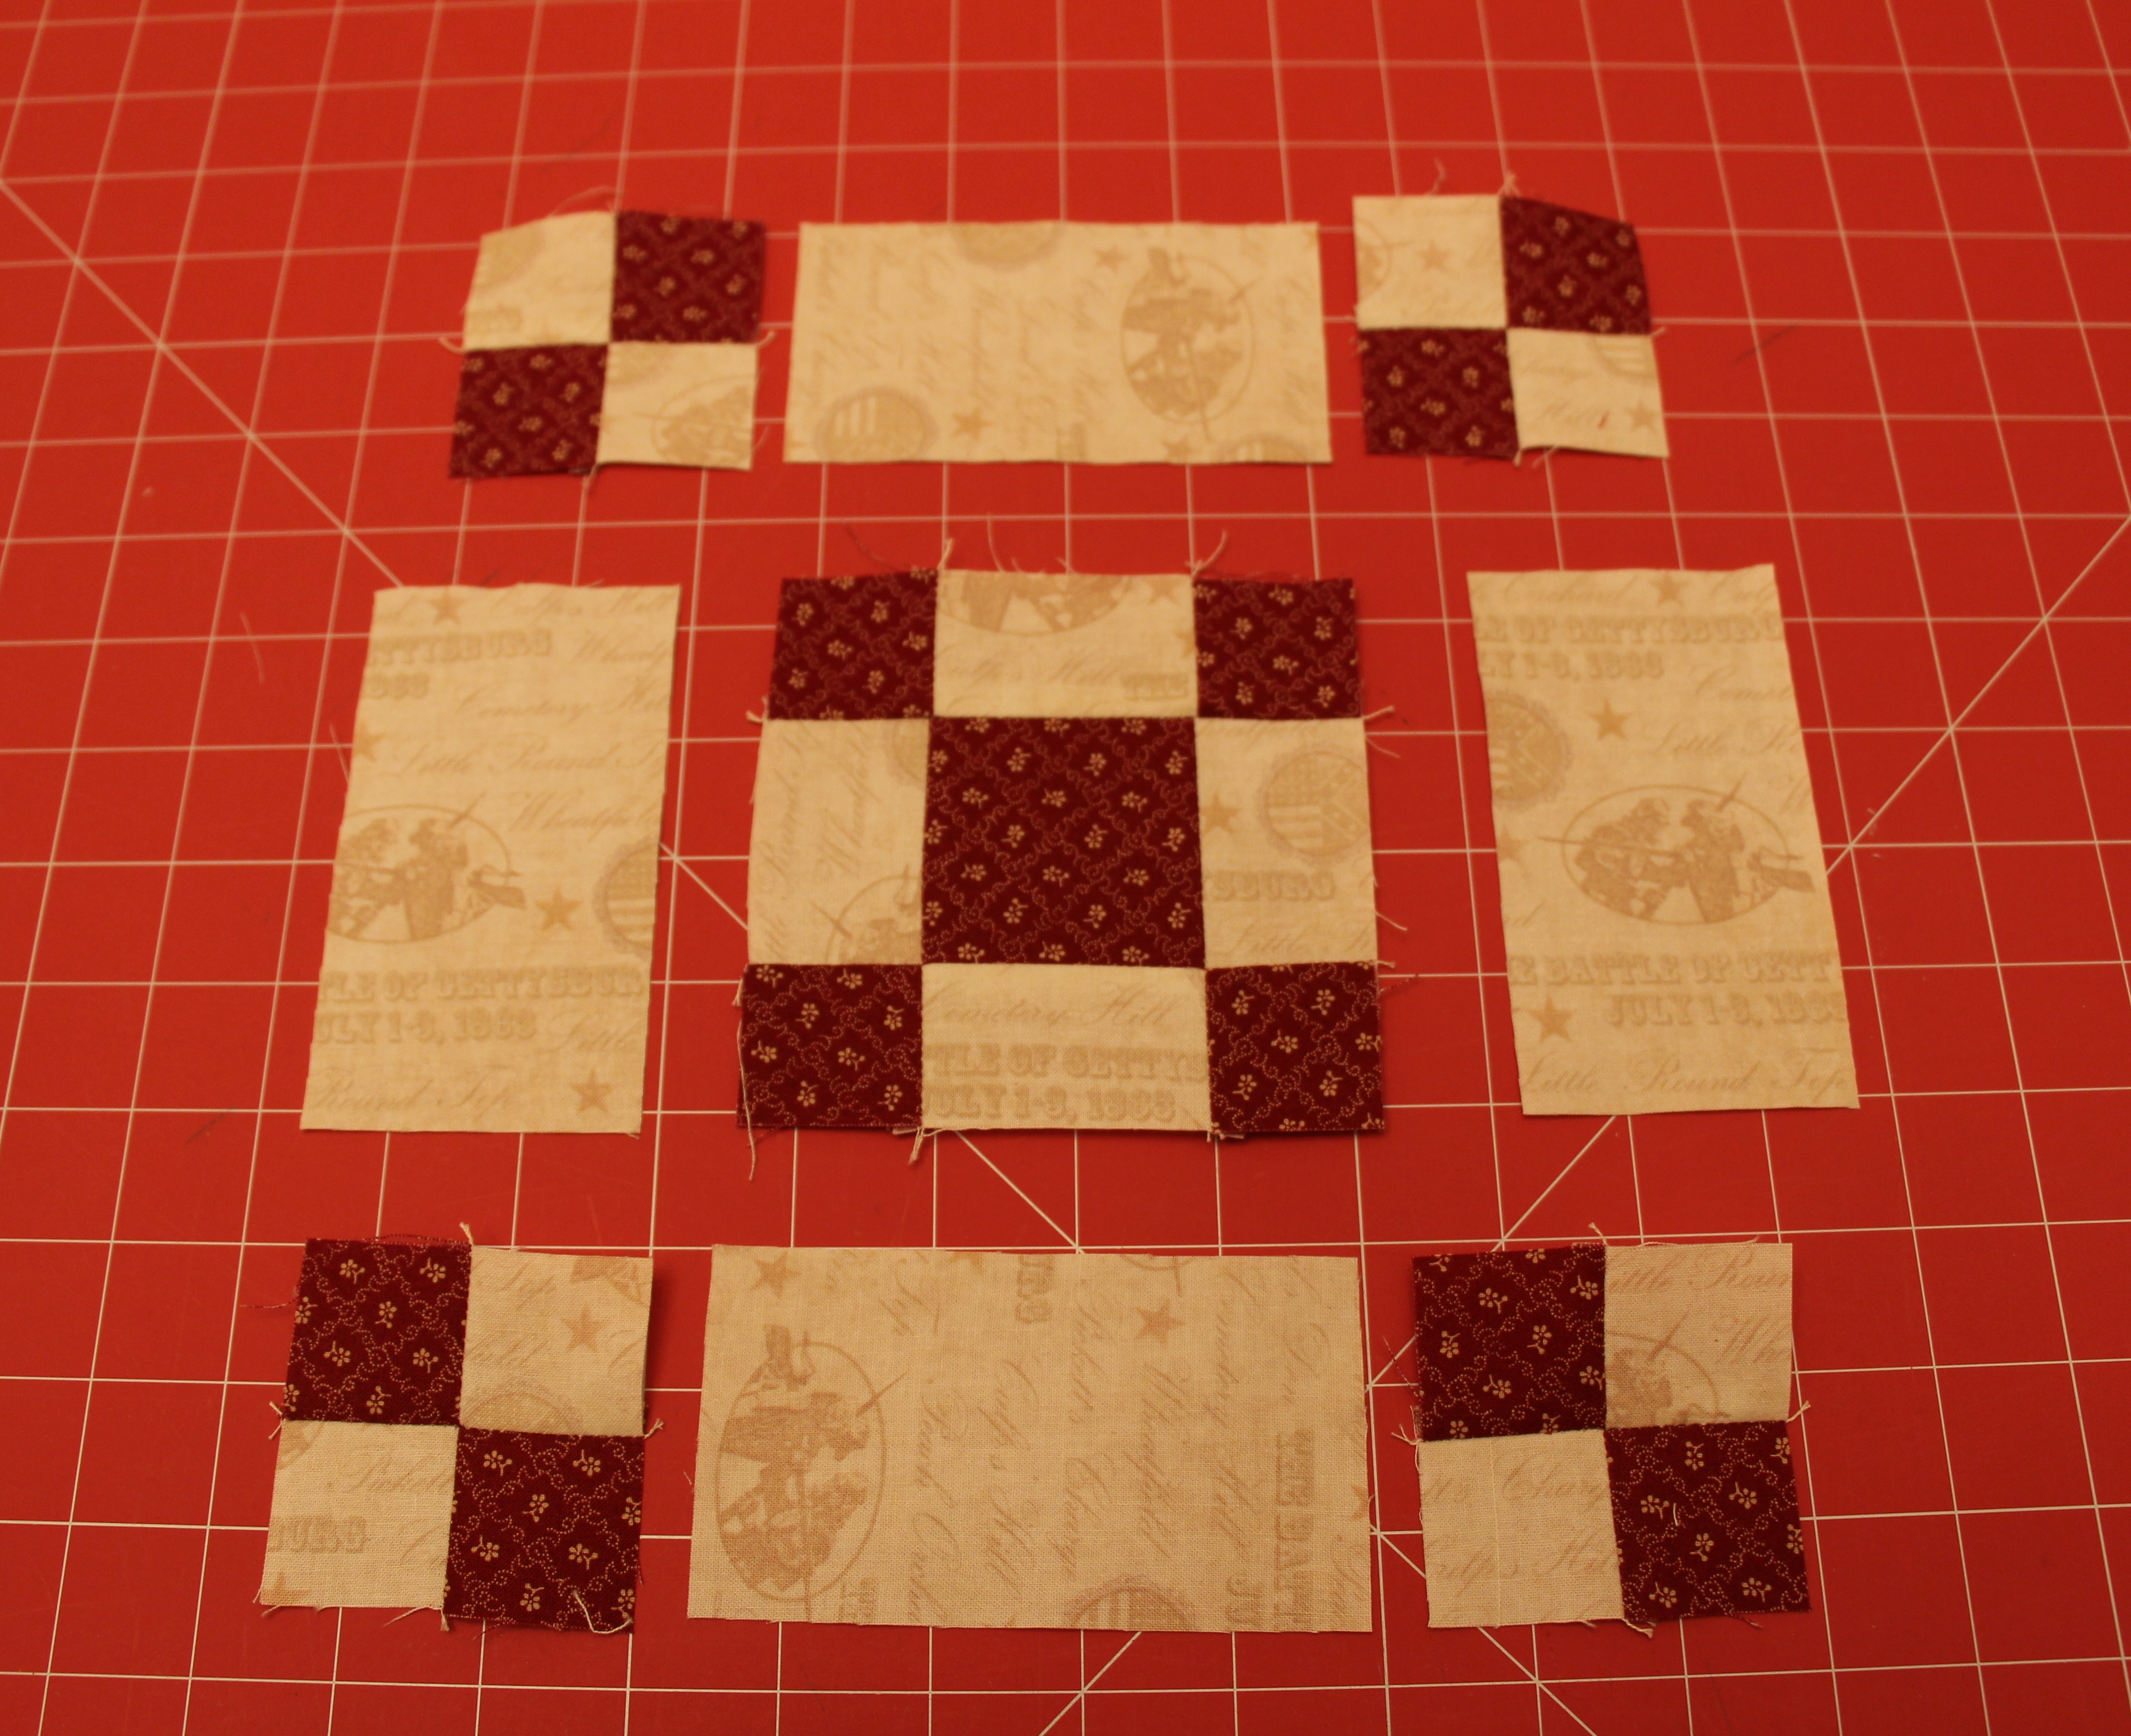
 Here’s what you need: