
Adding sashing (those pretty inner borders) to a quilt can give it a clean and completed look. It’s quick to do and actually very simple!
Heres the How-To for Sashing:
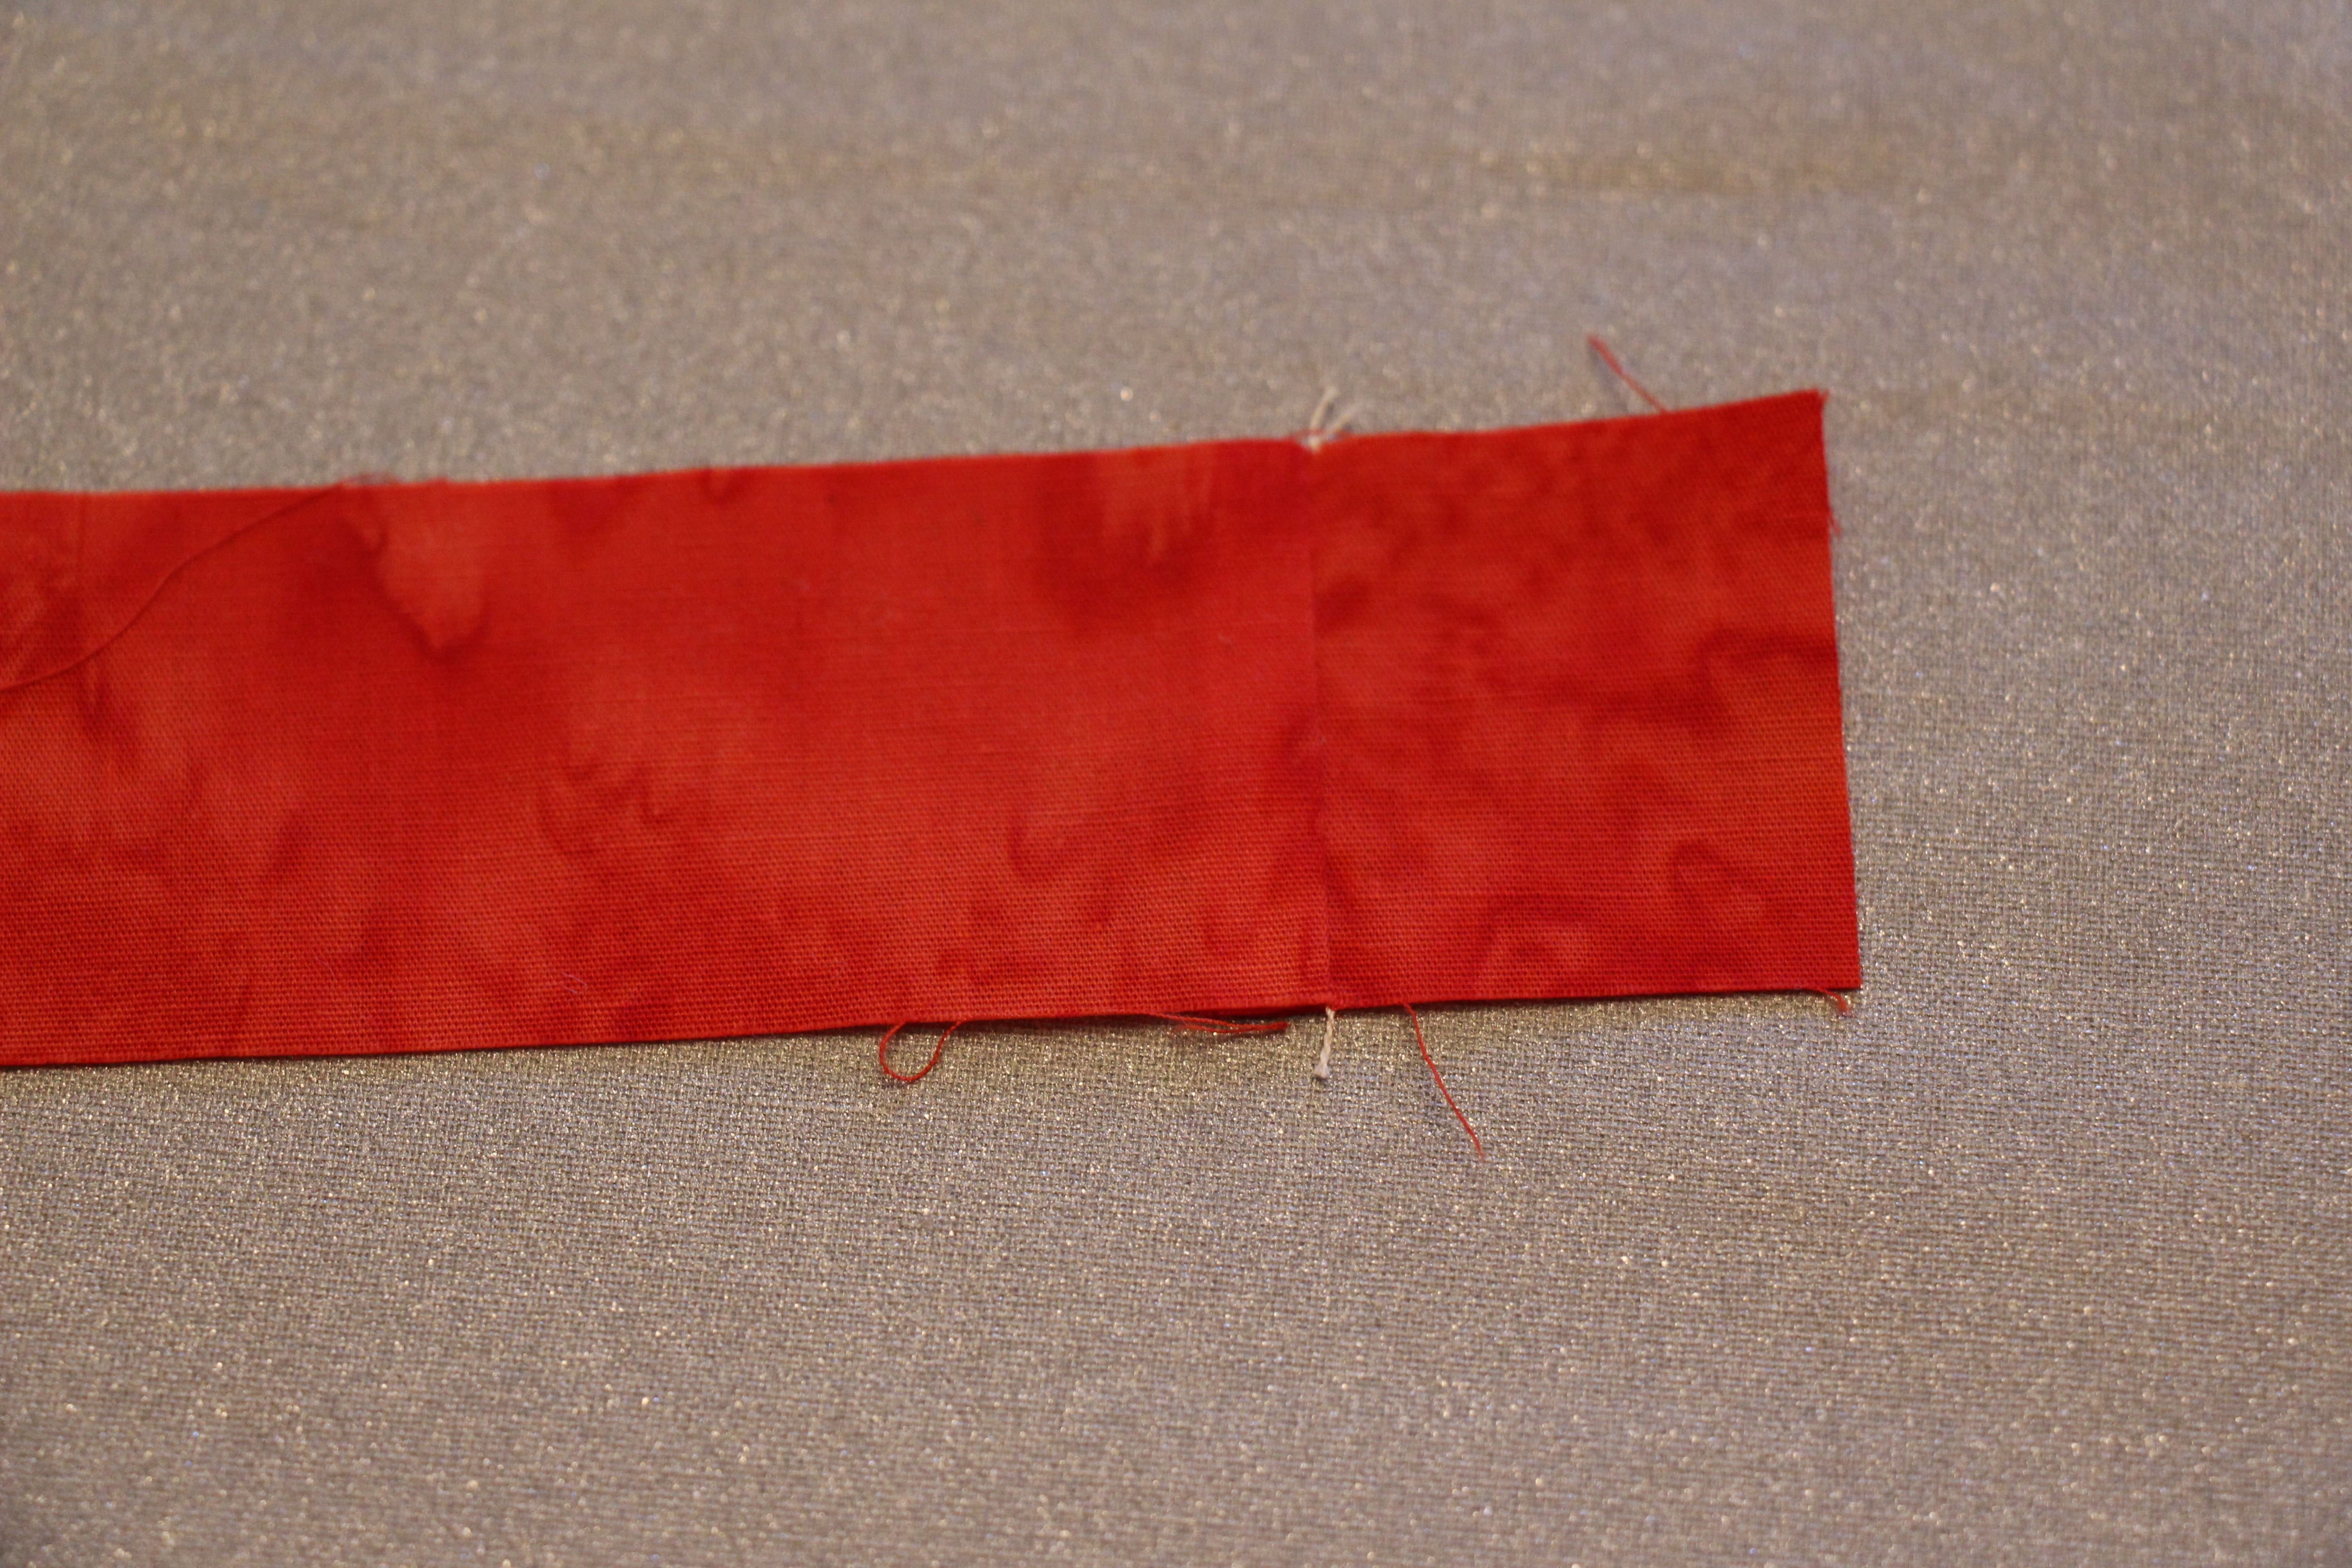
Measure your completed block. Do not cut your sashing fabric until you’ve completed all of your quilt blocks. Cut your sashing fabric into strips with a length of your block size and width of your desired sashing thickness plus ½”. For this tutorial, I’m doing a finished sashing width of 1” so these strips are cut at 1 ½”. You will also need to cut 1 ½” squares (whatever size sashing you’re using). These squares are “keystones”, you could do them as a miniature block or a different color or use the same sashing fabric like I did. These squares will ensure straight lines throughout your quilt.

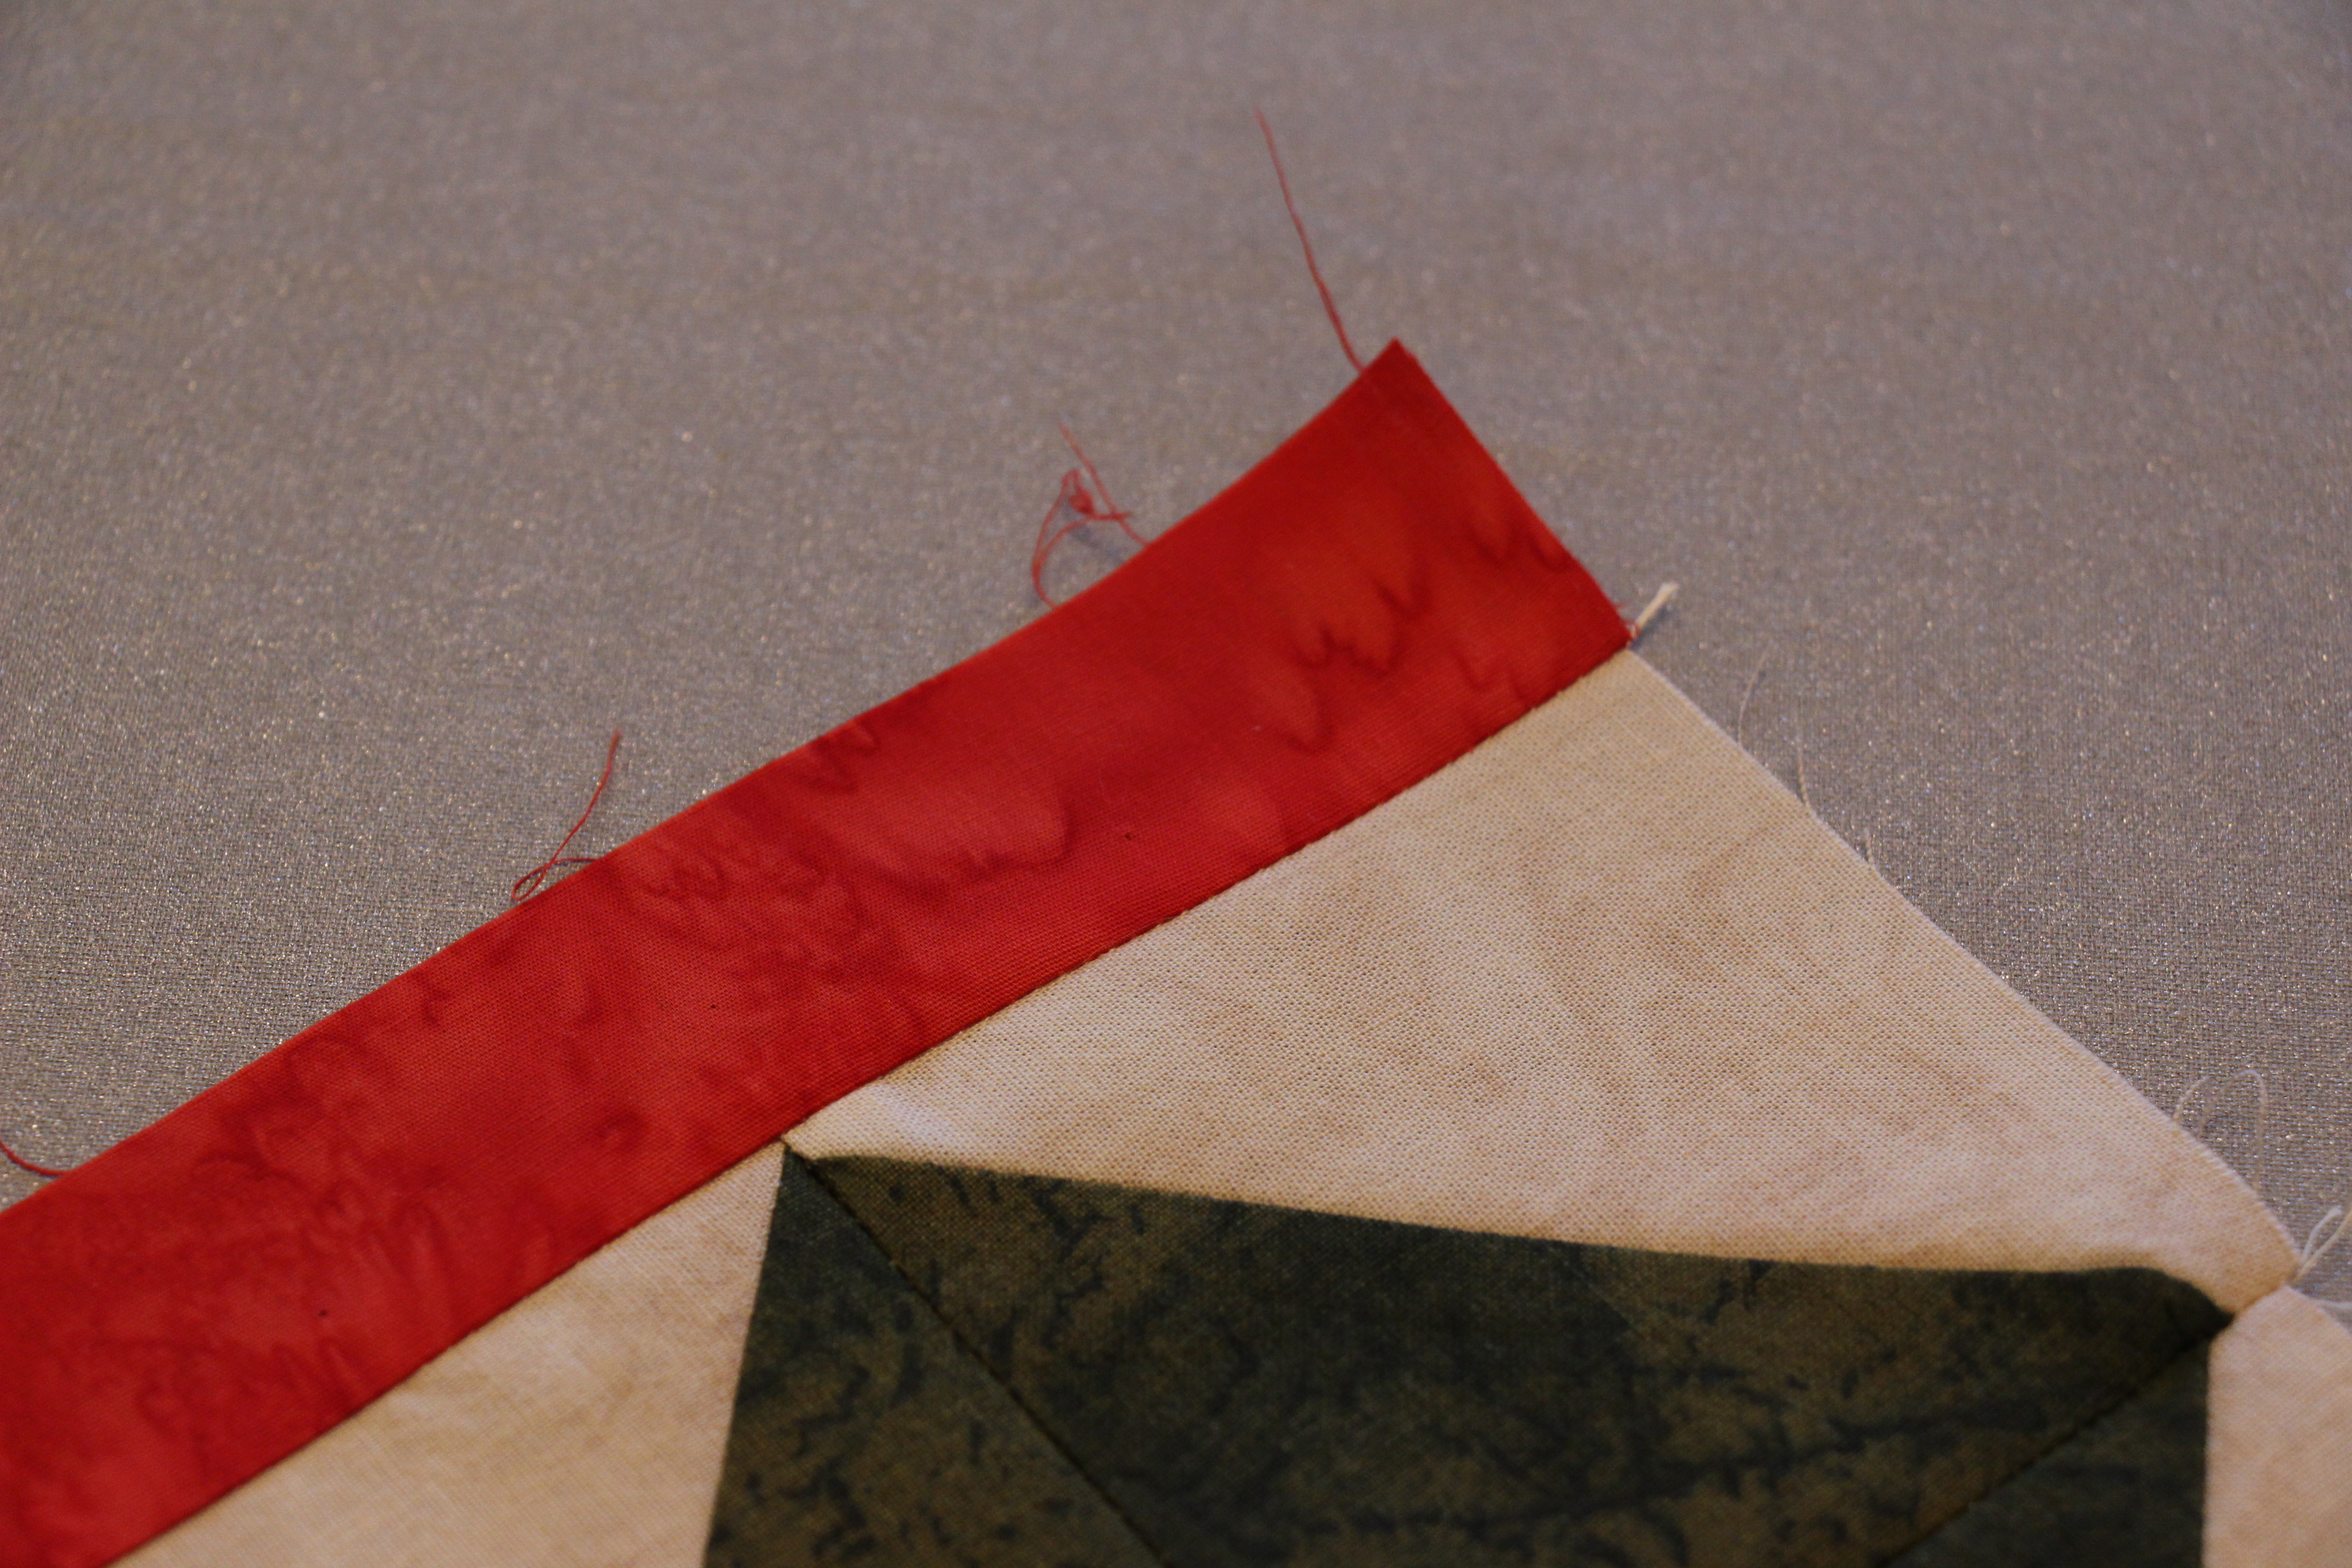
Sew the vertical sashing strips onto the blocks, creating a row.

When you iron, iron towards that sashing (away from the block). I find this creates a cleaner, sharper look.

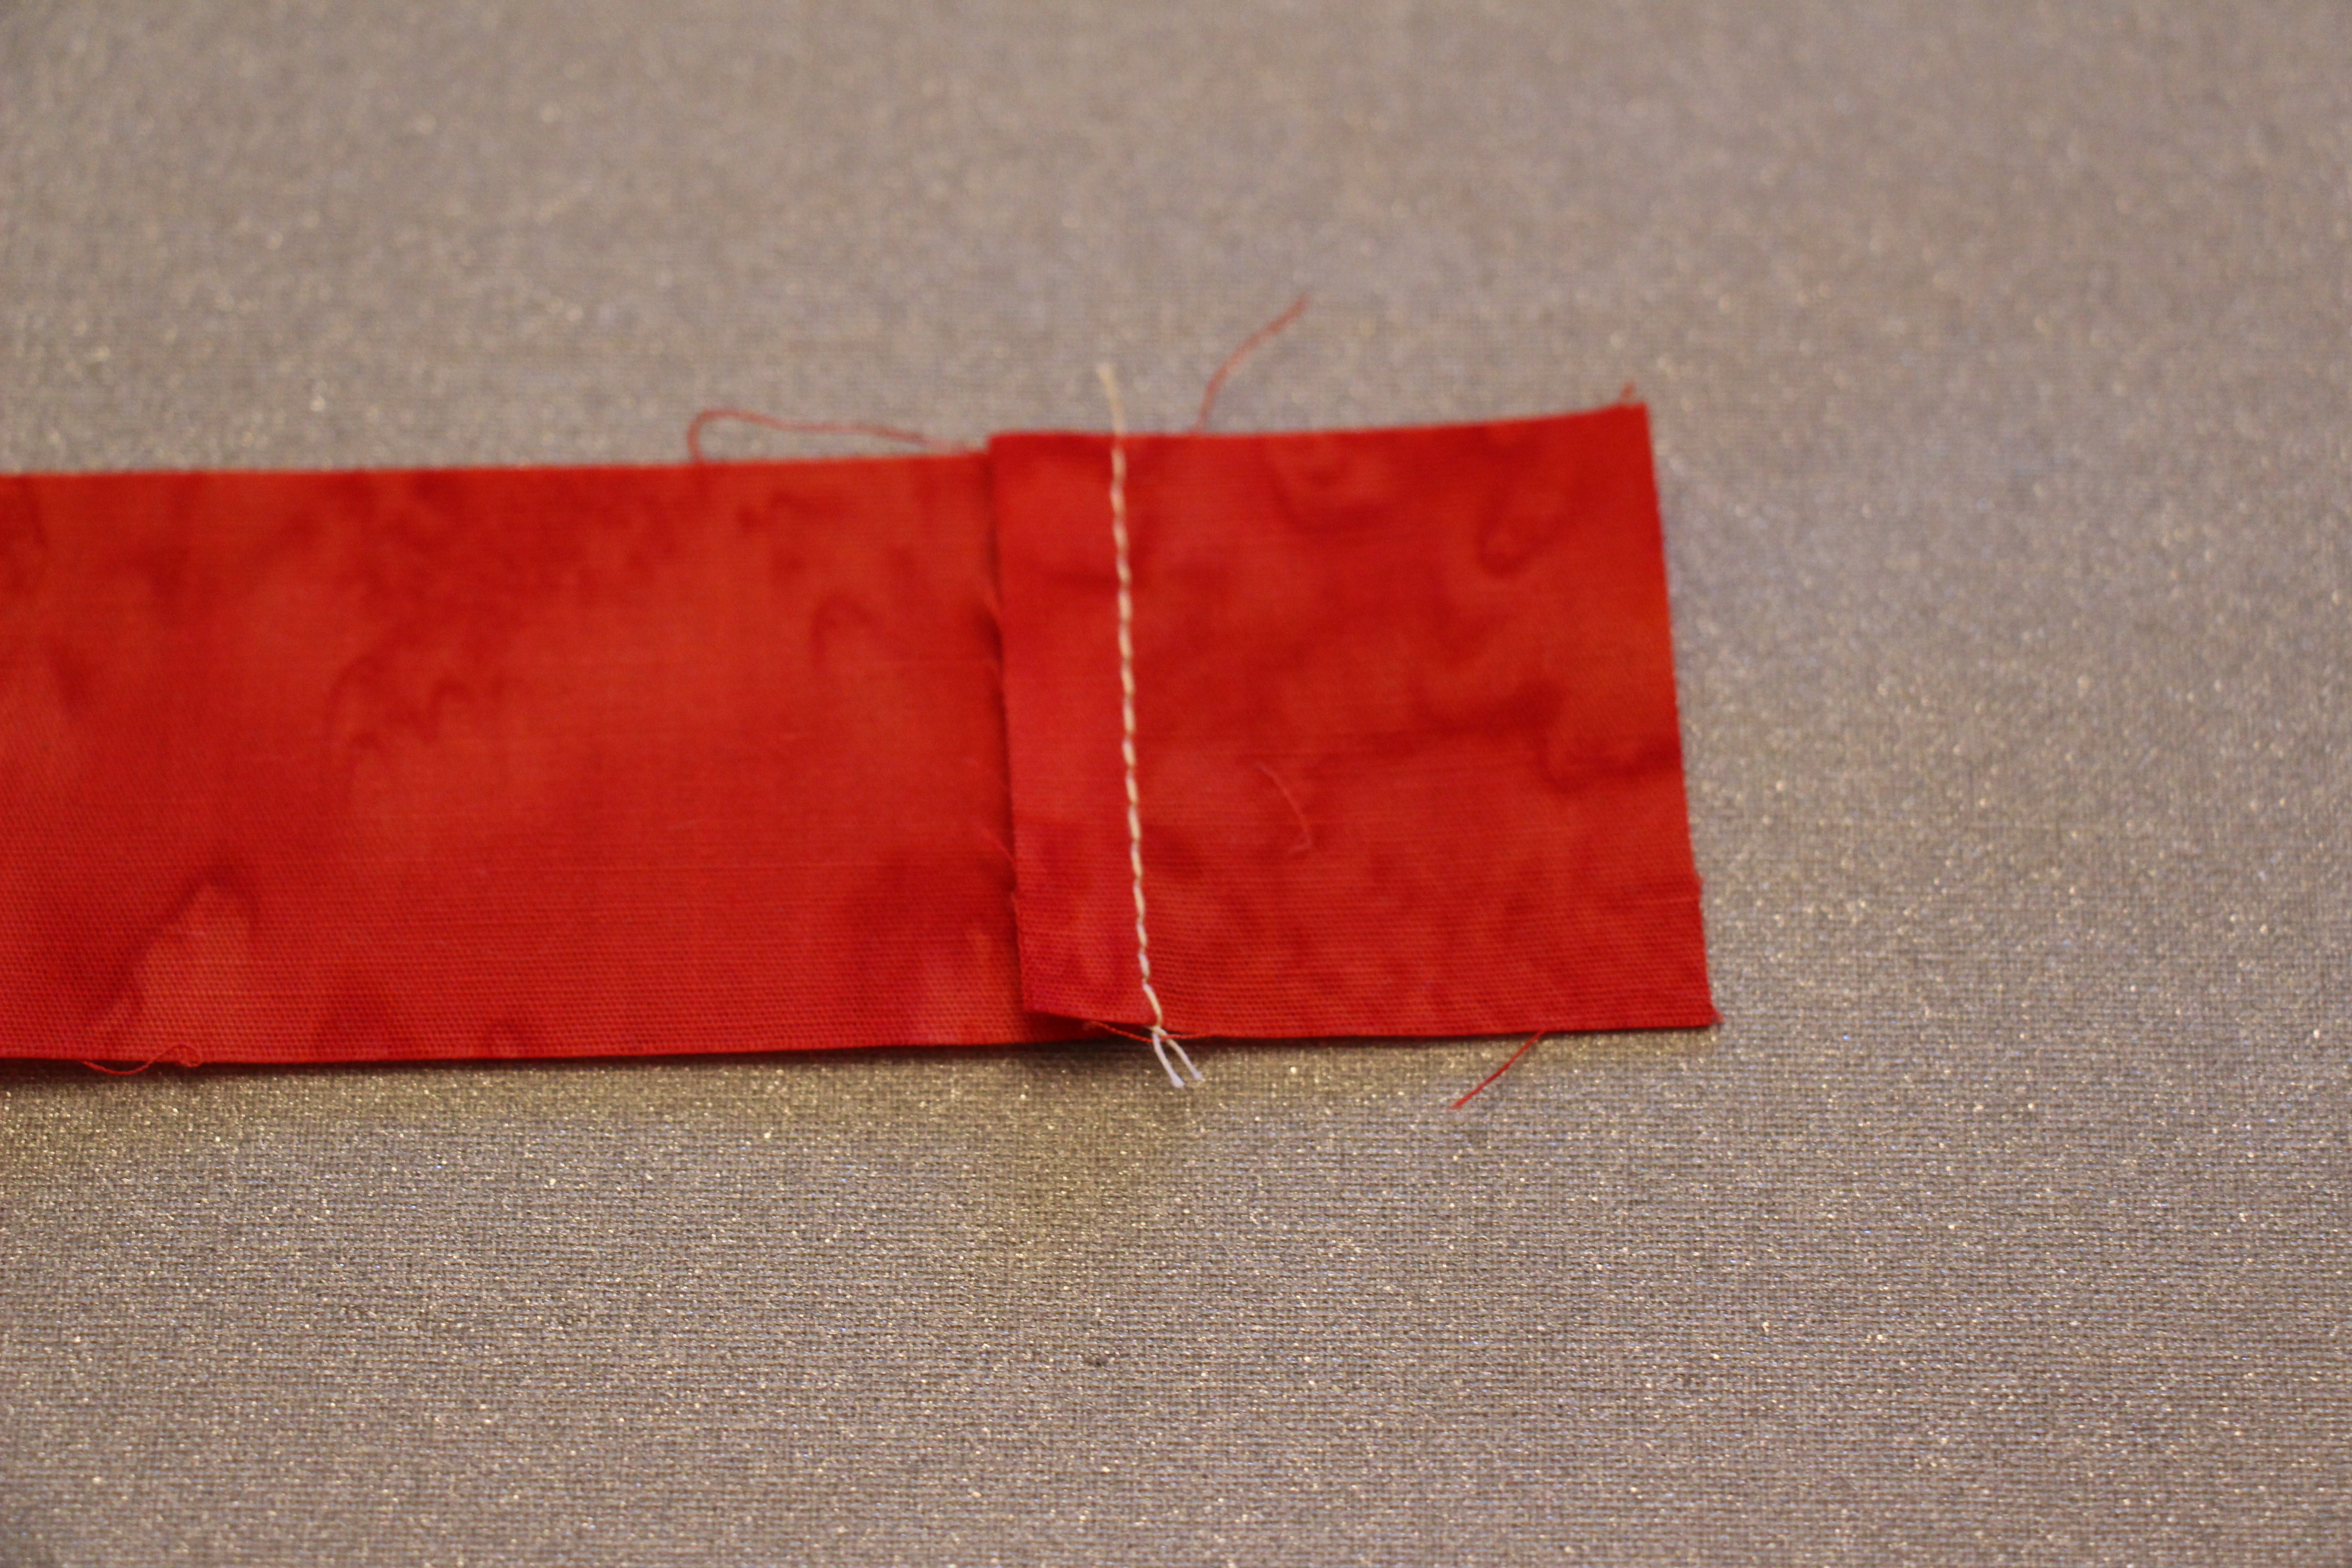
Sew the horizontal sashing strips onto the keystones.

When you iron, iron away from the keystones. This will insure your sashings lock together nicely when you put it all together.
Sew sashing row to block row.

Repeat until your quilt is completed.

For an example of a completed quilt using sashing, check out the one I made in honor of my grandmother – “Violet”.


