Yankee Puzzle

What better name for a quilt block than Yankee Puzzle for my Fourth of July quilt Old Glory.

Yankee Puzzle Quilt Block

Here is the how-to for the Yankee Puzzle Quilt Block:

Note: These measurements are for an 8″ block. Sew using a scant 1/4″ seam allowance. 

Cut fabric:

  • 8 squares 3 1/8″ red
  • 8 squares 3 1/8″ white

Use the 8 squares of 3 1/8″ red and white to create 16 Half Square Triangles (HSTs) trimmed down to 2 1/2″. Click here for my tutorial on how to make Half Square Triangles.

Lay out HSTs into the Yankee Puzzle quilt block.

Working in quadrants, sew four 4-patch blocks then sew the four 4-patch blocks into one 4-patch Yankee Puzzle:

Yankee Puzzle Quilt Block Tutorial

Honey Honey Layer Cake

As I continued to make quilt blocks for my Old Glory Fourth of July quilt I traded out a few blocks for others that I felt worked better with the personality of the quilt. This particular block I found on Pinterest. You can see a whole quilt made with this block here, it’s stunning!

Honey Honey Layer Cake Quilt Block

Here is the how-to for the Honey Honey Layer Cake Quilt Block:

Note: These measurements are for an 8″ block. Sew using a scant 1/4″ seam allowance. 

Cut fabric:

  • 8 squares 2 3/4″ red
  • 8 squares 2 3/4″ white
  • 4 squares 2 1/8″ red
  • 4 squares 2 1/8″ white

Use the 8 squares of 2 3/4″ red and white to create 16 Half Square Triangles (HSTs) trimmed down to 2 1/8″. Click here for my tutorial on how to make Half Square Triangles.

Lay out HSTs and solid blocks into the Honey Honey Layer Cake quilt block: Honey Honey Layer Cake Quilt Block Tutorial

Assemble each row of five:

Honey Honey Layer Cake Quilt Block Tutorial

Attach the five rows together:

Honey Honey Layer Cake Quilt Block Tutorial

Ohio Star

For my Old Glory Fourth of July quilt I used two different blocks for the stars section of the flag. One of them, Sarah’s Choice, is a 16-patch of half square triangles and squares so I did not feel a tutorial was necessary for that block. The other star block, Ohio Star, is a little trickier. This 9-patch is a made up of squares and what I call hour glasses (quarter-square triangles). Ohio Star

Here is the how-to for the Ohio Star Quilt Block:

Note: These measurements are for an 8″ block. Sew using a 1/4″ seam allowance.

Cut fabric:

  • 1 square 3 1/8″ blue
  • 4 squares 3 1/8″ white
  • 2 squares 4 1/8″ blue
  • 2 squares 4 1/8″ white

Layer one white 4 1/8″ square atop a blue 4 1/8″ square. Mark the diagonal and 1/4″ on each side of the diagonal:

Ohio Star TutorialOhio Star Tutorial

Sew on each of the 1/4″ lines. Cut on the diagonal. Open up your half square triangles (HSTs) and iron to the dark:

Ohio Star Tutorial Ohio Star Tutorial Ohio Star Tutorial

Sandwich the HSTs so that blue and white are opposite each other. Mark the diagonal and 1/4″ on each side of the diagonal:

Ohio Star Tutorial

Sew on each of the 1/4″ lines. Cut on the diagonal. Open up your hour glasses and iron flat: Ohio Star Tutorial Ohio Star Tutorial IMG_7635

Trim down each hour glass to 3 1/8″ squares by treating one of the diagonals as a straight line and trim off the top and right side to just slightly larger than 3 1/8″. It is important that you line your ruler up so that the 3 1/8″ line is touching the edge of blue-on-white: Trimming an Hour Glass Flip the block and now align your ruler with the cut edges. Finish to 3 1/8″:

Ohio Star Tutorial Ohio Star Tutorial

Repeat the hour glass process for the other 4 1/8″ squares of fabric.

Now the Ohio Star is simply a 9-patch:

Ohio Star TutorialOhio Star

Interfacing T-Shirts

If you plan on creating a T-Shirt quilt, it is highly recommended that you interface them prior to sewing.

Interfacing is a material that adds structure to flexible fabrics. Using interfacing is key when working with T-Shirts because of how flexible the cotton T-Shirt material is, it ensures that your seams will stay straight and your fabric won’t stretch.

Working with interfacing is very easy. I buy a bolt of Pellon Shape-Flex interfacing from Joann’s. (40% off coupons come in really handy for items like these!) One side of the interfacing is smooth, and the other bumpy. Those bumps you feel are the adhesive that will stick to the fabric once heated.

Although it does create a teensy bit of waste, you should cut your T-Shirt just slightly larger than your desired cut size (so desired block size + 1/2″) along with the interfacing. Iron the interfacing onto the back side of the T-Shirt and then trim the shirt to the proper size. Applying the adhesive in this way serves two purposes: 1) you won’t accidentally overlap the interfacing on your cut-to-size shirt and a) get glue all over your ironing board and b) won’t have to trim off any extra interfacing and risk damaging your shirt; and 2) it ensures that your interfacing will be at the edges of your shirt, and therefore in your seam allowance making sewing easy.

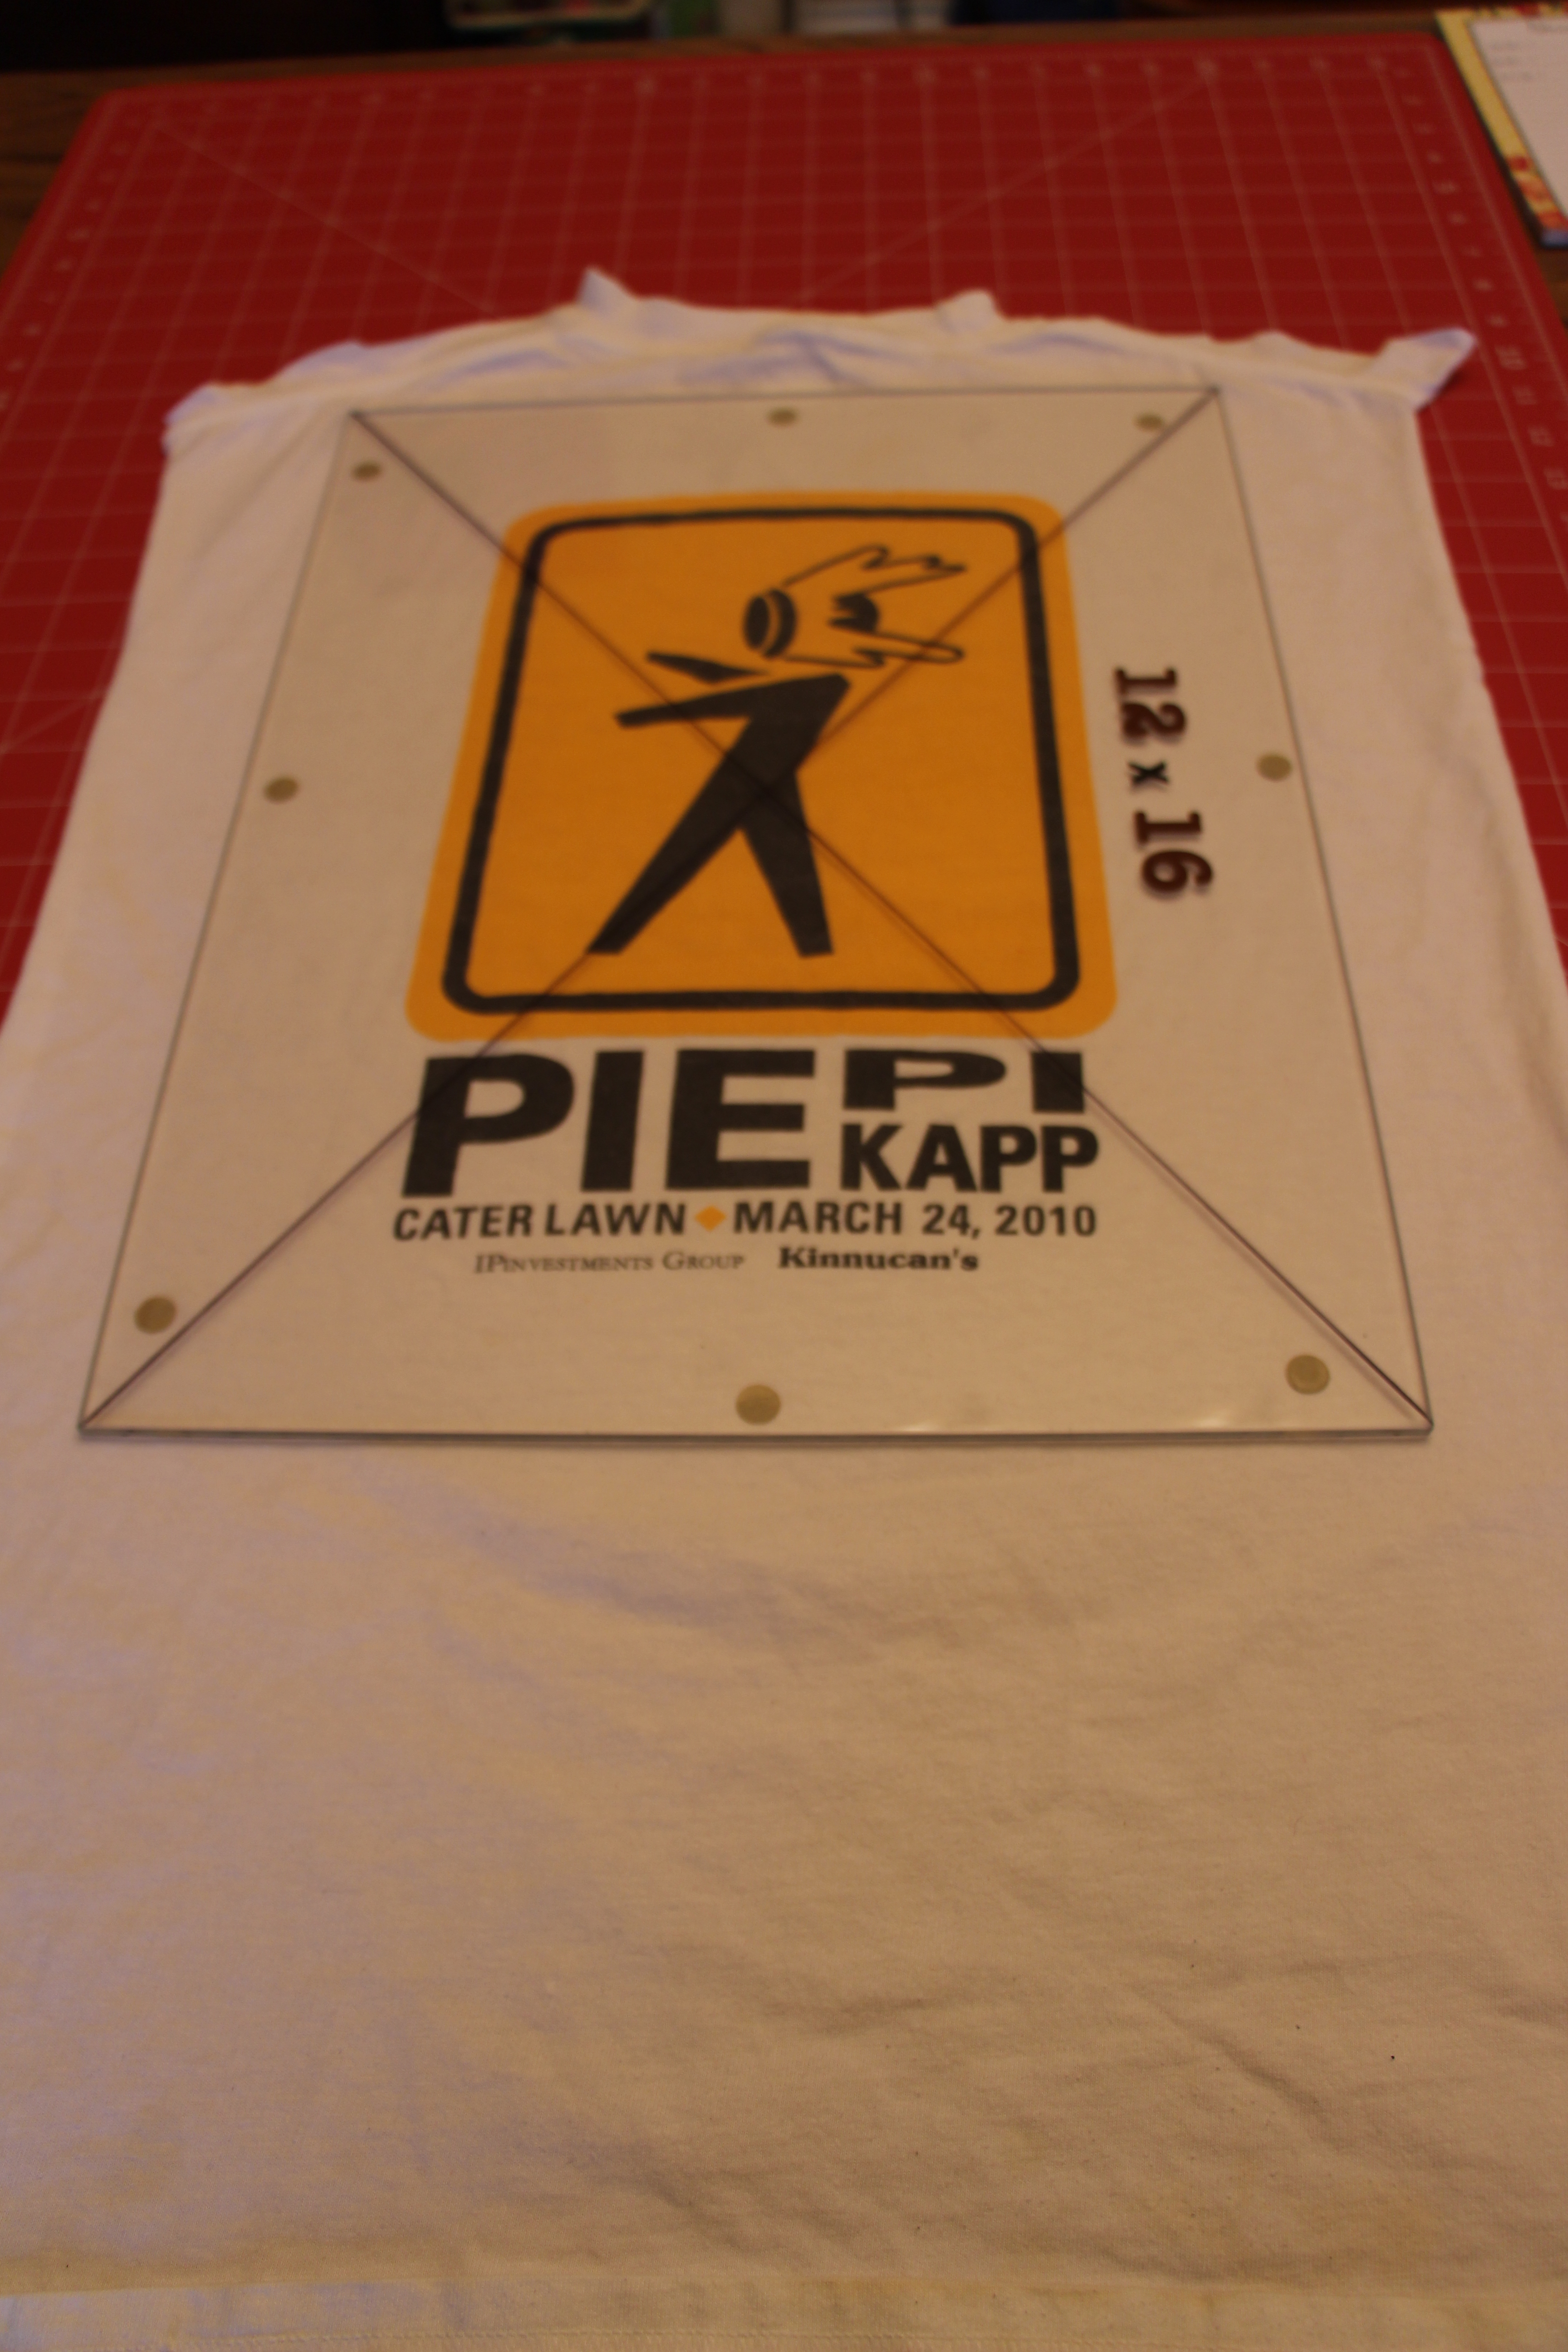
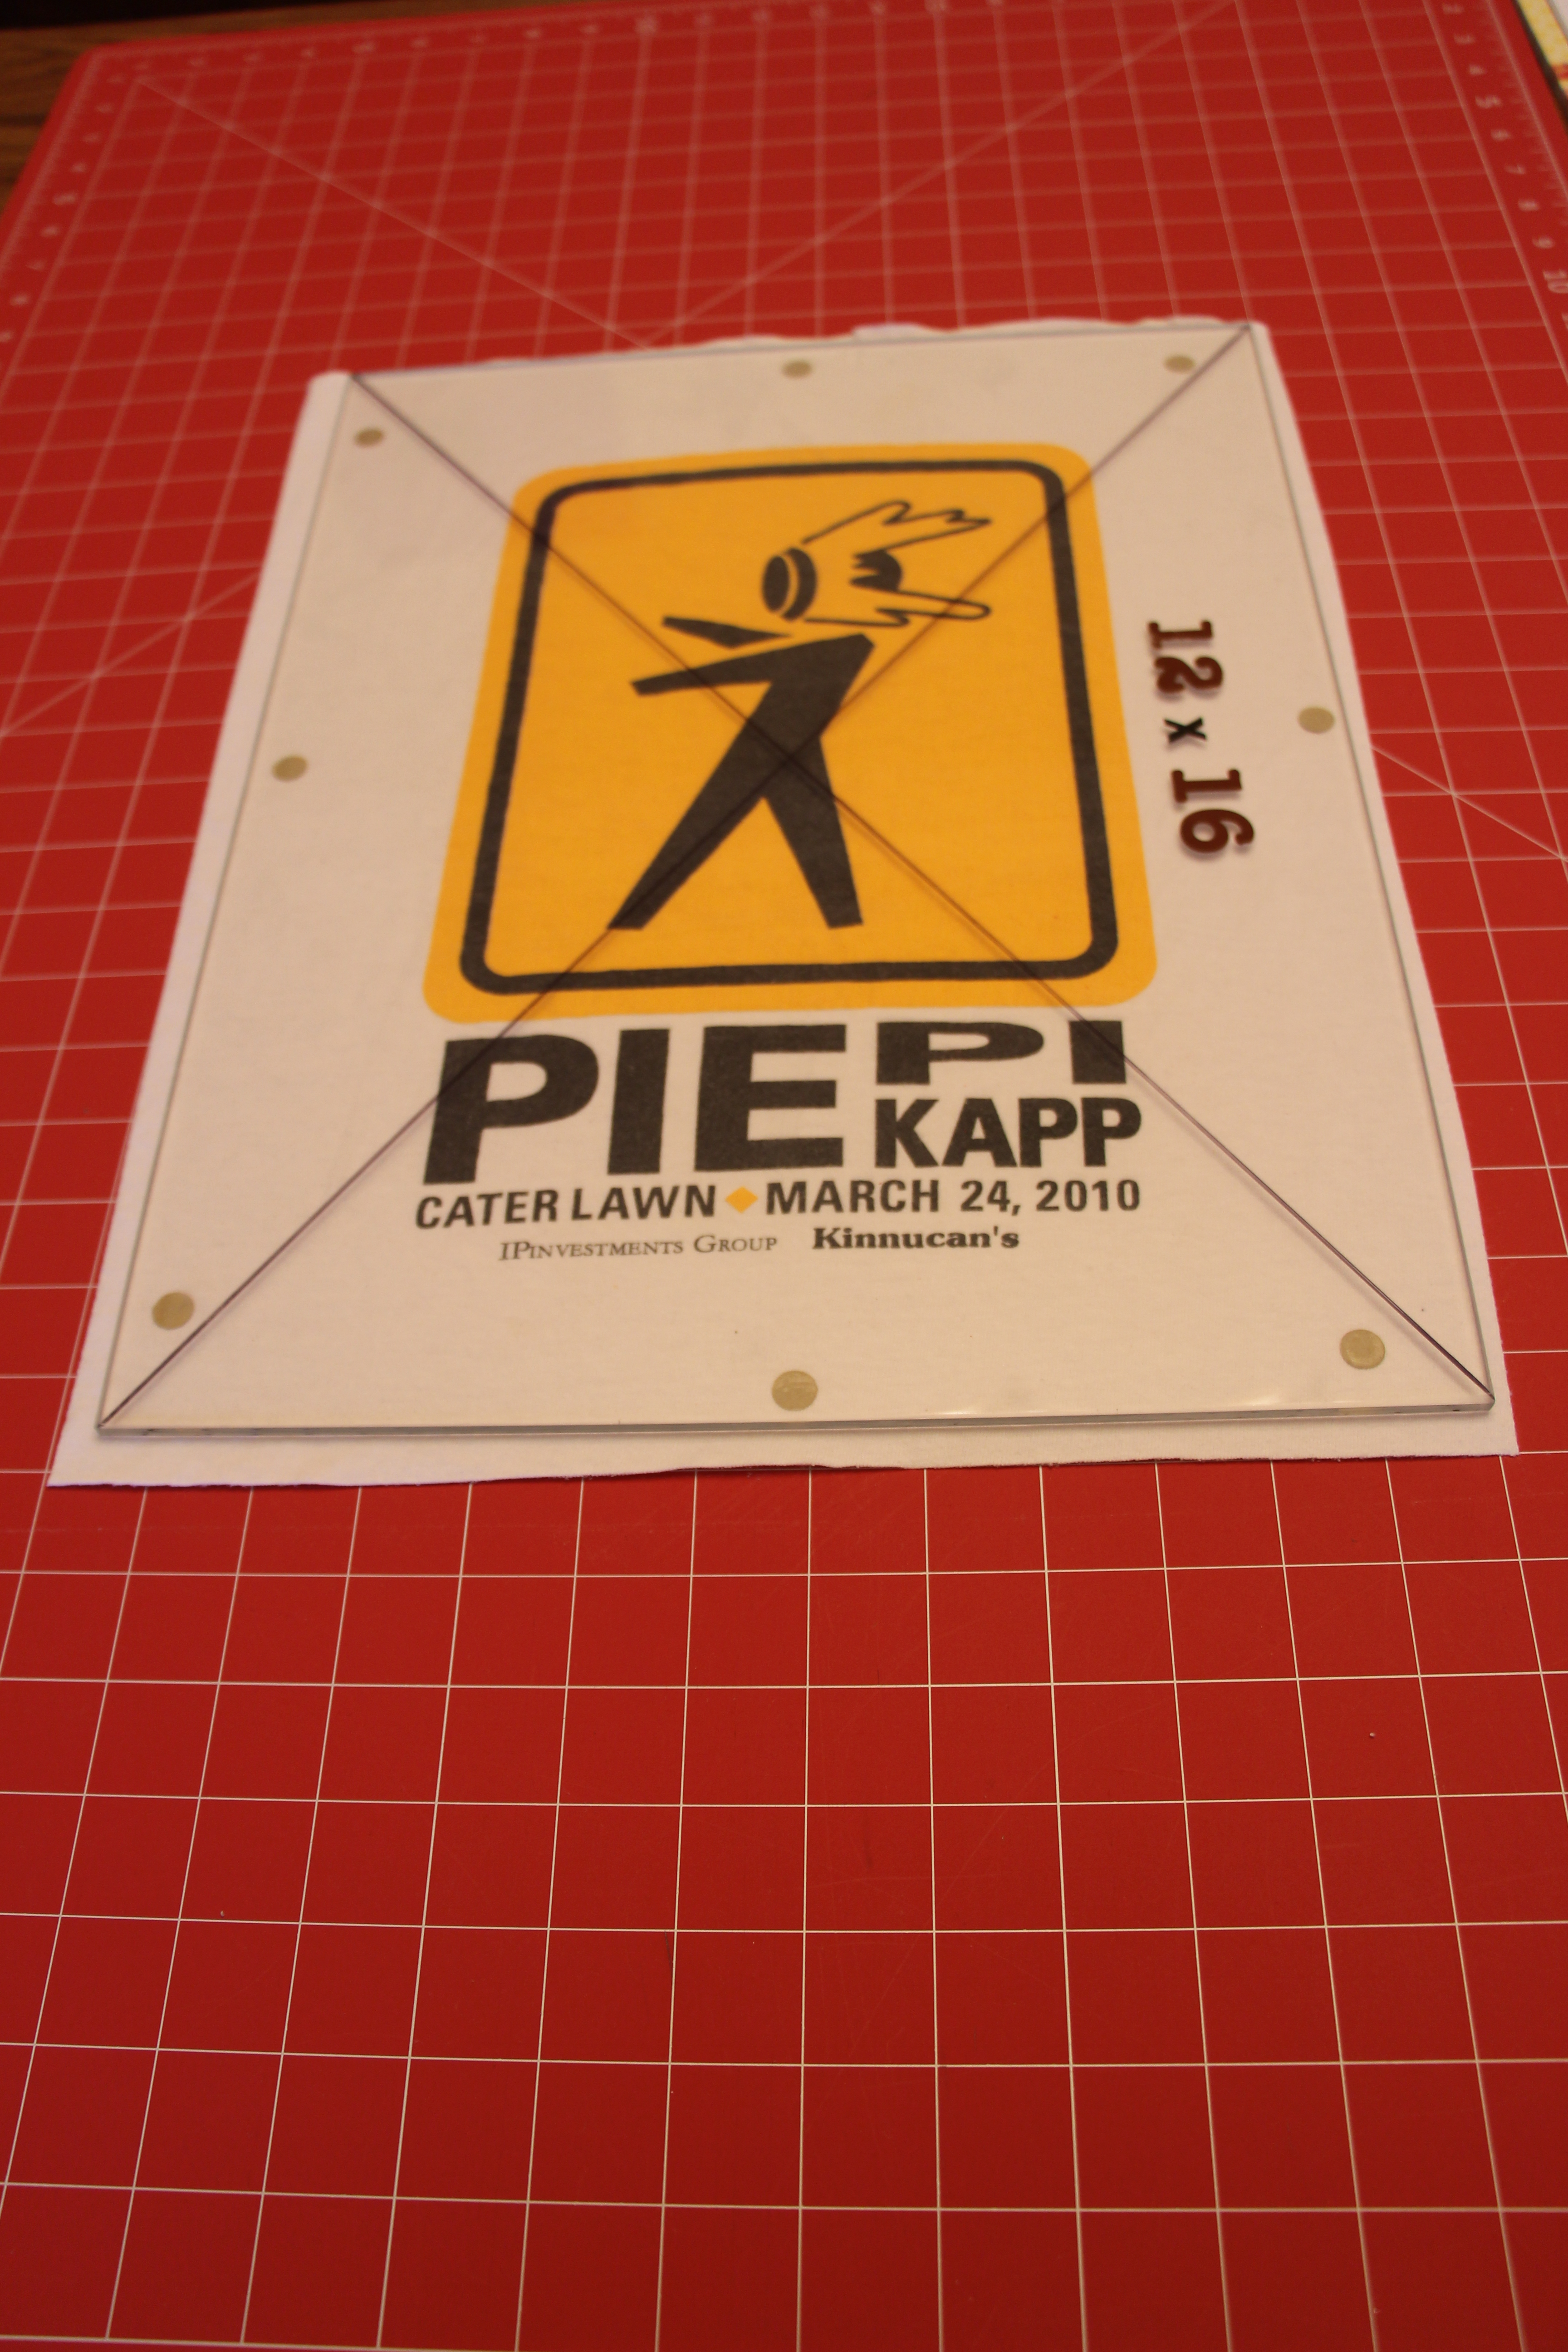
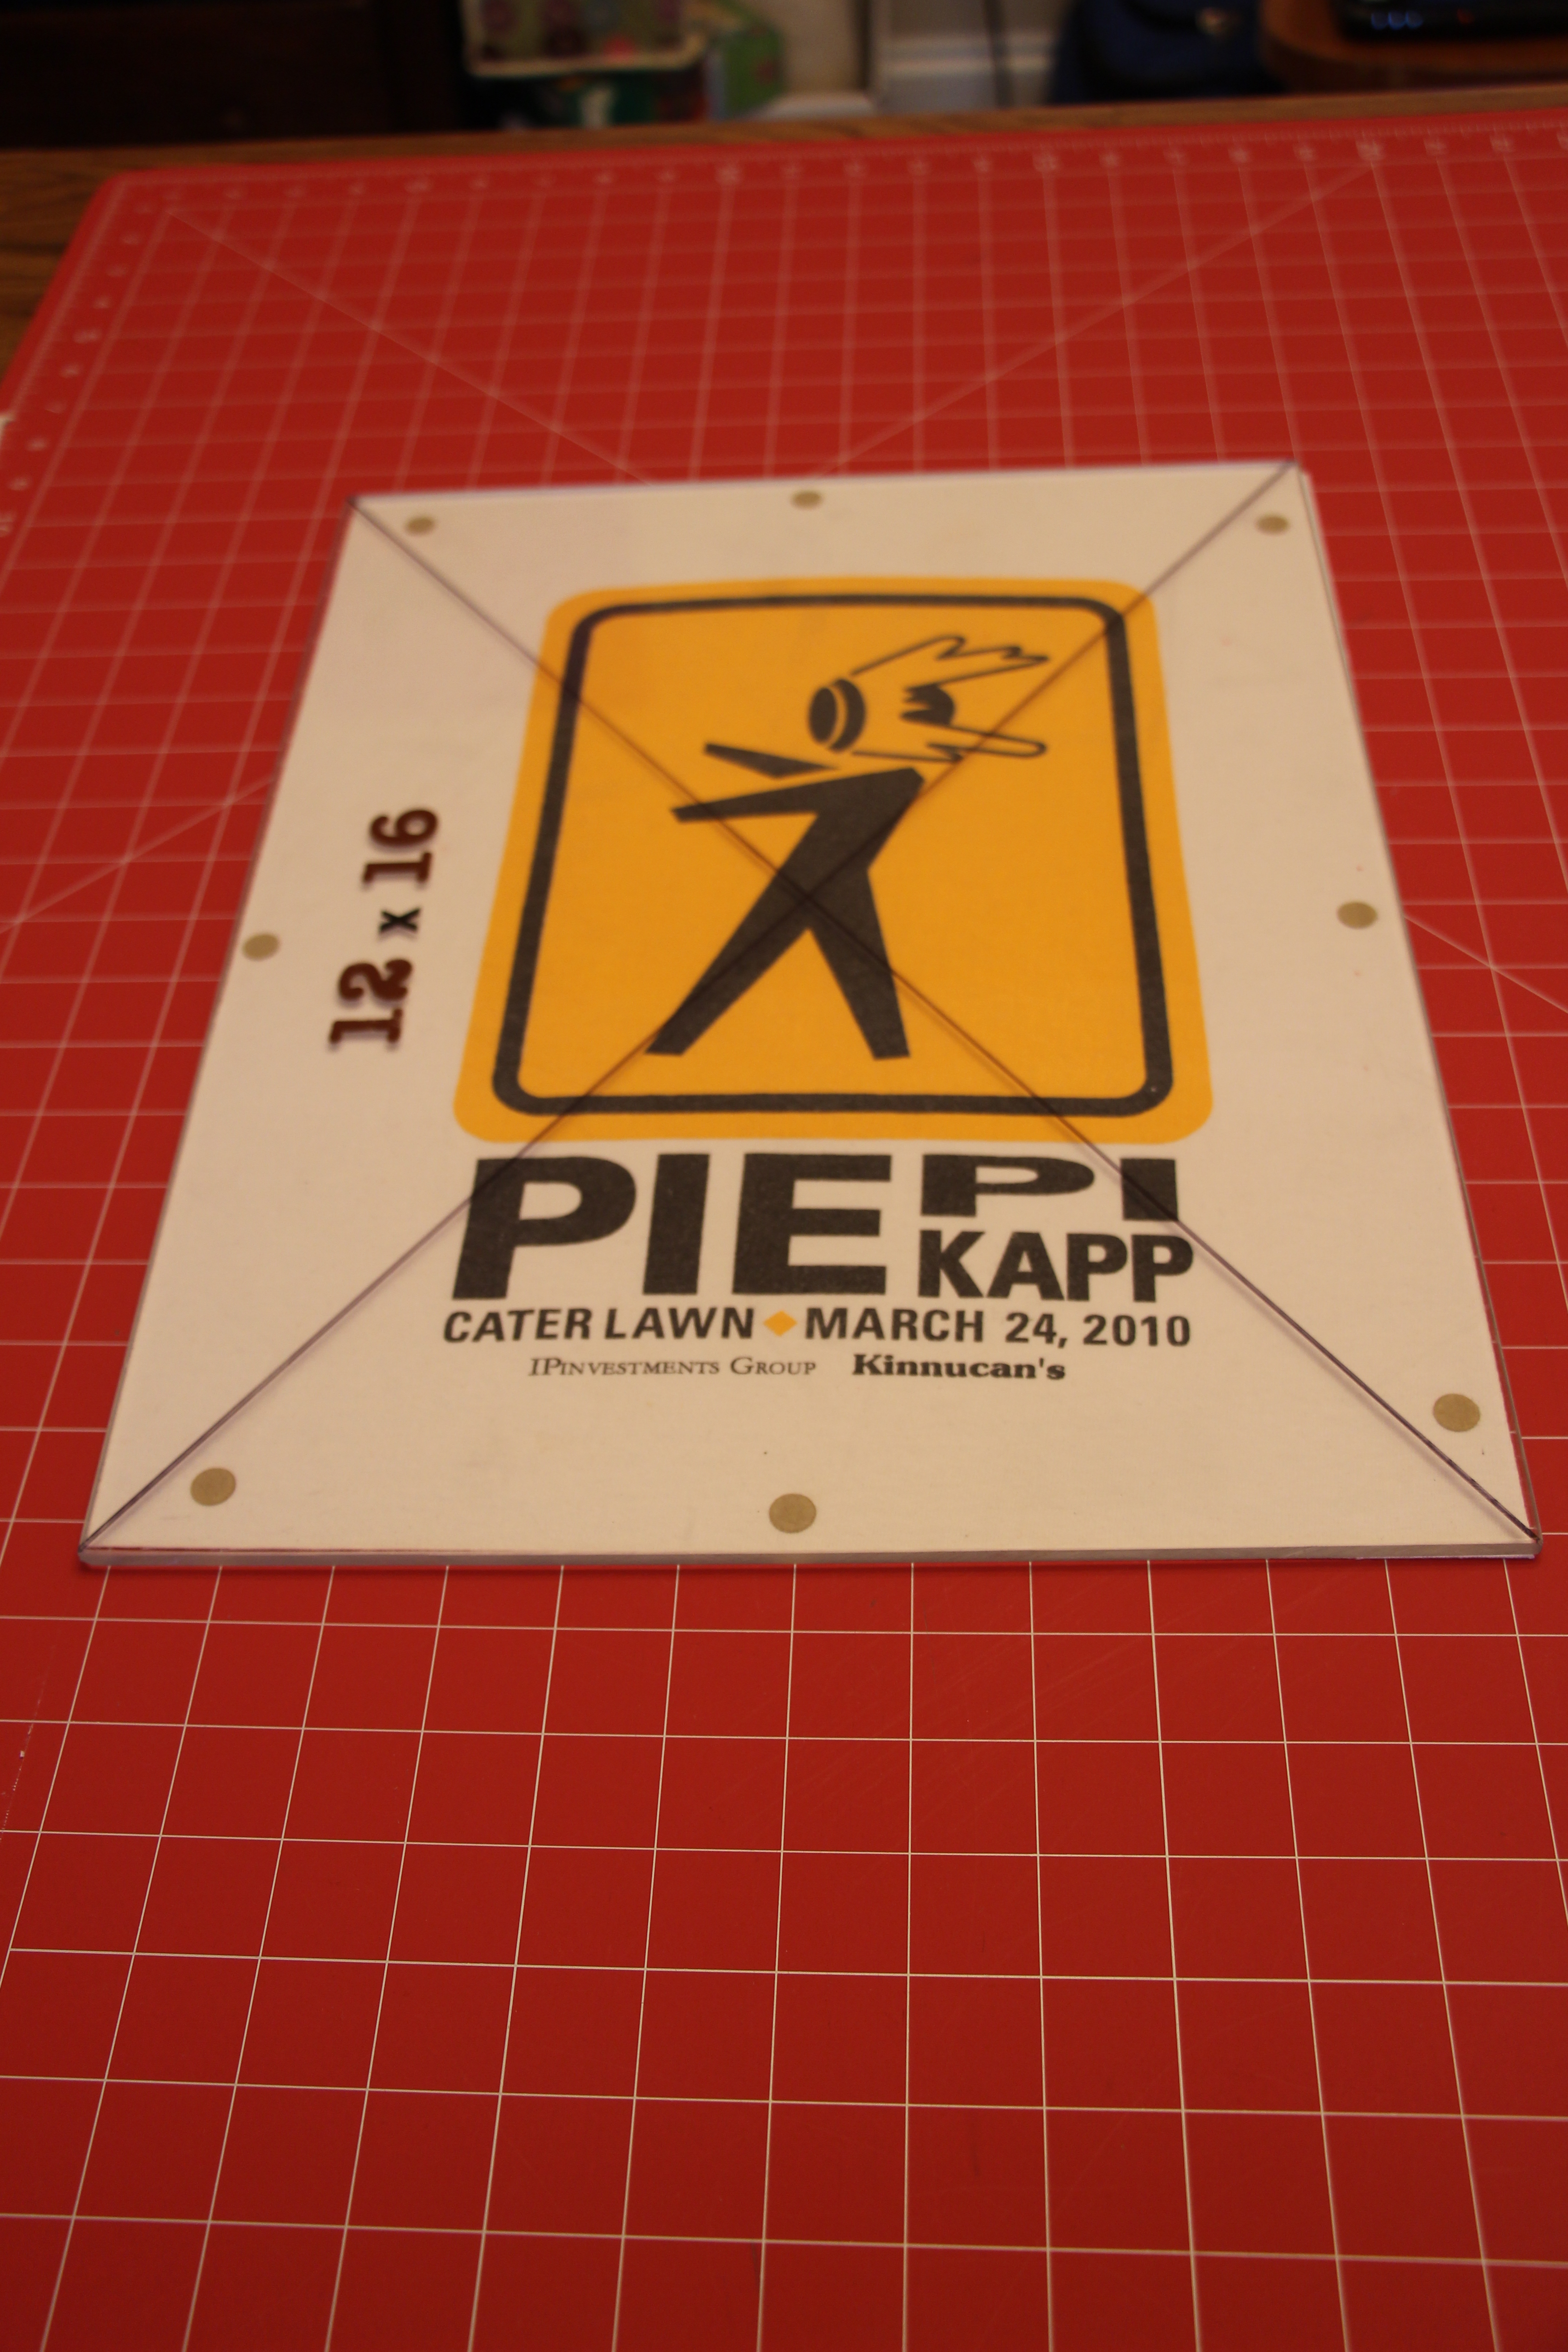
My father-in-law made me a set of T-Shirt Quilt Block Plexiglass Templates. These templates include the 1/2″ seam allowance and are marked with an X which tells me where the center is.

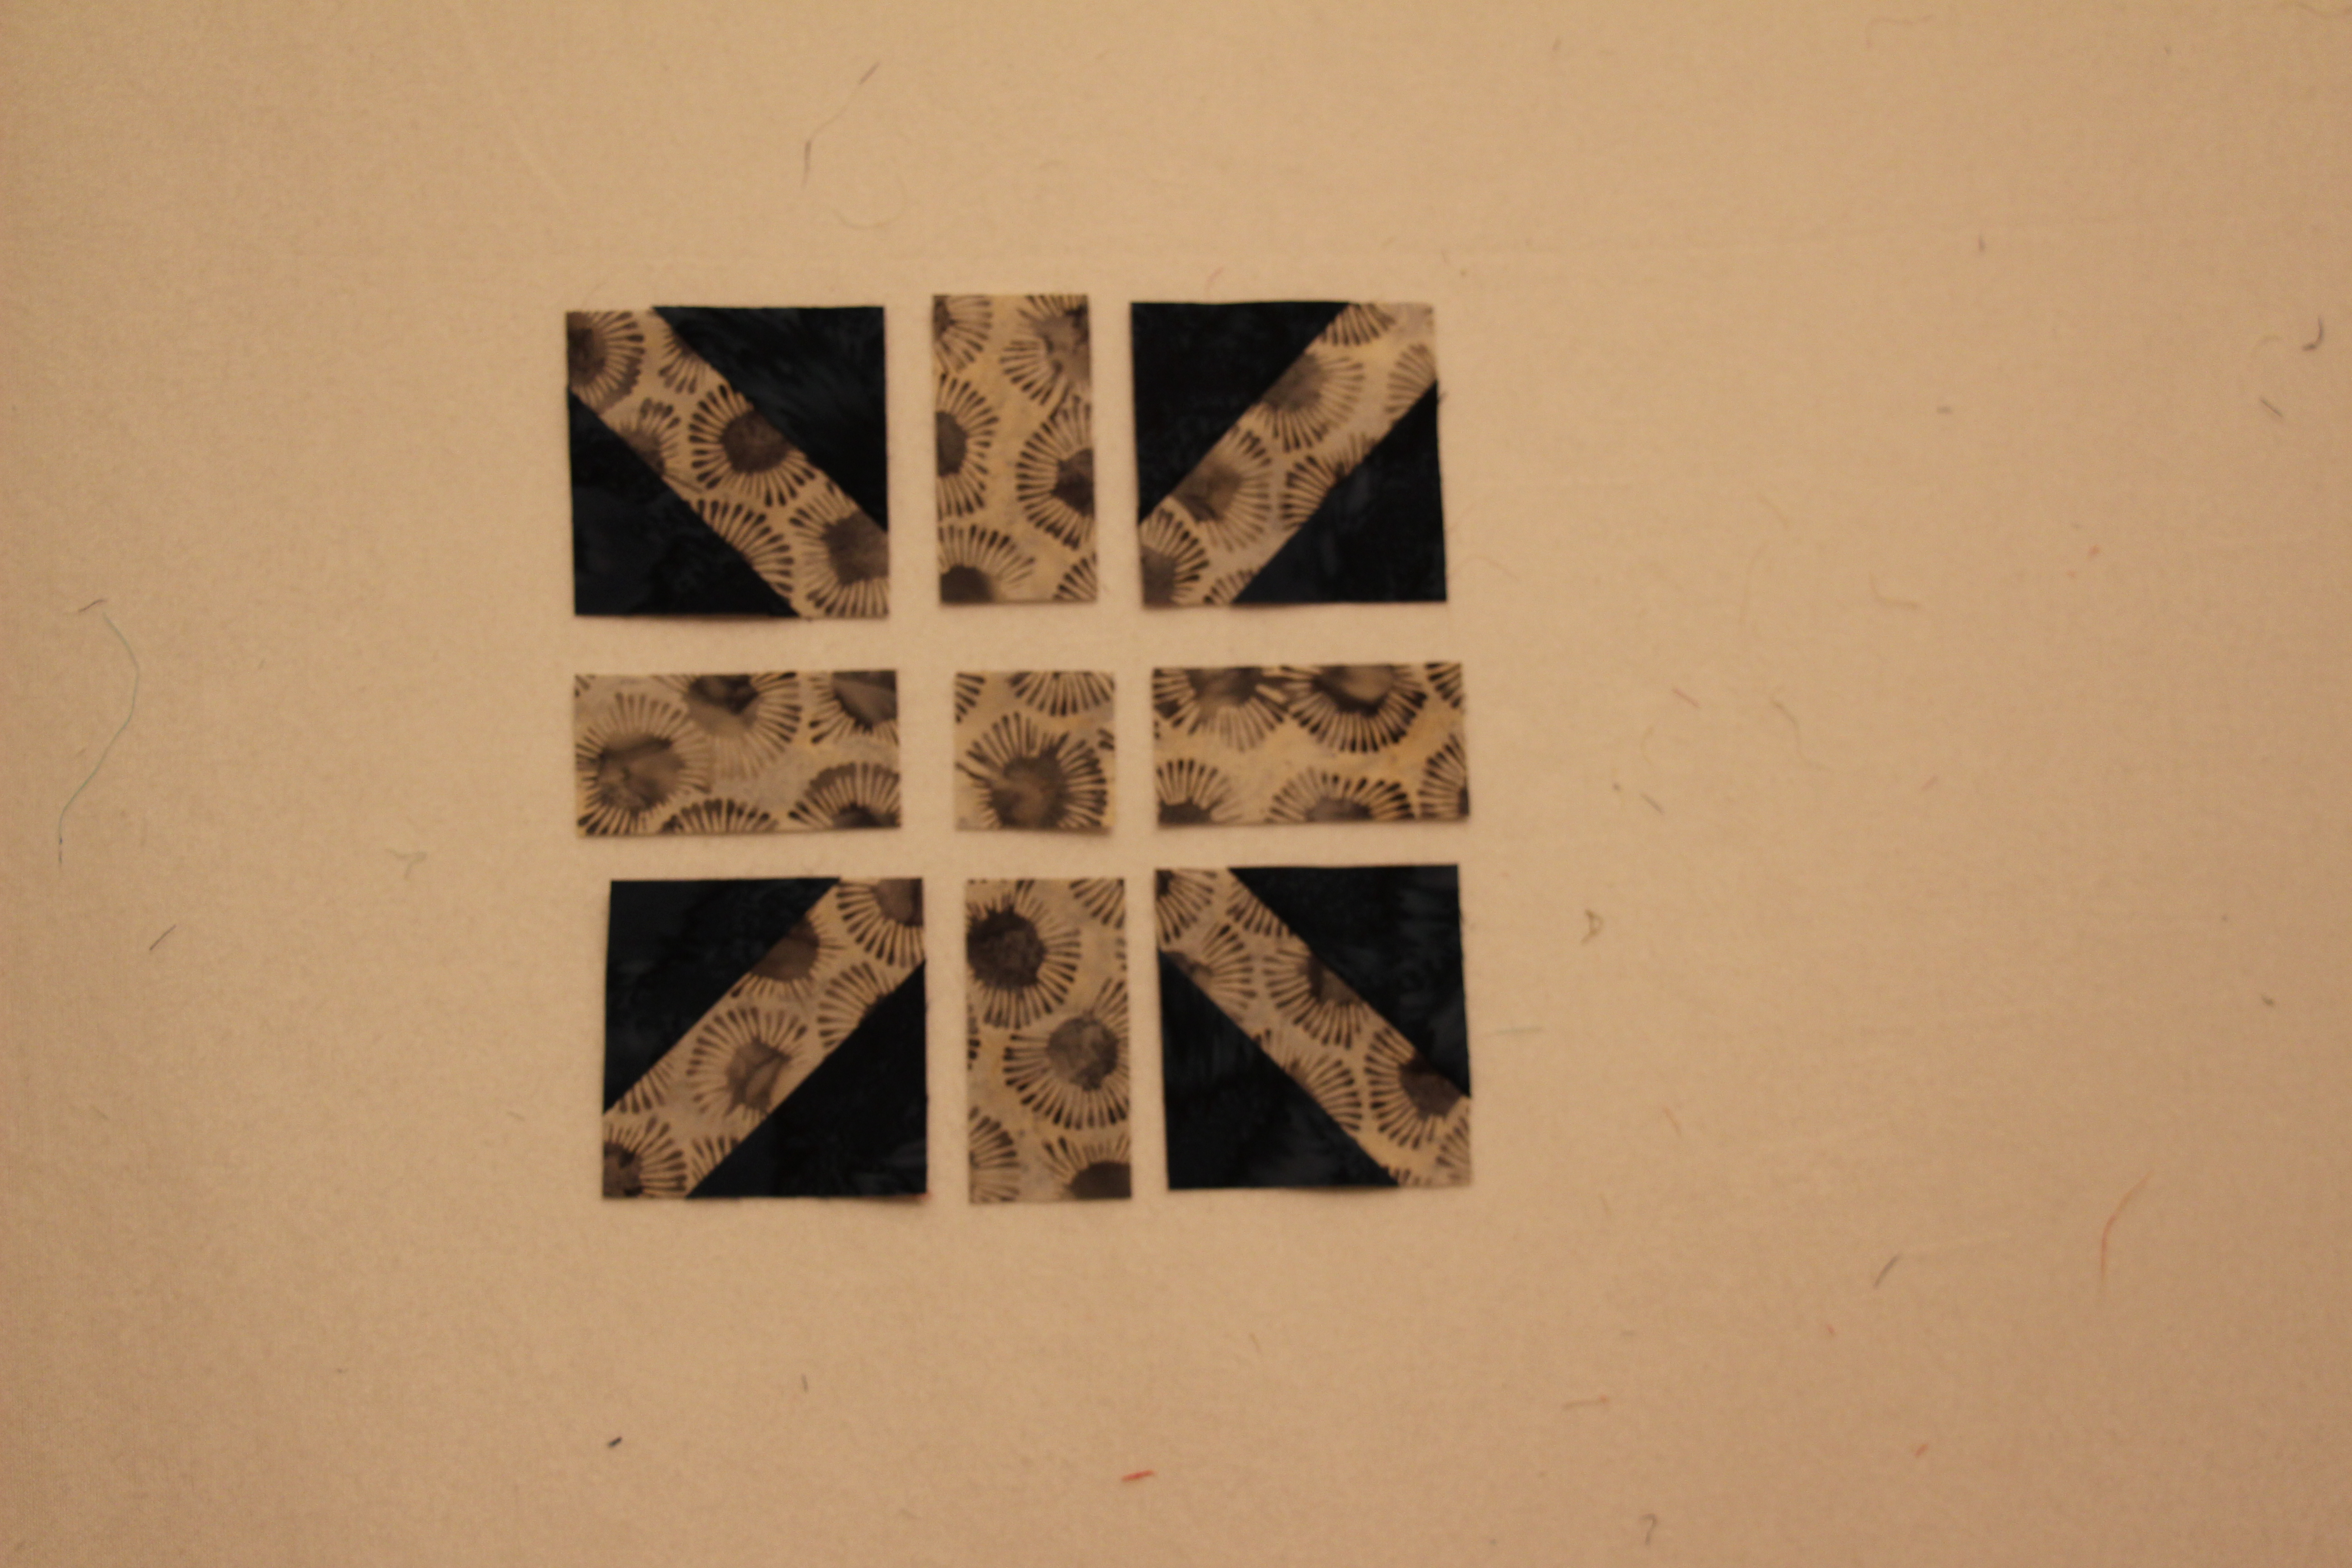
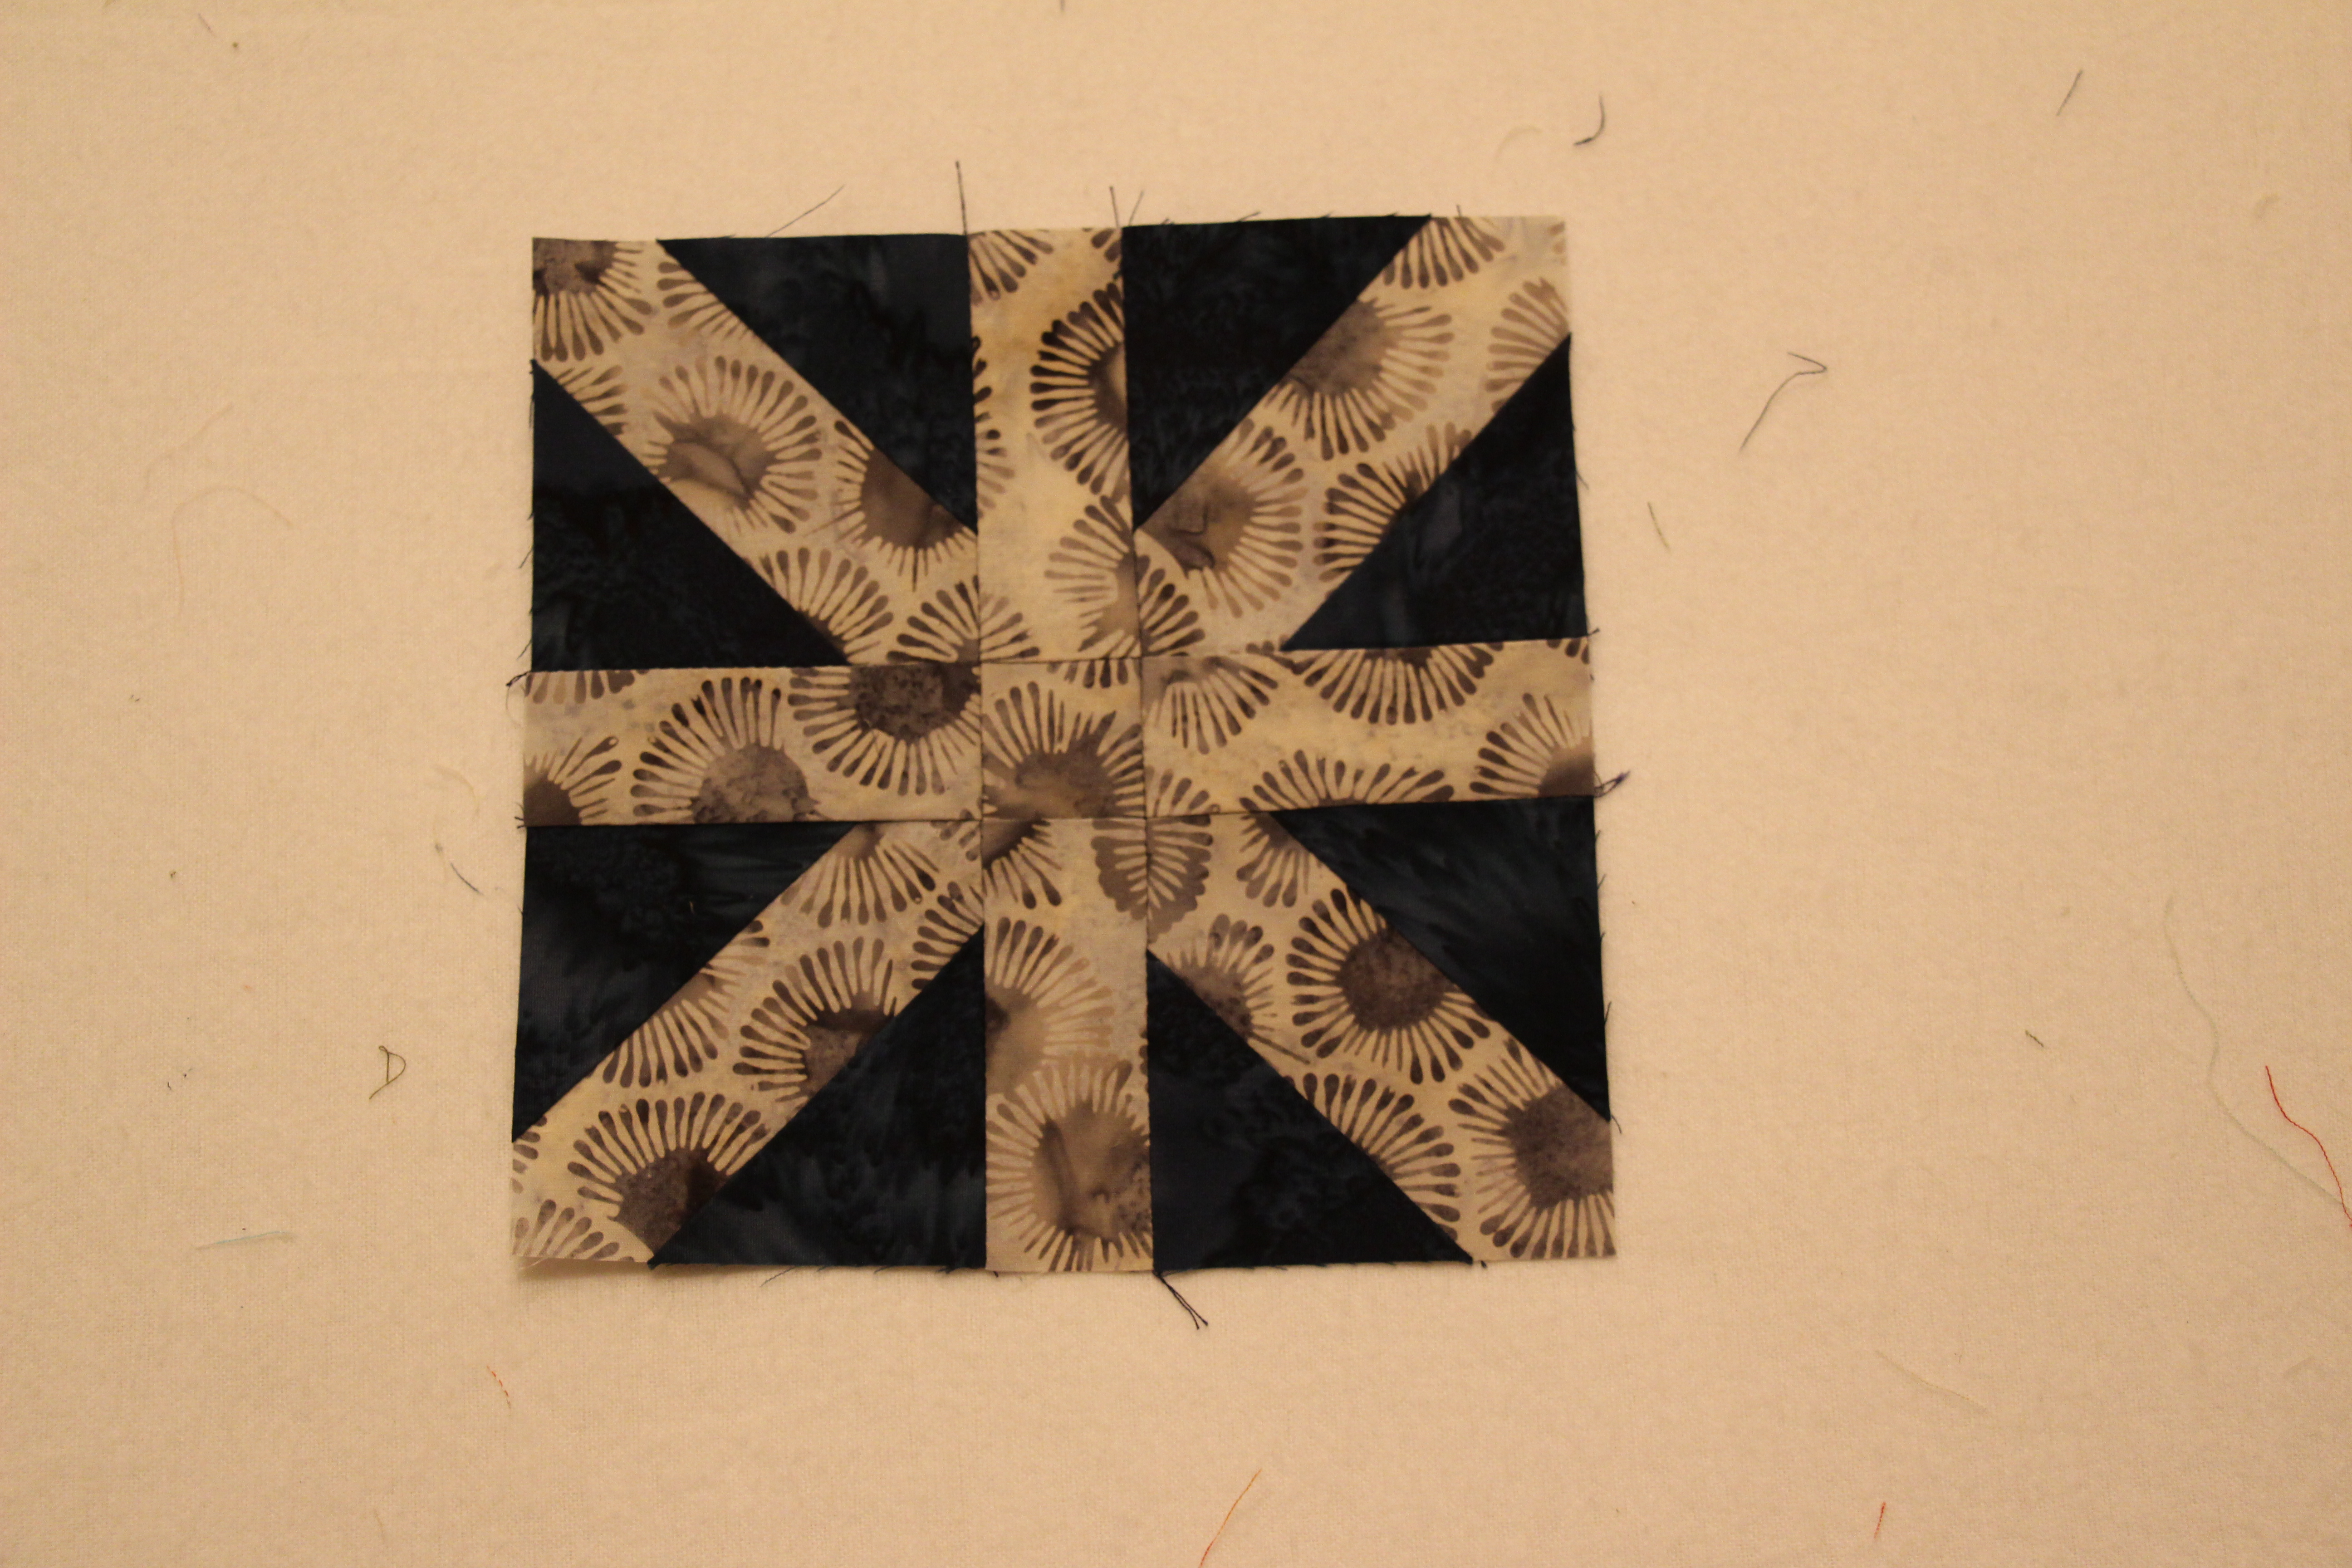
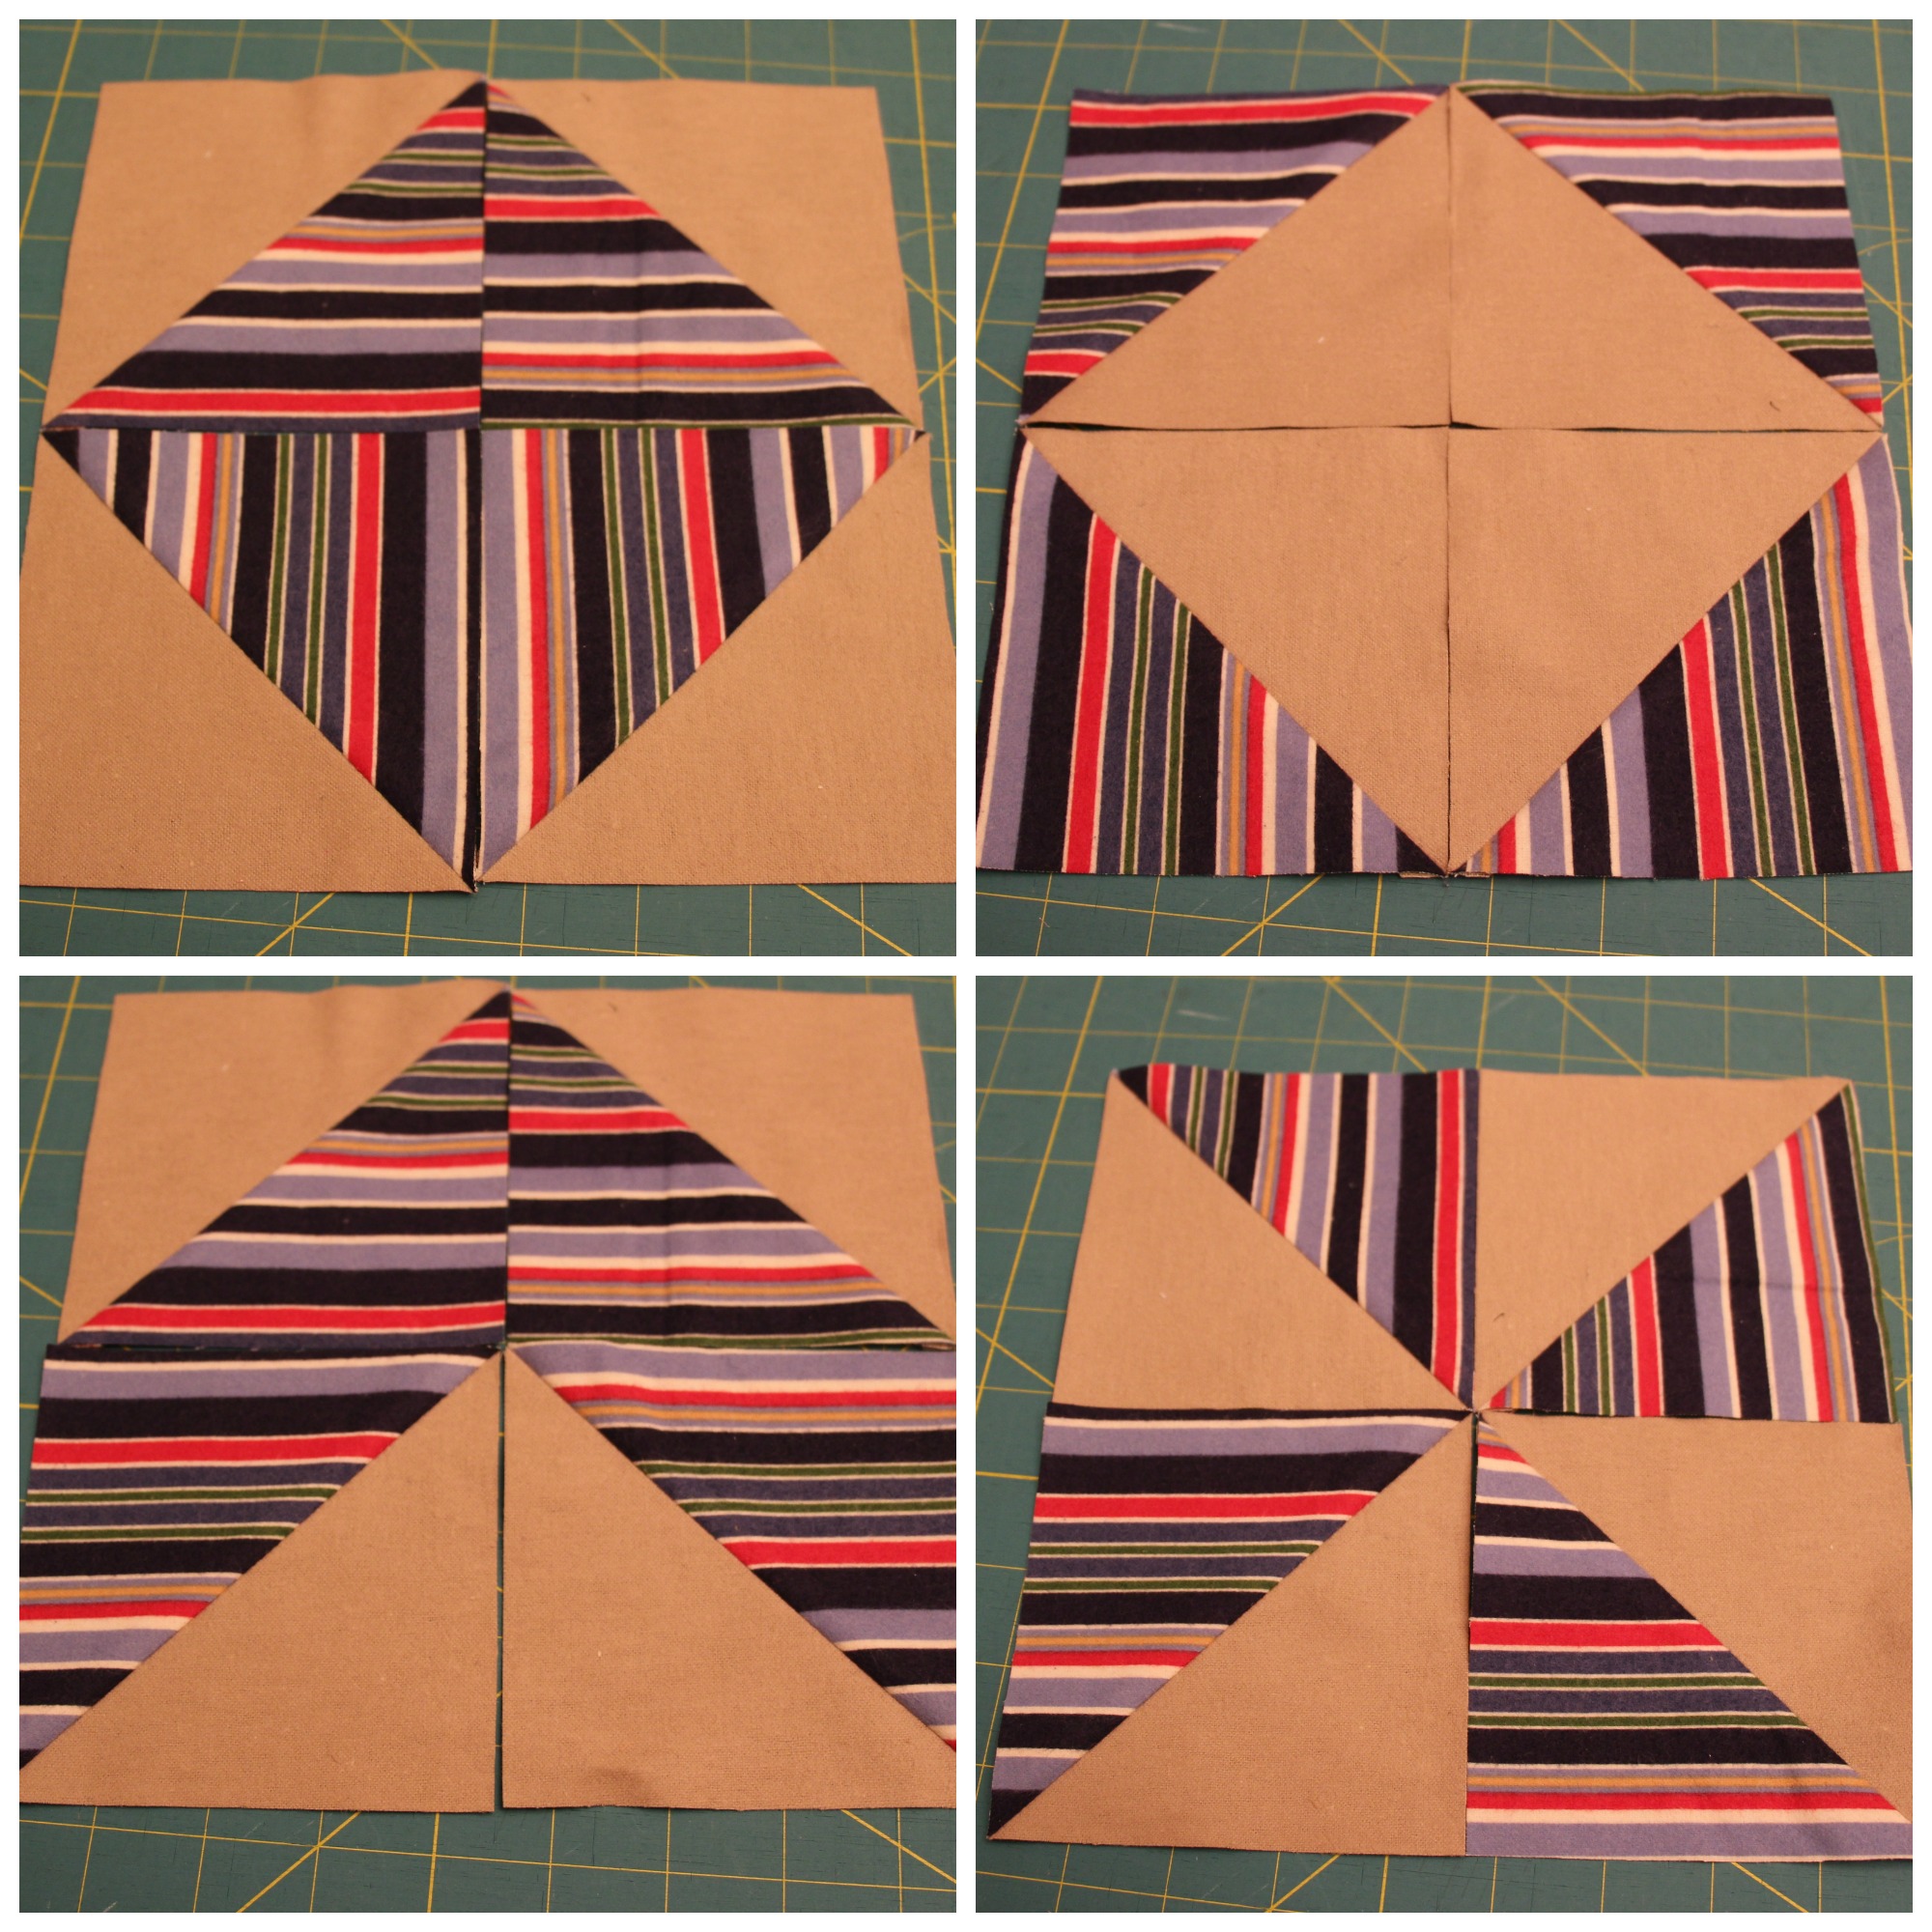
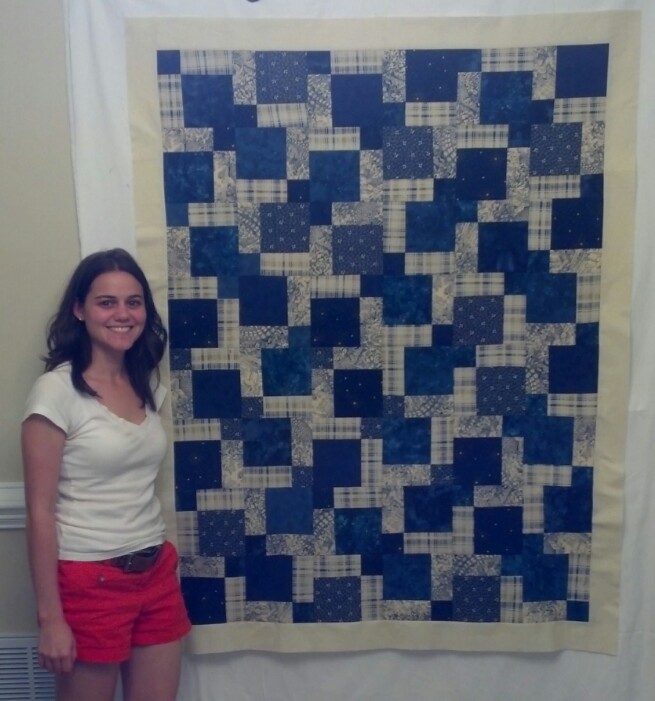
The example below is from my brother’s T-Shirt Quilt, Greek Eagle.

Here’s the How-To for Interfacing T-Shirts:

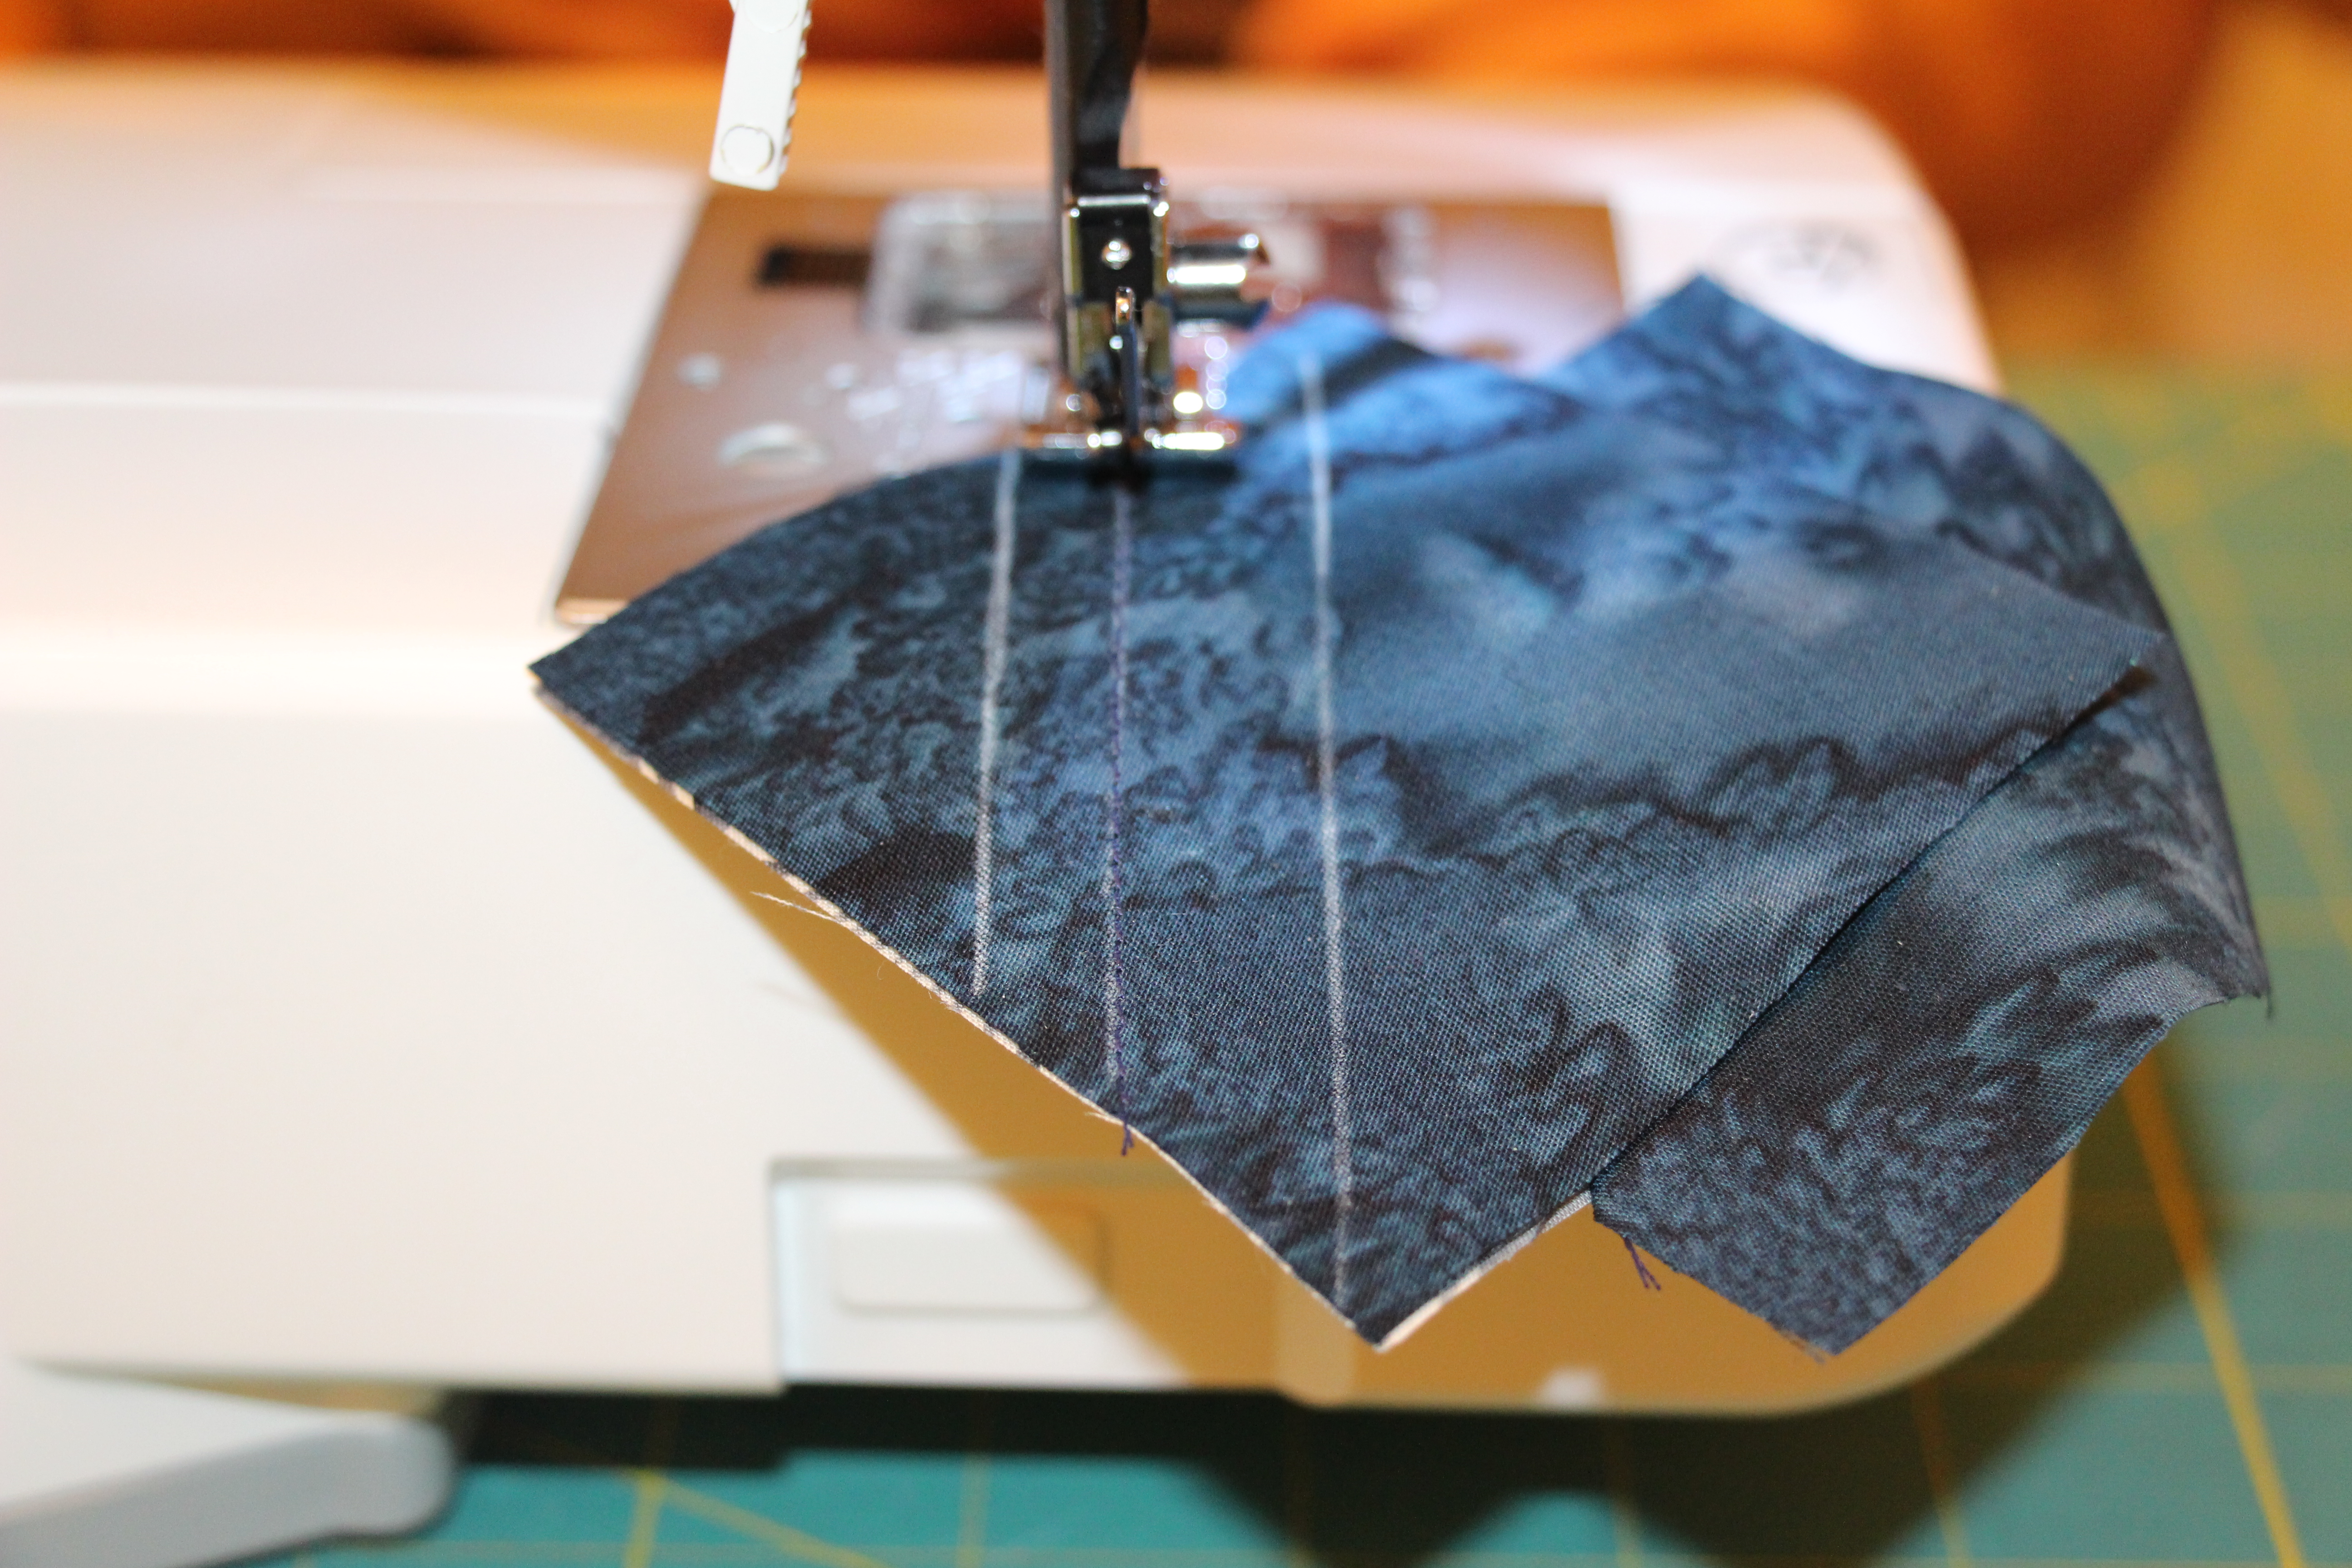
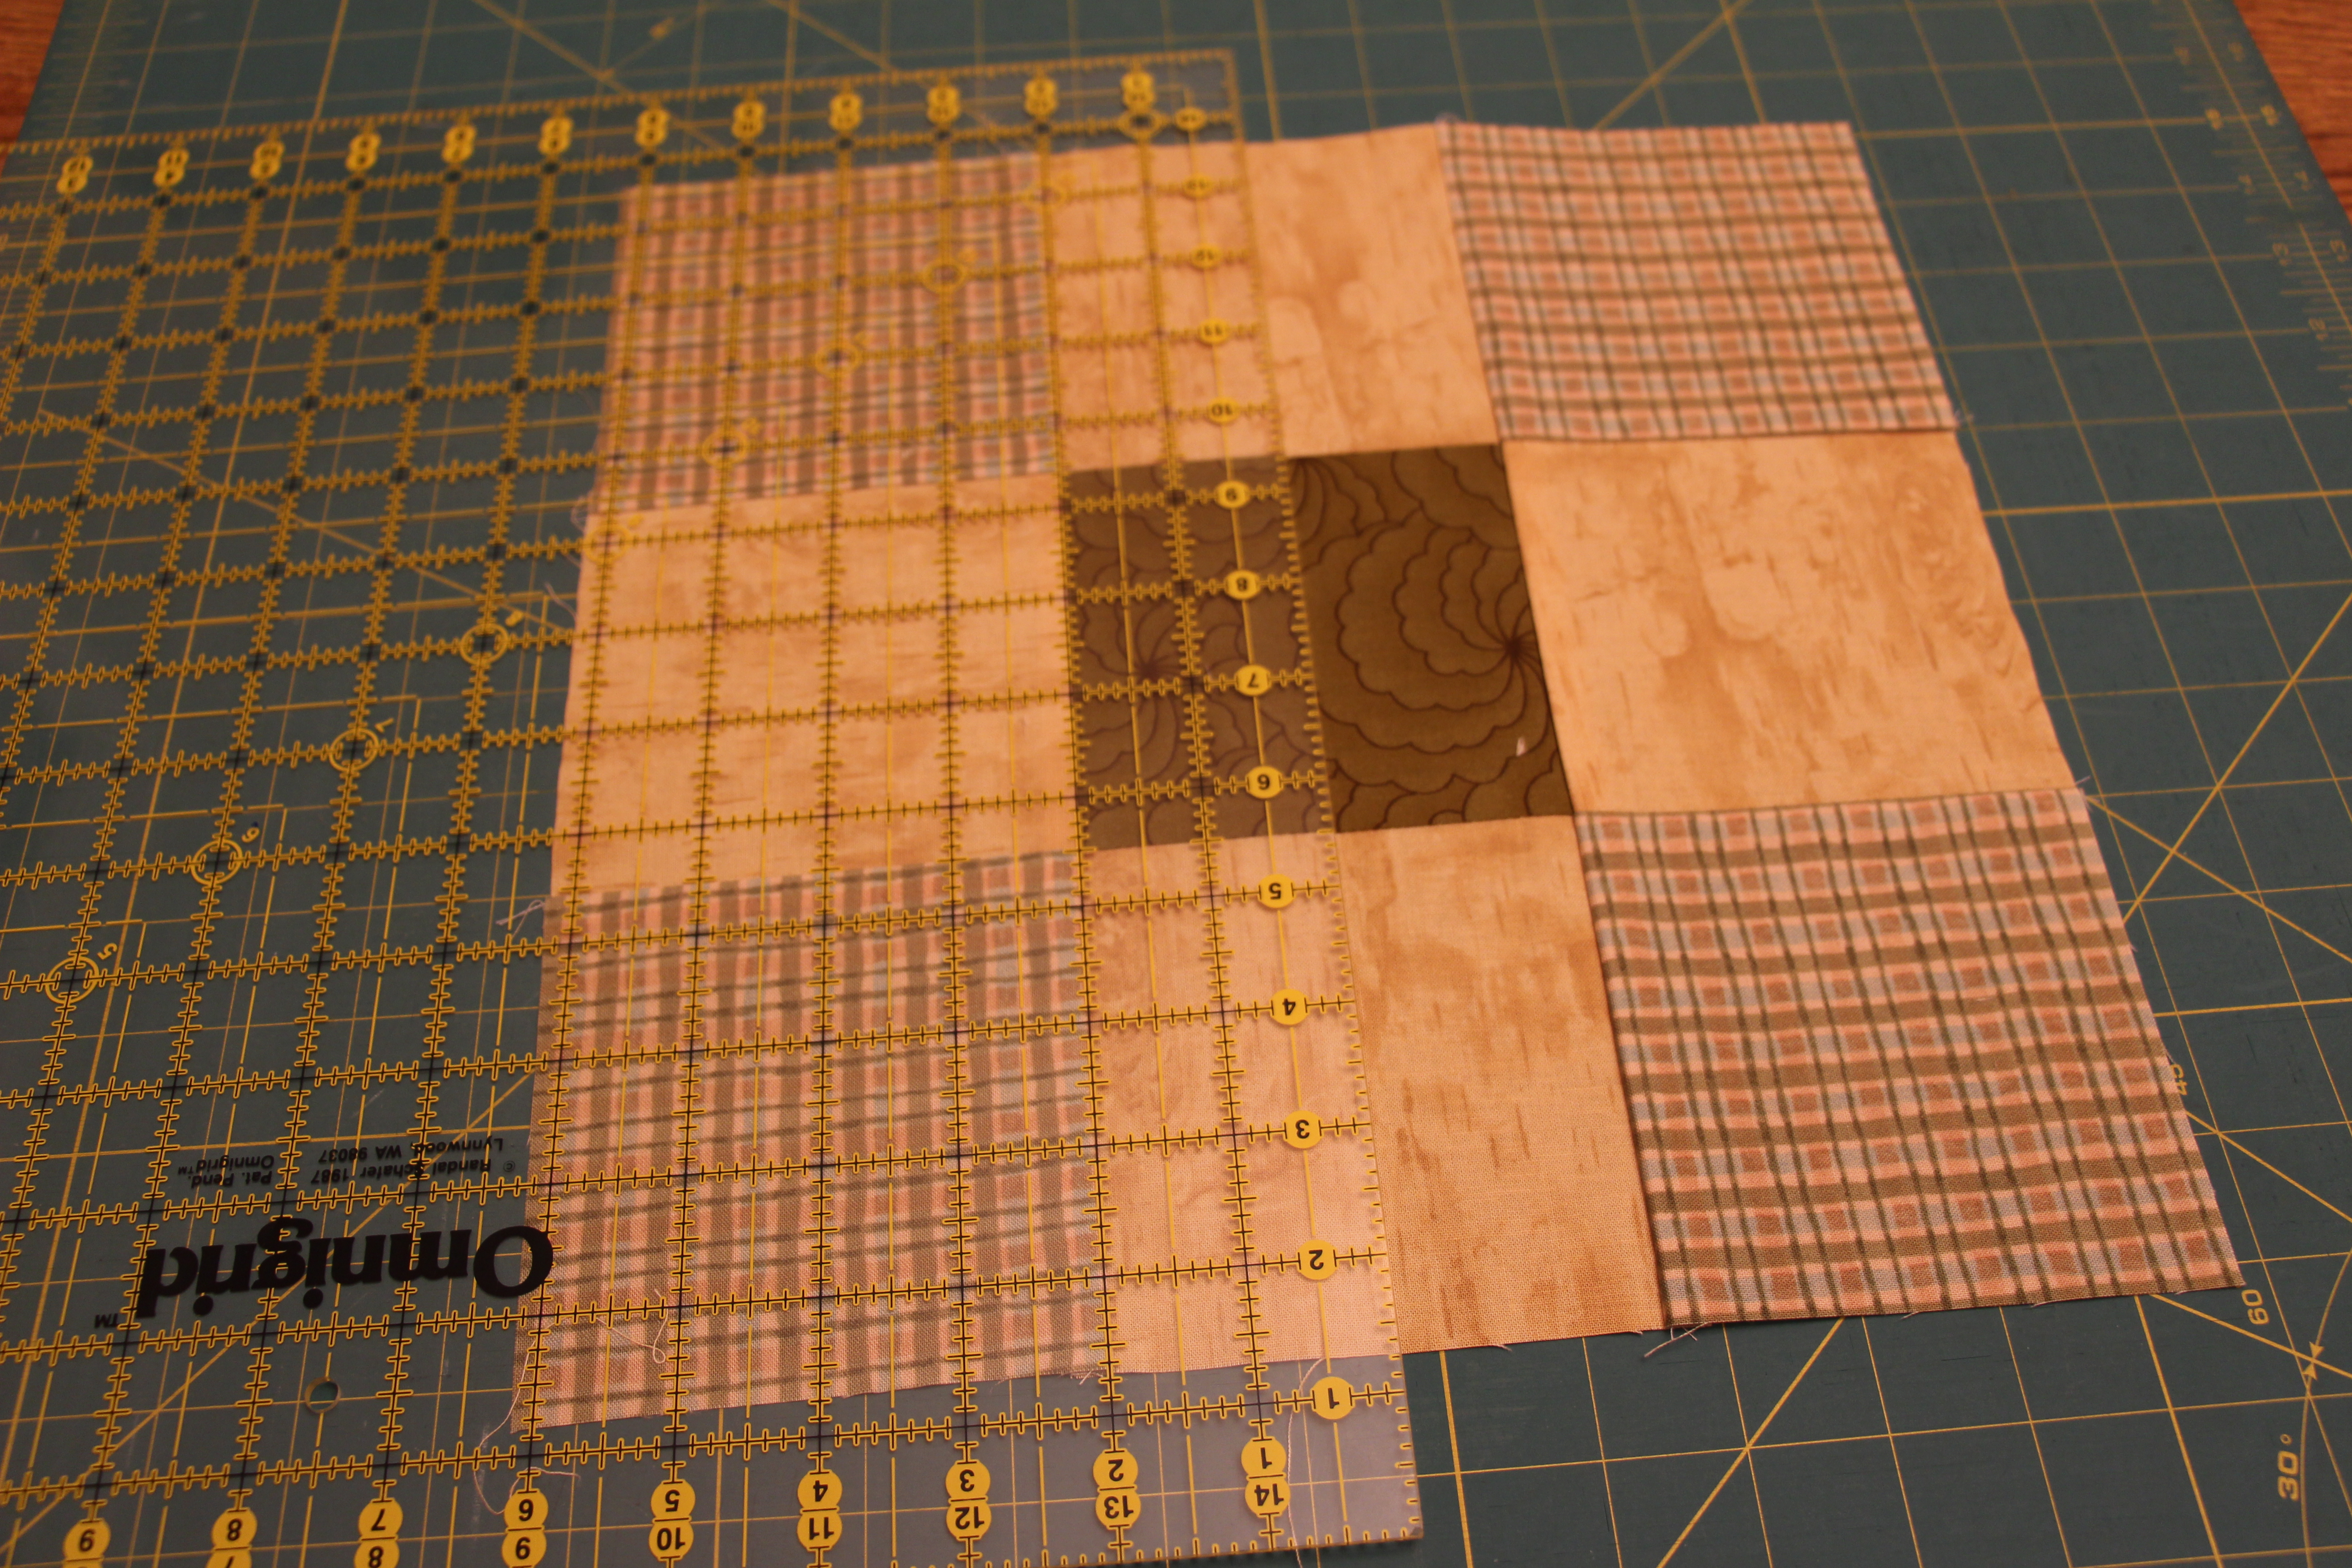
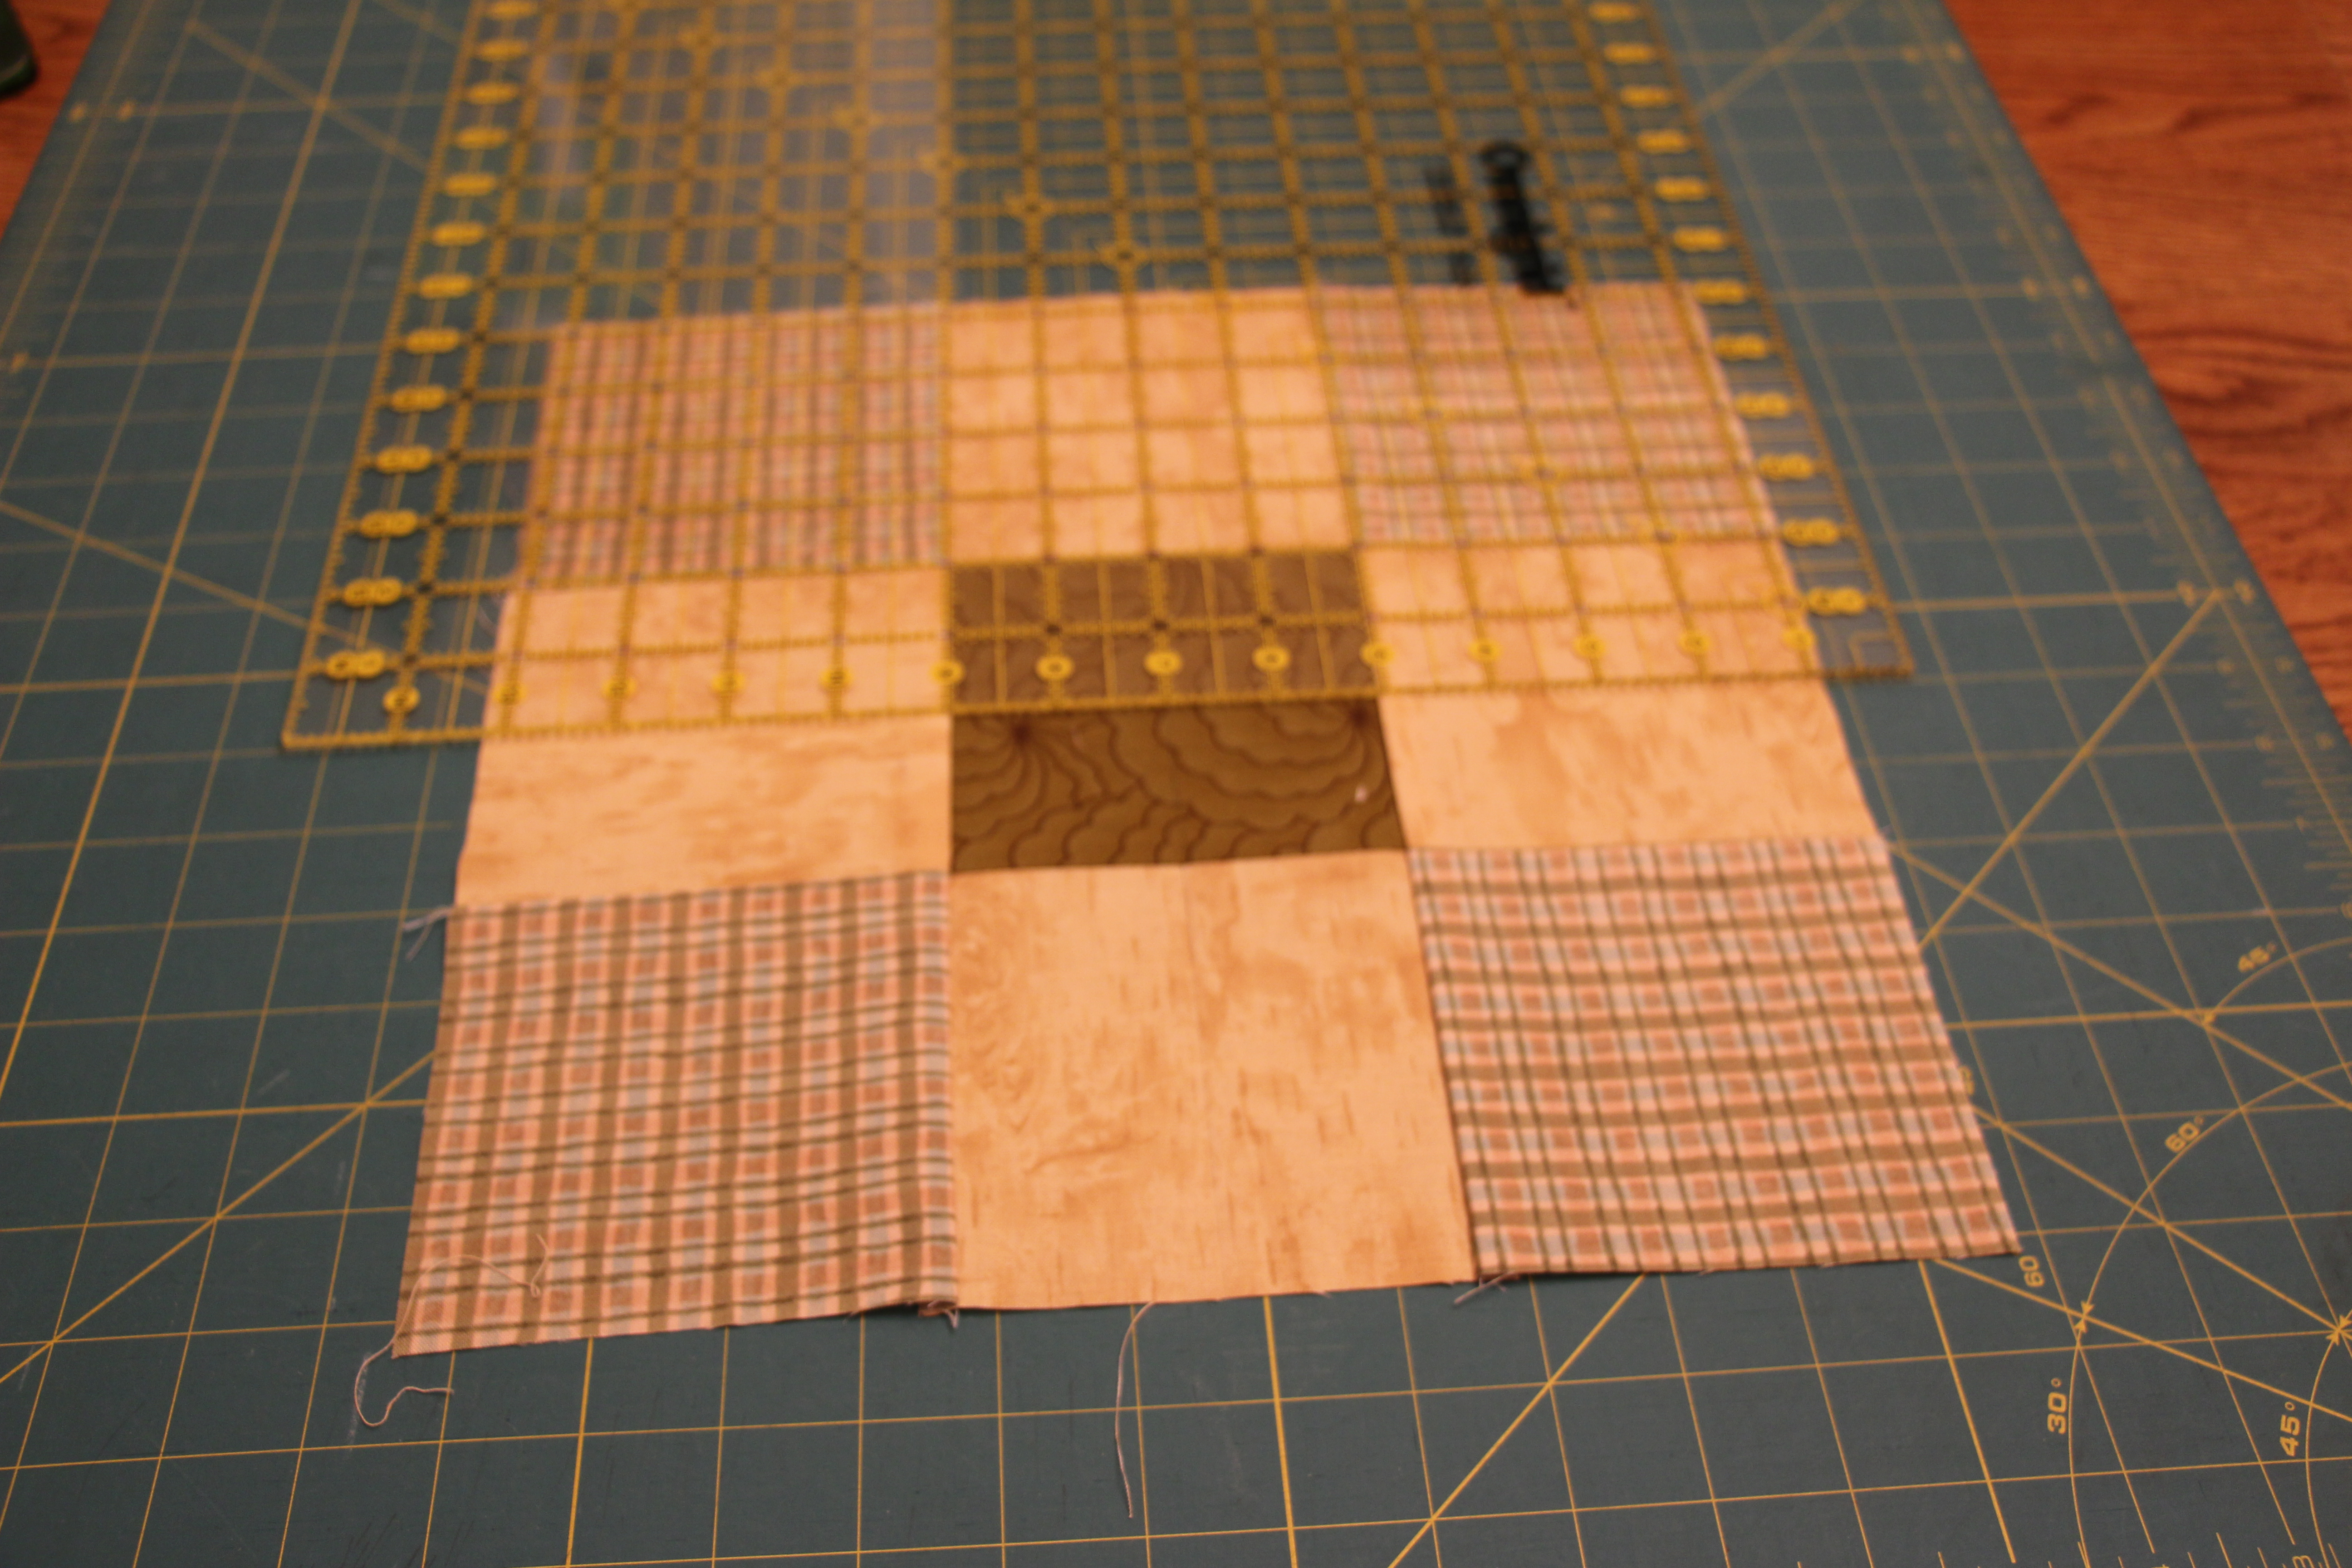
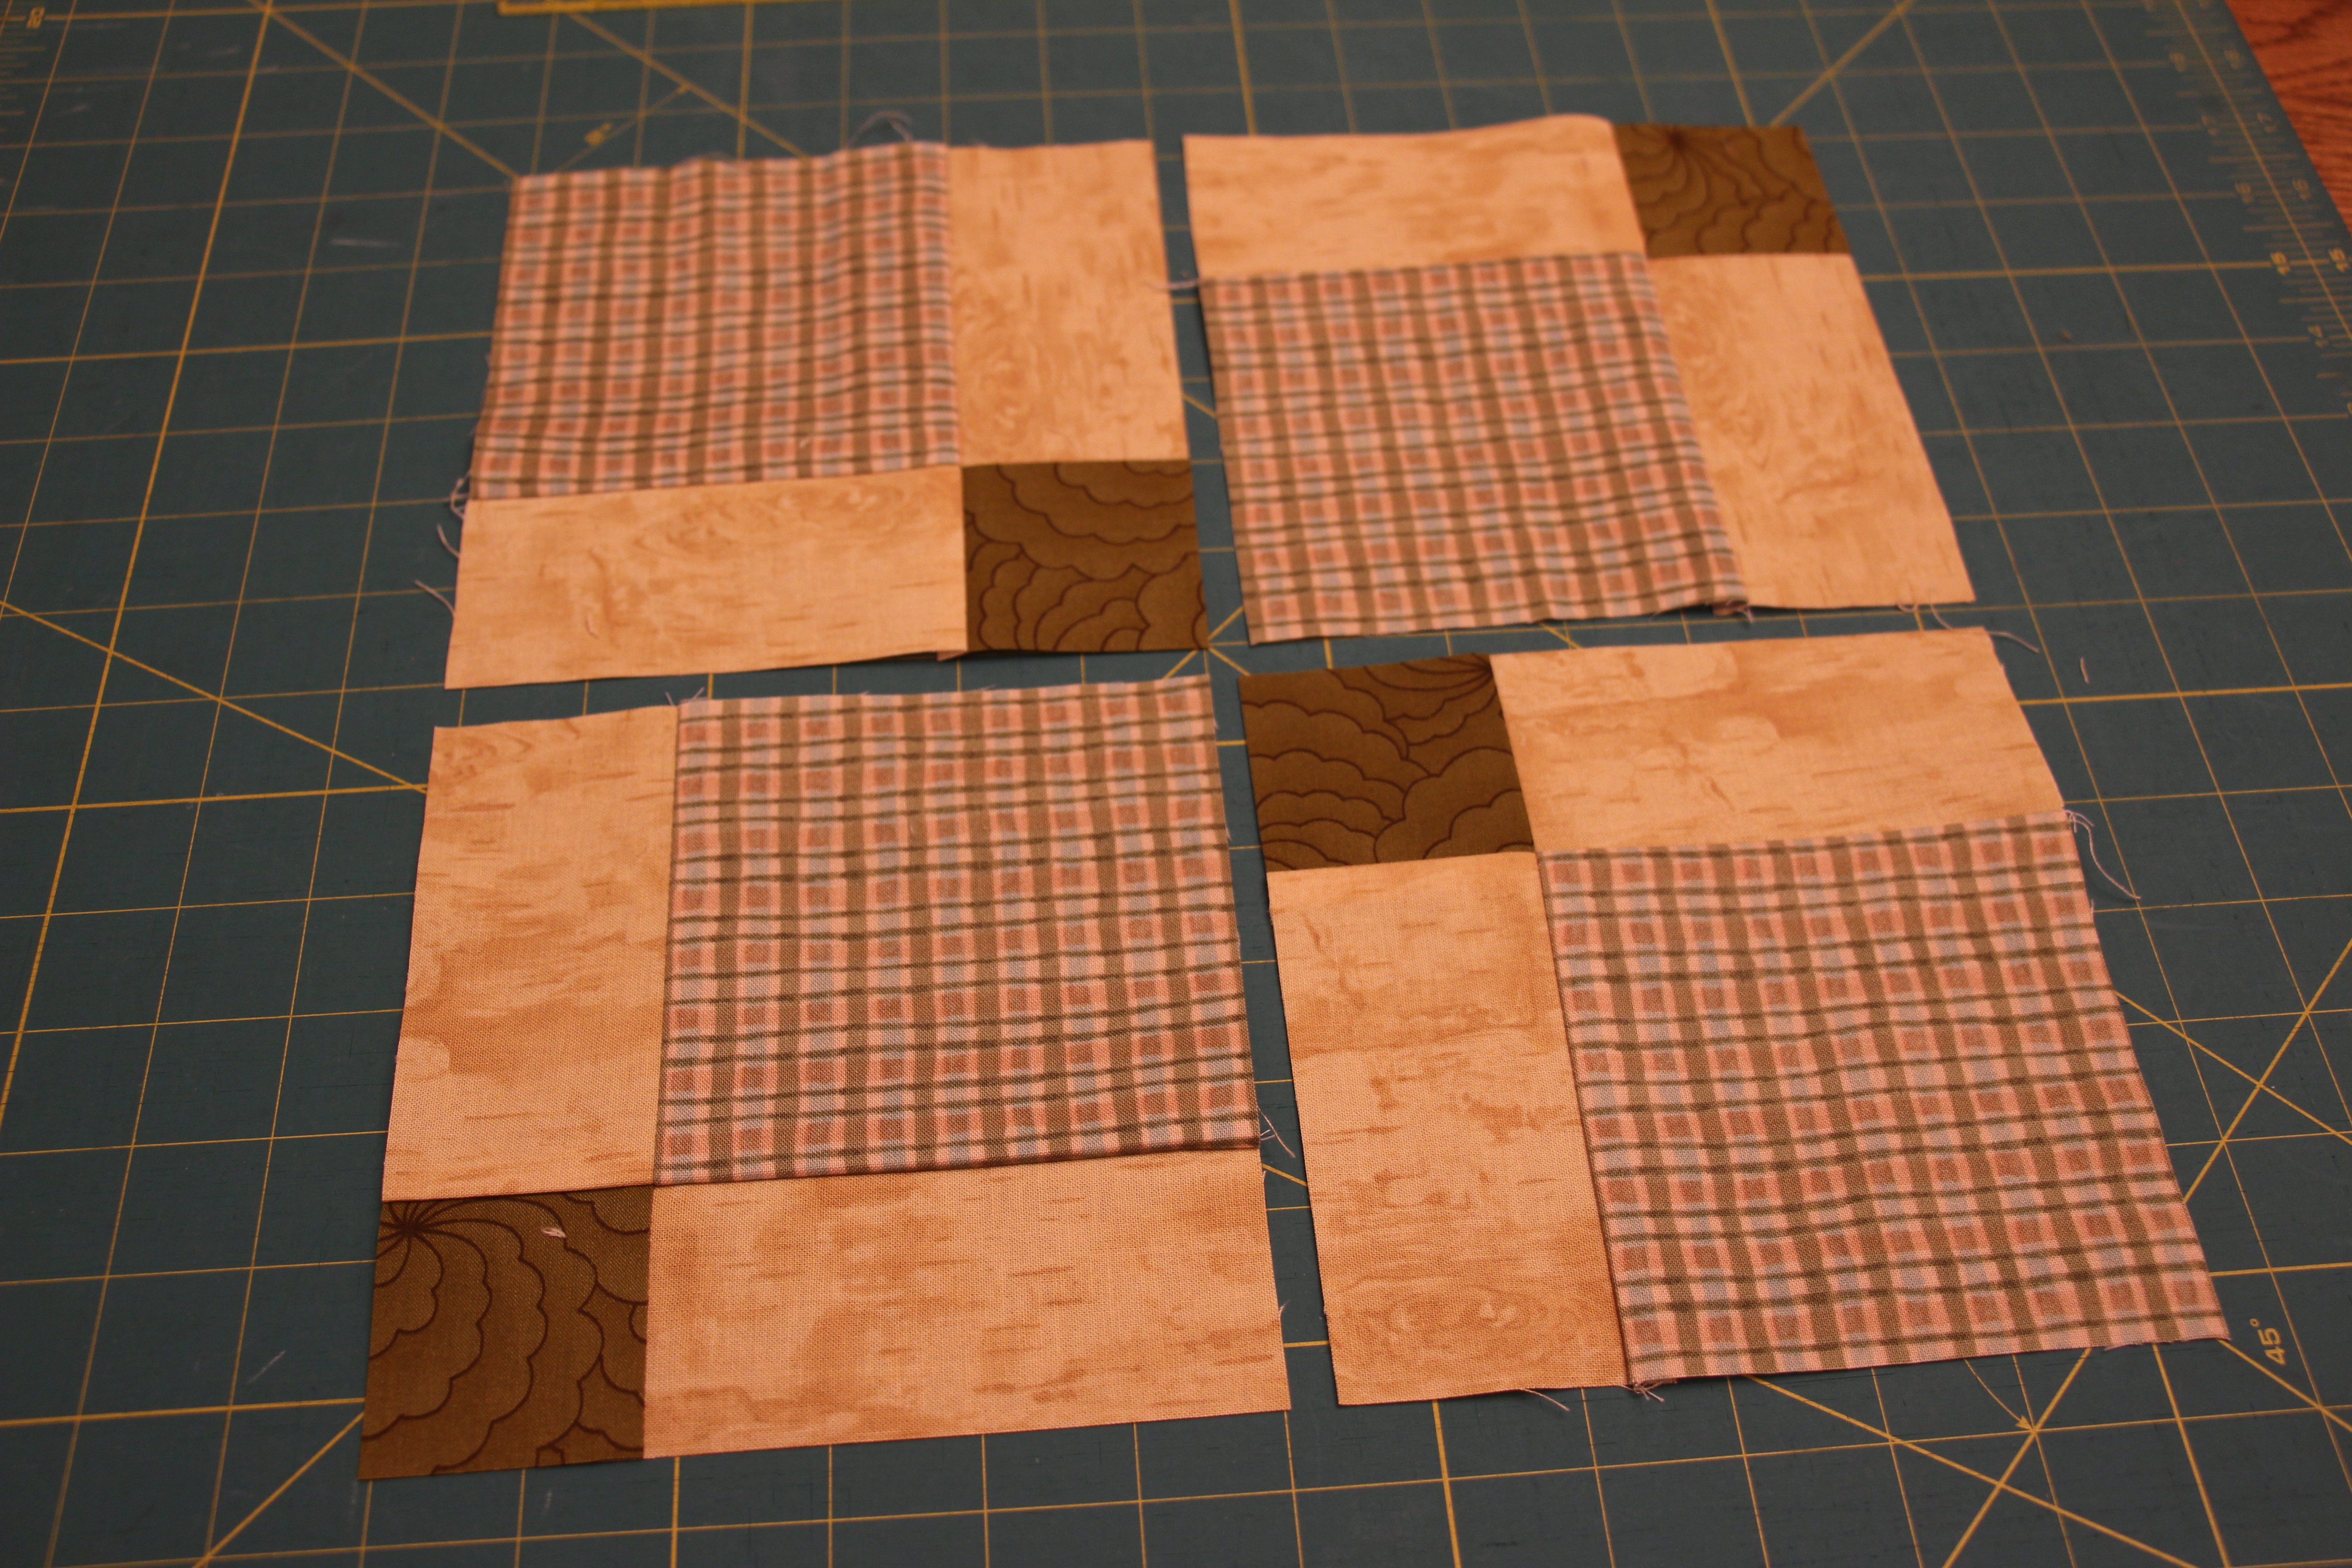
If you are using the method I do, the shirts need to be cut in increments of 4″. If you are not using pre-cut templates, do not forget your 1/2″ seam allowance!! Choose the size block that best fits the shirt you’re using.

Interfacing How-To

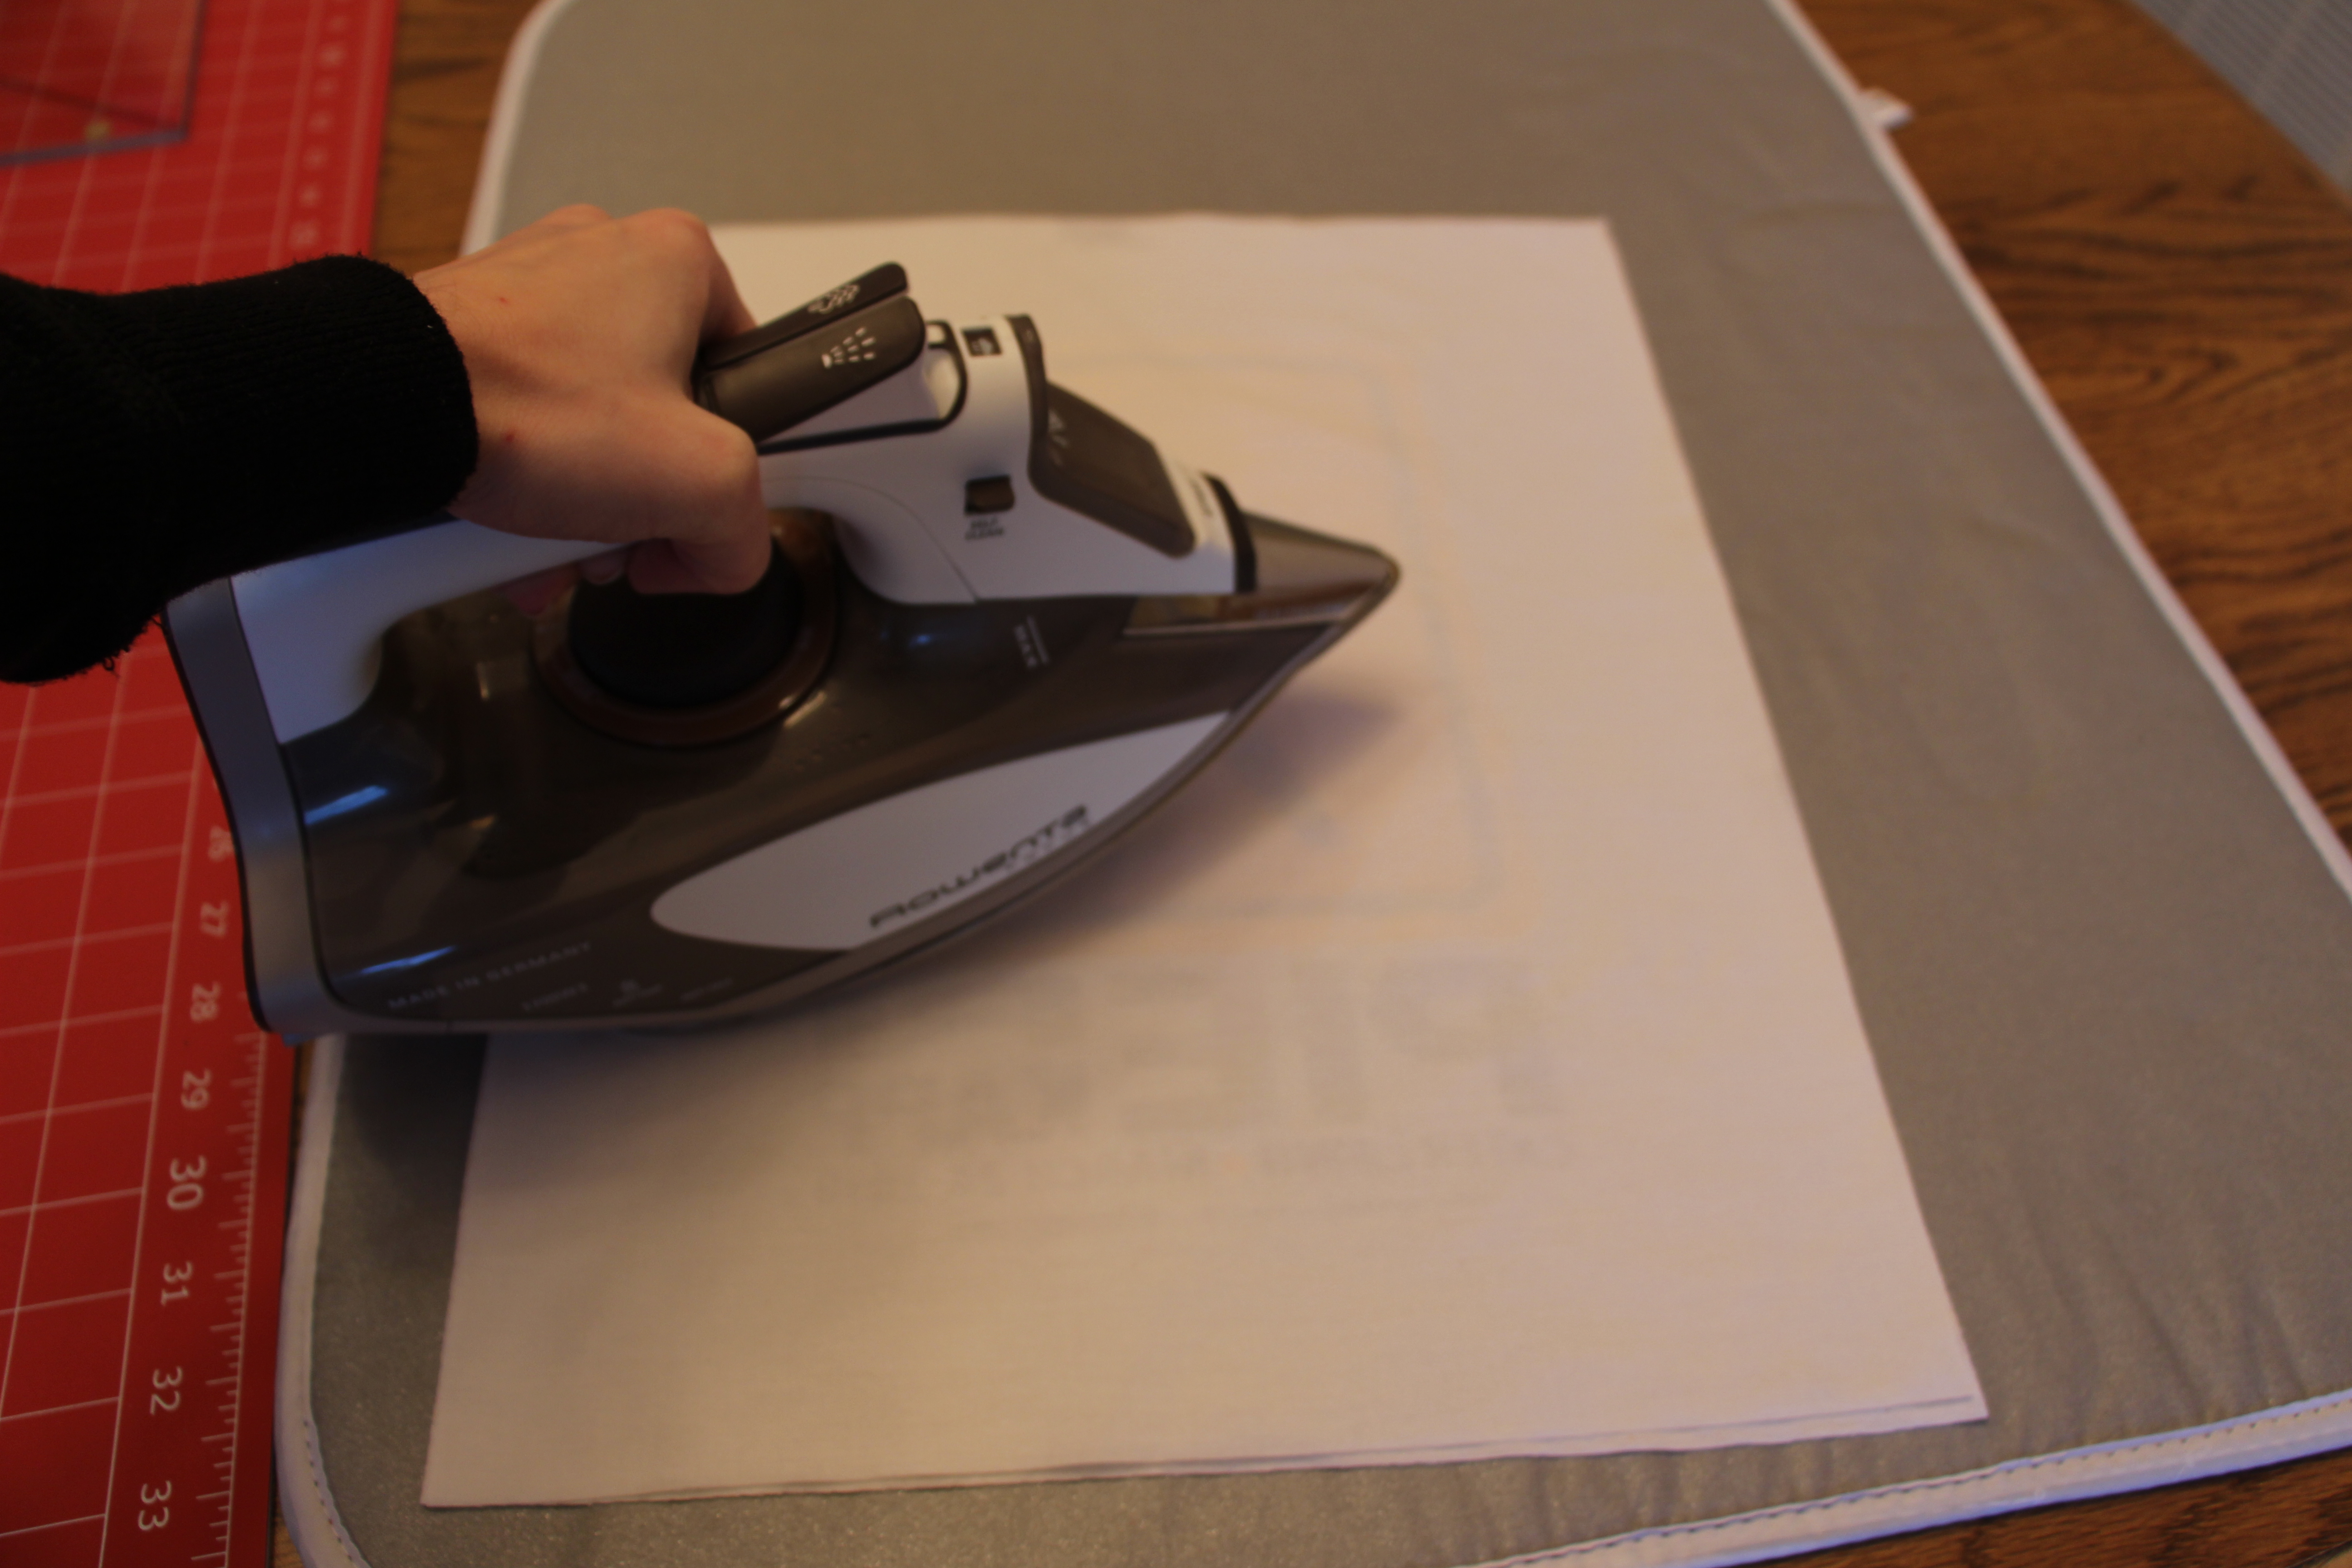
Trim your shirt slightly larger than the desired block size.  Cut interfacing to the same size (as best you can).

Interfacing How-To

Turn the shirt so that the pattern/logo is face down. Place the interfacing bumpy side down on top of the shirt. Iron on the interfacing until it adheres to the shirt.

Interfacing How-To

Now trim your shirt to the desired block size (with your 1/2″ seam allowance!).

Interfacing How-To


Note: Interfacing is not a requirement, however I would greatly encourage it.

Snowflake Block

Engineer Kate and I figured out how to create a Snowflake block for the back of Let it Sew. We tried surfing the web for tutorials to follow but were unsuccessful. We knew there had to be a way without resorting to paper piecing.

Playing off of a “square in a square” block and sashing we managed!

Let it Sew

Here is the how-to for a Snowflake Quilt Block:

Note: These measurements are for an 6″ snowflake block with 1″ wide snowflake lines. 

Cut fabric:

  • 4 squares 3 1/4″ white
  • 1 square 1 1/2″ white
  • 4 rectangles 1 1/2 x 3″ white
  • 8 squares 3 1/4″ blue

Layer one blue square atop a white square. Mark the center diagonal, 1/2″ off of the diagonal, and an optional another 1/4″ off of that. (A bonus half square triangle will result from the optional 1/4″ steps!)

Snowflake Block Tutorial Snowflake Block Tutorial Snowflake Block Tutorial

Sew on the 1/2″ line. Also sew on the 1/4″ if using. Cut in between the two stitches.

Snowflake Block Tutorial

Iron the blue away from the white fabric. Take another blue square piece of fabric and line it up with the white on top of the resulting “block” from the previous steps.

Snowflake Block Tutorial

Repeat the above steps and again iron the blue away from the white.

Snowflake Block Tutorial Snowflake Block Tutorial

If you used the 1/4″ lines you now have two bonus half square triangles to do with what you wish! (For a project this small I would skip this step, but if you’re doing something larger by all means enjoy your bonus blocks!)

Snowflake Block Tutorial

Using the center white line as a guide, trim the block to a square of 3×3″.

Snowflake Block Tutorial Snowflake Block Tutorial

Repeat 3 more times so that you have 4 diagonals to your snowflake.

Follow my sashing tutorial to finish off the snowflake block!

Snowflake Block Tutorial Snowflake Block Tutorial

Sashing

Adding sashing (those pretty inner borders) to a quilt can give it a clean and completed look. It’s quick to do and actually very simple!

Heres the How-To for Sashing:

Measure your completed block. Do not cut your sashing fabric until you’ve completed all of your quilt blocks. Cut your sashing fabric into strips with a length of your block size and width of your desired sashing thickness plus ½”. For this tutorial, I’m doing a finished sashing width of 1” so these strips are cut at 1 ½”. You will also need to cut 1 ½” squares (whatever size sashing you’re using). These squares are “keystones”, you could do them as a miniature block or a different color or use the same sashing fabric like I did. These squares will ensure straight lines throughout your quilt.

Sashing Tutorial

Sew the vertical sashing strips onto the blocks, creating a row.

Sashing Tutorial

When you iron, iron towards that sashing (away from the block). I find this creates a cleaner, sharper look.

Sashing Tutorial Sashing Tutorial

Sew the horizontal sashing strips onto the keystones.

Sashing Tutorial

When you iron, iron away from the keystones. This will insure your sashings lock together nicely when you put it all together.

Sashing Tutorial Sashing Tutorial

Sew sashing row to block row.

Sashing Tutorial

Repeat until your quilt is completed.

Sashing Tutorial

For an example of a completed quilt using sashing, check out the one I made in honor of my grandmother – “Violet”.

Half Square Triangles

Adding Half Square Triangles (HSTs) to your block repertoire can add so much versatility to your quilting designs. There are multiple tutorials out there for creating HSTs, but this is the way I was taught and it works beautifully well.

Here’s the how-to for a Half Square Triangle:

Your first step will be to determine what size square you need to be working with. Think of the HST as simply replacing a solid square. Take the size of that square and add 1 1/8” to that. Example: a 4” finished HST will need to be cut to 5 1/8”. Don’t forget to ALWAYS make a practice block with scrap fabric before committing.

You will then cut your fabric to that new measurement. Sandwich the two fabrics so that right sides are together.  Half Square Triangles 1

Draw on the center line of your sandwich. Then draw on a line 1/4″ from that on each side.

Half Square Triangles 2

Sew on the two 1/4″ lines.

Half Square Triangles 3

Cut down the center line. You now have two HSTs. Open them up and iron to them open – unless your quilt pattern suggest otherwise, iron so that the folded seam is pressed against the darker of the two fabrics. “Quilters always iron to the dark side”.

Half Square Triangles 4

You will now have to trim down the HSTs to your finished size plus ½”. So for that 4” block, you need to trim the HST down to 4 1/2”. Do this by treating your diagonal seam as straight and trim off the top and right side to just slightly larger than size.

Half Square Triangles 5

Flip the block and now align your ruler with the cut edges. Finish to the right size (4 1/2″).

Half Square Triangles 6

With HSTs you can assemble pinwheels, diamonds, and even the ever-so-popular chevron. You can even use them in the border of a quilt to create a candy cane stripe zigzag!

Half Square Triangles

How to Peel Tomatoes

I have a slight addiction/OCD when it comes to peeling things. It all started with my first Christmas. It’s Christmas morning, we’re opening presents. It’s all new and exciting. But then it’s nap time? Nap time on Christmas?! Well I didn’t think so! When my mother came back into my room, I had managed to peel the wallpaper off the wall by my crib. I still peel things – it’s why I never get my nails done. If there’s tape on a door/wall, it’ll be removed before I finish walking by. If paint is peeling off a desk, it’ll be stripped before class is over. And I happily open up all new CDs and DVDs. So why I didn’t think I’d like peeling tomatoes is beyond me!

When a recipe called for peeling and crushing fresh tomatoes, I thought about skipping that step and buying them out of a can. But when I saw that the tomatoes at the grocery store were in good shape, I decided to just go for it. It’s actually really easy (and fun)!

Here’s what you’ll need: paring knife, gently boiling water, bowl of ice water

Here’s what you’ll do: Cut an “x” in bottom side of tomato (opposite end of stem). Put in water for no more than 30s until the tomato starts to open up. Transfer tomato to the ice water. Peel!

How to Peel Tomatoes

How to Peel Tomatoes How to Peel Tomatoes How to Peel Tomatoes

Blueberry Pickin’

When my husband asked me what my next post was going to be about and I told him, “Blueberry Pickin'” I could see the wheels start to turn as he tried to remember when we went blueberry picking. The answer to that question would be never, but it didn’t take too long for the light bulb to go off.

And now you’re confused! Bare with me and you won’t be for much longer.

My newest hobby is quilting. My mother-in-law taught me how to quilt almost a year ago. I am now making quilts for all of my friends’ new babies, for my mom, and even a couple for me!

My first quilt is a blue and neutral Disappearing 9-Patch. Super simple, yet looks complicated – exactly what you’re going for in a quilting project.

Here’s the how-to for a Disappearing 9-Patch Quilt Block:

Start with a simple 9-patch.9 patch

Cut the 9-patch in half both ways.

Cut 1 Cut 2

You now have 4 pieces. Rearrange them.

4 pieces Rearrange

Sew the 4 pieces together and you now have your Disappearing 9-Patch!Disappearing 9 Patch

And now I will answer the mystery about the title of this blog post. Every quilt you make should be given a name. It doesn’t have to make sense to anyone but you. Below is the photo of my first quilt. When I looked at it it gave me a “country/homey” vibe and the name “Blueberry Pickin'” was born. Blueberry Pickin'