
One of my favorite baby “must-haves” is the Shopping Cart/High Chair Cover that my mother-in-law bought for us. When my son was just learning to sit on his own and able to handle being in the shopping cart or high chair it was nice to have the extra cushion for him to fall against.
And of course, it’s great for germ prevention. My favorite part is that I can use the strap attached to the cover instead of the ones attached to the high chair or shopping cart. Have you ever touched the straps on a public high chair?! They’re always sticky and gross. I can wipe down the chair and other surfaces no problem, but that strap is a whole other story. As for shopping carts, the straps are always located in the most awkward location – under the armpit and they don’t allow room to breathe or move.
I knew there had to be a way to make my own and it turns out that it’s much easier than I thought it’d be. There are a lot of steps but I was able to accomplish the shopping and sewing of this cover in just half a day. (With the supervision – aka emotional support – of my mother-in-law.)
While life continues to be hectic, this cover will be my new baby shower go-to item instead of the 4 Hour Quilt. Contrary to the title “4 Hour Quilt” they always take me longer than 4 hours, the top can easily be assembled in an afternoon but the quilting and binding extend the life of the project and with almost two children in tow one would probably take me a year… But, enough of that.
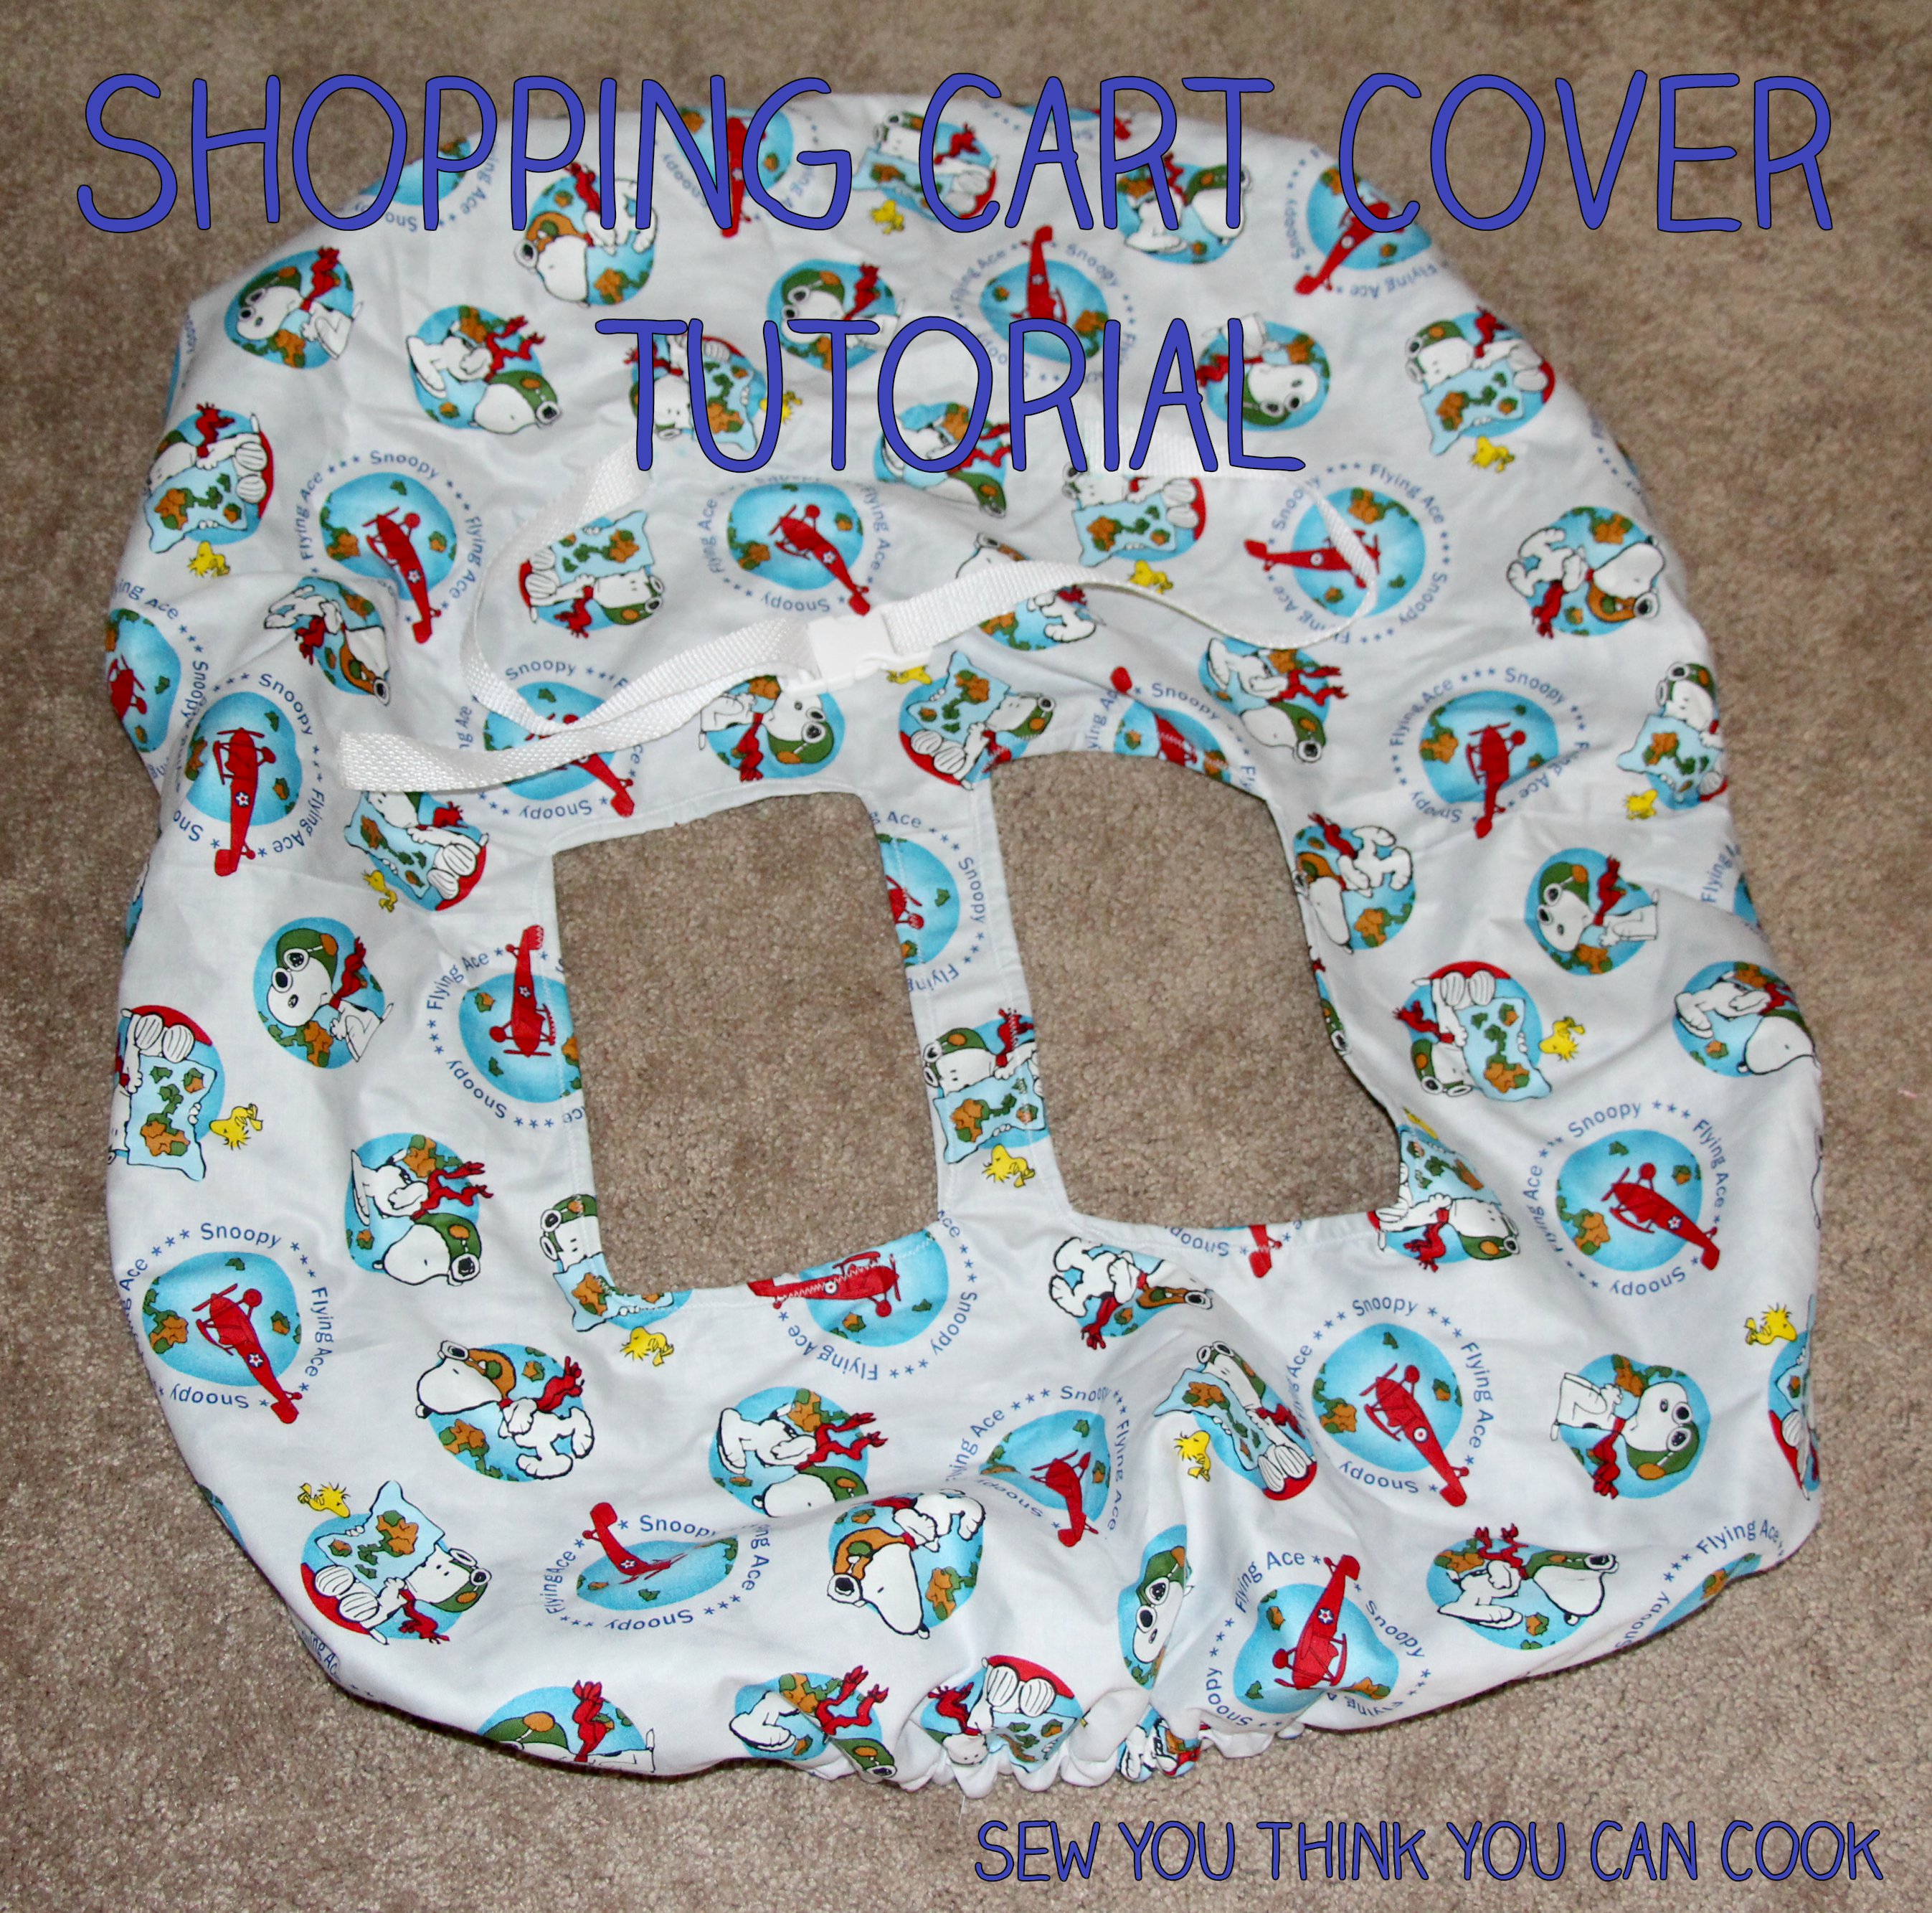
Here is the how-to for a Shopping Cart Cover Tutorial:
Supplies:
- 1 1/4 yd fleece
- 1 1/4 yd cotton fabric
- 1 1/4 yd 1″ Nylon Webbing
(strap)
- 1 1″ Plastic Quick Release Buckle
- 2 yd minus 1 in 3/4″ elastic
- coordinating thread
Steps:
- Cut the fleece and cotton fabric to 41 1/4″ squares.
- Curve all four corners on the cotton fabric. Do this by folding the fabric “hotdog style” then “hamburger style” so that all four corners are together. Use a curved ruler or plate as a template and cut the corners. Use the cotton fabric as a stencil for the fleece so the curves are identical in both pieces of fabric.

- Lay out the fleece. Find the center of the bottom edge.
- Mark 13″ up and 1″ to the left. Place the bottom right corner of a square/rectangle template measuring at least 5×5″ (I used a DVD case) at that mark. Trace the template and cut a hole.

- Mark 13″ up and 1″ to the right. Place the bottom left corner of a square/rectangle template measuring at least 5×5″ (I used a DVD case) at that mark. Trace the template and cut a hole.
- Mark 13″ up and 1″ to the left. Place the bottom right corner of a square/rectangle template measuring at least 5×5″ (I used a DVD case) at that mark. Trace the template and cut a hole.
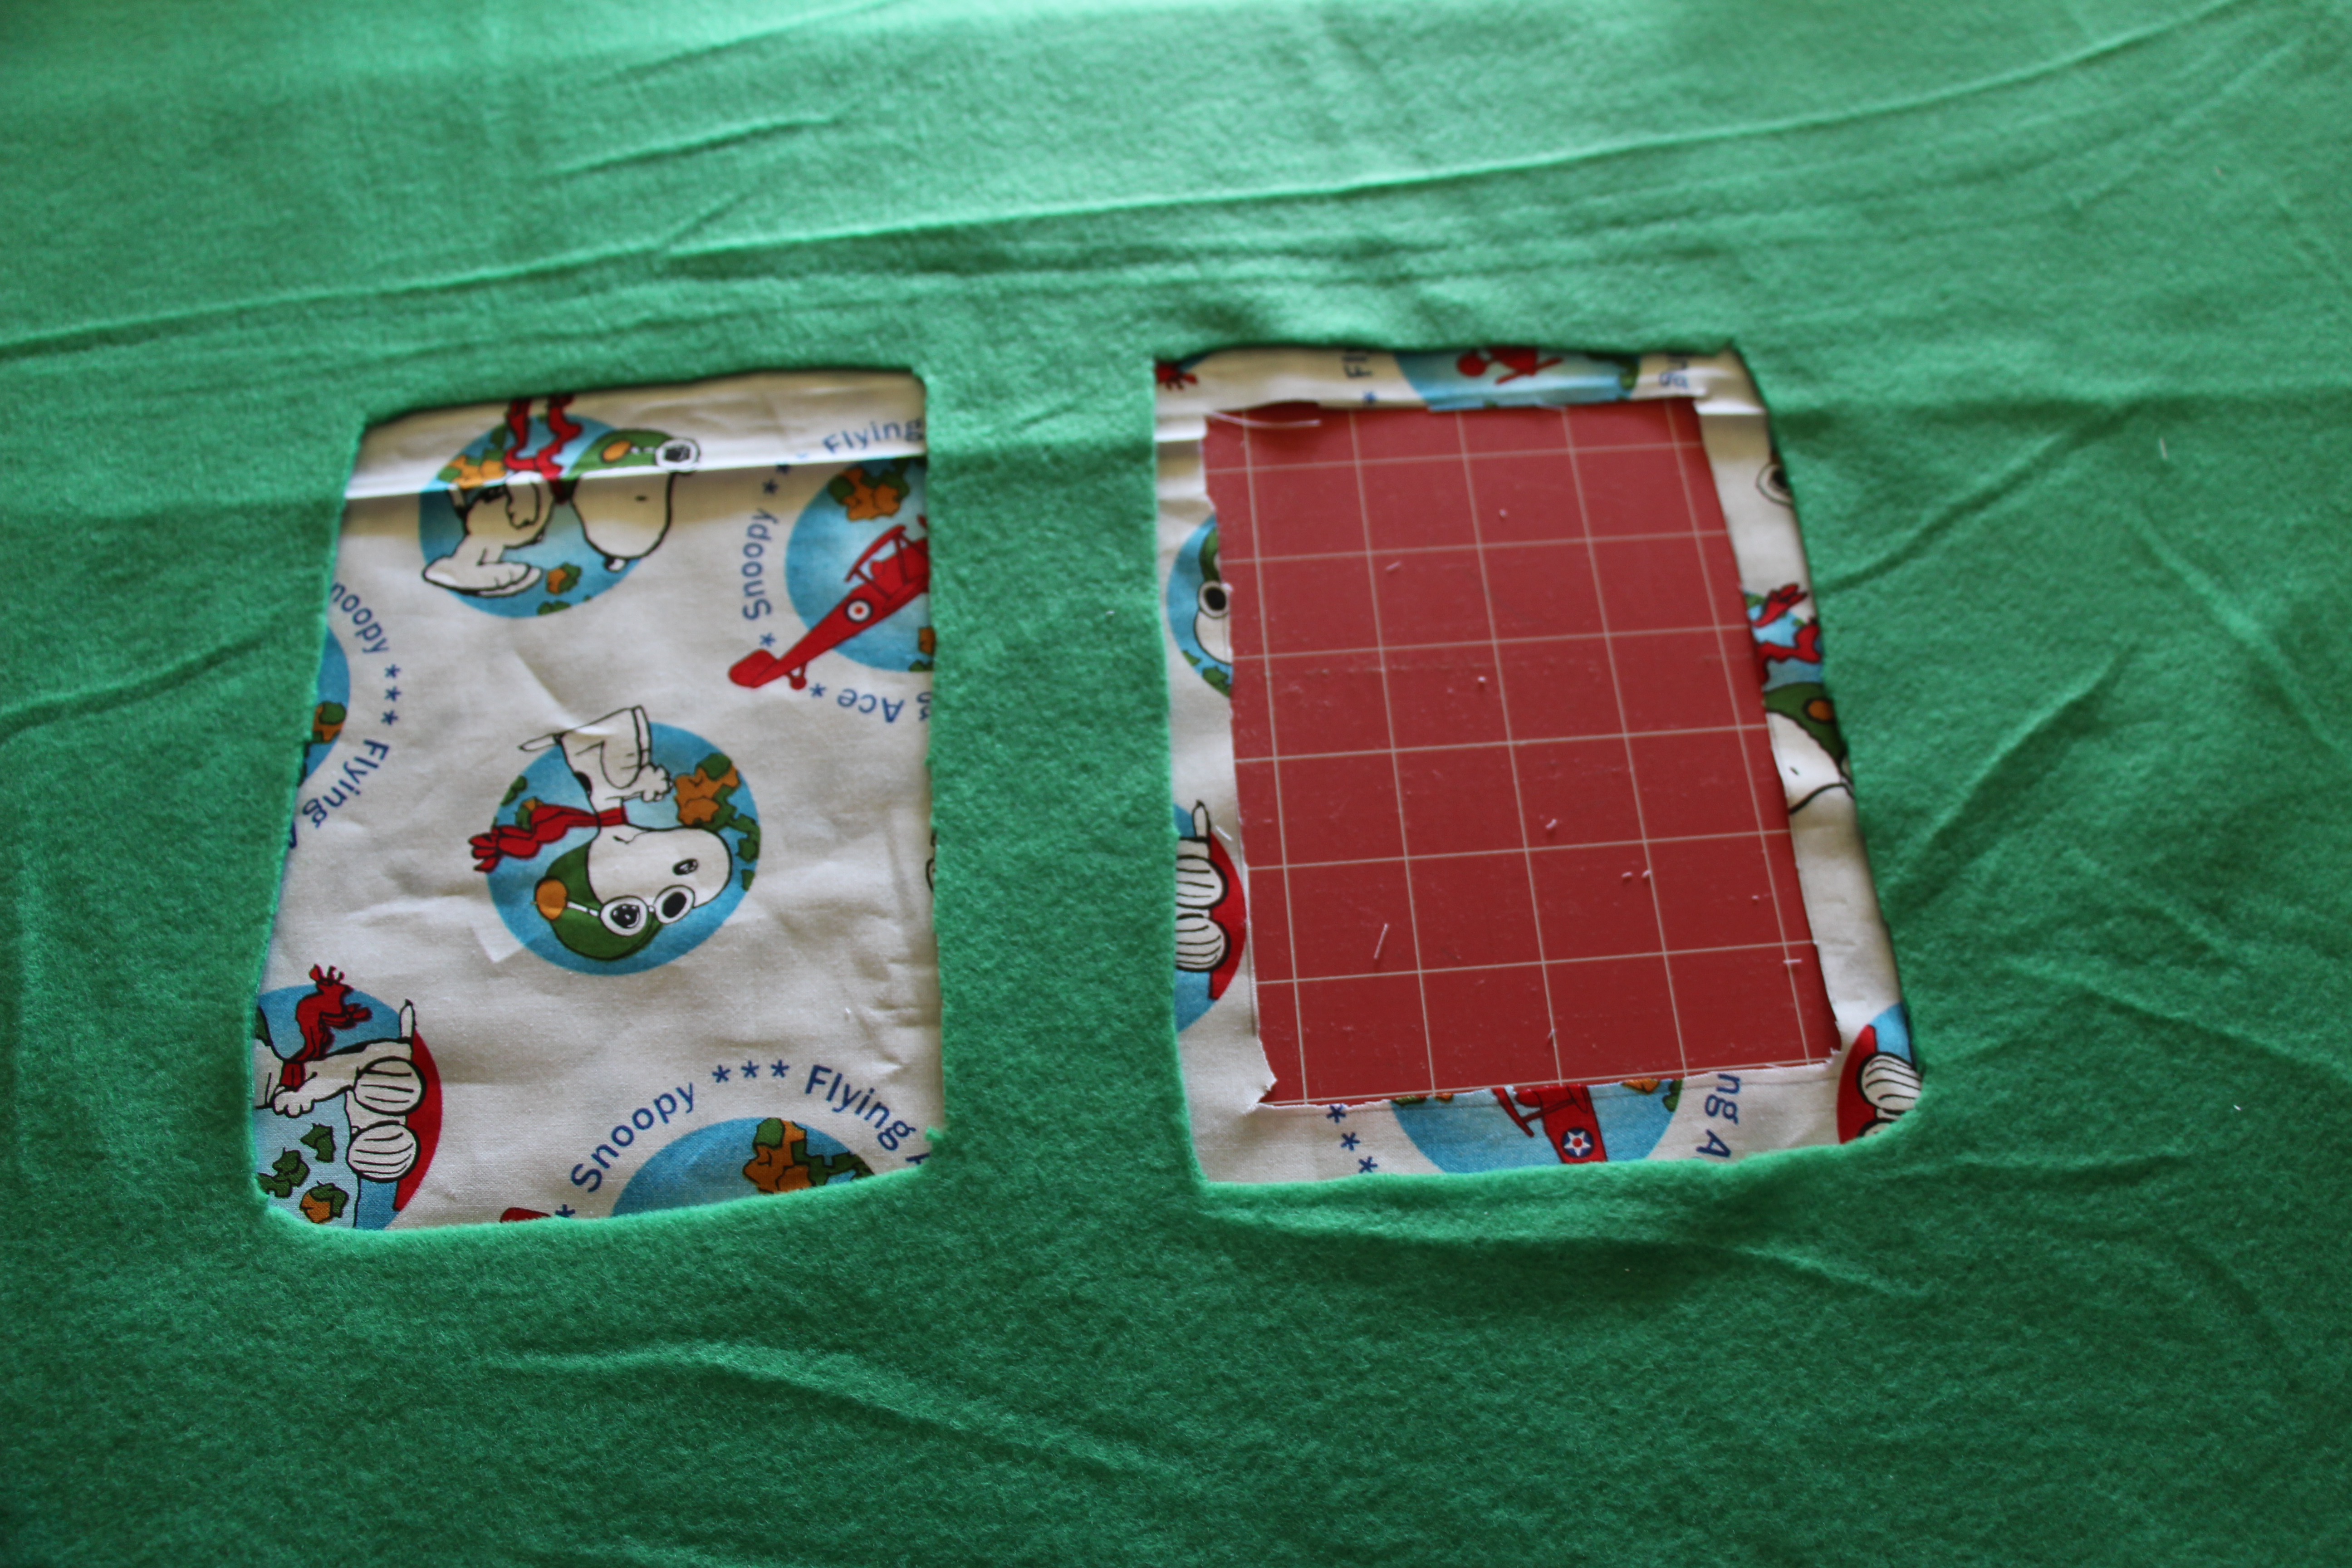
- Place cotton fabric face up on work surface. Place the fleece on top. Trace the leg holes from step 3 but at 1/4-1/2″ inside of the opening so that the leg hole in the cotton fabric is smaller than in the fleece. Cut.

- Pin the two fabrics together. Sew a straight stitch set to a length of 4 using a seam allowance of 3/8″ around the edge of the cover leaving a 4″ wide gap on one edge.
- Turn the cover inside out through the gap.
- Mark 1″ from the edge all the way around the cover. Sew a straight stitch set to a length of 4 on that line. Still leave the 4″ wide gap from step 5. (Note: This is for 3/4″ thick elastic.)
- Return to the leg holes. Place cover so that the fleece layer is on top and the cotton fabric face down. Cut a 45 degree angle on the cotton fabric into the corners of the leg holes. Fold the cotton fabric onto itself and then over the fleece. Pin. Zig-zag stitch around the leg holes, making sure to close the corners.

- Find the center of each leg hole and measure 12″ above it. (The 12″ includes open leg hole space.) Mark this location. This mark is the center of a buttonhole. Make sure the buttonhole is large enough to fit the webbing strap (and/or buckle if desired) – do a test first. Sew buttonhole according to your sewing machine’s instructions.
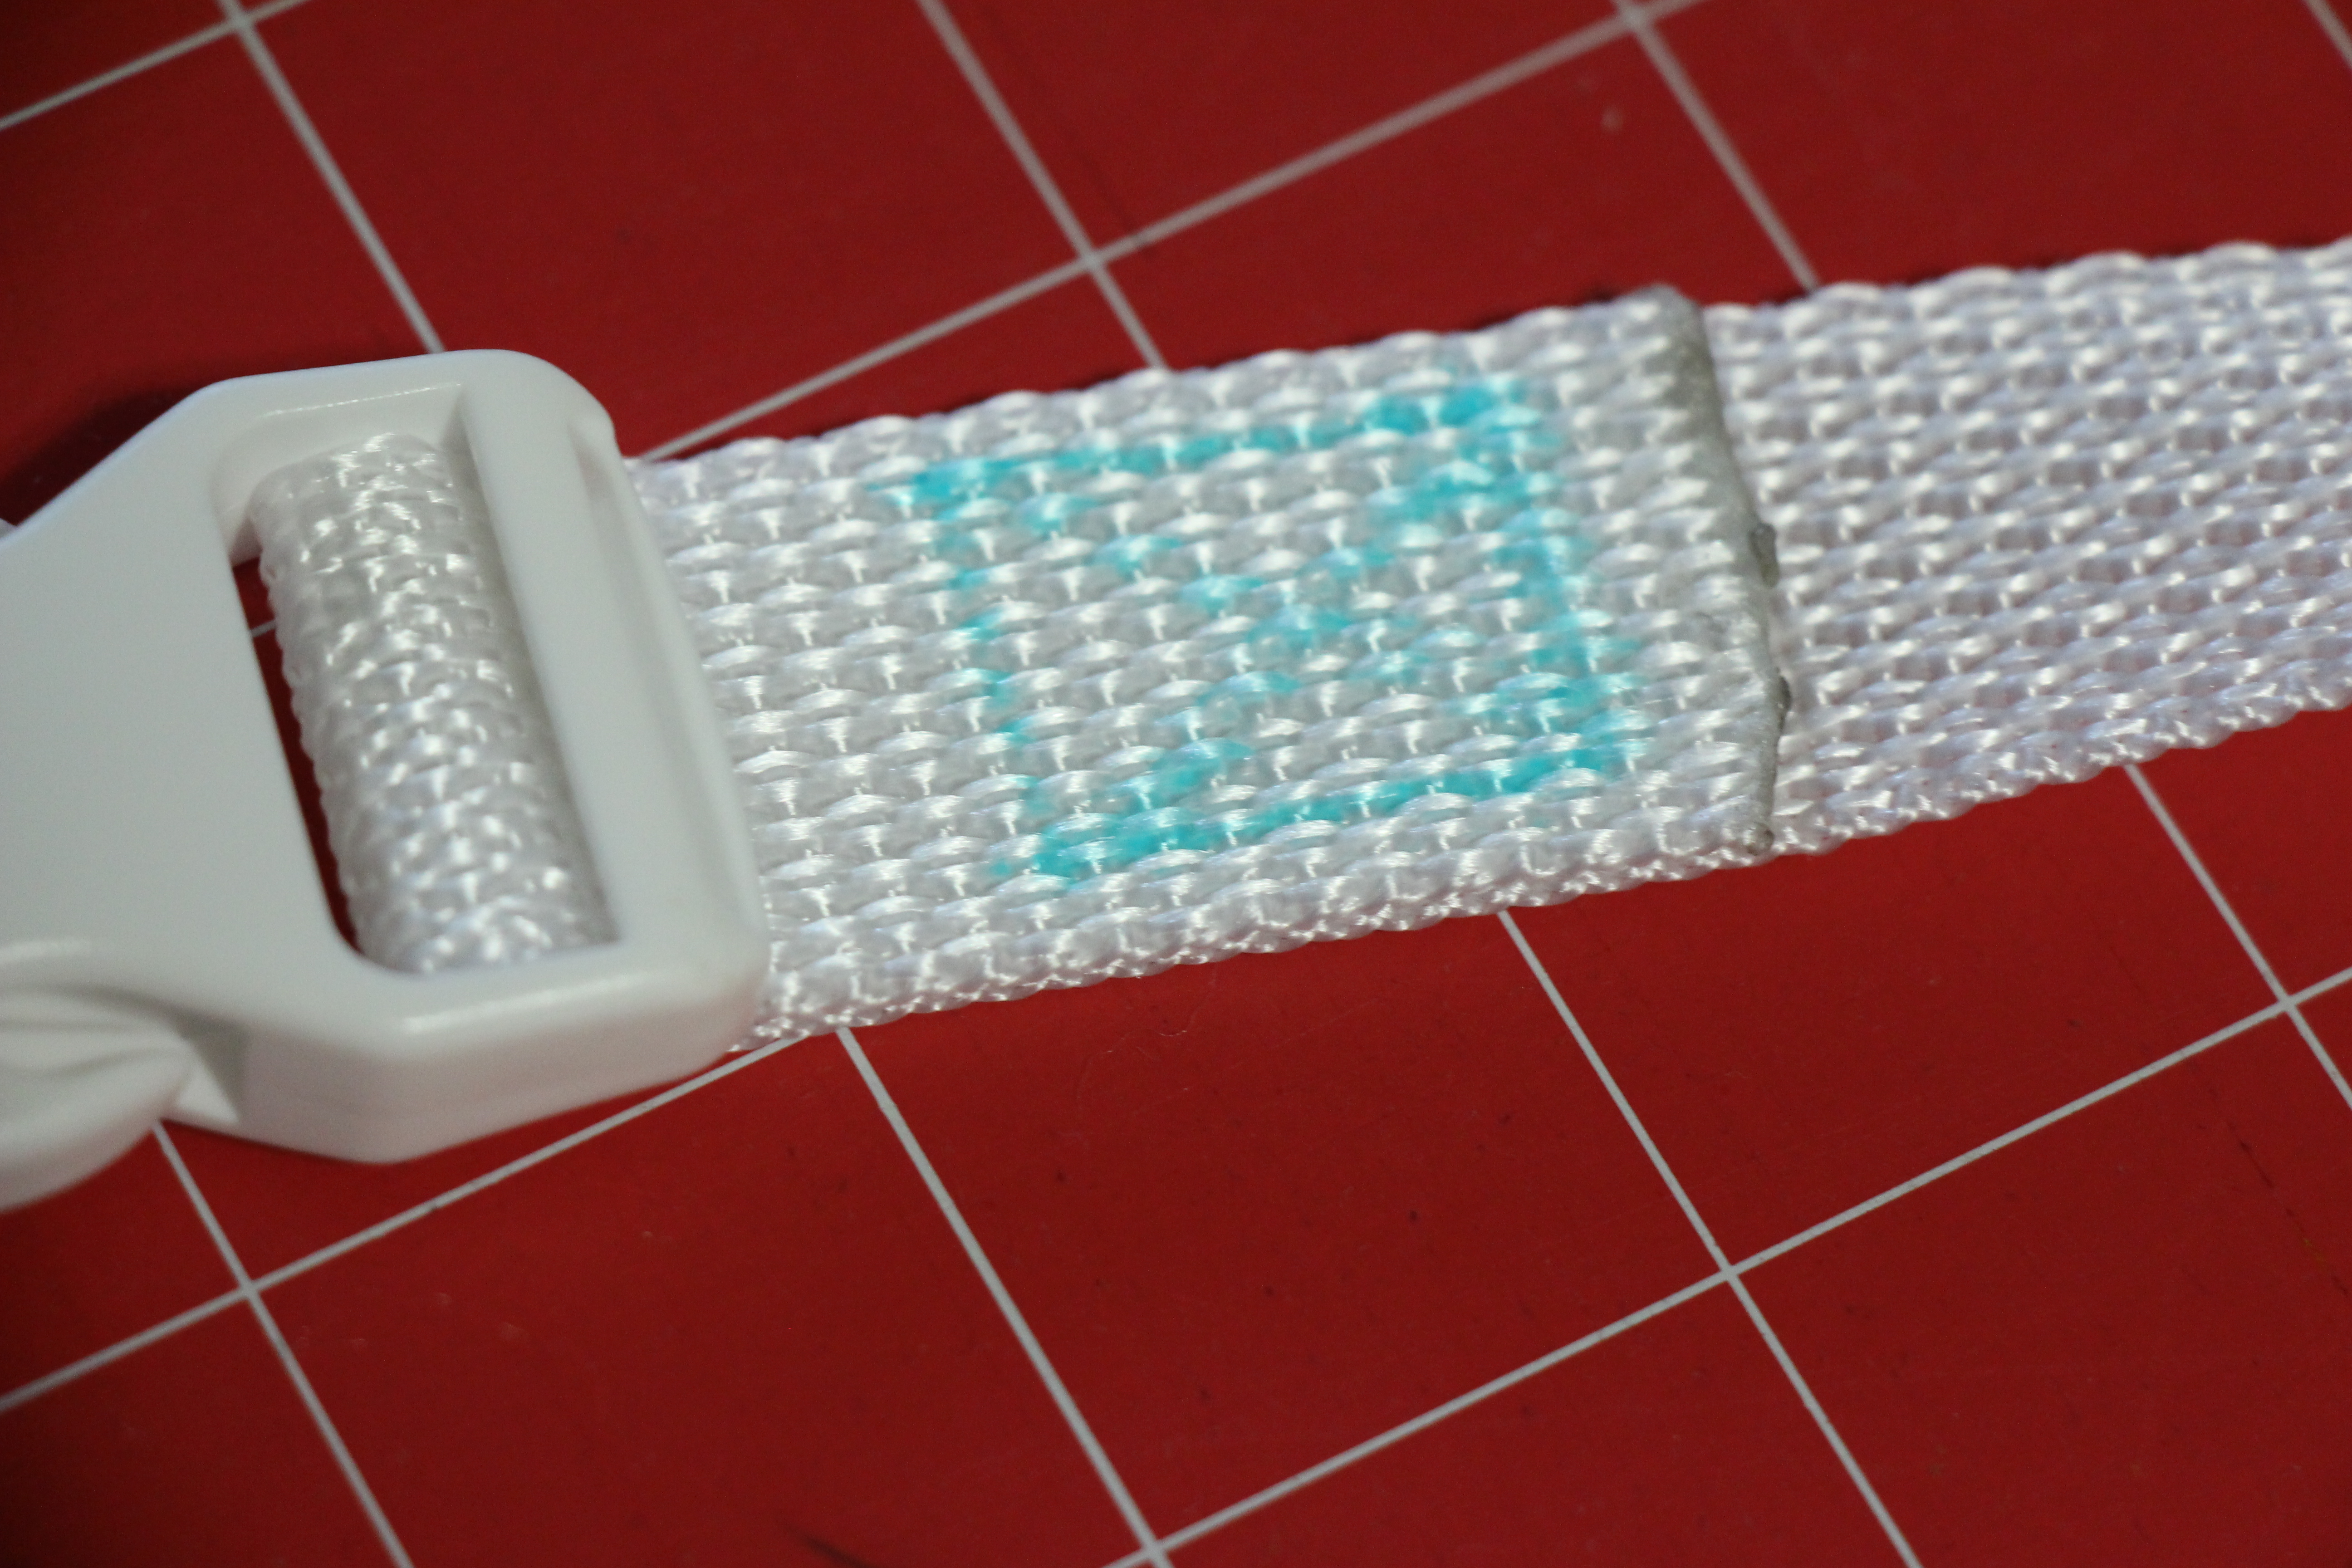
- Melt the ends of the webbing. Do this by (carefully) holding a flame up to the ends.
- Insert the webbing through the buttonholes – making sure it’s not twisted.

- Attach the buckle to the webbing. Sew an “X” inside a square to lock one end of the buckle. I decided to leave the other side free for adjusting.

- Insert the elastic through the edge of the cover. Tip: Place a large safety pin at the end to make it easy to pull through the gap. Sew the elastic together.
- Close up the gap from Steps 3 and 4.
- Fold the edge fabric in on itself and sew as close to the edge as possible. Be sure not to sew the elastic!
- Use a straight stitch set to a length of 4 to close the gap closest to the inside of the cover. Be sure not to sew the elastic!


*This tutorial is modified from Stephanickety at http://thetiptoefairy.com/2013/05/how-to-make-your-own-shopping-cart-high-chair-cover/*
Disclaimer: This post contains affiliate links.


Love this!
Thanks! It went to Kate. 🙂