Maple Glazed Brussels Sprouts

It’s no secret we like Brussels sprouts in this house and I love finding new ways to prepare them. Today’s version is one that is perfect for Christmas. Yesterday was all about last minute holiday recipes and this is the recipe that I was originally going to share with the Sunday Supper crew. The red bell pepper, red onion, and green Brussels sprouts look like Christmas and the glaze tastes like the holidays making it the perfect side dish to your ham or turkey this weekend.

I prepared these Brussels sprouts when my mom was here last month. She declared them her favorite sprouts recipe. (We actually cooked pork chops in the same pan from the Brussels sprouts – delicious!) She snapped a picture of the recipe on her cell phone and after her first grocery trip upon getting back home she messaged me saying she’d already bought the real maple syrup. That was her subtle way of informing me that I’d be making these again for Christmas. I will have to triple or quadruple the amount of Brussels sprouts and double the amount of glaze.

This recipe makes 3 servings.

Maple Glazed Brussels Sprouts

Ingredients:

  • 2 C halved Brussels sprouts
  • 1/2 red bell pepper, thinly sliced
  • 1/2 red onion, thinly sliced
  • 1/4 C real maple syrup
  • 1 tbsp soy sauce
  • 1 tbsp Dijon mustard

Steps:

  1. Cook Brussels sprouts in a pot of boiling salted water for 2 minutes. Drain, rinse, and set aside.
  2. In a non-stick skillet over medium-high heat saute the peppers and onions until tender, about 5 minutes. Add the Brussels sprouts and cook another 4 minutes.
  3. In a small bowl whisk together the syrup, soy sauce, and Dijon. Add to the skillet and coat the vegetable. Cook until glaze has thickened slightly.

*This recipe is adapted from Jeff at http://relish.com/recipes/maple-glazed-brussels-sprouts-video/*

Maple Glazed Brussels Sprouts  Sew You Think You Can Cook

#handcraftededibles: Cookie Tray

#handcraftedediblesIn an effort to make all of her holiday gifts this year, Camilla at Culinary Adventures with Camilla invited some of her favorite foodie bloggers to share recipes for hand-crated edibles. Over the course of twelve weeks, we’ll be sharing recipes for all your homemade holiday gifts or things to serve at holiday parties. Hope you’ll follow along for inspiration. You can find out more information, including the schedule here.

It’s hard to believe we’re at week 11! Today’s theme is “Cookie Tray.” A lot of people assemble cookie tins for gifts and if you’re one of them do you stick to your tried and true or venture out and try something new? I encourage you to mix it up and check out the cookie tray we’ve assembled for you today.

Today I am sharing a slight twist to the traditional gingerbread cookie. This one has honey in it, which provides a floral, smokey, sweetness to the spicy cookie.

I played around with the baking times, thinking they needed a little bit longer after the first batch were done, but giving them an extra two minutes yielded very hard cookies that would be more appropriate for ornaments or dog treats once they’d fully cooled. I know gingersnaps are a little harder than your average cookie, but these were too far gone. I urge you too bake on the side of caution and let batch one cool completely before continuing on with your baking.

Honeyed Gingerbread Cookies

Ingredients:

  • 1 1/2 C honey
  • 1 1/2 C brown sugar
  • 1/2 C molasses
  • 2 tbsp butter
  • 6 1/2 C flour
  • 3 tbsp gingerbread spice
  • 2 tsp baking soda

Steps:

  1. In a saucepan over medium heat, melt together the honey, brown sugar, molasses, and butter. Bring to a boil and simmer 10 minutes, or until the sugar is dissolved. Allow mixture to cool for  at least 15 minutes.
  2. In a large bowl sift together the flour, gingerbread spice, and baking soda. Stir in the cooled honey mixture until fully incorporated. It will be sticky! Note: I would suggest doing this in a stand mixer.
  3. Wrap cookie dough in plastic wrap and refrigerate at least 2 hours.
  4. Preheat oven to 320 degrees F. Line cookie sheets with parchment paper.
  5. Roll cookie dough to 1/6″ thickness. Cut shapes with cookie cutters and place on prepared baking sheets. Bake 8 minutes (See my story above regarding baking time) . Let cool on wire rack. Store cookies in an air tight container.

*This recipe is adapted from Nora at http://www.savorynothings.com/homemade-gingerbread-spice-mix-perfect-gingerbread-recipe-free-printables/*

Honeyed Gingerbread Cookies for #handcraftededibles from Sew You Think You Can Cook

Here are some other options to fill your Cookie Tray:

Next week – week 12 and our final week – is all about wrapping. How to label those jarred mixes. How to mail cookies safely. How to….

Don’t forget to check out our #handcraftededibles pinterest board.

#FoodieExtravaganza: Fruit Cake

foodieextravaganza-300

It’s the first Wednesday of the month (the last month of the year! YIKES.) and that means it’s time to celebrate some foodie fun! Specifically Fruit Cake. This month’s event is hosted by Laura of Baking in Pyjamas.

The Foodie Extravaganza is a monthly party hosted by bloggers who love food! Each month we incorporate one main ingredient or theme into recipes to share. If you are a blogger and you’re interested in joining in the fun, visit us at our Facebook Foodie Extravaganza page. You can also visit our past party submissions on our Pinterest Foodie Extravaganza board.

I’ve never had fruit cake so I decided to do a little research and find a way to manipulate the controversial dessert into a format that would be most welcome in my house – as breakfast!

I took some of the traditional flavors of fruit cake (minus the booze) and created an original recipe Fruit (Pan)cake! I opted for dried fruits instead of candied, in my case cherries and golden raisins. Because a little one would be eating these pancakes I decided to pulse the walnuts so as to not be a choking hazard, doing so created a great texture to the pancakes and provided heartiness. I used traditional spices to amp up the batter too – cinnamon, allspice, and nutmeg – and instead of white sugar I used brown sugar for some extra warmth. If you want some of that boozy flavor try adding some rum extract or making a rum syrup!

An Original Recipe

Fruit (Pan)cakes

Ingredients:

  • 1 1/4 C flour
  • 1/2 C ground walnuts
  • 3 1/2 tsp baking powder
  • 1 tbsp brown sugar
  • 1 1/2 tsp cinnamon
  • 1/2 tsp allspice
  • 1/4 tsp nutmeg
  • 1/2 tsp salt
  • 1 egg
  • 1 1/4 C milk
  • 3 tbsp melted butter
  • 1/2 C golden raisins
  • 1/2 C dried cherries

Steps:

  1. In a large bowl, whisk together the flour, walnuts, baking powder, brown sugar, and spices.
  2. In another bowl, whisk together the egg, milk, and melted butter. Stir the wet ingredients into the dry and fold in the fruit.
  3. On a hot buttered griddle drop 1/3 C of batter into pancakes. Cook until golden on both sides. Flip pancakes when batter starts to set and bubbles form in the center of the pancake.

Fruit (Pan)cakes for #FoodieExtravaganza from Sew You Think You Can Cook

Be sure to check out these other fruit cakes:

Aussie Boiled Fruitcake by Food Lust People Love

Brandied Apricot-Ginger Fruitcake by Cherishing a Sweet Life

Chocolate Fruit Cake by Baking in Pyjamas

Cinnamon Apple Cake by Fearlessly Creative Mammas

Dried Plum Stollen by Caroline’s Cooking

Festive Kid Friendly Fruitcake Muffins by A Day in the Life on a Farm

Irish Spiced Fruitcake by Making Miracles

Lemon Berries Bundt Cake by Cookin and Craftin

#Cookielicious Exchange Party

It’s that time of year

When the world falls in love

Every song you hear

Seems to say….

bake some cookies!

The opening lyrics are to The Christmas Waltz, a not as popular holiday song that was my first ever solo in middle school and a song that I hold dear.

But seriously, it’s that time of year for holiday parties and cookie exchanges and who better to have a cookie exchange than a wonderful group of food bloggers?! Today’s particular cookie exchange is with the Sunday Supper Movement. Be sure to scroll past my recipe for an incredible selection of cookie recipes to brighten your holiday season.

After the birth of my baby boy my mom was here for a couple weeks helping me adjust to life with two children. It was then that we decided to bake cookies, one of the culinary tasks my mom enjoys doing. We picked something of Polish origin – kolaczki. Mom remembers having these jam filled cookies as a kid. While the majority of the recipes online show a “rolled” cookie, Mom remembers having them as more of the typical “thumbprint” cookie. We decided to try the rolled cookie form – only 5 held their shape, so we made small circles from the remaining dough.

This recipe makes 4-5 dozen cookies.

Kolaczki

Ingredients:

  • 3 sticks butter, softened
  • 8oz cream cheese, softened
  • 3 C flour
  • jam for filling
  • powdered sugar for rolling
  • sugar for rolling

Steps:

  1. In the bowl of a stand mixer fitted with the paddle attachment cream together the butter and cream cheese. Add the flour, one cup at a time, and mix until incorporated. Refrigerate dough at least one hour.
  2. Preheat oven to 350 degrees F. Lightly grease baking sheets.
  3. Combine equal parts powdered sugar and sugar for rolling the cookie dough.
  4. For rolled form: Roll dough out to 1/6″ thickness, cut into 2×2″ squares, place jam diagonally down the center, fold two opposing corners over the filling. For thumbprint form: Make small balls from the dough and roll in the sugar mixture. Press flat and create a well for the jam.
  5. Place cookies on prepared baking sheets. Bake 15 – 20 minutes, or until the edges are lightly golden.
  6. Sprinkle with powdered sugar before serving.

*This recipe is adapted from Barbara at http://easteuropeanfood.about.com/od/polishdesserts/r/kolaczki.htm*

Kolaczki for #Cookielicious Exchange Party from Sew You Think You Can Cook #SundaySupper

Plus, 20 Cookie Baking Tips and Holiday Cookie recipes from Sunday Supper

8387592742_f6164fd5a8_oJoin the #SundaySupper #Cookielicious Exhange Party conversation on twitter on Tuesday December 1st! Our chat starts at 7:00 pm ET. Follow the #SundaySupper hashtag and remember to include it in your tweets to join in the chat. To get more great Sunday Supper Recipes, visit our website or check out our Pinterest board. Would you like to join the Sunday Supper Movement? It’s easy. You can sign up by clicking here: Sunday Supper Movement.

Yeast-Free Cinnamon Rolls

I trust you all had a happy Valentine’s Day and a nice weekend cozying up. If you have President’s Day off and haven’t come down from that sugar high yet, I’ve got the perfect breakfast to enjoy with your loved ones.

Cinnamon rolls are usually our Sunday morning breakfast – without fail. Although, I’m talking about the ready made dough in a can. Unless it’s Christmas – then I’m making Cranberry Cinnamon Rolls with my mom. While those are seriously the best cinnamon rolls, they require a lot of time and a good amount of effort. Not ideal for a weekly breakfast.

When I saw these easy cinnamon rolls on Fantastical Sharing of RecipesBest Breakfasts of 2014 Countdown I had to make them. And make them I did. That weekend! There isn’t any yeast to proof or dough to rise. And it uses buttermilk! We’re new lovers of anything buttermilk in our breakfast batters/doughs. I will say that I found the clove to be too strong for my taste, Stuart quite enjoyed it though.

Yeast-Free Cinnamon Rolls

Ingredients:

  • 3/4 C brown sugar
  • 1/4 C + 3 tbsp sugar, divided use
  • 2 tsp cinnamon
  • 1/4 tsp cloves
  • 7 tbsp butter, melted, divided use
  • 2 1/2 C flour
  • 1 tsp baking powder
  • 1/2 tsp baking soda
  • 1/2 tsp salt
  • 1 1/4 C buttermilk
  • 2 tbsp cream cheese, room temperature
  • 2 tbsp milk
  • 1 C powdered sugar

Steps:

  1. Preheat oven to 425 degrees F.
  2. In a bowl combine brown sugar, 1/4 C sugar, cinnamon, cloves, and 1 tbsp melted butter with a pinch of salt. Set aside.
  3. In the bowl of a stand mixer fitted with the dough hook, whisk together flour, remaining 3 tbsp sugar, baking powder, baking soda, and 1/2 tsp salt. Add the buttermilk and 2 tbsp of melted butter. Knead dough until it comes together around the dough hook and is smooth.
  4. Roll dough out on a floured surface into a 12″ x 8″ rectangle. Brush the dough with 2 tbsp melted butter and press the brown sugar filling over top. Roll the dough lengthwise and slice into 8 rolls.
  5. Place rolls cut-side down in a lightly greased 9″ round cake pan. Brush the tops with the remaining butter. Bake 20 – 25 minutes.
  6. Make the glaze: whisk together cream cheese, milk, and powdered sugar. Pour icing over cooked and slightly cooled rolls.

*This recipe is adapted from Sarah at http://www.fantasticalsharing.com/2014/03/quick-easy-peasy-buttermilk-cinnamon.html*

Yeast-Free Cinnamon Rolls | Sew You Think You Can Cook


Red Hot Popcorn

My favorite snack hands down has to be popcorn. I’ve had my eyes set on making this red hot popcorn for quite some time and when we were invited to a hot cocoa party I knew this was exactly what I’d be bringing with me.

If you send treats to school with your kids for Valentine’s Day this popcorn would be a fun and different snack to break up all the chocolate and sweathearts candies.

While the beautiful color of this popcorn lends itself perfectly for Valentine’s Day enjoyment this sweet and spicy snack can be enjoyed all year round. Particularly if you like those red hot cinnamon candies!

Red Hot Popcorn

Ingredients:

  • canola oil, enough to coat bottom of pot
  • 1/2 C popcorn kernels
  • 1/2 stick butter
  • 1/2 C sugar
  • 1/8 C corn syrup
  • 3 oz red hot candies

Steps:

  1. Preheat oven to 300 degrees F.
  2. Put canola oil in pot over medium high heat along with 2-3 kernels of popcorn. Cover and stand by. Once you hear the kernels pop, add the 1/2 C of popcorn. Cover and cook over medium heat until popping slows. Gently shake the pot during the popping process so as not to burn the popcorn at the bottom. Remove from heat and remain covered until popping has ceased, unless you want to be pelted with popcorn. (If you have another method of popping popcorn, feel free to use it.) Place popcorn in a large bowl.
  3. In a saucepan over medium high heat melt together butter, sugar, corn syrup, and red hots. Carefully pour over popped popcorn and toss evenly.
  4. Spread popcorn out onto large baking sheets. Bake 20-30 minutes, tossing every 10 minutes. Allow popcorn to cool before serving.
  5. Popcorn will keep in an air tight container for 3-4 days.

*This recipe is adapted from Jaime at http://momstestkitchen.com/2014/02/red-hot-candied-popcorn.html*

Red Hot Popcorn | Sew You Think You Can Cook

You might also like: Red Velvet Puppy Chow

DIY Ornament Storage

We’re only 3 days into the new year and my house is already devoid of holiday decor. The twinkling glow of Christmas decorations has been replaced with the flashing lights (and noises) of children’s toys.

Packing up the boxes and bins of holiday things is an opportunity for the part of me who loves organizing to have a party. I was one of those kids who constantly rearranged stuffed animals and trinkets. I even collected Pokemon cards just to reorganize them in a binder – by color, by creature type, by rarity, or alphabetically.

Today I want to share with you how I store our ornaments during the 11 months of the year they’re not beautifully displayed on the tree. I found this idea on Pinterest years ago and our keepsakes have been safe. Even through a move! I did lose one ornament from my childhood to the moisture in FL though – I don’t think it was the salt dough that’s so popular, but something similar. But nothing fragile has been jostled into smithereens yet!

Here’s what you need:

  • storage bin
  • cardboard
  • plastic drinking cups
  • hot glue gun (and glue)

Here’s what you do:

  1. Cut your cardboard to the size of the bottom of your storage bin. Do this twice.
  2. Hot glue cups to one of the pieces of cardboard. You’ll need to press the bottoms flush with the cardboard until dry.
  3. Use the second piece of cardboard as a top or “shelf.” If your bin is deep enough repeat with more cups. (You’ll need a third piece of cardboard to top this layer.) I put ornaments that come in boxes (such as these) on top of this “shelf.”

Ornament Storage Solution

Disclaimer: This post contains affiliate links.

Candy Cane Snickerdoodles

Happy Christmas Eve!

Tonight’s the night to put out milk and cookies for Santa.

This year, let’s give Santa some variety and try something new.

The favorite snickerdoodle gets a holiday makeover with some crushed candy canes.

The recipe I present to you today celebrates the semi-homemade mentality for a perfect last minute party favorite. It uses premade sugar cookie dough. (Feel free to make your own sugar cookie dough from scratch, if you prefer.) I made these cookies as part of my donation to a cookie drive. When I told my mom about these cookies she simply added crushed candy canes to her favorite snickerdoodle recipe.

Candy Cane Snickerdoodles

Ingredients:

  • 1 roll (16oz) refrigerated sugar cookie dough
  • 1/4 C flour
  • 2 tbsp sugar
  • 1/2 tsp cinnamon
  • 3 candy canes, crushed

Steps:

  1. Preheat oven to 350 degrees F.
  2. In the bowl of a stand mixer break up the sugar cookie dough. Mix in the flour.
  3. In a small bowl, combine sugar, cinnamon, and candy canes.
  4. Gather cookie dough and roll into a log. Cut into 3 dozen cookies. Roll into balls and roll in the cinnamon sugar mixture. Place cookies on an ungreased cookie sheet and bake 10-14 minutes. Allow cookies to cool on cookie sheet for one minute before removing to a cooling rack.

*This recipe is adapted from Deborah at http://www.pillsbury.com/recipes/peppermint-snickerdoodles/c23f7546-0ebe-4897-b678-9ab173c4b2d8*

CC Snickerdoodles 1 FG1 CC Snickerdoodles 2 FG1

Sprinkle Cookies

Today’s cookie recipe comes from my good friend Tara. Tara blogs over at Tara’s Multicultural Table. Tara and I used to live near each other and I would get to taste her food first hand. Now that we have both relocated I’m going to have to make her recipes myself if I want to taste the things that come out of her kitchen. I’m only slightly bitter about this.

When Tara posted these Sprinkle Cookies I pinned them immediately. I was very intrigued by the concept. I’d also never heard of (not that I’m an expert cookie recipes) a cookie recipe that uses cornstarch.

We absolutely loved these cookies! I donated them to a Christmas Cookie Drive earlier this month so I only got to eat one of them. These cookies reminded me of cookie dough – I suspect the cornstarch is to blame for the unique texture. With a variety of sprinkles on the market these could be done to fit any holiday or match any party decor. So bring on the sprinkles, and make some cookies!

Sprinkle Cookies

Ingredients:

  • 1 1/2 C flour
  • 2 tsp cornstarch
  • 1 tsp baking powder
  • 1 tsp baking soda
  • 1/4 tsp salt
  • 1 stick butter, softened
  • 3/4 C sugar
  • 1 egg
  • 2 tsp vanilla extract
  • 1/4 C sprinkles

Steps:

  1. In a large bowl, whisk together flour, cornstarch, baking powder, baking soda, and salt.
  2. In the bowl of a stand mixer, cream together the butter and sugar. Add egg and mix until incorporated. Add the vanilla extract and mix. Add the dry ingredients in two batches, mixing until combined after each addition. Gently fold in the sprinkles.
  3. Gather cookie dough and roll into a log. Cut into 3 dozen cookies. Roll cookies into a ball and place on a parchment lined cookie sheet. Cover with plastic wrap and place in the fridge for at least an hour.
  4. Preheat oven to 350 degrees F. Remove plastic wrap and bake cookies for 8 minutes – until cooked yet not golden. Allow cookies to cool on the cookie sheet for five minutes before removing to a cooling rack.

*This recipe is adapted from Tara at http://www.tarasmulticulturaltable.com/sprinkle-cookies/*

Sprinkle Cookies

Chocolate Christmas Cookies

It is time for the Christmas countdown. Although most of you have probably already been counting down since December 1, or from Thanksgiving, or even those of you who jump the gun, from Halloween.

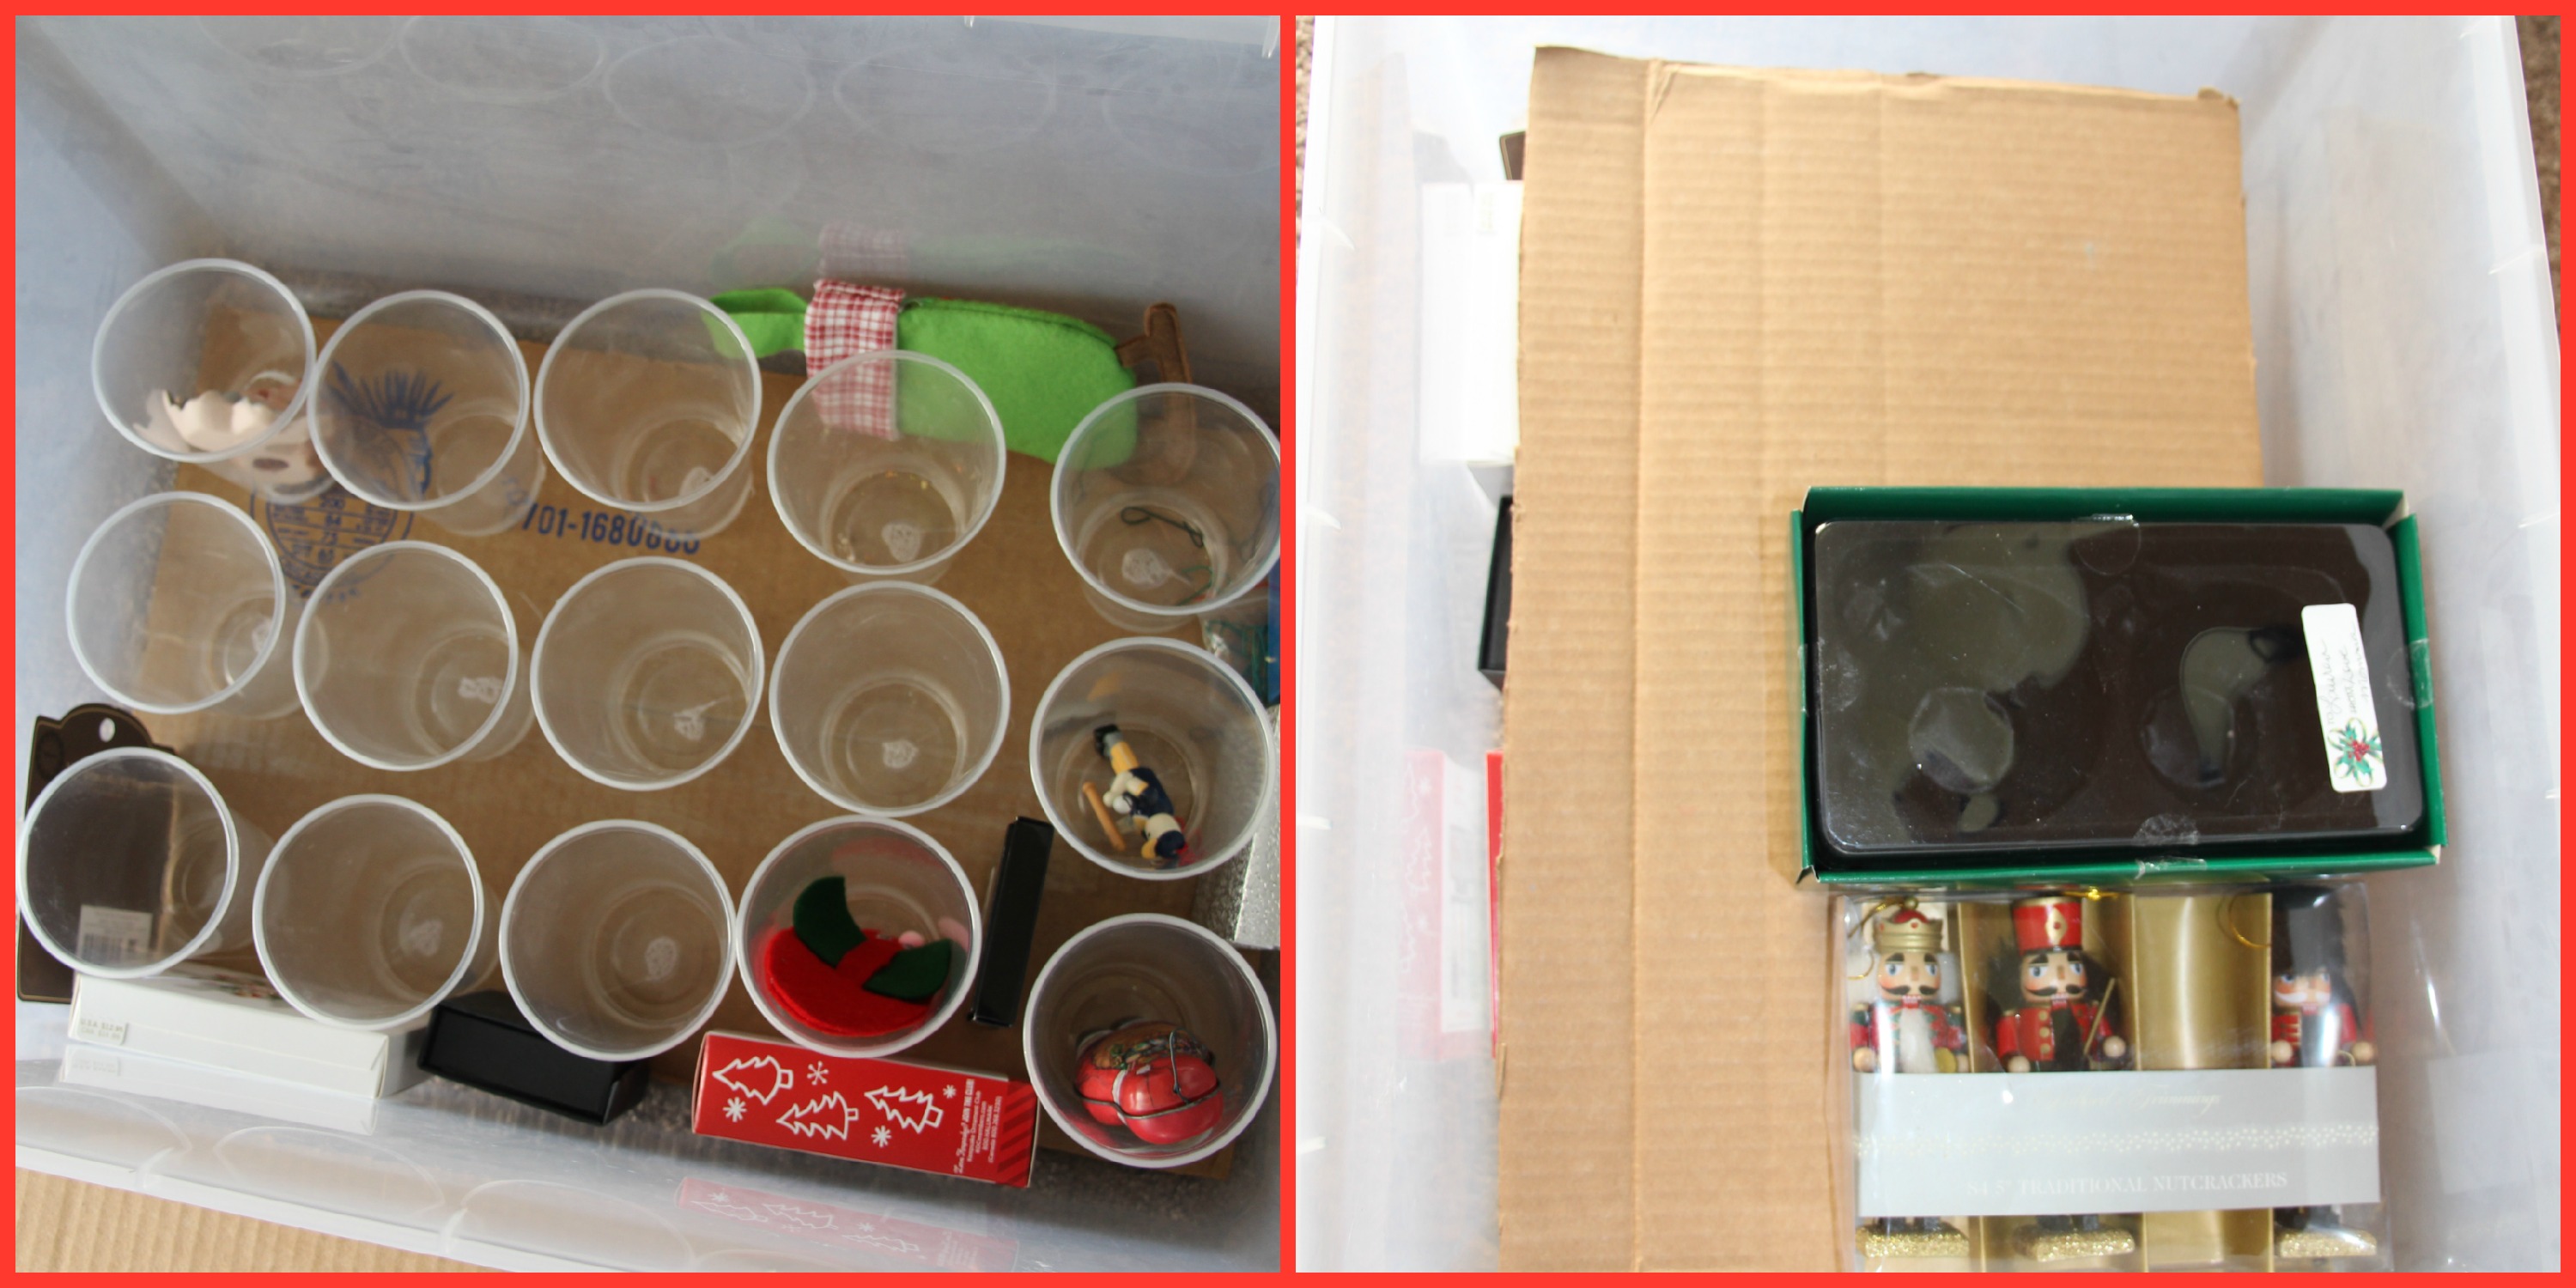
I am just now starting my Christmas count down. I can probably blame it on the five month old, but this is the most unprepared I’ve ever felt for Christmas. I think the real culprit is that we didn’t put up Christmas lights this year. The house we’re living in is very old and only has one single two-pronged outlet. So all I could do was put out the fun lighted gift boxesby our front door. Stuart promises me that we’ll figure out how to do more next year. I also have my snowman door hanger up by the mailbox. Inside is a little better, but still doesn’t hold a candle to last year. Last year I had a fireplace with a mantle that I happily decorated with garland and winter birds. This year I have fewer surfaces and had to break up my Christmas villagebetween two bookshelves – one of which doesn’t have access to an outlet so it’s a dark village; and even still, some of my houses had to be left in their boxes. At least I still have a Christmas tree to be proud of! If I could only have one element of Christmas decor it would have to be my tree. There is just something about the glow of a Christmas tree that makes the world a better place.

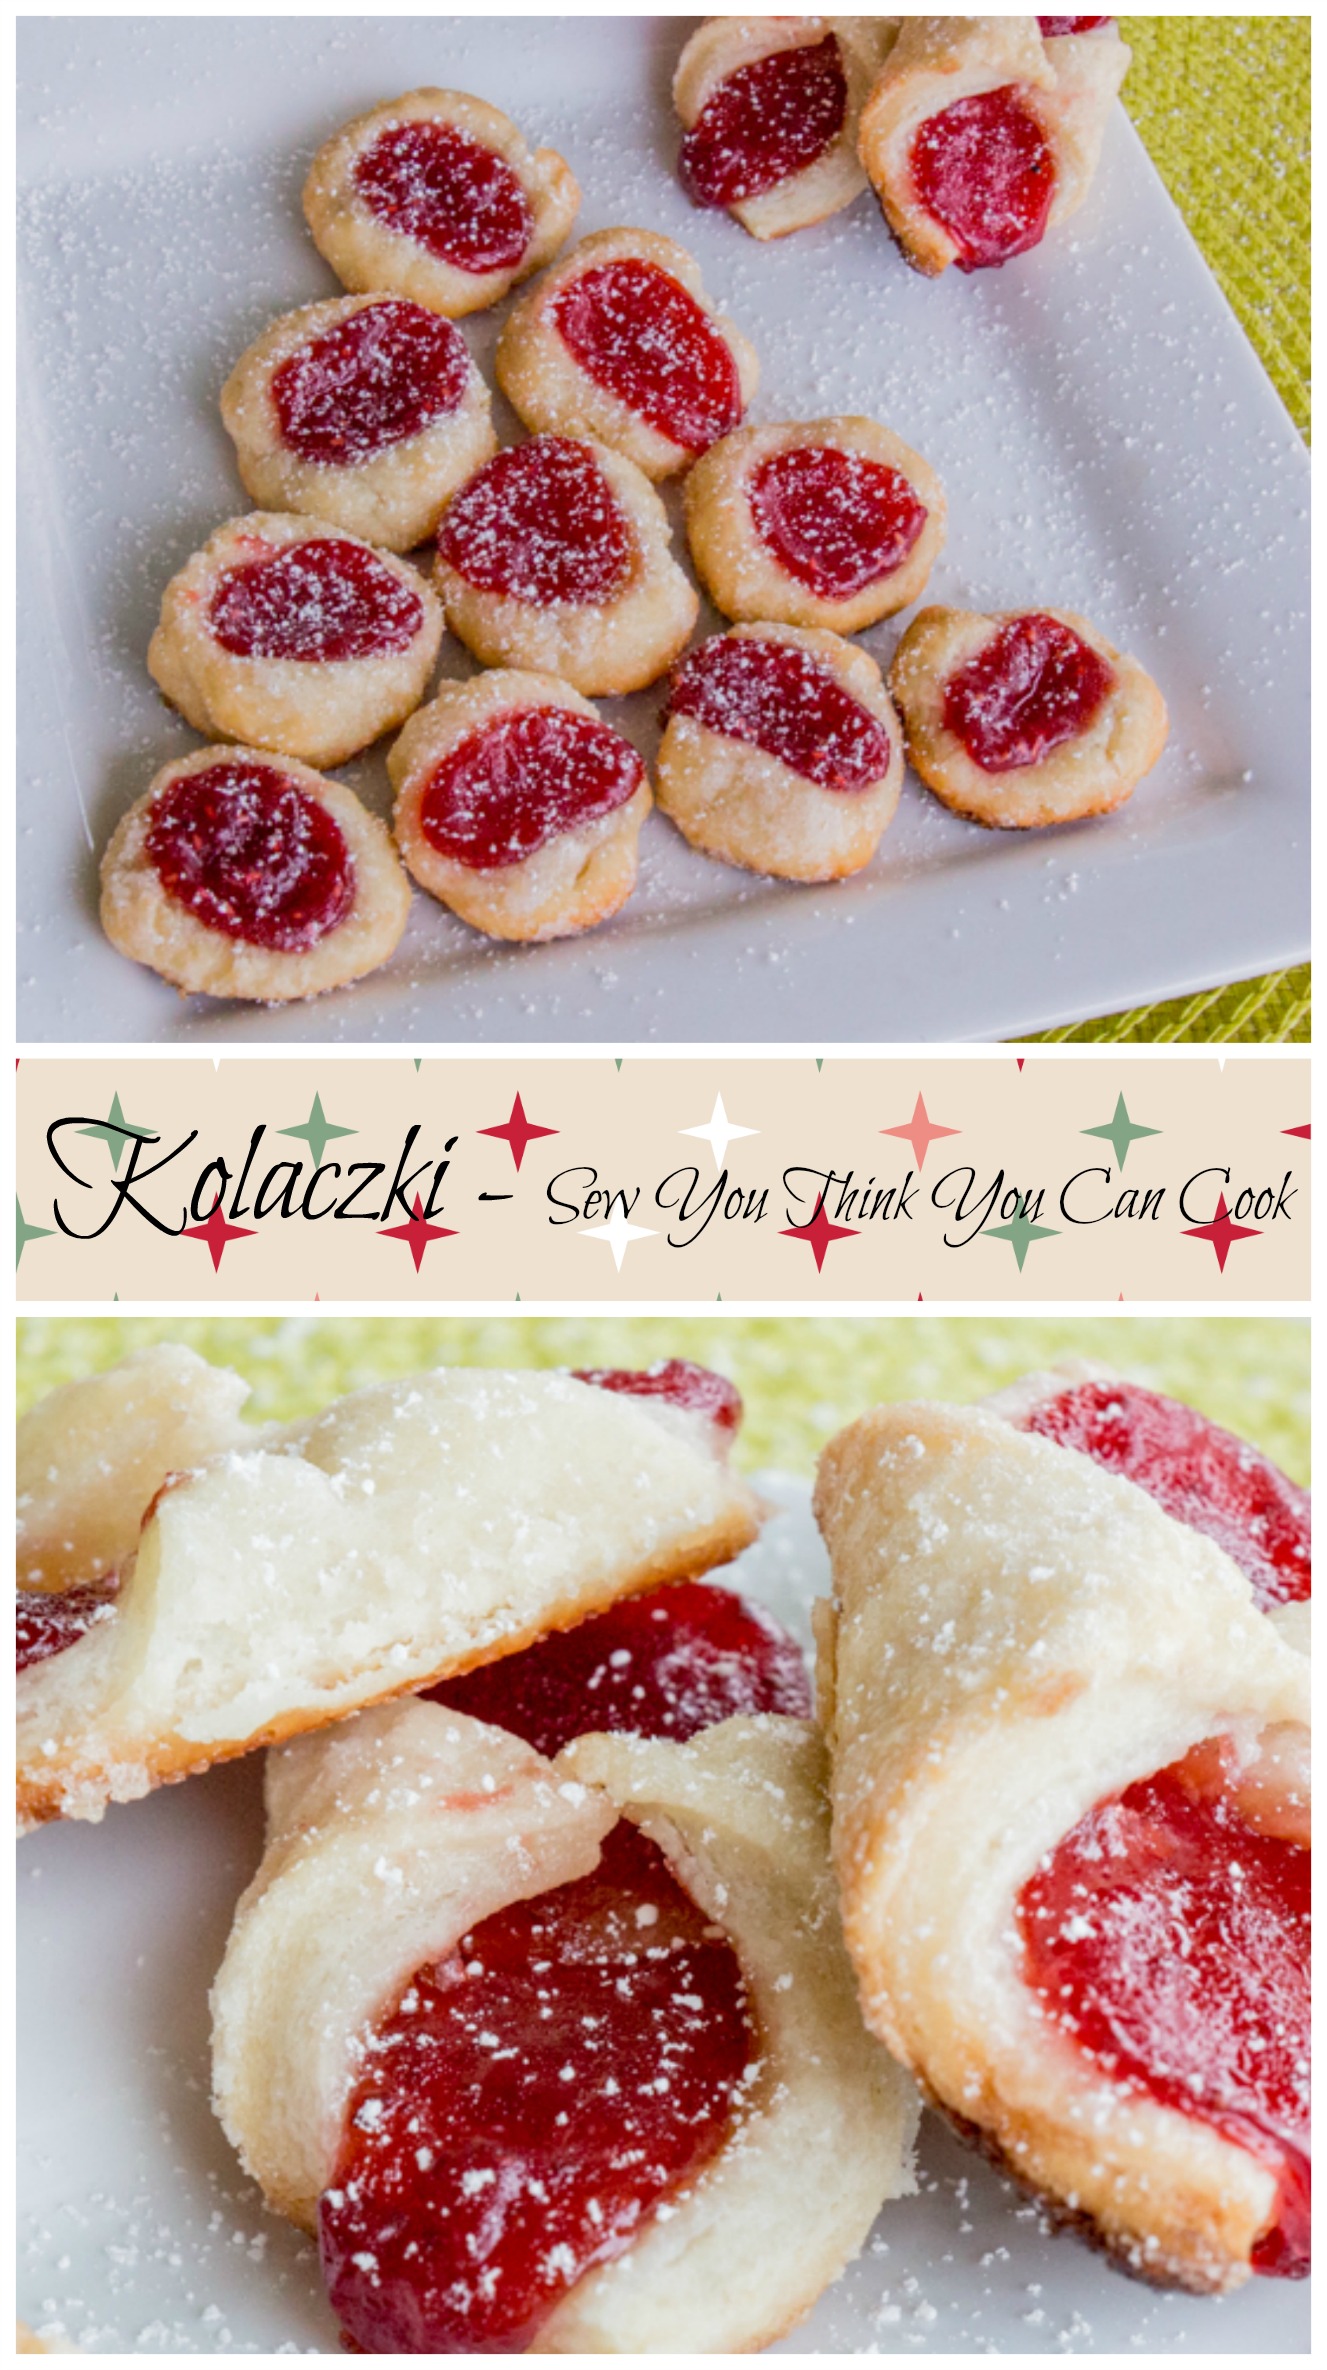
Sorry, that was a 250 word tangent to tell you that my Christmas countdown has begun and we’re celebrating on the blog with cookies! Today until Christmas Eve I’ll be sharing three new cookie recipes. Maybe I’ll make this an annual thing and next year there’ll be more new cookie recipes Christmas week!

Christmas Cookies 1

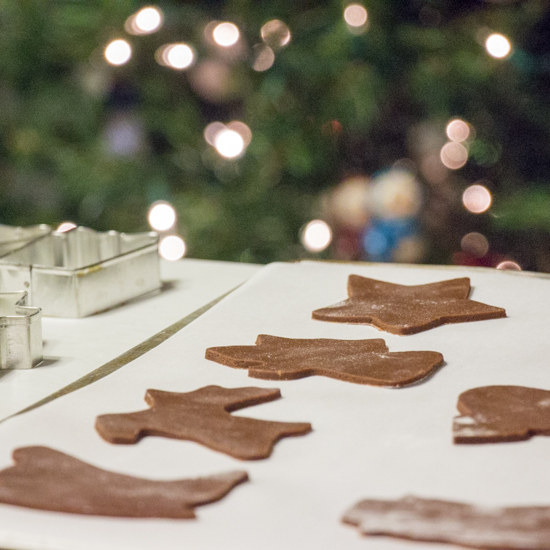
Roll-out sugar cookies are a traditional cookie that must be made every Christmas. Today I am sharing a twist on the classic recipe – a chocolate version! When I make the traditional cookies I put sprinkles on them before popping them in the oven, but with chocolate I left them plain. (If I had gold and silver sprinkles I would’ve given them a shot.)

Because I like thin cookies and didn’t need to feed an army I halved the recipe. In doing so I forgot to halve both the vanilla extract and the salt and when I pulled the dough out of the fridge it smelled like Kahlua. I crossed my fingers that my altered flavor profile wouldn’t be inedible, rolled out the dough, cut my shapes, and popped them in the oven. After baking, they smelled perfectly of chocolate. And they tasted like Teddy Grahams! The recipe written below uses the correct amount of vanilla extract and salt; Marian worked really hard to get the right ratio of ingredients for the perfect chocolate cookie so I will have to try these again and do it right!

Chocolate Christmas Roll-Out Cookies

Chocolate Roll-out Cookies

Ingredients:

  • 2 C flour
  • 3/4 C cocoa powder
  • 1/2 tsp salt
  • 2 sticks butter, softened
  • 1 C sugar
  • 1 egg
  • 1 1/2 tsp vanilla extract

Steps:

  1. In a large bowl, whisk together flour, cocoa powder, and salt.
  2. In the bowl of a stand mixer, cream together the butter and sugar. Add egg and mix until incorporated. Add the vanilla extract and mix. Add the dry ingredients in two batches, mixing until combined after each addition.
  3. Chill dough in fridge for at least one hour. (I did mine for a few days before having time to bake the cookies.)
  4. Preheat oven to 350 degrees F. Line cookie sheet with parchment paper.
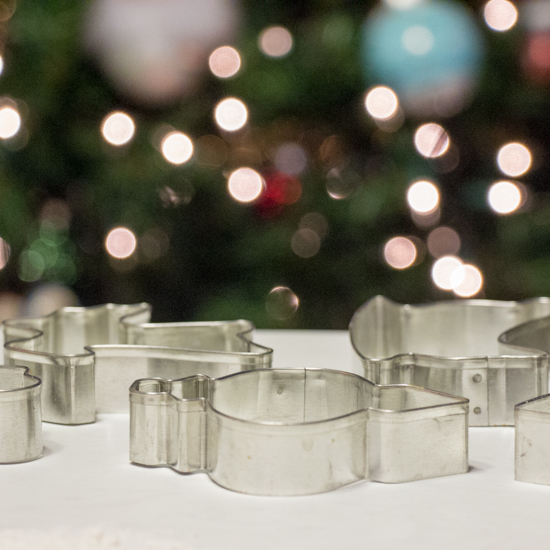
  5. Roll out cookie dough on a floured surface to desired thickness. Cut out cookies and place on cookie sheet. Bake 8-12 minutes. (Will depend on your cookie thickness.) Let cookies cool on baking sheet for a minute before removing to a cooling rack.

*This recipe is adapted from Marian at http://sweetopia.net/2013/12/chocolate-sugar-cookie-recipe-cut-out-cookies/*

Christmas Cookies 2

Disclaimer: This post contains affiliate links.