In Exodus chapter 20 God appears to Moses and the Israelites from within/behind a cloud. This begs the question of why God didn’t simply reveal himself.
I remember one morning in Sunday School when I was younger being asked, “What do you think God looks like?” There were the expected pictures drawn of a man with a long beard or drawings resembling the pictures of Jesus popular in the U.S. One boy drew a picture of a cloud and I drew Light (or at least attempted to).
I have never pictured God to be in human form. And I’ve never been able to really describe what I think God looks like. To me, God doesn’t resemble anything of this Earth – God doesn’t have a tangible form. The closest I can come is “Light.”
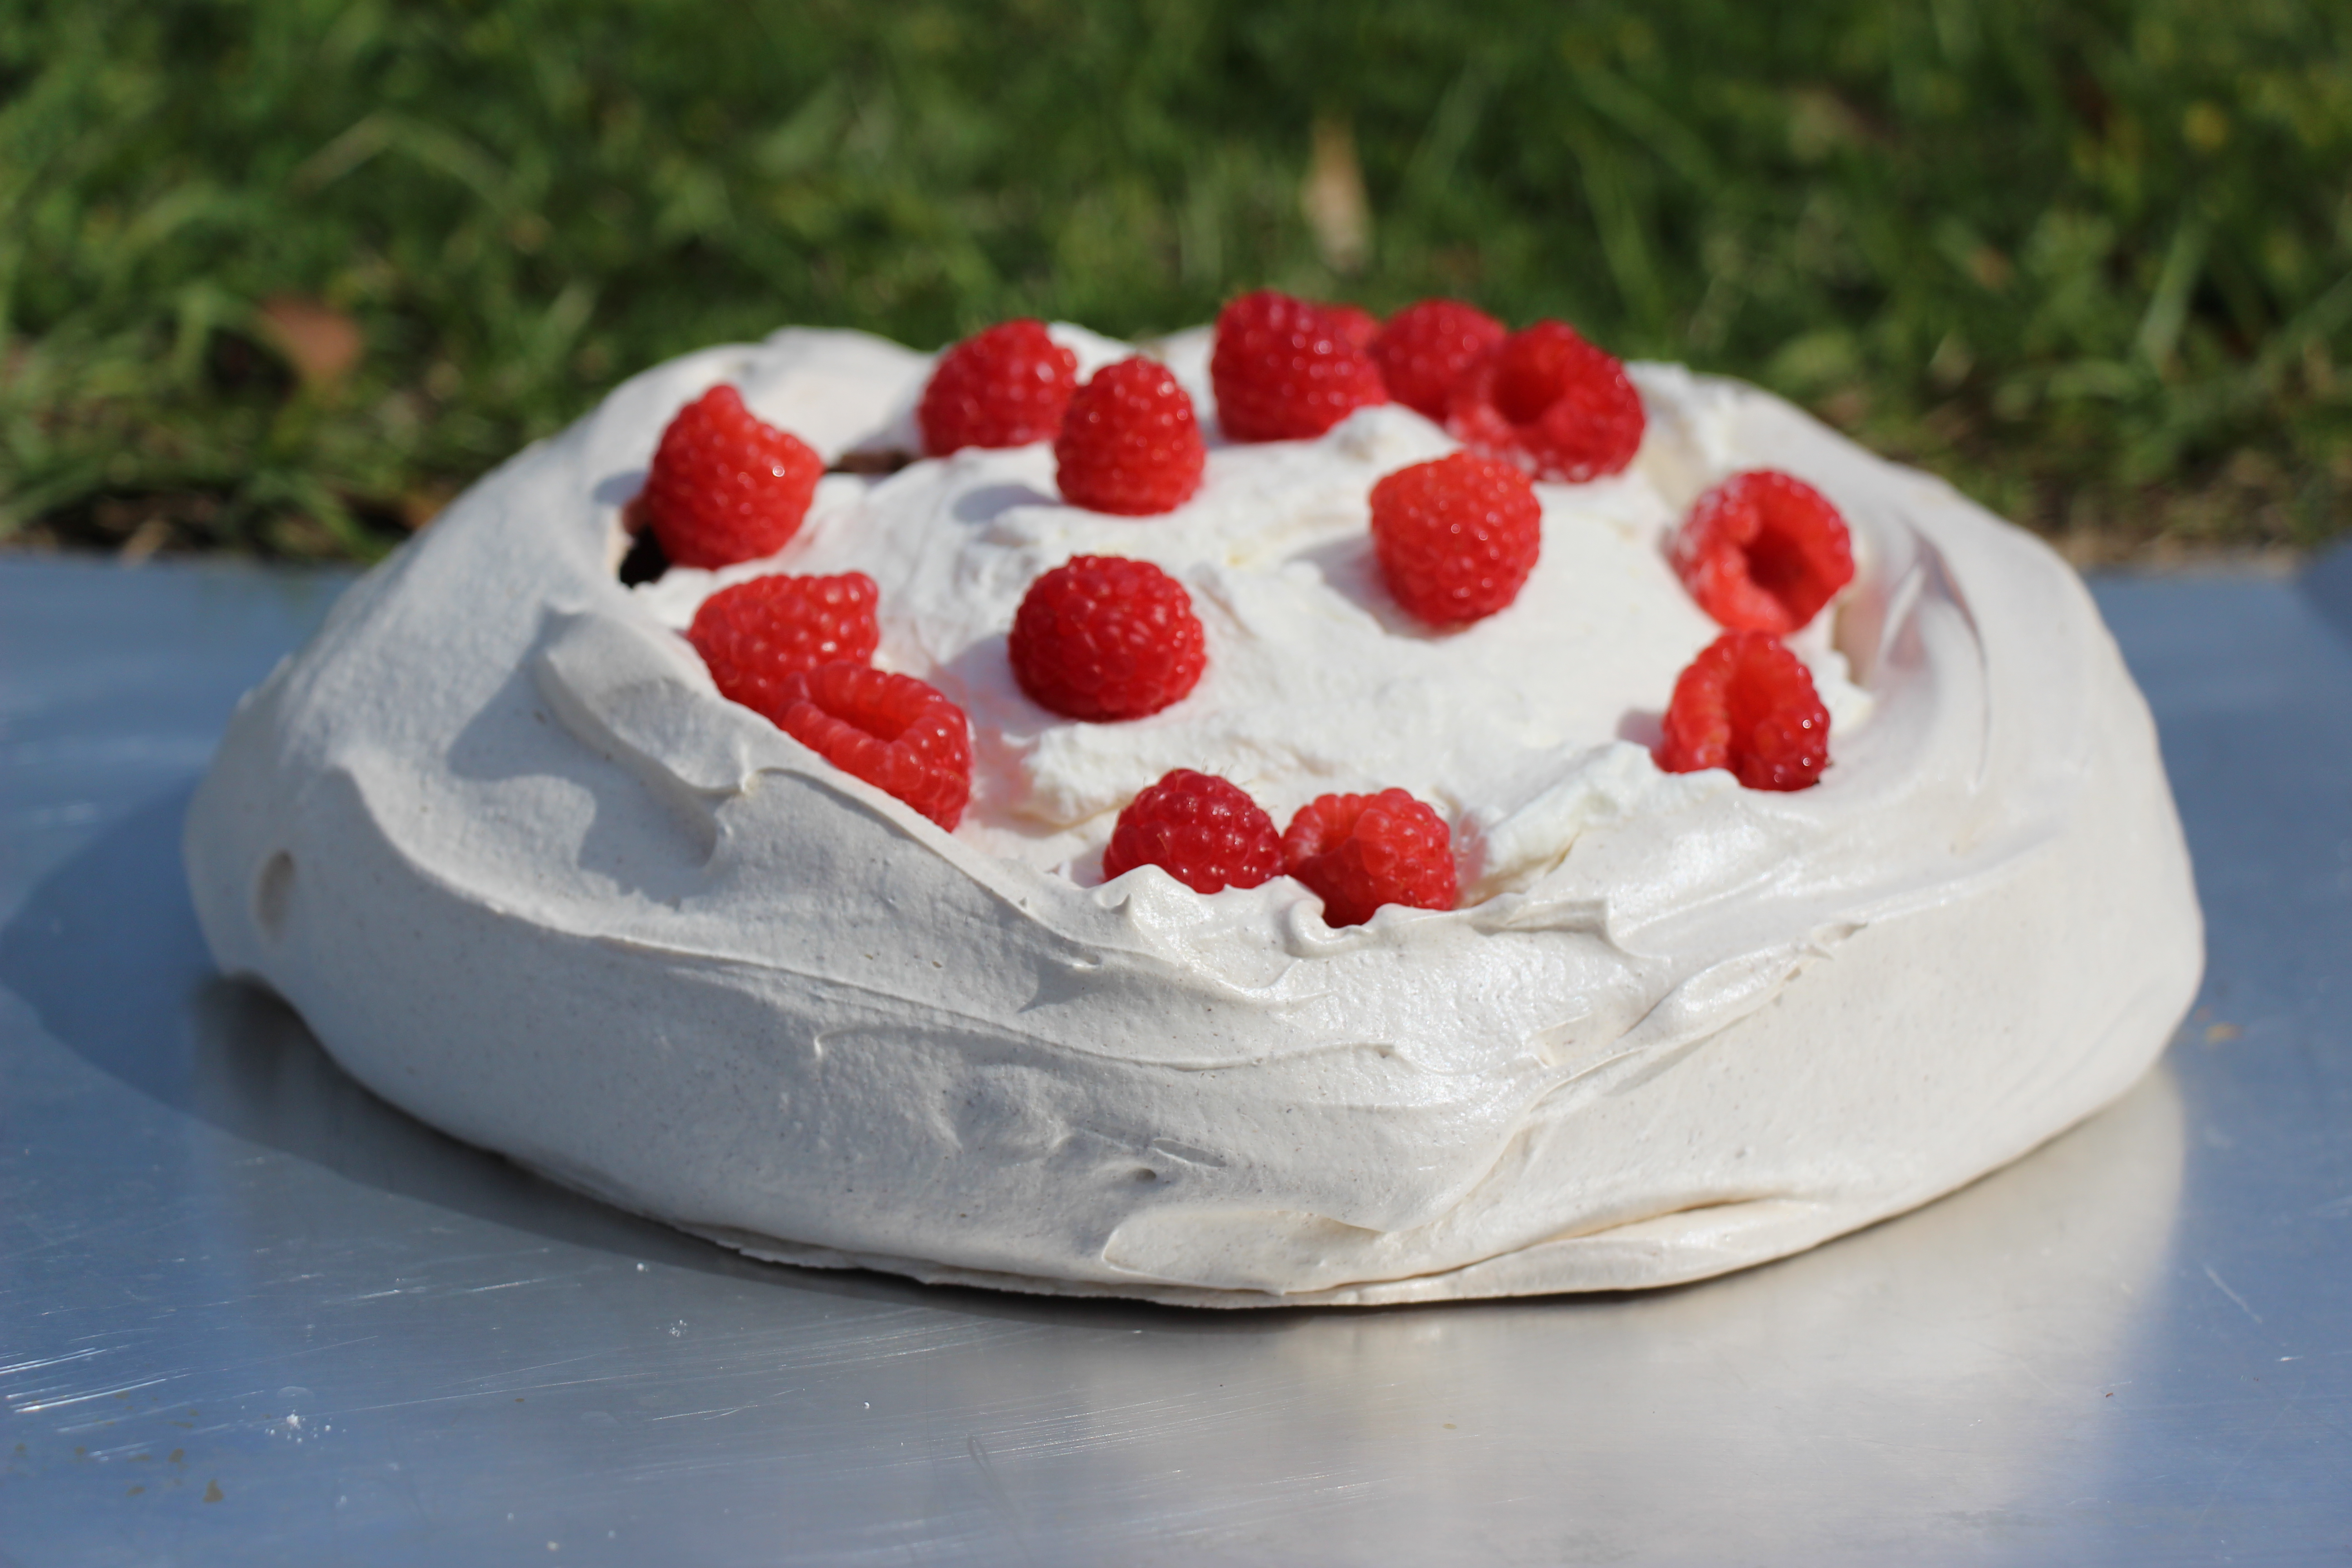
To accompany this passage Rena created a “Thick Cloud Pavlova” by adding 3 tbsp cocoa powder to the egg whites. As I couldn’t find my cocoa powder (fun fact: it was in the make shift pantry in my laundry room) I decided to use cinnamon to darken the “cloud”. We absolutely love the spice the cinnamon gives to the delicate pavlova. A pavlova is similar to a meringue, the main difference being the cornstarch folded in before baking. The cornstarch creates a marshmallow-like consistency inside of a light and crunchy exterior.

Cinnamon Pavlova
Ingredients:
- 4 large egg whites
- pinch of salt
- 1 C sugar
- 1 tsp white vinegar
- 1/2 tsp vanilla extract
- 1/2 tbsp corn starch
- 1 tbsp cinnamon
Steps:
- Preheat oven to 250 degrees F. Line a baking sheet with parchment paper or aluminum foil.
- In a large bowl beat egg whites with a pinch of salt. (Use either a hand mixer or stand mixer.) Once stiff peaks are reached slowly add the sugar, vinegar, and vanilla – constantly beating.
- Once the sugar is dissolved gently fold in the corn starch and cinnamon.
- Pile the egg whites onto the parchment paper, forming a 7″ circle with a well in the center.
- Bake undisturbed for 1 1/2 hours. Turn off the oven and slightly crack the door. Allow pavlova to cool completely.
- Fill the well with whipped cream and fresh berries.
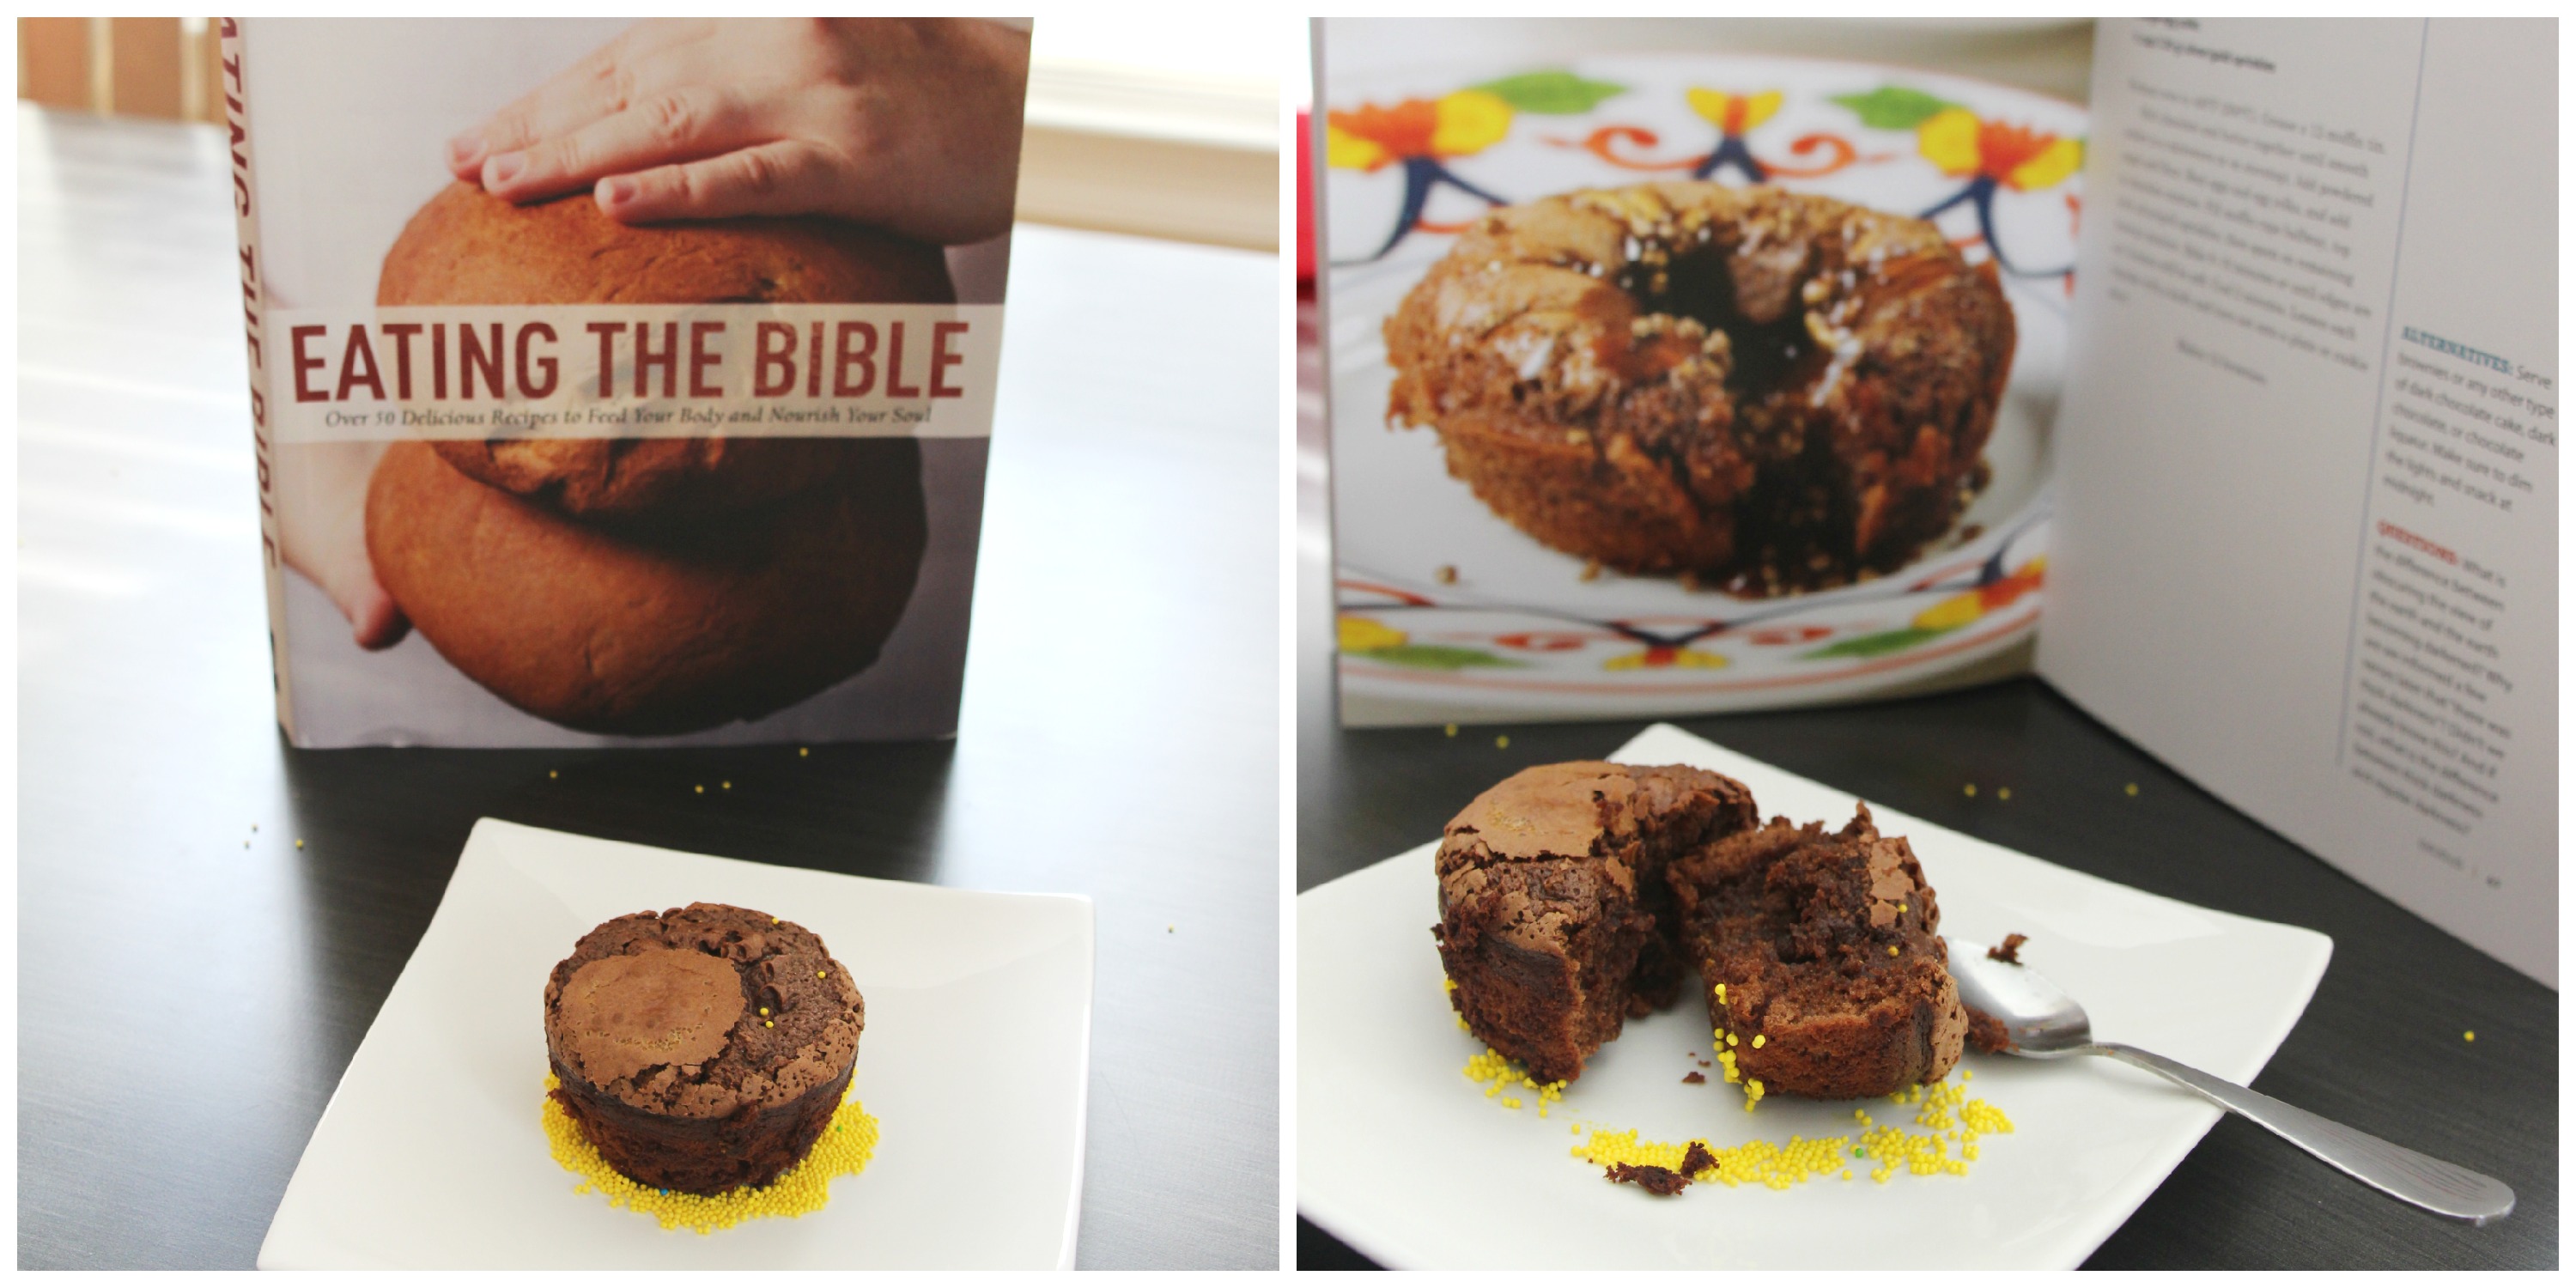
*This recipe is adapted from Eating the Bible by Rena Rossner*
Disclaimer: This post contains affiliate links.