July 20th is National Ice Cream Soda Day! If you’re an adult or big kid over the age of 21 you have the perfect excuse to try this dessert cocktail. Vanilla ice cream, Kahlua, coke. Done.
(It’s also National Lollipop Day and Fortune Cookie Day)

July 20th is National Ice Cream Soda Day! If you’re an adult or big kid over the age of 21 you have the perfect excuse to try this dessert cocktail. Vanilla ice cream, Kahlua, coke. Done.
(It’s also National Lollipop Day and Fortune Cookie Day)
When my grandmother passed away in March, I knew I wanted to make a gift for my mother.

Busia was what we call “a snowbird” down in SWFL. She spent her summers in Lake Geneva, WI and the rest of the year in Ft. Myers Beach, FL. My parents purchased the summer home in Lake Geneva and this is my mom’s first summer continuing the “snowbird cycle”.
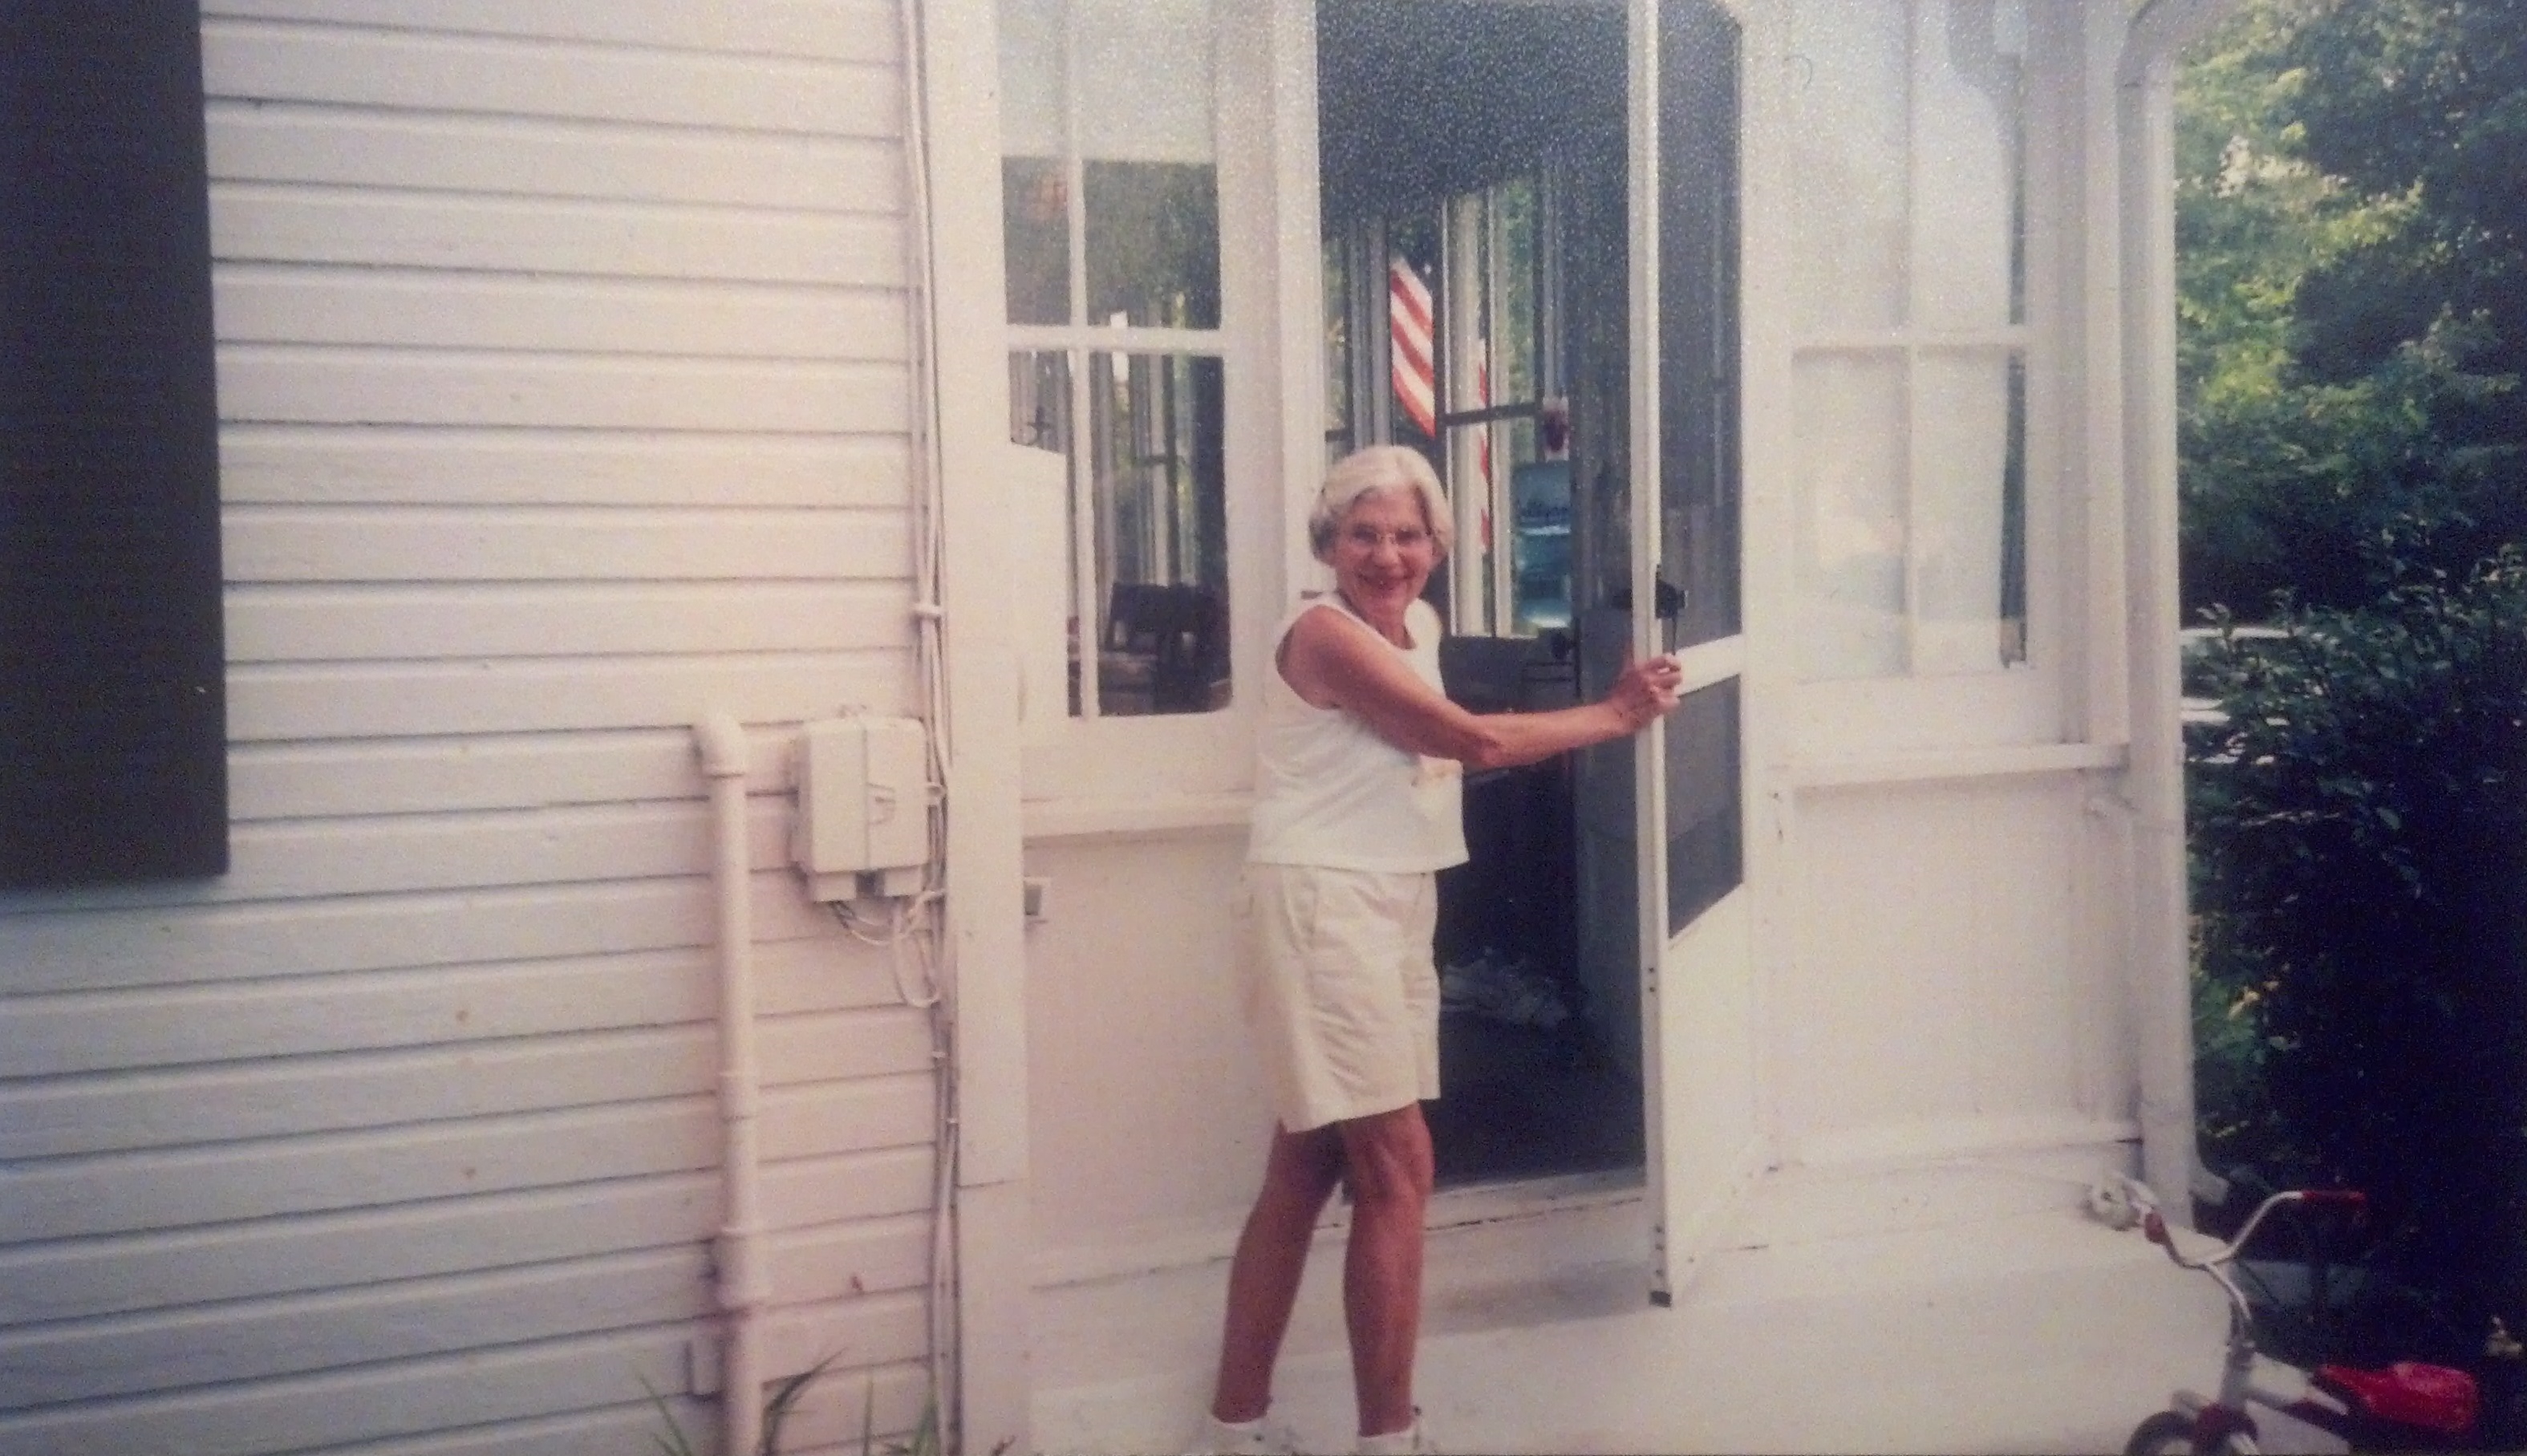
I wanted to make a quilt in memory of Busia to have at the Lake house. She had a twin bed in her master bedroom at the lake that I loved to sleep in, so I knew what size to make it, and the color choice was a no brainer – her favorite color was purple. I designed the quilt using a software called Electric Quilt on the flight after Busia’s memorial service and presented it to my mom 2 months later. I had a friend do the quilting for me in an afternoon so that I would have it completed before Mom left for Lake Geneva. Below is Busia at the Lake and “Violet” in its new home.


In an effort to keep a balanced diet, I try to do Salad Night once a week. As you could imagine, this could become pretty monotonous – unless you’re a rabbit and you like that kind of thing.
When I met my husband in college, he did not eat lettuce. He didn’t eat too many vegetables actually. On our one year anniversary I prepared a three course meal, complete with Caesar Salad. He amused me and ate a couple bites. He said it was a texture thing. That I don’t get – lettuce is light, and crisp, and refreshing! After we got married and I fell in love with cooking, our pallets became more adventurous. His more so than mine I’m sad to admit. He eats vegetables now! And better yet, salads. He’ll even choose salad at a restaurant while I opt for the burger.
Buffalo Chicken Salad with Avocado Ranch
Ingredients:
Steps
*This recipe is modified from Amanda at http://www.theskinnyfork.com/blog/skinny-grilled-buffalo-chicken-salad*

My husband and I have no shame in admitting that we both have black thumbs. So naturally, I do not grow my own herbs. Maybe 17 years from now when we own a house I’ll attempt it. Or maybe my future children (no mothers this is not a hint) will be blessed with the green thumb of my grandfather, my parents, and mother-in-law. Even if you can successfully grow your own herbs, this tutorial will help you during the winters when your plants are in hibernation yet you still want that freshness.
I try my best to plan my weekly menu to generate as little food waste as possible, but even still, the herbs go bad before I get the chance to use the entire bunch. I can’t even successfully keep them thriving in a glass of water! I’ve tried wrapping them in damp paper towels in the fridge because I read to do that somewhere on the internet (and they can’t put anything on the internet that isn’t true). Yea, I couldn’t do that either.
Here’s what you’ll need: An ice cube tray! (Well, you need a freezer too…)
Here’s what you’ll do: Chop up your herbs. Pack them into an ice cube tray. Boil water. Pour over herbs. Freeze. Remove into freezer bag. Each ice cube yields about 1 tbsp fresh herbs. When you want to use them, simply pull out a cube and toss into your dish!
This quick how-to method works for soft leafed herbs (i.e.: basil, cilantro, mint, parsley).

Note: These herbs are now for cooking. I haven’t tried letting the ice cube melt to see what the delicate leaves will look like. If you try it out before I do, let me know if you can still garnish your dish with previously frozen herbs!
You’ve probably heard of Taco Tuesdays. In my household, we do Mexican Mondays. It allows for more versatility. It’s a culinary “tradition” that we’ve been doing for over a year and I’m impressed that I’ve been able to keep it fun and interesting. There are a few recipes that have become tried and true favorites and I will and do repeat them, but more often than not I’m finding something new to try.
These Honey Lime Chicken Enchiladas are a best seller – we’ll even have them any day of the week! If I’m entertaining family or friends, this is a simple go-to. And I haven’t gotten a single complaint yet! My mom’s cousin claims to hate honey, yet she cleared her plate.
The very first time I made this dish was after a vacation and my fridge and pantry were pretty empty. I did not have green enchilada sauce and knew that without tomatillos I wasn’t going to be able to make my own either. But, I found Emeril’s recipe for red enchilada sauce and had everything on hand to make that. Enchilada sauce is now a pantry staple, so I don’t bother making my own anymore. (But in a pinch I’ll always come back to Emeril’s recipe.)
The second time I made this dish, we had a crowd so I doubled the recipe. Because we loved it with red enchilada sauce, we decided to keep one casserole dish with red and with the other tried the green. I haven’t made it with green since! I’ve noticed that the red (medium heat) enchilada sauce creates a unique flavor profile with the chicken that keeps you coming back for more. But I urge you to try it both ways and see what works best for your family.
The recipe calls for cooked chicken and I have tried just about every preparation of cooked chicken with this dish. Honestly, my favorite is using grilled chicken, the extra flavor you get from the grill rounds out the dish perfectly. My quick go-to method is putting a whole chicken in the slow cooker, but you can easily pick up a rotisserie chicken from the store on your way home!
Honey Lime Chicken Enchiladas
Ingredients
Steps
*This recipe is adapted from Danelle at http://www.letsdishrecipes.com/2012/04/honey-lime-chicken-enchiladas.html*

Be prepared for many more Mexican-style recipes in the future!
Every Sunday after July 4th weekend my Dad’s family has a reunion picnic. Today is the 15th Annual Dominican Picnic in Chicago. Even after we moved to Florida we did our best to make it back up there to see all of our family. It would always be a two week vacation, split between Busia’s summer home in Lake Geneva, WI. As we got older and our schedules became more hectic, our Illinois-Wisconsin vacations got shorter and skipped a few years. Unfortunately, this year I am not up there – instead I’m battling this never-ending rain in the FL panhandle.
Last year I was very excited to bring my husband to Lake Geneva and Chicago. Lake Geneva is my favorite place to be and I was glad I could share a piece of my childhood with him – and better yet, he enjoyed it too! I also immersed him into my gigantic family at our reunion. Luckily he’s very outgoing! He spent about 45 minutes helping my uncle set up the volleyball net (why it took them that long I still don’t know!) and he taught cousins how to play Ultimate Frisbee. Give him a sport to play, and he’s happy!


We assign potluck dishes by letter of your last name – Mom (S) was a salad and I (E) was a fruit/vegetable. I bent the rules slightly and combined our assignments into a tailgating favorite of Corn and Black-Eyed Peas Dip. I can’t remember where I first got the recipe, but it’s become one of my go-to party dips over the past couple years. It’s super simple and nice and light for a hot day.
Corn and Black-Eyed Peas Dip
Ingredients
Steps
You can adjust the amount of avocado and tomato so suit your preferences, but they do make the dip beautiful! I’ve also tried the recipe using thawed frozen corn because I always have it in on hand, but I’ve found the canned corn works better.

My first truly culinary post is in honor of the woman who introduced me to the kitchen, my Busia. (Busia, pronounced boo-sha, is the Americanized Polish word for grandmother.) Busia didn’t teach me how to cook in the ways you might traditionally think of a grandmother teaching her granddaughter, but she did welcome me into her kitchen and let me be her sous chef – peeling carrots and potatoes and chopping veggies. And even still, my favorite part of making dinner is all the prep work! It might be the engineer in me though too – I love trying to keep everything the same size while I’m chopping.
If I had to choose just one recipe that makes me think of my grandmother, it’s her cheese soup. There are potatoes and carrots that need to be peeled and chopped along with celery. I don’t recall ever chopping the onion when I was younger, but it’s one of my favorite foods to dice now that I’ve learned the proper technique from watching countless hours of Food Network.
To me, the most comforting smell in the kitchen is the smell of onions sautéing in butter! And I think this recipe is the reason why.
While I was preparing the soup yesterday afternoon, the smells of Busia’s kitchen came into mine and I knew she was looking down on me, making sure the milk wouldn’t curdle when I added it to the roux and didn’t burn on the bottom of the pot.
I think it’s true when they say the secret ingredient is love, because it turned out perfectly.
Busia’s Cheese Soup
Ingredients:
Steps


Just like any busy cook, one of my best friends in the kitchen is my slow cooker. But what do you do when you find a recipe that makes your mouth water and your stomach growl that on LOW only takes 5 hours? Depending on how far from the office you live, there is the opportunity to go home during your lunch hour and prep dinner. Or, if your slow cooker has a fancy “delay” button, then no worries. But what if it doesn’t and you can’t get away in the middle of the day? Well, this engineer has figured out a solution!
Here’s what you’ll need: An outlet timer like those used for holiday lights ($10) and a simple slow cooker with a dial, not the electric kind ($30).


Note: The electric slow cookers will not work because to turn them on you have to be home to physically push the buttons.
Here’s what you’ll do: Plug your slow cooker into the timer and the timer into the outlet. Set your timer to turn on for as long as the recipe calls for, making sure the hours you set it for coincide with when you want to eat! Turn the dial on your slow cooker to LOW (or HIGH based on the recipe). Fill ‘er up, put on the lid, and walk away! 
The only disadvantage to this method is that the slow cooker will not be able to switch to “keep warm” once the timer turns off because at this point your slow cooker will also be off. I don’t consider this to be a show stopper though because I know I’ll be home close enough to the time it turns off.
When my husband asked me what my next post was going to be about and I told him, “Blueberry Pickin'” I could see the wheels start to turn as he tried to remember when we went blueberry picking. The answer to that question would be never, but it didn’t take too long for the light bulb to go off.
And now you’re confused! Bare with me and you won’t be for much longer.
My newest hobby is quilting. My mother-in-law taught me how to quilt almost a year ago. I am now making quilts for all of my friends’ new babies, for my mom, and even a couple for me!
My first quilt is a blue and neutral Disappearing 9-Patch. Super simple, yet looks complicated – exactly what you’re going for in a quilting project.
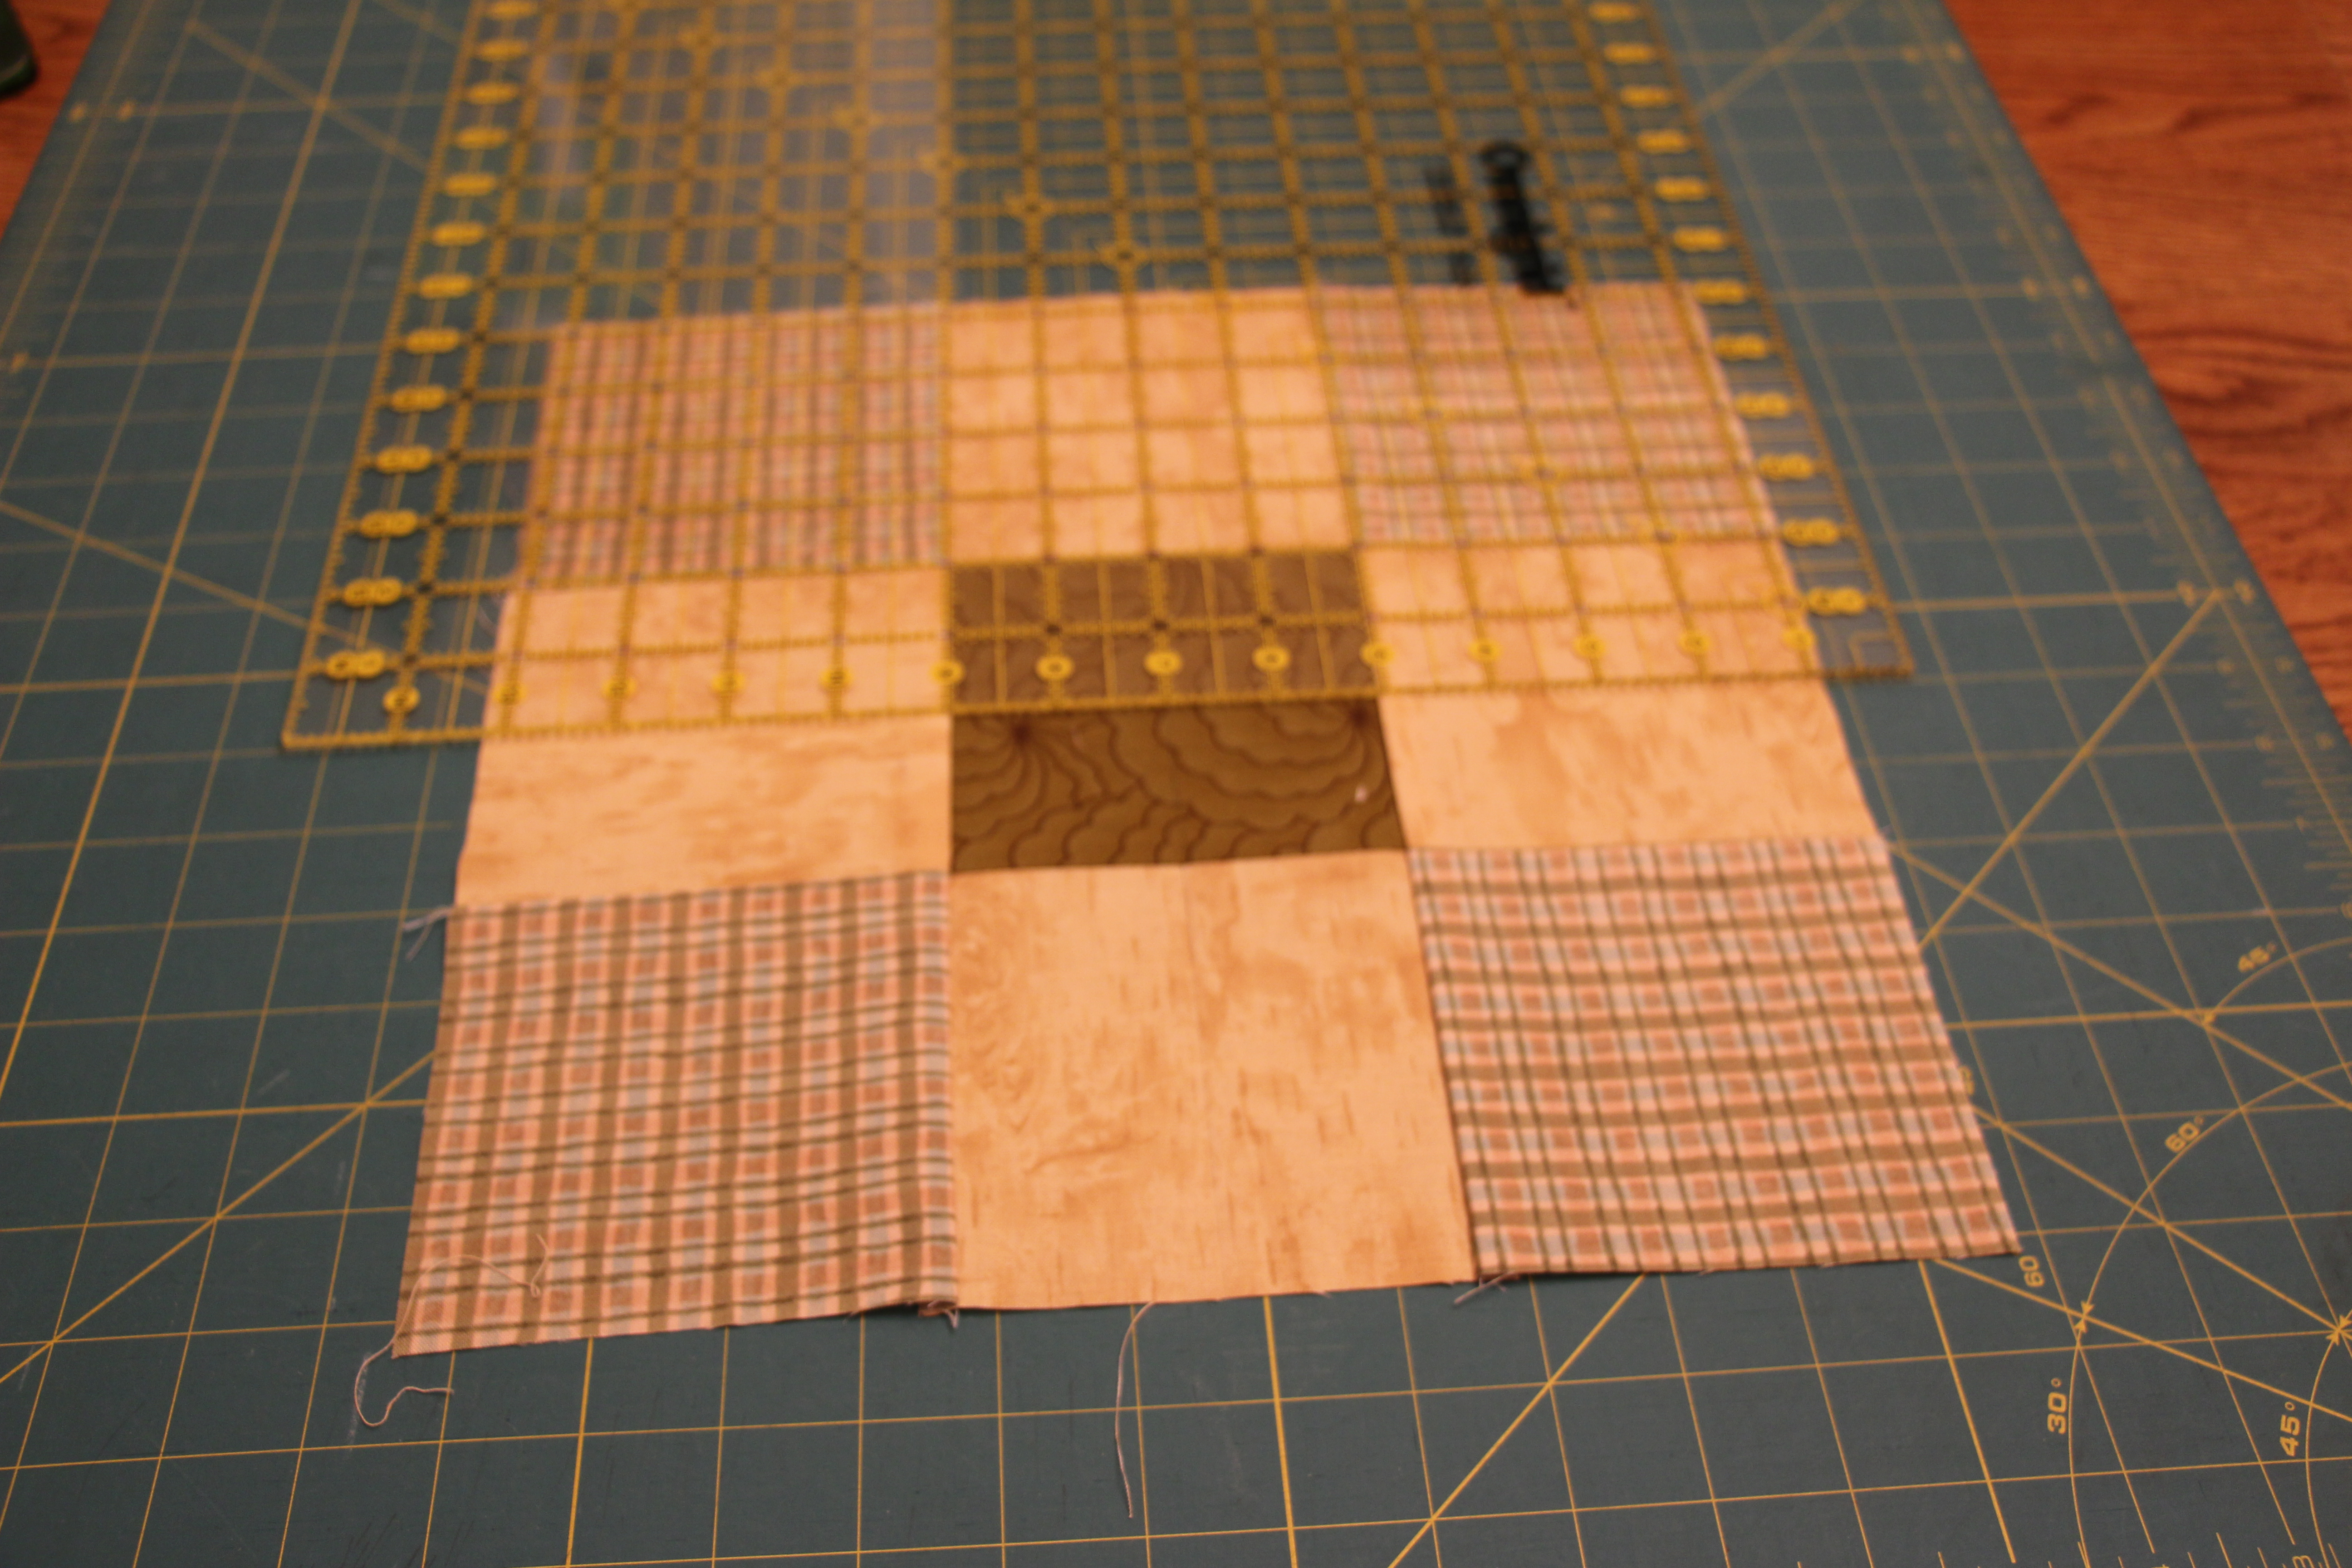
Here’s the how-to for a Disappearing 9-Patch Quilt Block:
Start with a simple 9-patch.
Cut the 9-patch in half both ways.

You now have 4 pieces. Rearrange them.

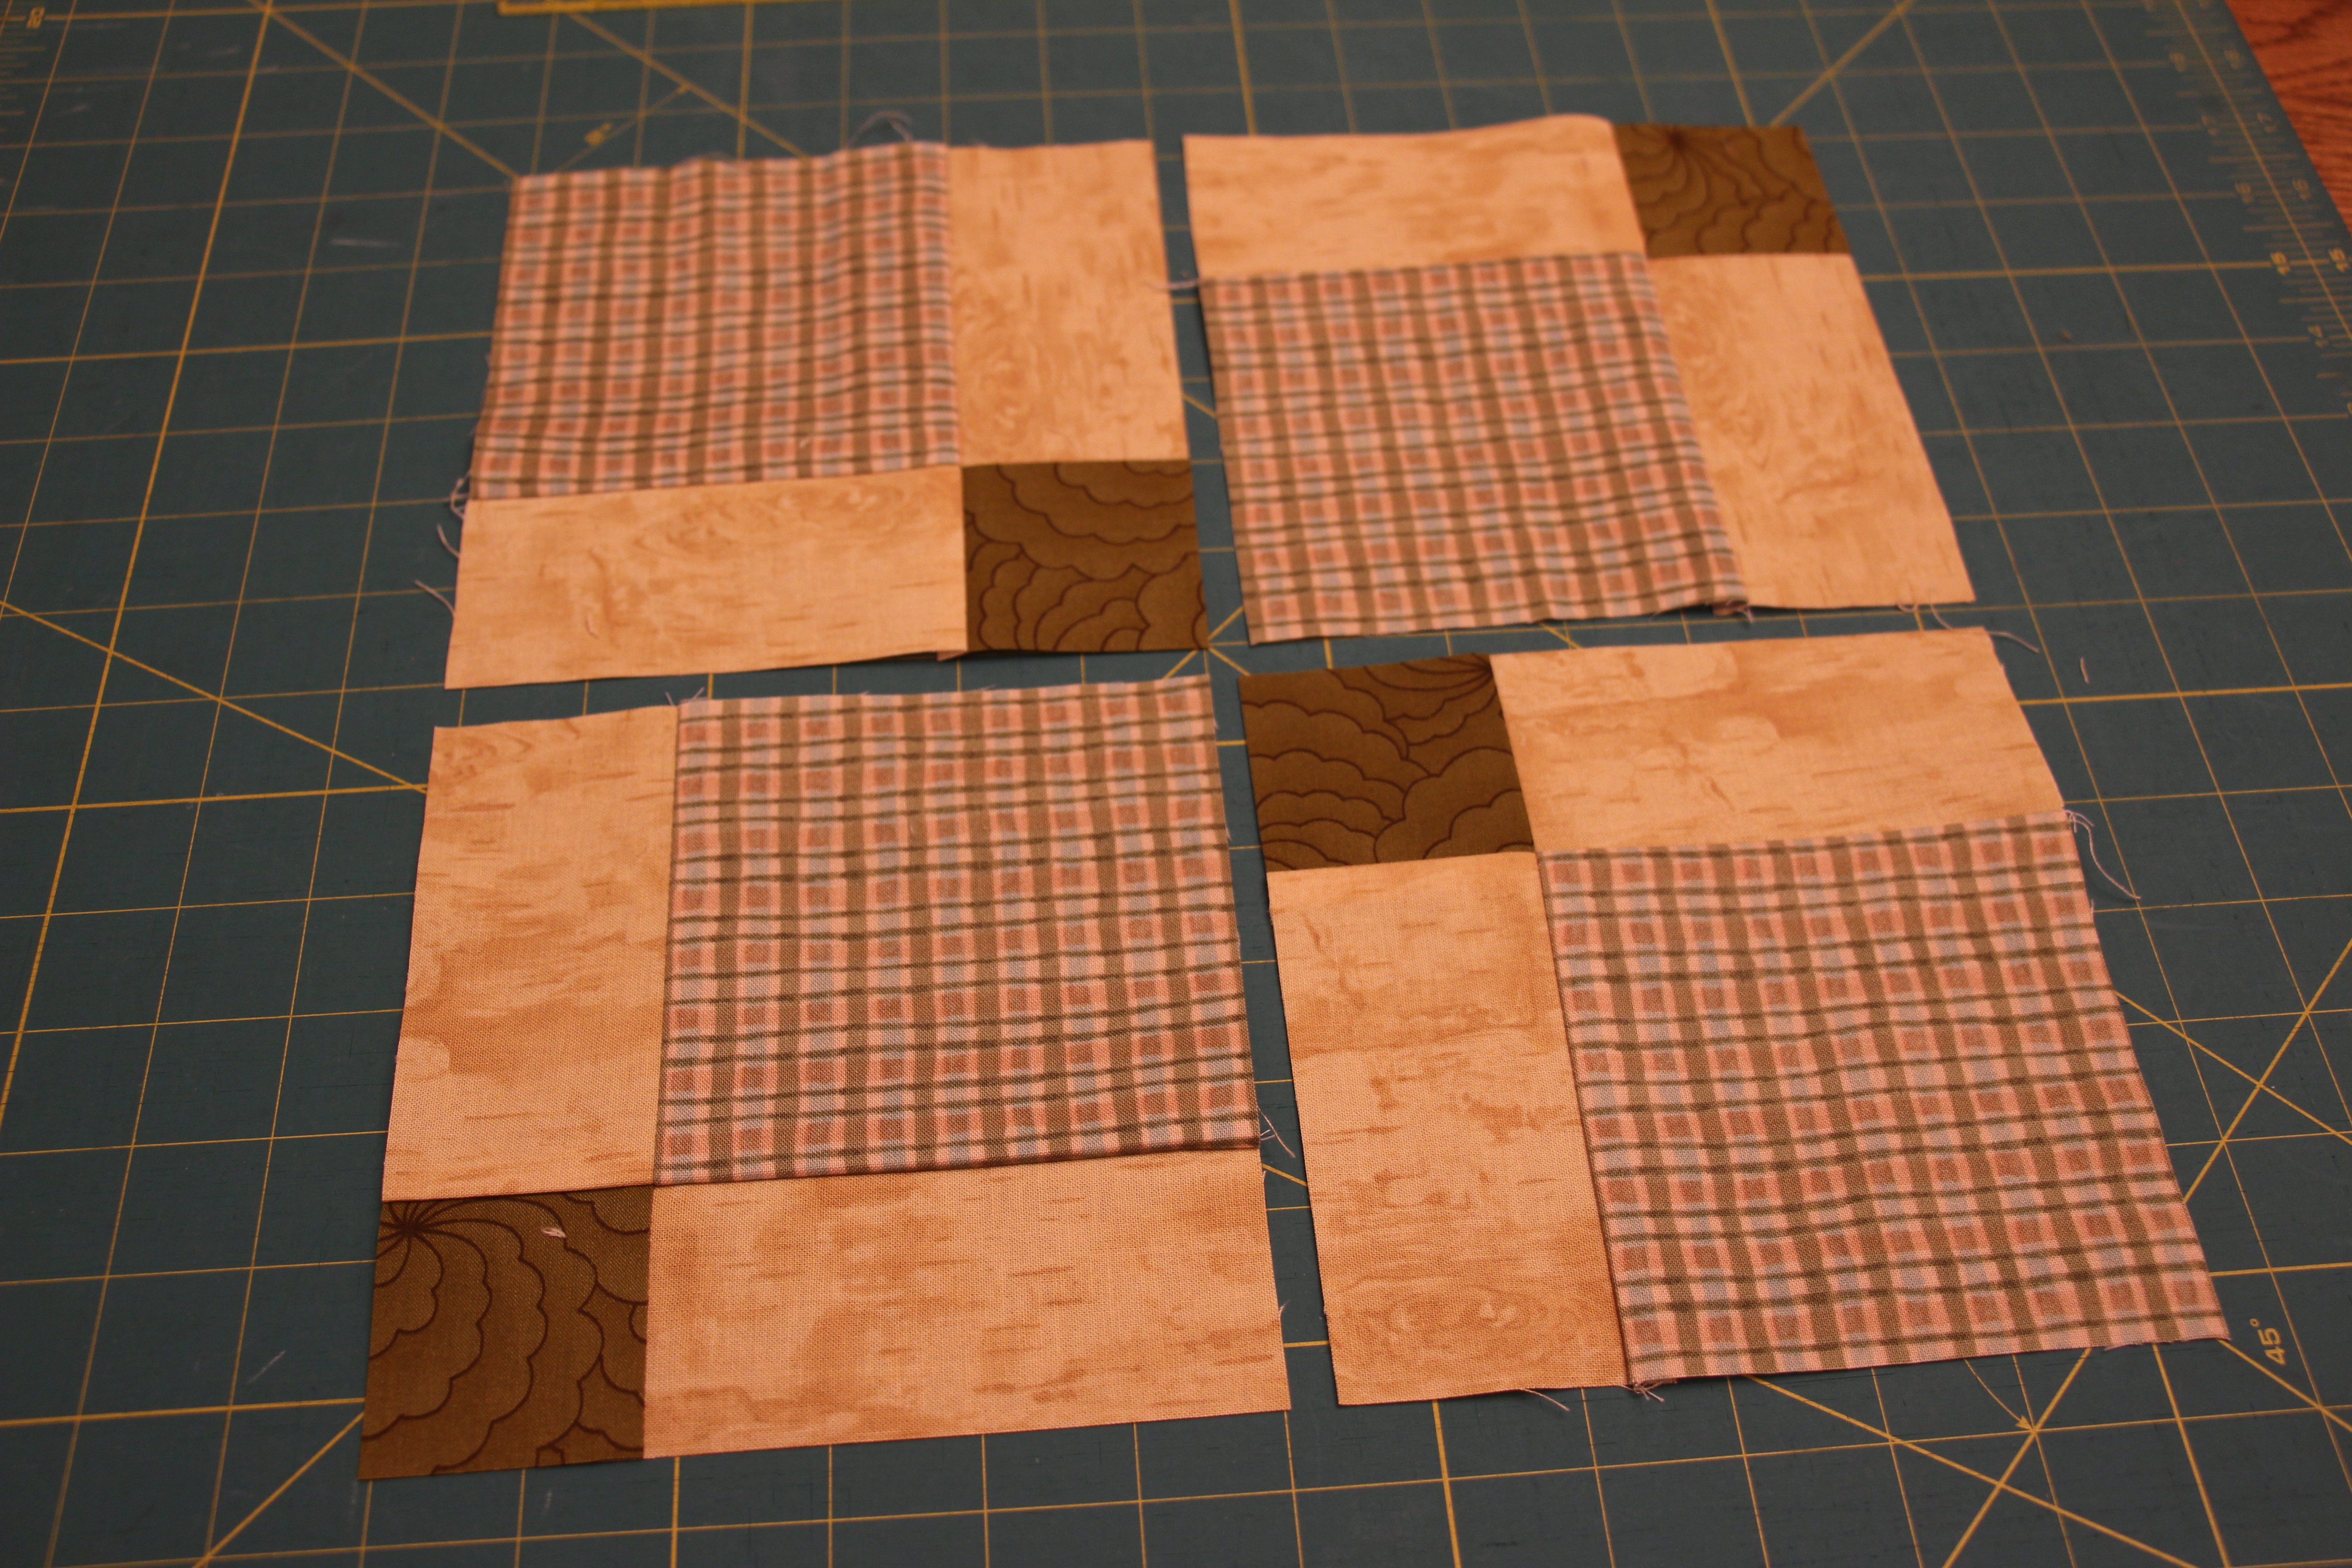
Sew the 4 pieces together and you now have your Disappearing 9-Patch!
And now I will answer the mystery about the title of this blog post. Every quilt you make should be given a name. It doesn’t have to make sense to anyone but you. Below is the photo of my first quilt. When I looked at it it gave me a “country/homey” vibe and the name “Blueberry Pickin'” was born. 
This recipe is a Lauren Everson original!
I was looking for a white wine sangria for the Fourth. I couldn’t find one that matched both my personal taste and didn’t require me to search high and low for some exotic fruit juice. So, I combined the theories and flavor profiles of about four different recipes and created my very own sangria. Red wine lovers even preferred my recipe! I hope you serve this concoction at your next party.

Red, White & Blue Sangria
Ingredients
Steps


