
Today I am going to show you how you can make your very own design board. This simple DIY only takes minutes to do and is very cost effective. Sure, you could use a cork board, but finding one large enough for quilting can cost as much as $20 per square foot!
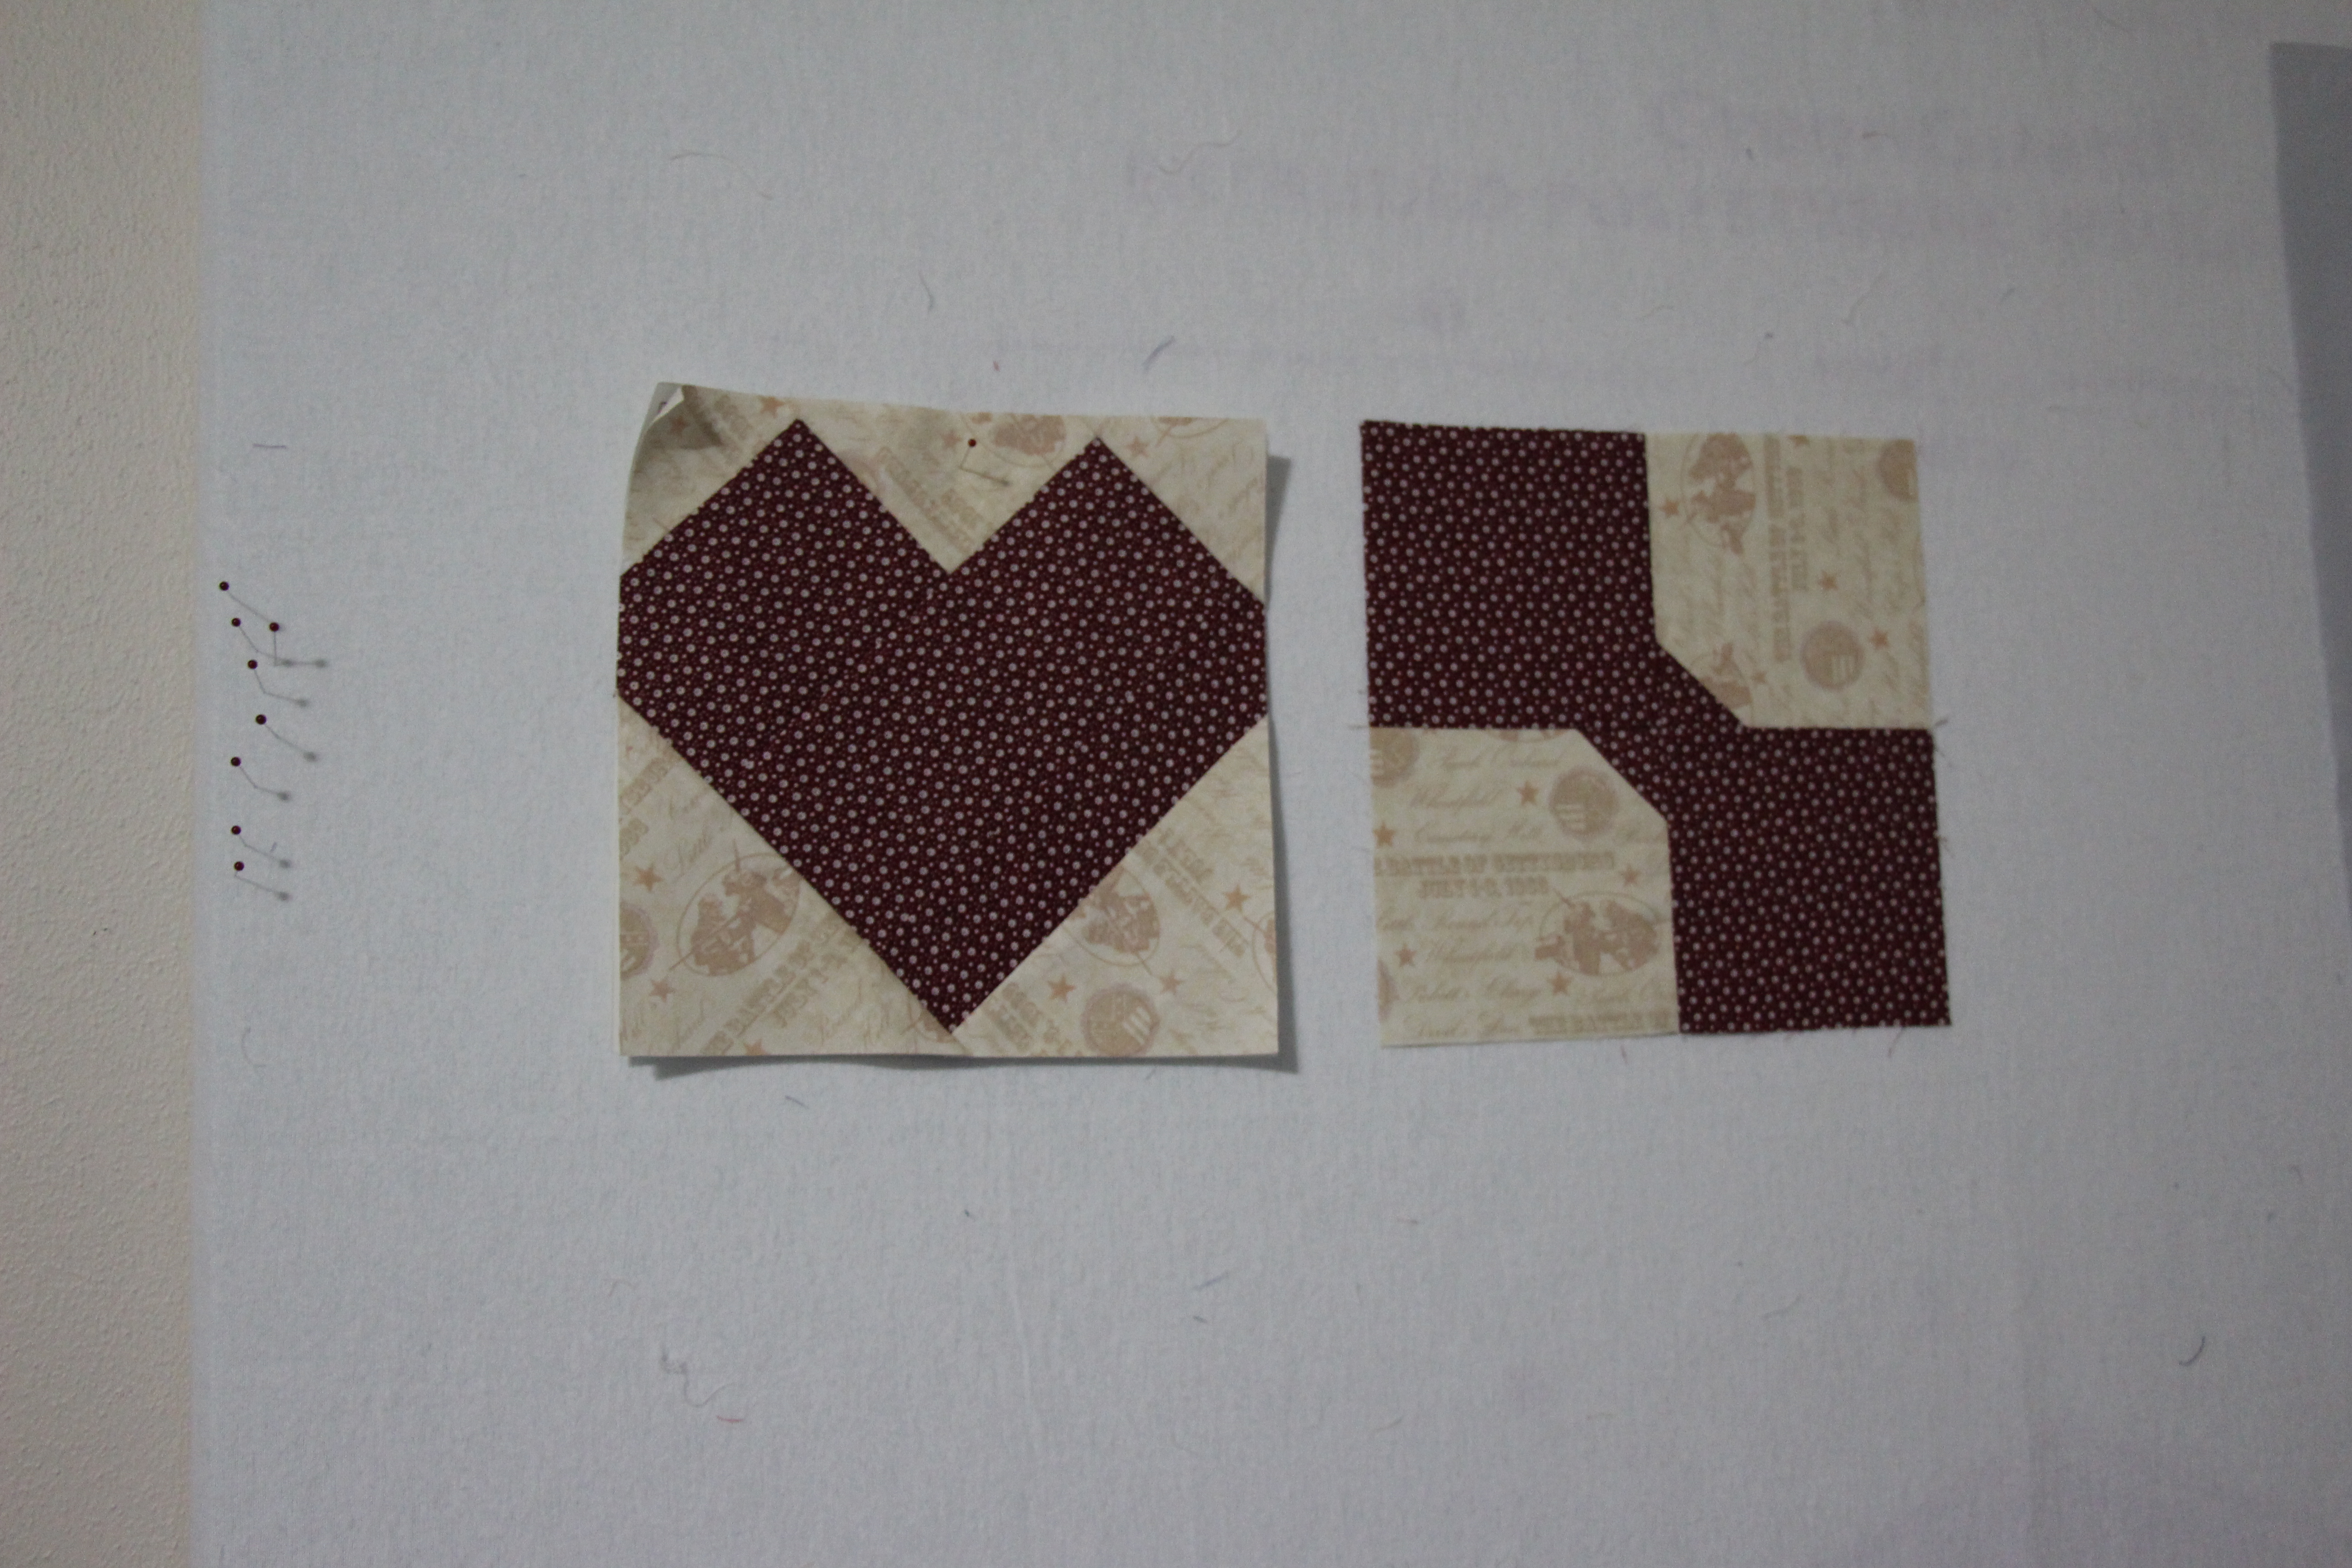
In Florida my mother-in-law created a temporary design board for me by simply hanging some flannel on the wall. She sewed some lightweight plastic rings at the top of the fabric and hung them on the wall. This design board worked great! But the version I have now is more multi-purpose-friendly and still temporary. I can now stick pins into it, allowing me to pin up papers or even piles of fabric squares. (The blocks below are part of Old Glory, or will be if I ever finish it!)
 Here’s what you need:
- Foam board insulation, cut to desired wall size
- Flannel fabric, cut to foam board size plus 3″ overhang on all four sides (remember, you’ll want a neutral color so it won’t clash with your projects)
- Stapler*
- Duct tape*
- Command strips (optional)
*If you have a staple gun you won’t need the duct tape
Here’s what you do:
- Lay your flannel on a flat surface and place your foam board insulation in the center of it, words up.
- Tightly fold the flannel around the board and staple in place. Reinforce with duct tape.
- To hang on the wall use command strips for a temporary design board, or nail in place.


