Honey Honey Layer Cake

As I continued to make quilt blocks for my Old Glory Fourth of July quilt I traded out a few blocks for others that I felt worked better with the personality of the quilt. This particular block I found on Pinterest. You can see a whole quilt made with this block here, it’s stunning!

Honey Honey Layer Cake Quilt Block

Here is the how-to for the Honey Honey Layer Cake Quilt Block:

Note: These measurements are for an 8″ block. Sew using a scant 1/4″ seam allowance. 

Cut fabric:

  • 8 squares 2 3/4″ red
  • 8 squares 2 3/4″ white
  • 4 squares 2 1/8″ red
  • 4 squares 2 1/8″ white

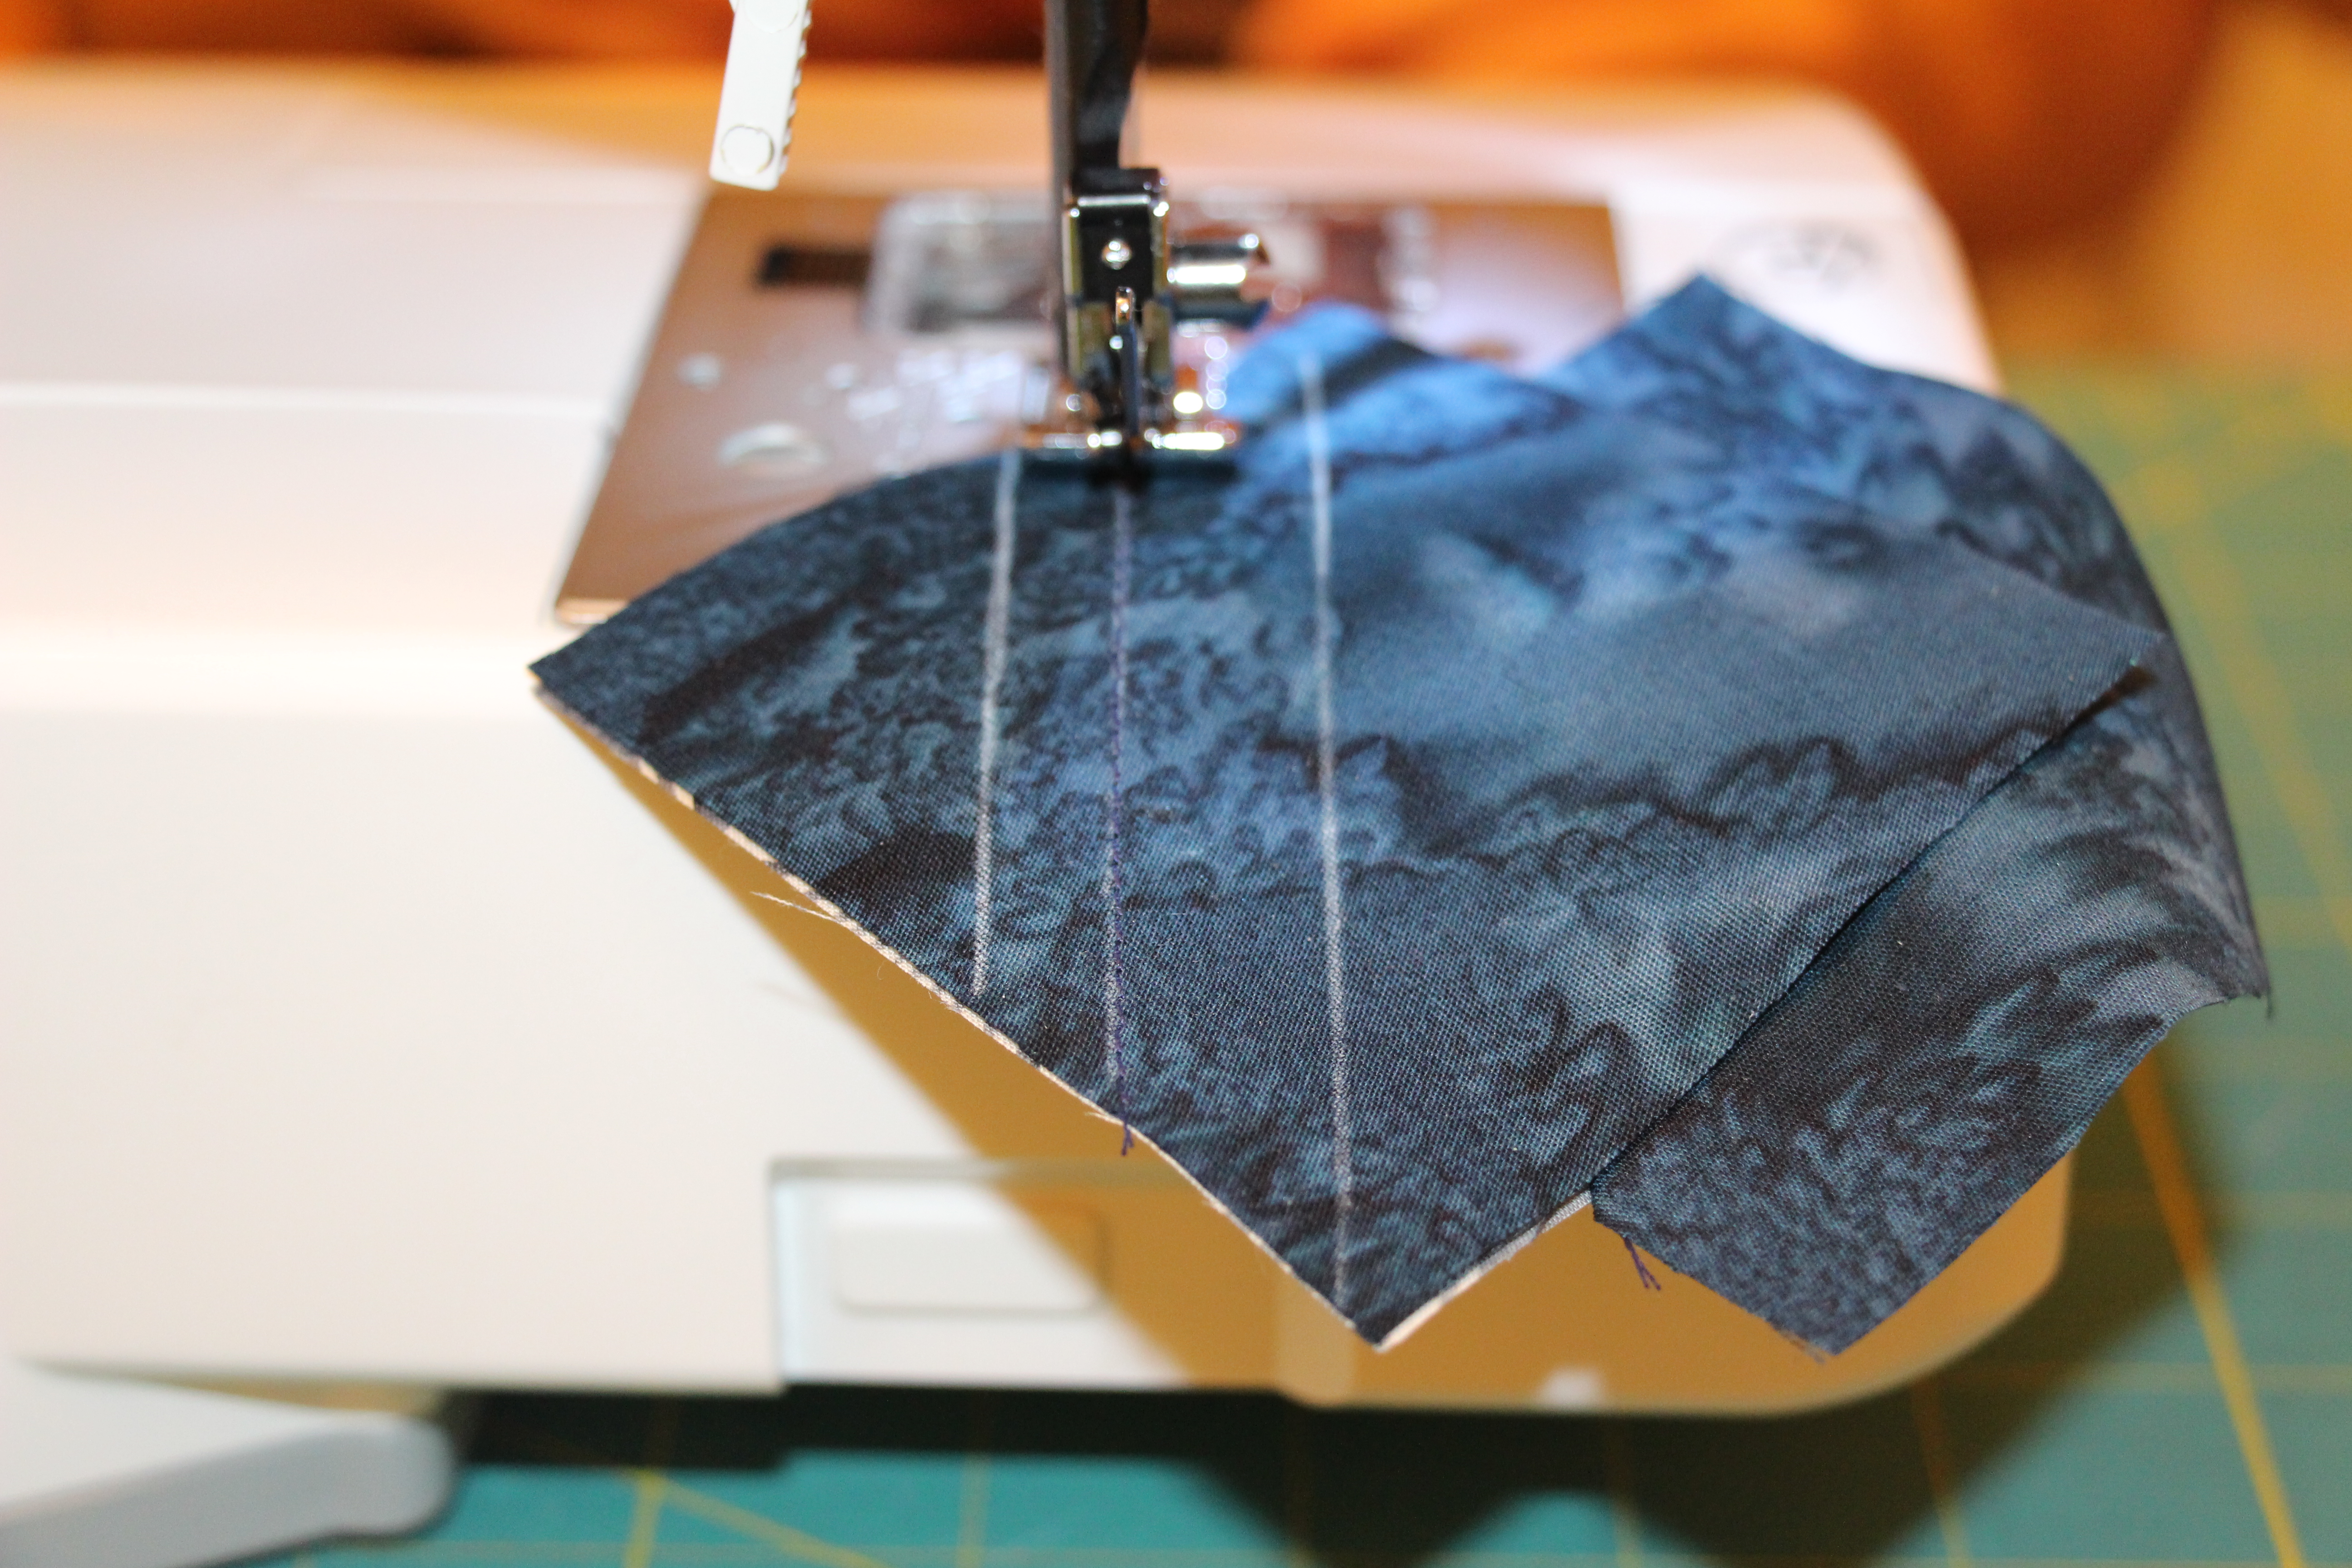
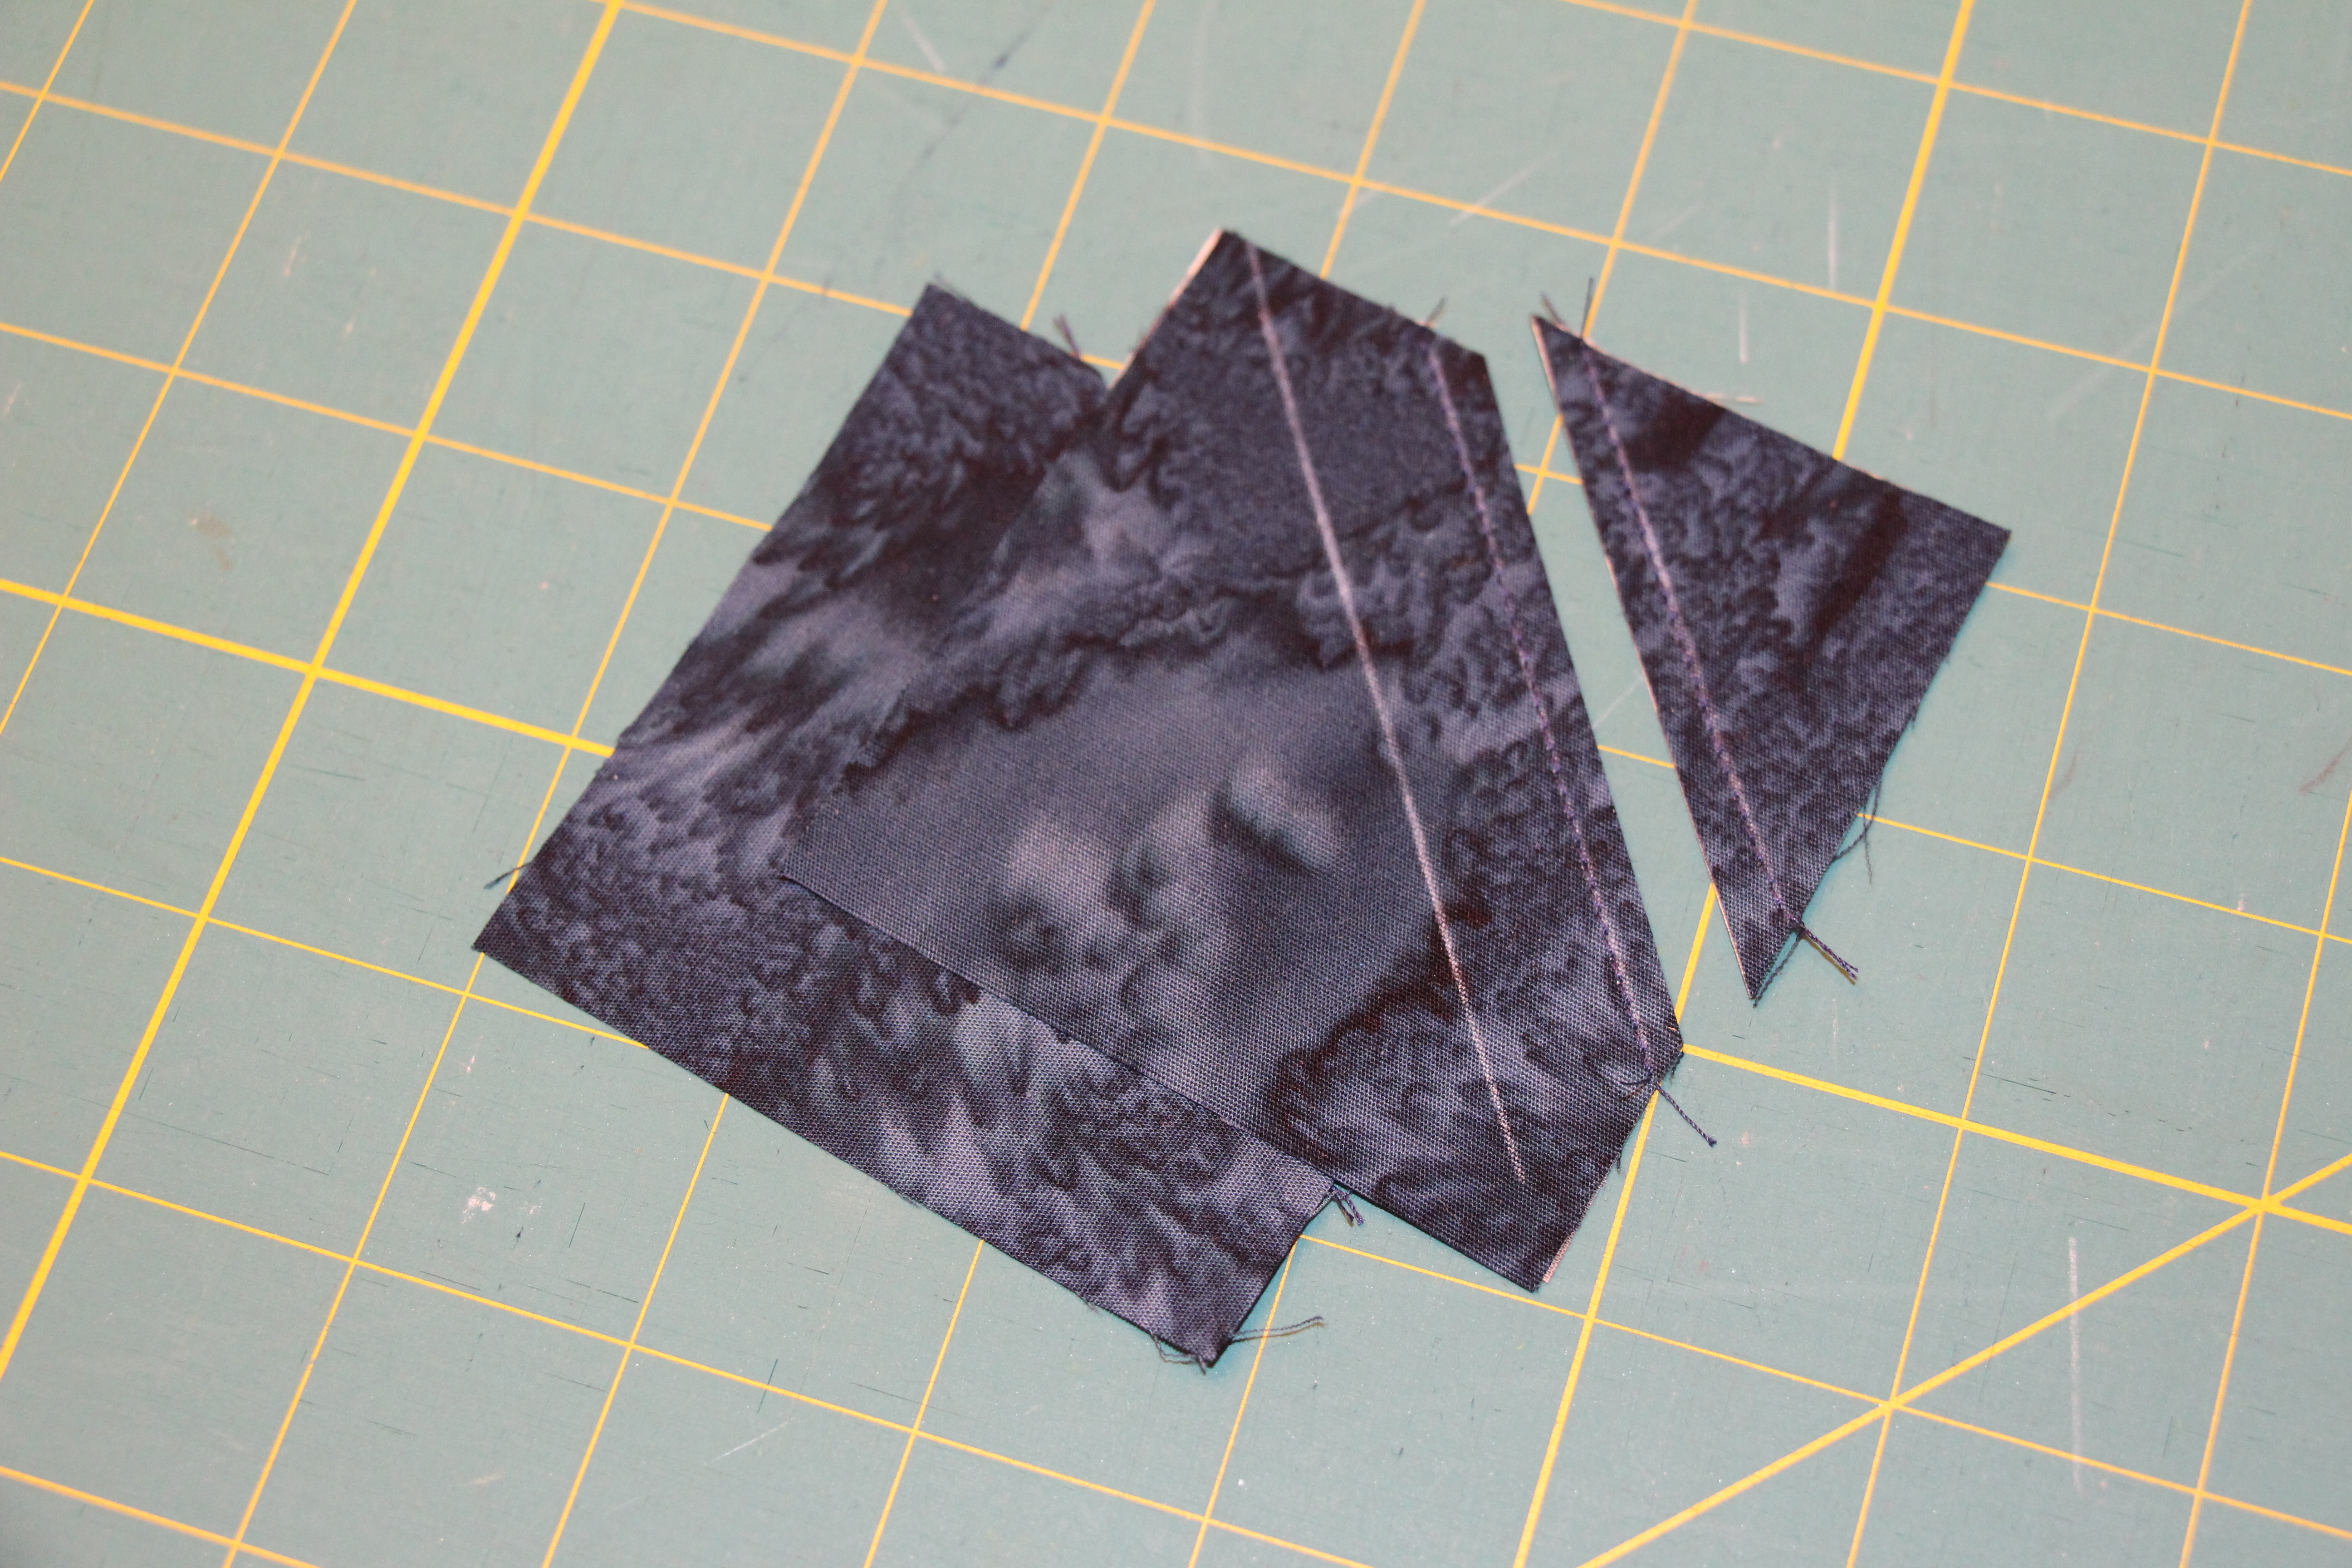
Use the 8 squares of 2 3/4″ red and white to create 16 Half Square Triangles (HSTs) trimmed down to 2 1/8″. Click here for my tutorial on how to make Half Square Triangles.

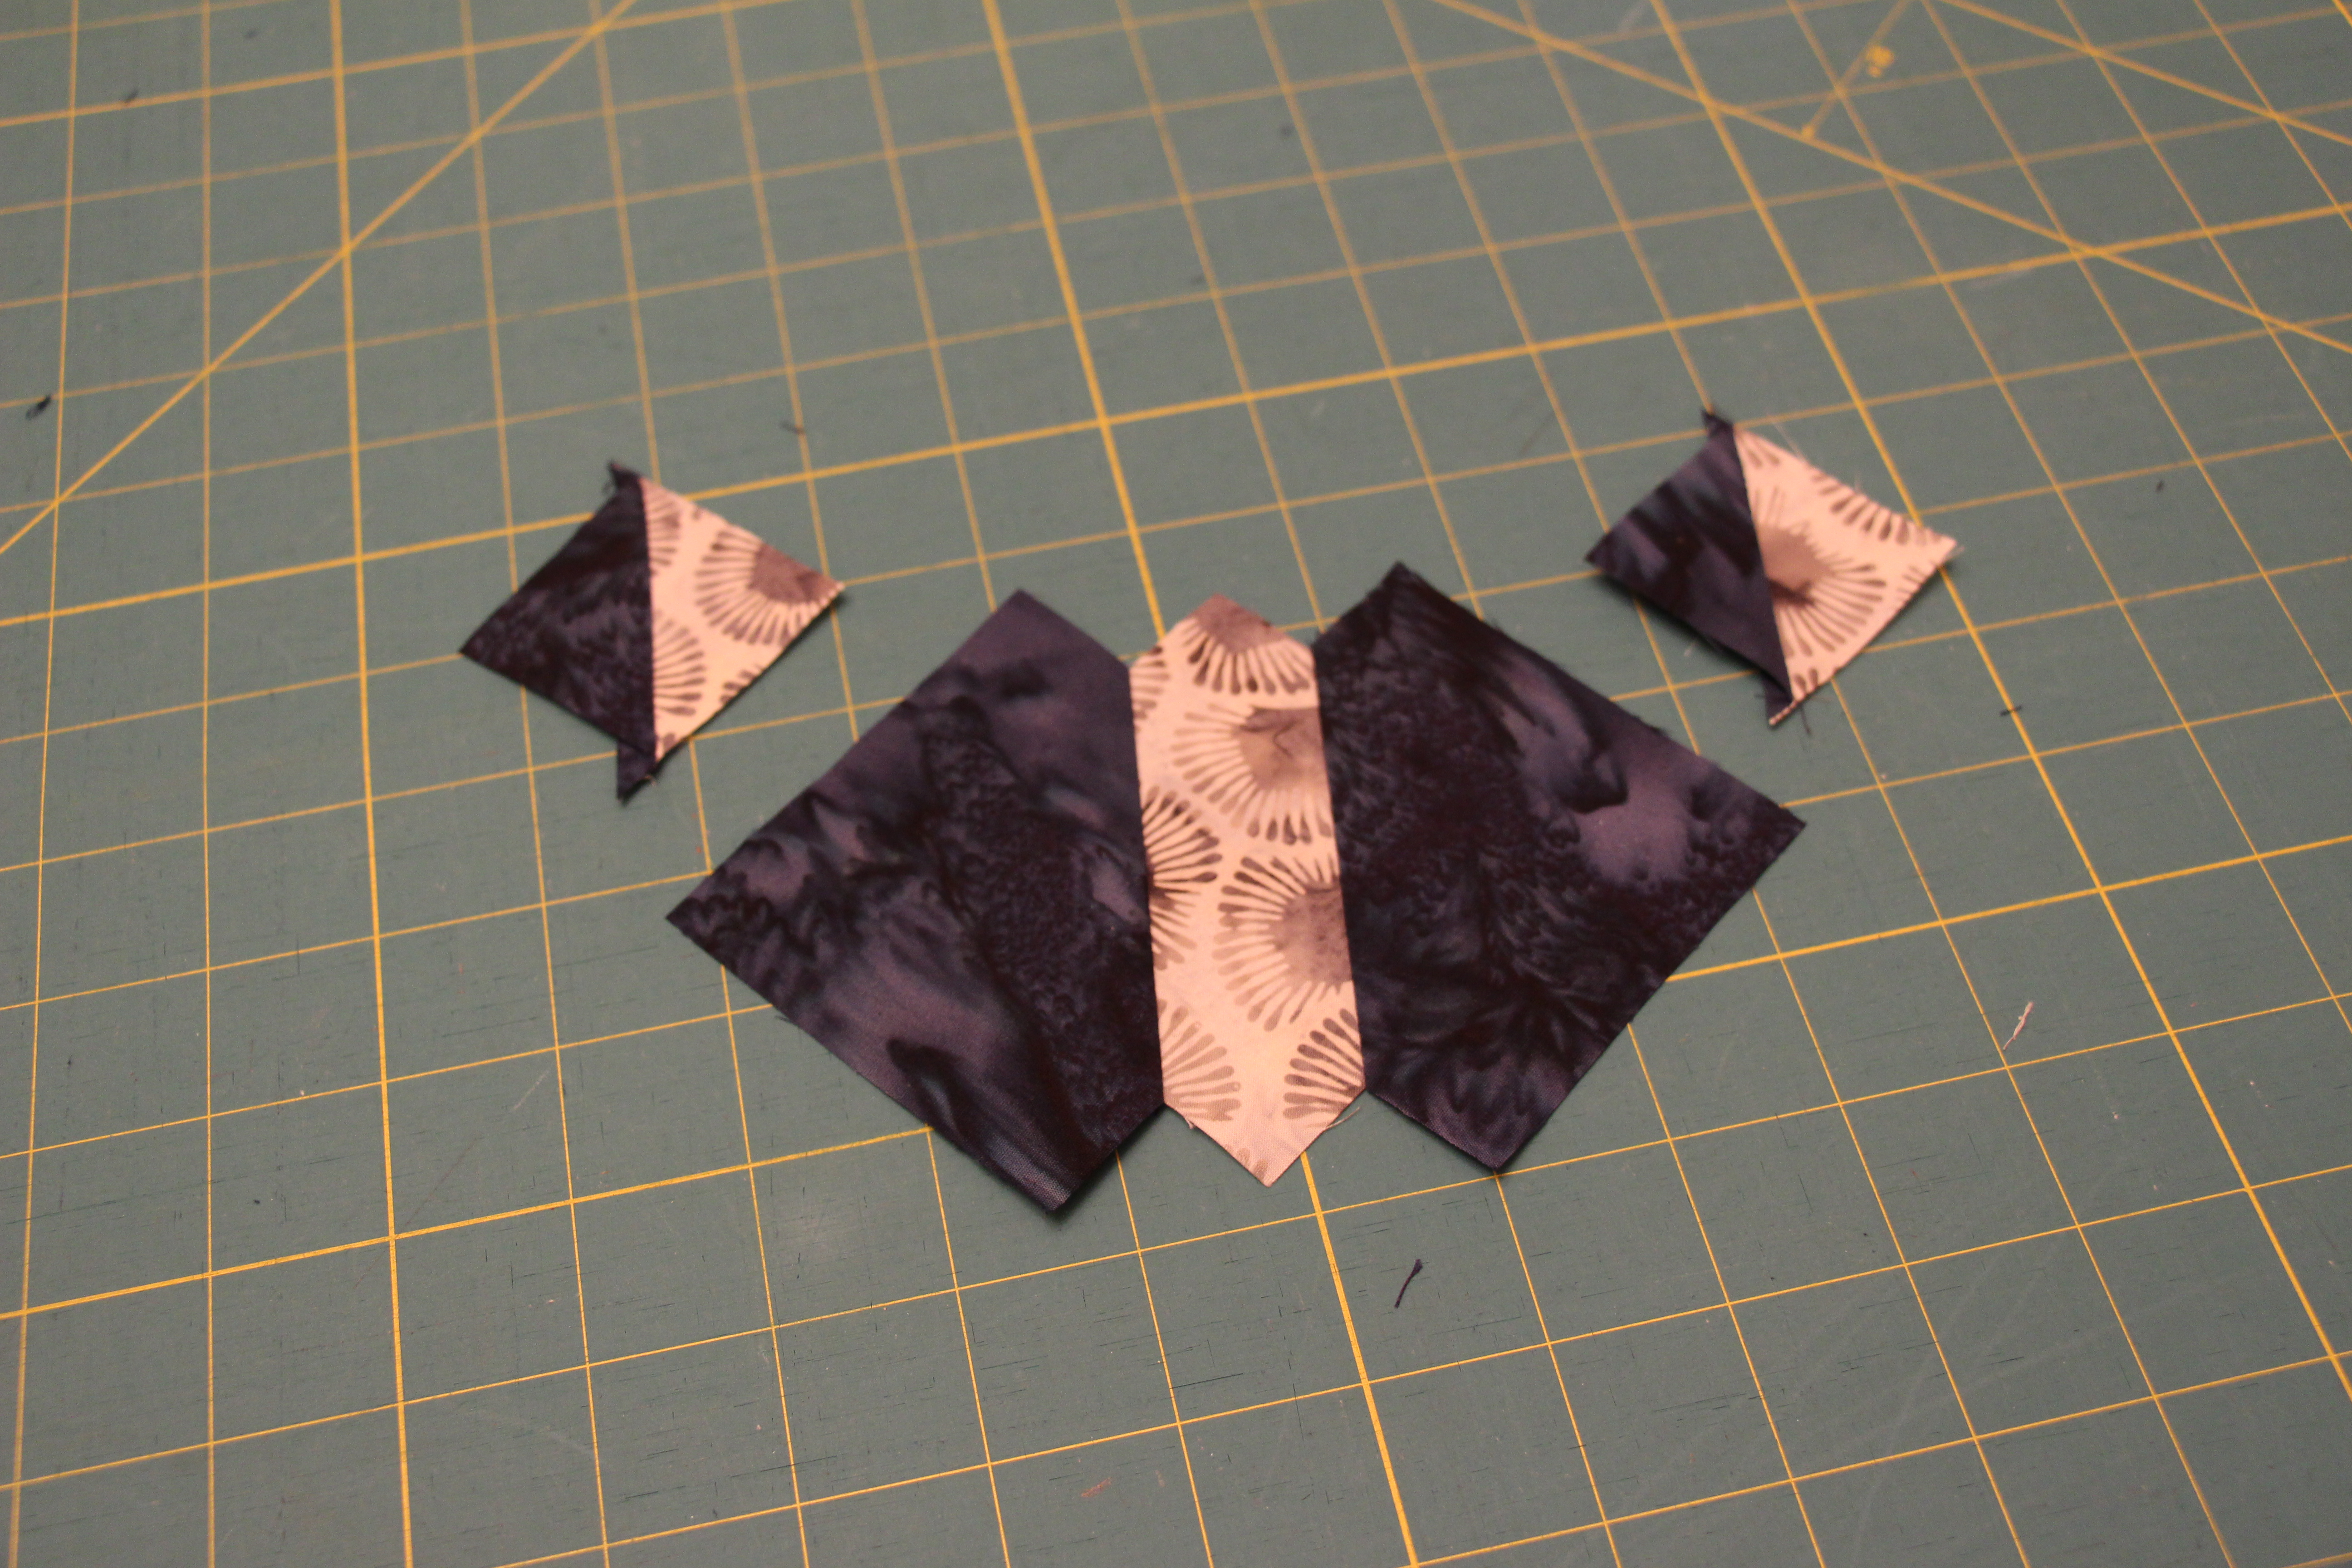
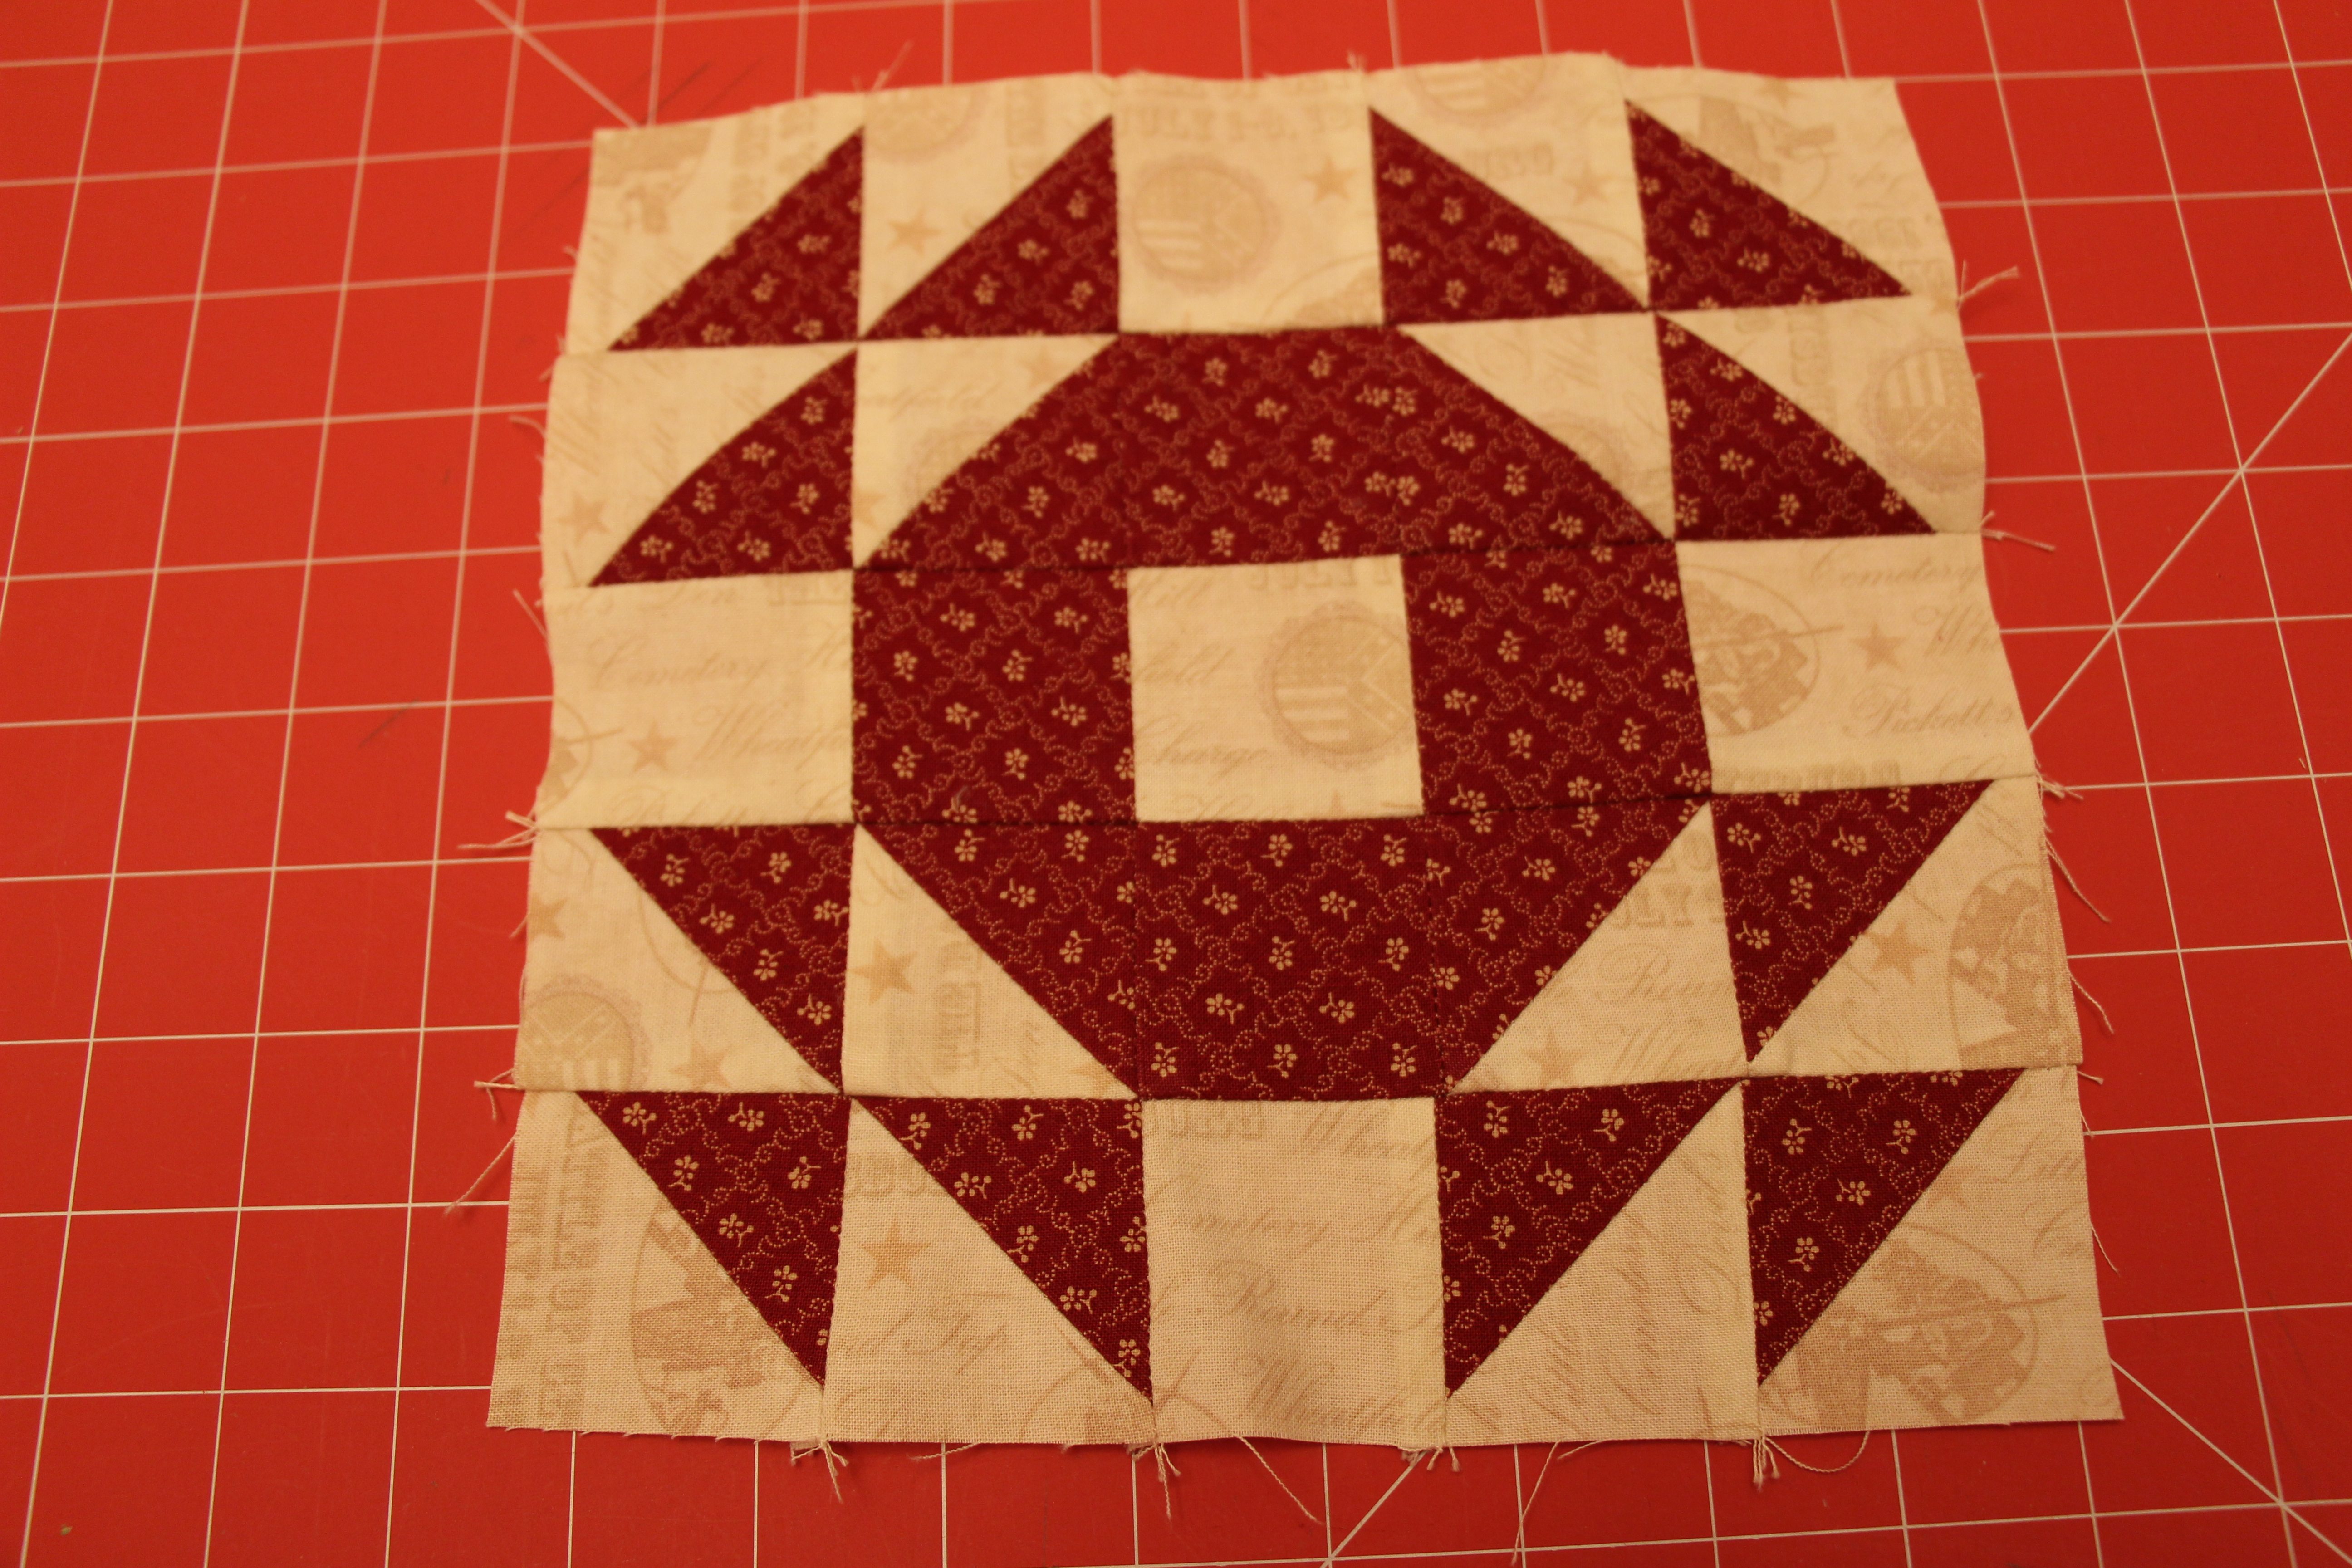
Lay out HSTs and solid blocks into the Honey Honey Layer Cake quilt block: Honey Honey Layer Cake Quilt Block Tutorial

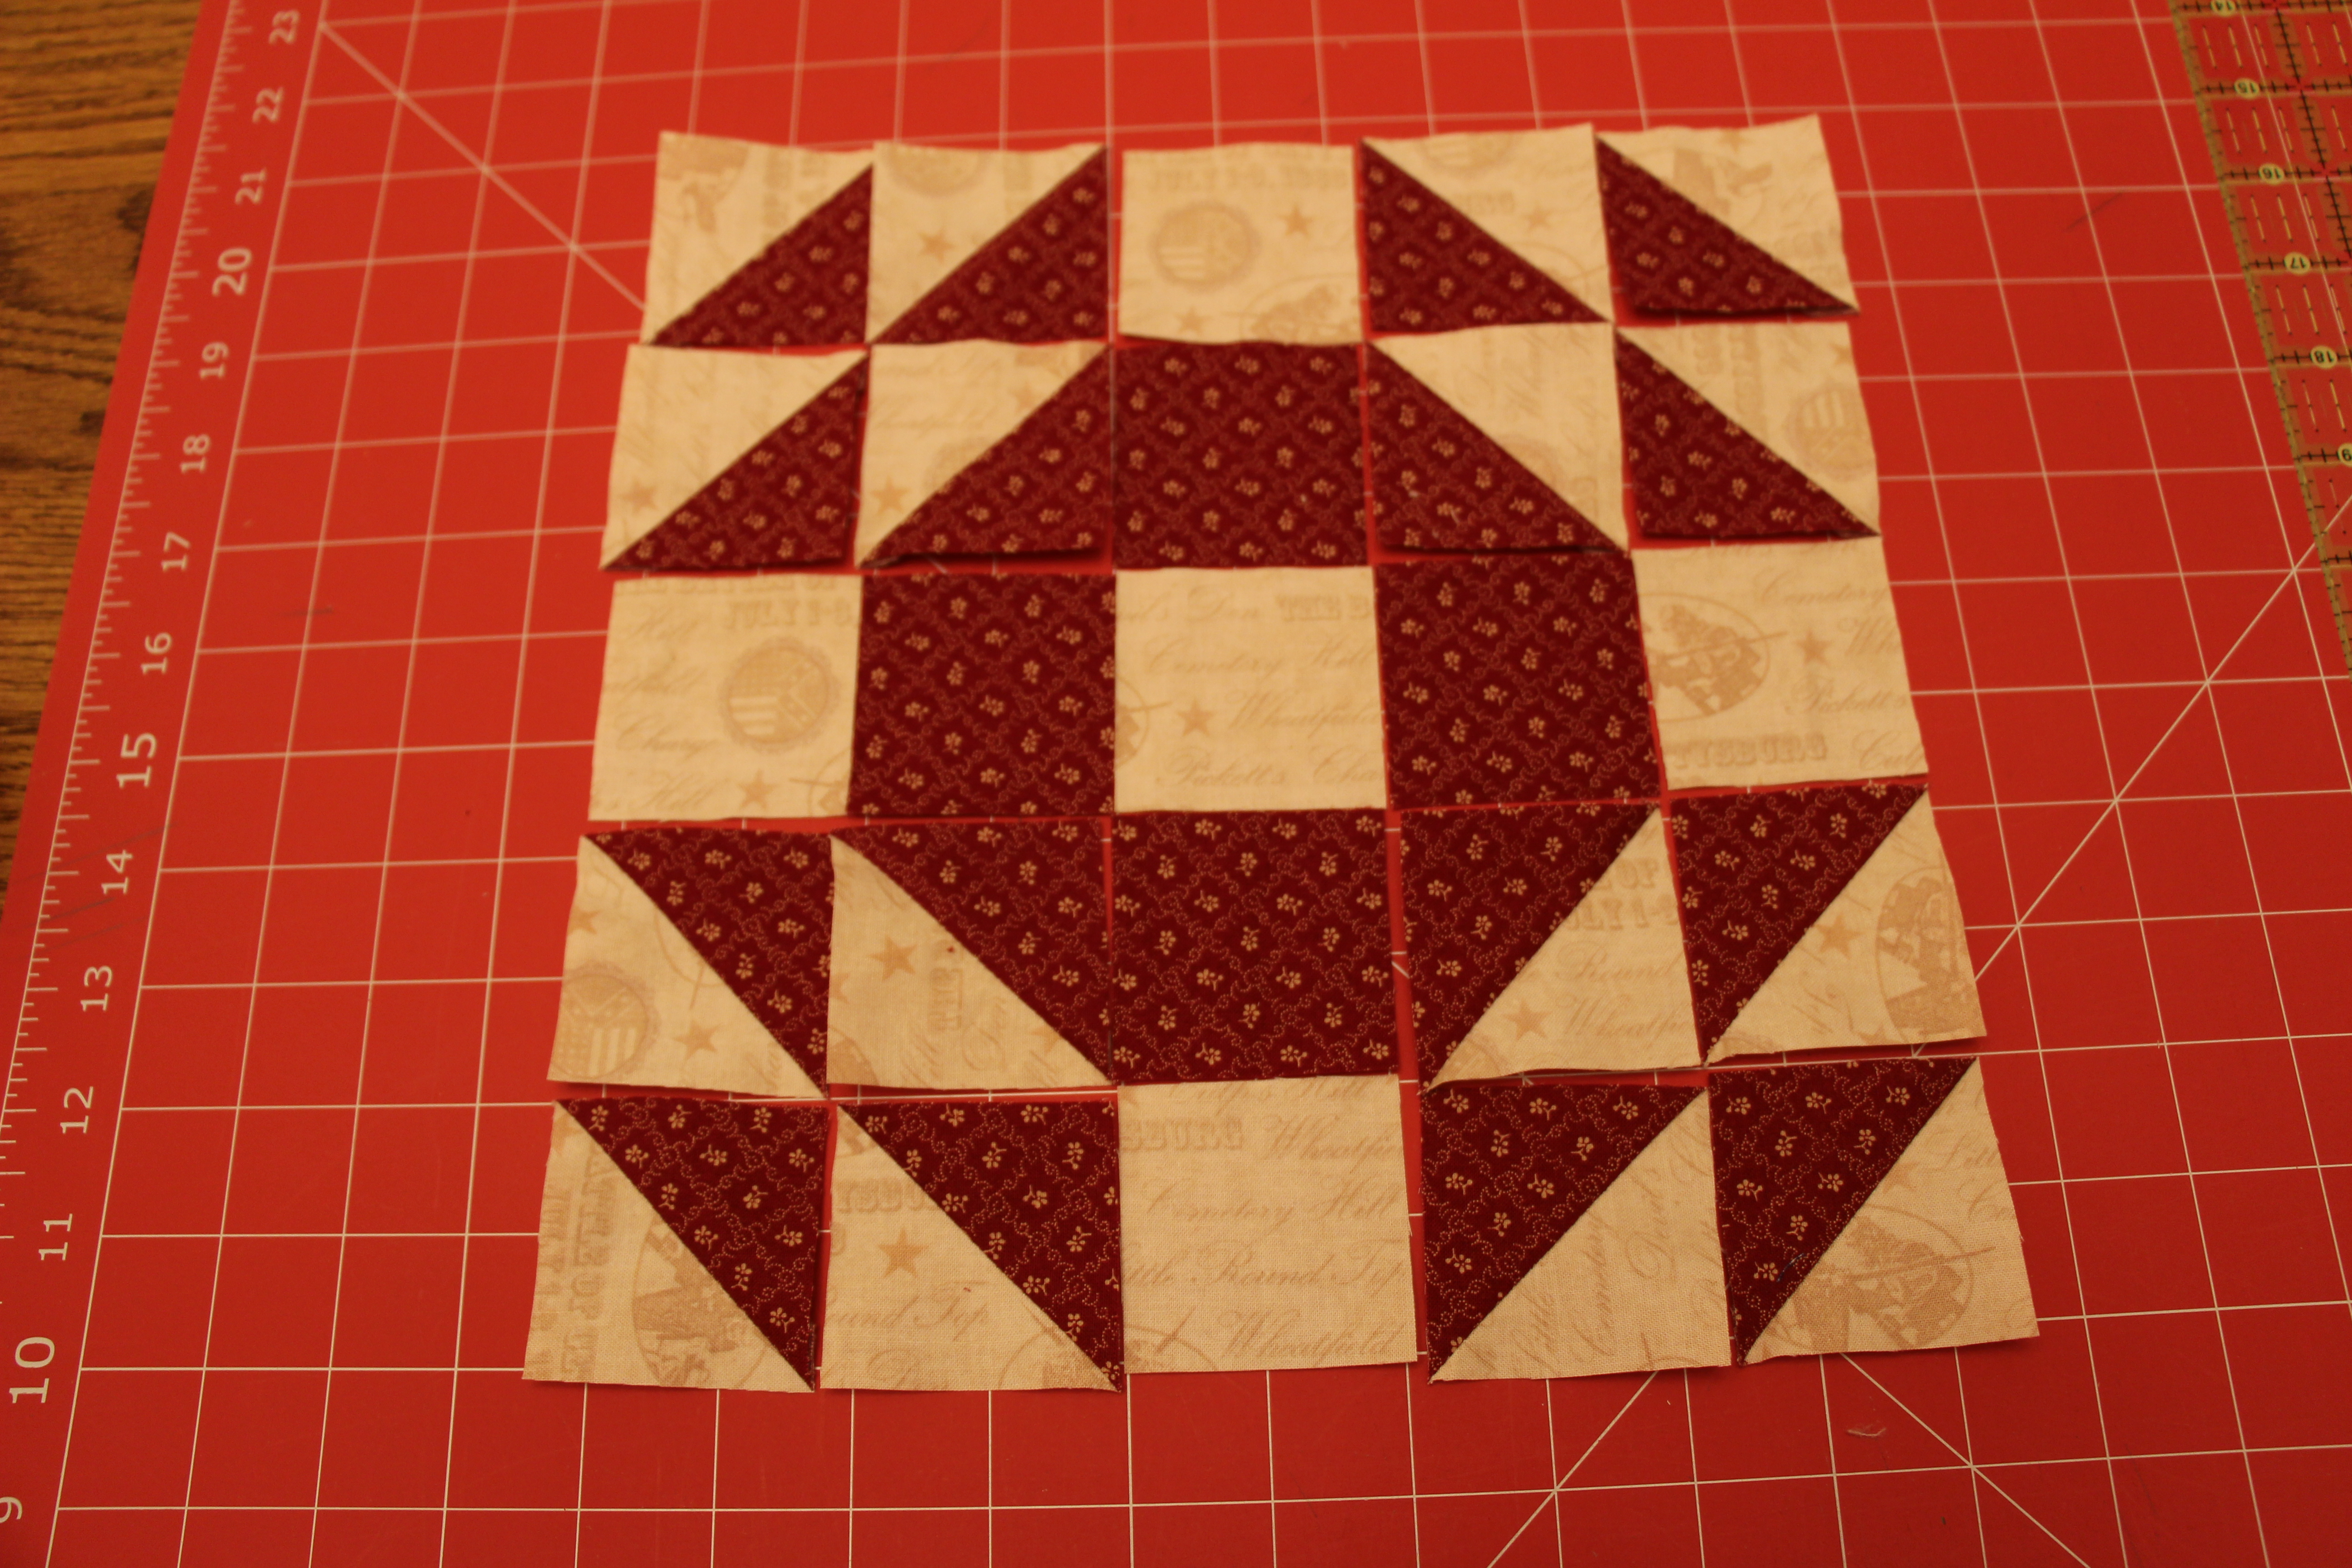
Assemble each row of five:

Honey Honey Layer Cake Quilt Block Tutorial

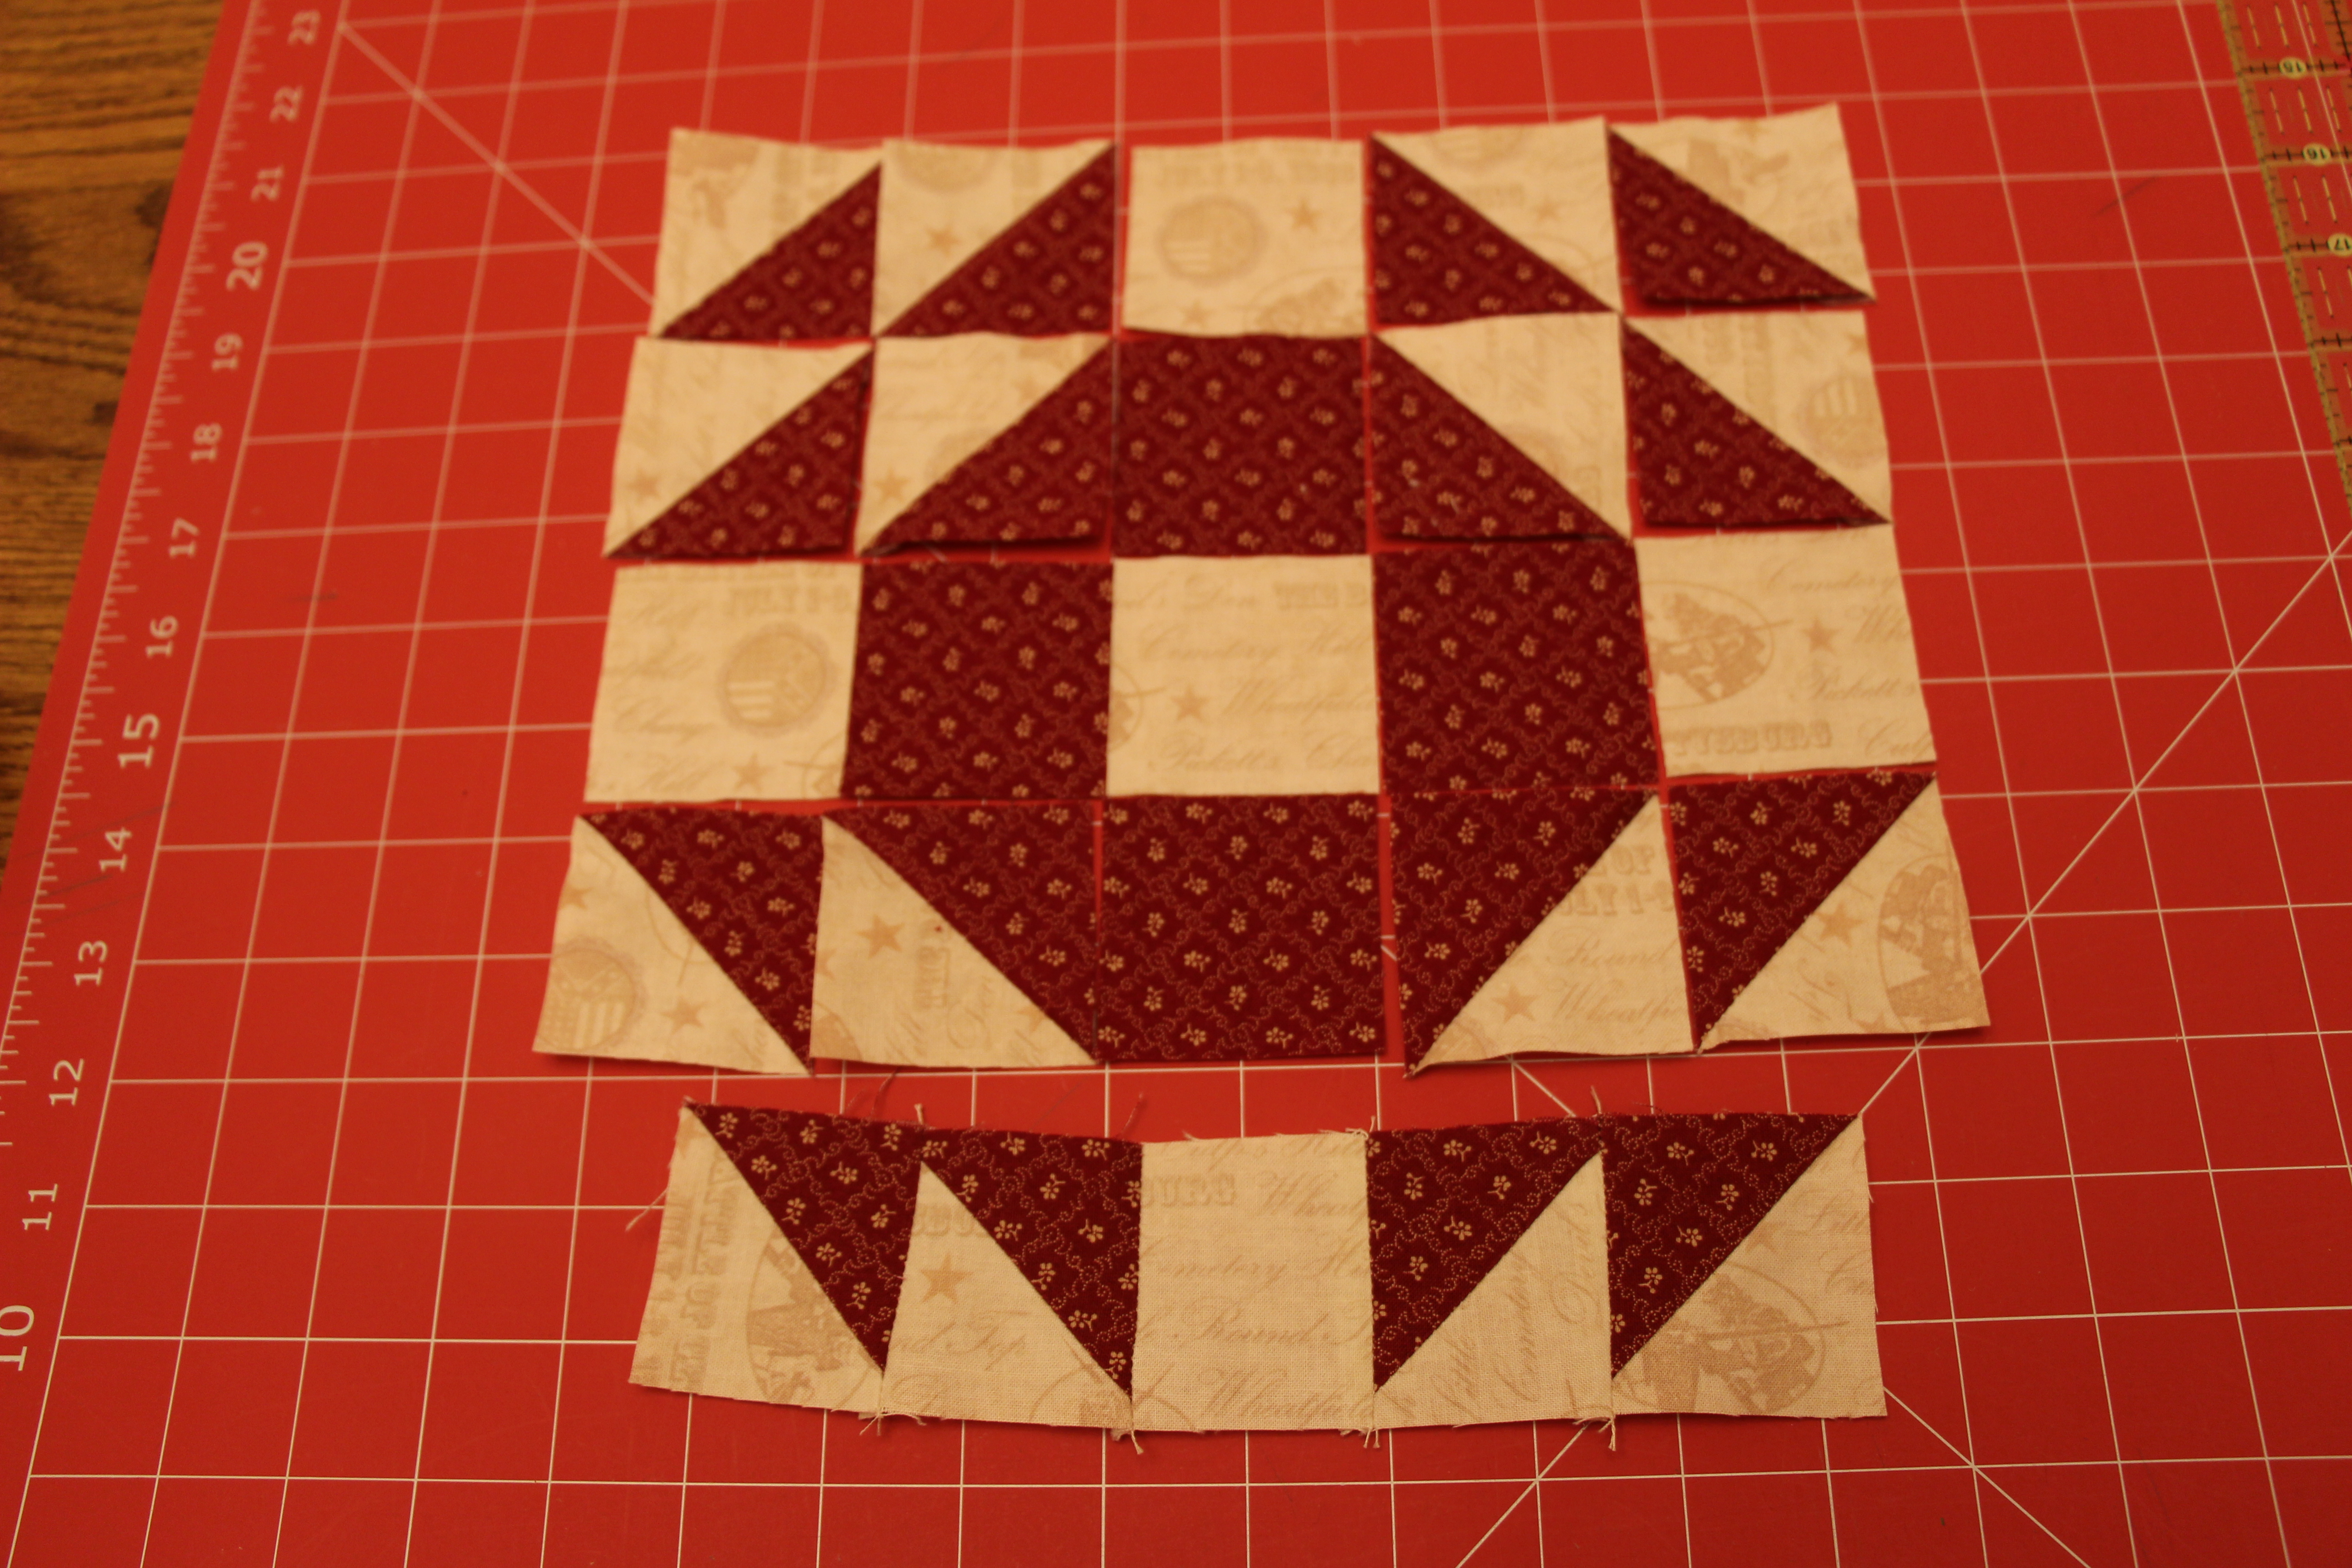
Attach the five rows together:

Honey Honey Layer Cake Quilt Block Tutorial

Ohio Star

For my Old Glory Fourth of July quilt I used two different blocks for the stars section of the flag. One of them, Sarah’s Choice, is a 16-patch of half square triangles and squares so I did not feel a tutorial was necessary for that block. The other star block, Ohio Star, is a little trickier. This 9-patch is a made up of squares and what I call hour glasses (quarter-square triangles). Ohio Star

Here is the how-to for the Ohio Star Quilt Block:

Note: These measurements are for an 8″ block. Sew using a 1/4″ seam allowance.

Cut fabric:

  • 1 square 3 1/8″ blue
  • 4 squares 3 1/8″ white
  • 2 squares 4 1/8″ blue
  • 2 squares 4 1/8″ white

Layer one white 4 1/8″ square atop a blue 4 1/8″ square. Mark the diagonal and 1/4″ on each side of the diagonal:

Ohio Star TutorialOhio Star Tutorial

Sew on each of the 1/4″ lines. Cut on the diagonal. Open up your half square triangles (HSTs) and iron to the dark:

Ohio Star Tutorial Ohio Star Tutorial Ohio Star Tutorial

Sandwich the HSTs so that blue and white are opposite each other. Mark the diagonal and 1/4″ on each side of the diagonal:

Ohio Star Tutorial

Sew on each of the 1/4″ lines. Cut on the diagonal. Open up your hour glasses and iron flat: Ohio Star Tutorial Ohio Star Tutorial IMG_7635

Trim down each hour glass to 3 1/8″ squares by treating one of the diagonals as a straight line and trim off the top and right side to just slightly larger than 3 1/8″. It is important that you line your ruler up so that the 3 1/8″ line is touching the edge of blue-on-white: Trimming an Hour Glass Flip the block and now align your ruler with the cut edges. Finish to 3 1/8″:

Ohio Star Tutorial Ohio Star Tutorial

Repeat the hour glass process for the other 4 1/8″ squares of fabric.

Now the Ohio Star is simply a 9-patch:

Ohio Star TutorialOhio Star

Snowflake Block

Engineer Kate and I figured out how to create a Snowflake block for the back of Let it Sew. We tried surfing the web for tutorials to follow but were unsuccessful. We knew there had to be a way without resorting to paper piecing.

Playing off of a “square in a square” block and sashing we managed!

Let it Sew

Here is the how-to for a Snowflake Quilt Block:

Note: These measurements are for an 6″ snowflake block with 1″ wide snowflake lines. 

Cut fabric:

  • 4 squares 3 1/4″ white
  • 1 square 1 1/2″ white
  • 4 rectangles 1 1/2 x 3″ white
  • 8 squares 3 1/4″ blue

Layer one blue square atop a white square. Mark the center diagonal, 1/2″ off of the diagonal, and an optional another 1/4″ off of that. (A bonus half square triangle will result from the optional 1/4″ steps!)

Snowflake Block Tutorial Snowflake Block Tutorial Snowflake Block Tutorial

Sew on the 1/2″ line. Also sew on the 1/4″ if using. Cut in between the two stitches.

Snowflake Block Tutorial

Iron the blue away from the white fabric. Take another blue square piece of fabric and line it up with the white on top of the resulting “block” from the previous steps.

Snowflake Block Tutorial

Repeat the above steps and again iron the blue away from the white.

Snowflake Block Tutorial Snowflake Block Tutorial

If you used the 1/4″ lines you now have two bonus half square triangles to do with what you wish! (For a project this small I would skip this step, but if you’re doing something larger by all means enjoy your bonus blocks!)

Snowflake Block Tutorial

Using the center white line as a guide, trim the block to a square of 3×3″.

Snowflake Block Tutorial Snowflake Block Tutorial

Repeat 3 more times so that you have 4 diagonals to your snowflake.

Follow my sashing tutorial to finish off the snowflake block!

Snowflake Block Tutorial Snowflake Block Tutorial