Could there be a more perfect theme to February’s #BundtBakers post? I think not! This month we’re talking chocolate. All things chocolate – in any shape, color, or form. #BundtBakers is a group of bundt loving bakers who get together once a month to bake bundts with a common ingredient or theme. We take turns hosting each month and choosing the theme or ingredient. This month’s host is Tanya of Dessert Stalking.
I often pair the theme with some sort of chocolate cake so I wanted to “branch out”, if you will. And with Valentine’s Day I thought I’d embrace the holiday. I had the most amazing cake pictured in my head. A White Chocolate Chip Studded Red Velvet Cake with a Chocolate Cream Cheese Frosting.
It still makes me cry a little inside when I look at the cake that I ended up making. I’ve tried to embrace it by giving my cake a clever title: How the Grinch Stole Valentine’s Day.
Let me give you a little background:
I made my grocery list for the long weekend. I do this in two stages. I first make a list in the order of my weekly menu. I put question marks next to items I need to doublecheck. I then rewrite the list in an order that follows the grocery store floor plan (all produce written together, dairy together, meat, etc.). There was a question mark next to “red food coloring.” I completely missed it. I did not check the status of my red food coloring. Turns out, red was the only color no longer in my possession.
And it was snowing. Not only does this Florida girl prefer to wait to leave the house until the roads have been treated but taking a 7 month old to the grocery store for a quick trip doesn’t exist. And taking a 7 month old to the grocery store in the snow for a quick trip just doesn’t seem smart. Or worth it!
I asked my personal red velvet cake expert (my friend Tara) what the batter would look like without food coloring. Because there’s so little cocoa powder in the batter I didn’t think it’d look particularly pretty. She told me it’d probably be a pinkish brown. In retrospect, that might have been better!
 I messaged my husband saying it looked like I was making a velvet cake. Little did he know that I’d already started brainstorming other ideas. I’ve seen blue velvet cakes all over the internet and they’re stunning. (Come football season I’ll be giving it a shot with some orange frosting!) But then I thought about doing green velvet. With St. Patrick’s Day being the next holiday I figured, “why not?” I put out a vote to my fellow #BundtBakers and green was winning by a long shot. What sealed the deal was my husband saying “Use a different color! Oh do green do green!”
I’m pretty sure there are recipes out there for green velvet cake – you might start to see a lot of them in March. I didn’t look for one and followed the recipe I’d planned on using for red velvet. I am challenged when it comes to using food coloring – always have been. Unfortunately I didn’t use enough dye to make a green in the shade I was hoping for. Sure, it’s a “shamrock” green but with my brown chocolate cream cheese icing it looked pretty drab.
I also ran into a chocolate chip problem! (Notice, I didn’t put them in the recipe – if you know the trick to incorporating them please share it with me!) The white chocolate chips all fell to the bottom/top and stuck to the pan. Thankfully I was using my Bundt Duet Pan and one of the two cakes still came out nicely.
The rest of the batter I used to make 12 cupcakes. Those poor babies have missing bottoms and probably should have been turned into cake pops. (If I were still living in FL I would have called my baking buddy Kate and something magically creative would have unfolded, I have no doubt.)
The cake, while ugly, was perfectly moist and tasted as red velvet cake should.
How the Grinch Stole Valentine’s Day
Ingredients for the cake:
- 1 stick unsalted butter, at room temperature
- 2 C sugar
- 1 C vegetable oil
- 4 eggs, whites and yolks divided
- 1 1/2 tbsp vanilla extract
- 1 tsp white vinegar
- food coloring
- 3 C cake flour
- 1 tsp baking soda
- 2 tbsp unsweetened cocoa powder
- 1/2 tsp salt
- 1 C buttermilk, at room temperature
Ingredients for the frosting:
- 1 pkg (8 oz) cream cheese, at room temperature
- 1/2 stick butter, at room temperature
- 1 tbsp vanilla extract
- 3 C powdered sugar
- 1/2 C cocoa powder
Steps for the cake:
- Preheat oven to 350 degrees F.
- In the bowl of a stand mixer, beat together the butter and sugar until creamy. (It’ll get fluffy first – keep mixing.) Add in the vegetable oil until combined. Add the egg yolks and vanilla. Add the vinegar and food coloring.
- In a large bowl whisk together the flour, baking soda, cocoa powder, and salt.
- Add 1/3 of the dry ingredients to the wet ingredients until combined. Add 1/2 of the buttermilk. Repeat and finish with the last 1/3 of the dry ingredients.
- Whisk the egg whites until white and foamy. Gently fold into the batter.
- Pour cake batter into well greased cake pan(s). Bake according to chart:
 7. Allow cake to cool in the pan.
Steps for the frosting:
- In the bowl of a stand mixer, beat together cream cheese and butter until combined. Mix in the vanilla extract, sugar, and cocoa powder. Beat until combined and fluffy.
- Frost cakes when they’re completely cooled.
*The cake recipe is adapted from Sally at http://sallysbakingaddiction.com/2015/02/09/red-velvet-layer-cake-with-cream-cheese-frosting/ and the frosting recipe is adapted from Caroline at http://chocolateandcarrots.com/2014/07/chocolate-cream-cheese-frosting*

If you are a food blogger and would like to join us, just send an email with your blog URL to foodlustpeoplelove@gmail.com. All recipes and photographs can be found on our individual blogs, on our Pinterest board, and the#bundtbakers homepage.
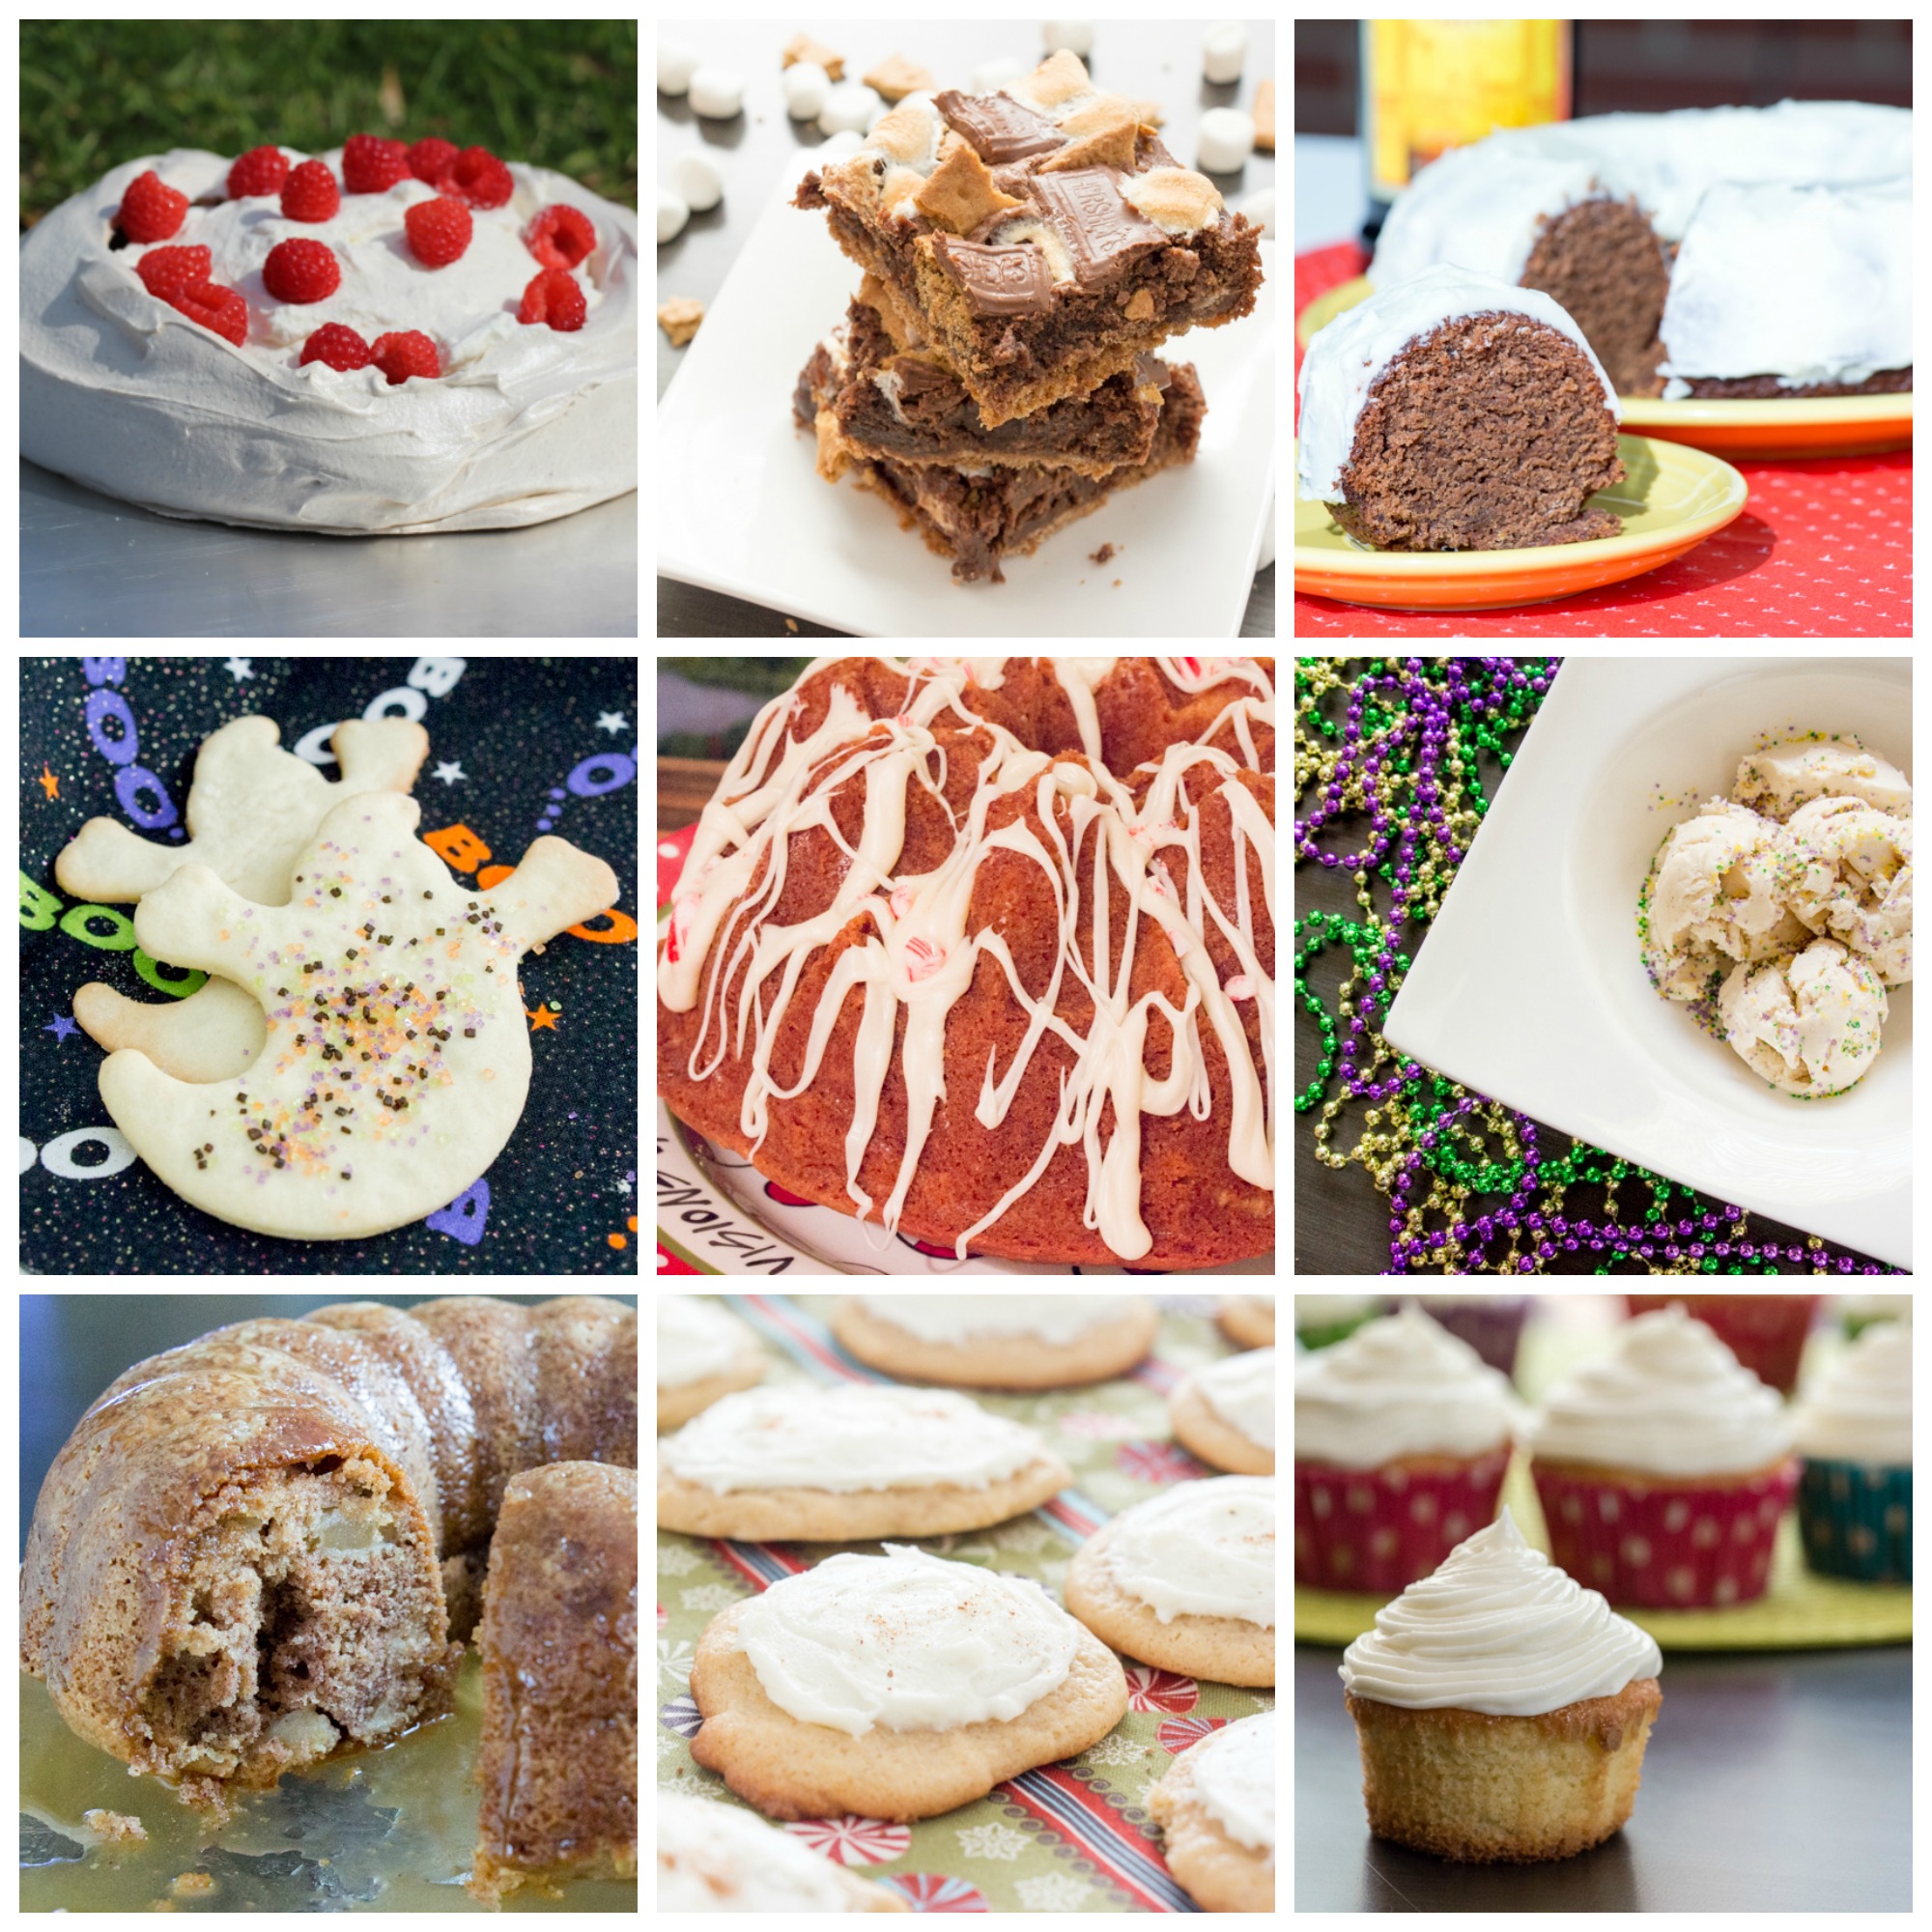
And don’t forget to take a peek at what other talented bakers have baked this month:
Apricot Almond Bundt Cake with Dark Chocolate Ganache by Cassandra at Cassie’s Kitchen
Blackforest Bundt Cake by Anshie at SpiceRoots
Chocolate and Almonds Bundt Cake by Kathya at Basic N Delicious
Chocolate and Lavender Bundt Cake by Aisha at La Cocina de Aisha
Chocolate and Rose Bundt Cake by Lara at Tartacadabra
Chocolate Buttermilk Bundt Cake by Beatriz & Mara at I love Bundt Cakes
Chocolate Covered Strawberry Bundt Cake by Julie at Eat, Drink, and Be Mighty
Chocolate Crumb Bundt by Catherine at Living the Gourmet
Chocolate Custard Floating Island Bundt Cake by Jelena at A Kingdom For a Cake
Chocolate Honeycomb Bundt by Sue at Just Sew Sue
Chocolate Irish Cream Bundt by Anne at From My Sweet Heart
Chocolate Orange Bundt Cake by Tux at Brooklyn Homemaker
Chocolate Pound Cake by Renee at Magnolia Days
Chocolate Strawberry Pound Cake by Wendy at A Day in the Life on the Farm
Cider White Chocolate Bundt Cake with White Chocolate Glaze by Patricia at Patty’s Cake
Dark Chocolate Pomegranate Bundt Cake by Linda at Brunch with Joy
Devil’s Food Chocolate Bundt Cake by Tanya at DessertStalking Blog
Double Chocolate Sour Cream Bundt Cake by Carola at En La Cocina de Caro
False Chocolate Bundt Cake by Anna at Media RaciÛn Doble, Por Favor
Guava and Chocolate Bundt by Kelly at Passion Kneaded
Kickin Chocolate Bundt Cake by Kaylin at Keep it Simple, Sweetie
Lemon Glazed White Chocolate Cream Cheese Pound Cake Mini Bundts by Laura at The Spiced Life
Mars Bar Bundt by Tara at Noshing With The Nolands
Marshmallows Chocolate Bundt Cake by Shilpi at SimplyVeggies
Quadruple Chocolate Bundt by Stacy at Food Lust People Love
Red Velvet Bundt with White Chocolate Roses by Laura at Baking in Pyjamas
Sacher Bundt Cake by Esti at Mummy & Cute
Spicy Chocolate Mini Bundt Cake by Rocio at Kids & Chic
Triple Chocolate Buttermilk Bundt Cake by Teri at The Freshman Cook
Tunnel of Fudge Bundt Cake by Rebekah at Making Miracles
White Chocolate & Raspberries Bundt Cake by Samantha at Un Mordisco Un Pecado

 If I thought keeping a secret the first go around was difficult it was nothing compared to this time! Both being food bloggers we’re constantly in communication about what we’re cooking up in the kitchen.