I got pretty excited when I saw the theme for this weekend’s Sunday Supper announced a few weeks ago. Kids Favorites! As a relatively new mom, I can answer this prompt from the parental side of the equation.(If you were asking me as a child, my answer would have been Kraft mac and cheese…)
When I thought about what my 2 year old likes to eat, I immediately thought: chocolate. He will occasionally come up to me and straight up ask for chocolate. Now, when he asks for chocolate he really means Nutella. So really… I could just share a recipe for my kid’s favorite food… It’d look like this: Open jar of Nutella, provide a spoon, have a wet napkin handy.
I decided to expand upon that. Another of his favorites: ice cream. I could have done a Nutella ice cream, but when I had this planned on my menu my dad was here for Firecracker’s 2nd birthday. My dad, who is allergic to nuts, needs to have a little something sweet after dinner, so I stuck with plain chocolate. In all actuality, I kind of made the frozen custard more for my dad than for my son; not that Firecracker didn’t get excited for his small bowl of ice cream!

I started out with one ice cream recipe in mind and then completely switched it up to make a frozen custard as I found myself with 5 egg yolks leftover from a crepe recipe that I’ll be sharing another day.
This ice cream or frozen custard, if you will, is incredibly rich and fully intended for those who adore chocolate. I found serving it with mint or raspberries helped cut the richness. My husband was out of town for work the week after I made this and he was quite bummed to discover that I’d only left him one serving when he returned! Sorry, I’m not sorry.
A big thank you to Ellen of Family Around the Table for hosting a great event. To discover more dishes loved by children, scroll past my recipe.
Chocolate Frozen Custard
Ingredients:
- 3 C heavy cream, divided use
- 1/4 C unsweetened cocoa powder
- 1 C semi-sweet chocolate chips
- 1 tsp vanilla extract
- 5 egg yolks
- 1/3 C sugar
Steps:
- Combine 1 1/2 C heavy cream with the cocoa powder in a medium saucepan over medium heat. Whisk continuously until the mixture is smooth. Remove from heat, add the chocolate chips, and stir until melted. Mix in the vanilla. Set aside. (Having only one medium saucepan, I simply scraped the mixture using a spatula into a glass bowl.)
- In a medium bowl, vigorously whisk the egg yolks with the sugar until pale yellow.
- In another (if you have it) saucepan, heat remaining 1 1/2 C heavy cream over medium heat. Bring to a simmer.
- Temper the egg yolks: Take about 1/4 C of the hot cream and whisk into eggs. Constantly whisking, add eggs to milk. Cook over low heat, stirring continuously with a wooden spoon, until the mixture thickens and reaches 170 degrees F. The custard should coat the back of a spoon so that your finger will leave a path.
- Strain the custard into a large bowl. Stir in the chocolate mixture from Step 1. Place the bowl of custard in a bowl of ice water to cool, stirring occasionally for 10-20 minutes. (Don’t let the water into the custard!)
- Cover the custard with plastic wrap, making sure to make contact with the custard. Place in the refrigerator a minimum of 3 hours.
- Follow ice cream maker instructions and freeze. Set frozen custard out at room temperature a few minutes prior to serving.
*This recipe is modified from Sara at http://www.thekitchn.com/recipe-mexican-chocolate-and-almond-ice-cream-dessert-recipes-from-the-kitchn-59333*

Appetizers
- Dueling Gyozas – Pork vs. Tofu by Food Lust People Love
- Kid-Approved Fruit Salsa with Cinnamon Chips by Dessert Geek
- S’mores Cheeseball by Fantastical Sharing of Recipes
Snacks
- Caprese Quesadillas by Simple and Savory
- Maple Brown Sugar Granola Clusters by Cupcakes & Kale Chips
- Waffle Parfait by Our Good Life
Main Dish
- Broccoli Cheese Soup by Wholistic Woman
- Corn Dog Muffins by A Mind “Full” Mom
- Deep Dish Pizza Casserole by My World Simplified
- Grilled Pizza Flatbread Bar by Momma’s Meals
- How to Set Up a Hot Dog Bar by An Appealing Plan
- Lobster Gnocchi by Caroline’s Cooking
- Madison’s Shrimp Lasagna Rolls by Life Tastes Good
- Orecchiette Pasta with Creamy Alfredo Sauce by Pine Needles In My Salad
- Pasta Quattro Formaggi by La Bella Vita Cucina
- Slow Cooker Cauliflower Mac and Cheese by Dizzy Busy and Hungry
- Spaghetti and Meatball Casserole by Cooking with Carlee
- Tuna Salad Grinders by Cindy’s Recipes and Writings
Desserts
- Aunt Deborah’s Snickerdoodles by Family Around The Table
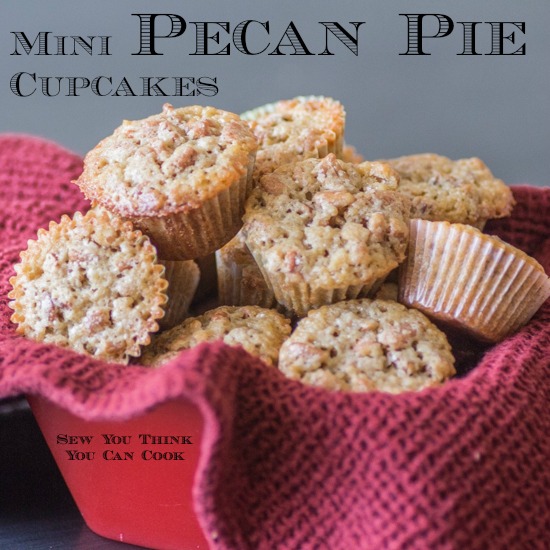
- Chocolate Frozen Custard by Sew You Think You Can Cook
- Easy Homemade Strawberry Ice Cream by Where Latin Meets Lagniappe
- Easy Nutella Mousse by Cosmopolitan Cornbread
- Fairy Bread Funfetti Milkshakes by The Crumby Cake
- Grape Juice Jigglers by Sunday Supper Movement
- Gumdrop Cookies by What Smells So Good?
- Homemade Cherry Popsicles by Pies and Plots
- Japanese Peach Boy Ice Cream by The Ninja Baker
- Mango Creamsicles by The Redhead Baker
- No-Cook Peanut Butter Cup Ice Cream by Hardly A Goddess
- Peanut Butter and Jelly Cupcakes by Grumpy’s Honeybunch
- S’mores Cheesecake by The Freshman Cook
- Snickerdoodle Cookie Cinnamon Pecan Ice Cream Sandwiches by The Chef Next Door
- Turtle Poke Cake by That Skinny Chick Can Bake
- Whoopie Pies by Monica’s Table
 Join the #SundaySupper conversation on twitter on Sunday! We tweet throughout the day and share recipes from all over the world. Our weekly chat starts at 7:00 pm ET. Follow the #SundaySupper hashtag and remember to include it in your tweets to join in the chat. To get more great Sunday Supper Recipes, visit our website or check out our Pinterest board.
Would you like to join the Sunday Supper Movement? It’s easy. You can sign up by clicking here: Sunday Supper Movement


 I had originally planned (aka – when he was born I picked out his first four birthday themes) on having an Auburn themed birthday party. It was hard for me to change my mind, but I knew that my train obsessed toddler would much prefer a train themed party. So, I let go of my planning and switched gears.


 #MuffinMonday is a group of muffin loving bakers who get together once a month to bake muffins to brighten their Mondays. There isn’t a theme to #MuffinMonday posts so anything goes, as long as it’s a muffin!


 When we found out how big the Fourth of July is here we knew that we’d be hard pressed to leave our home via vehicle that weekend. We also knew that we’d be able to see multiple firework shows from our balcony. With that in mind we were on the hunt for patio furniture. And we cut it close. Father’s Day weekend we drove all over town stopping at different furniture stores doing price checks. We did not purchase anything. We then re-measured the patio because I was quite skeptical that what we were thinking would actually fit. I’m glad I did because we would have definitely over purchased seating! The following weekend we went to Home Depot in the hopes that what we wanted would be in stock or delivered in time for the following weekend. Luck was on our side and we managed to fit all items in the back of the van. We then spent a couple of nights that week assembling chairs after the boys went to bed. Mission accomplished, we watched fireworks under
  The following week, we finally broke out the grill! And just in time, too, for today’s themed Sunday Supper of Hamburgers and Hotdogs. July is National Hotdog month, but the tastemakers at Sunday Supper Movement broadened the recipes to include the hotdog’s best friend, hamburger. Be sure to scroll past my recipe to see more great ideas for your next summer grilling bash. This event is hosted by Christie of