
Nothing makes me happier than a quilt being loved on.
My husband’s cousin recently shared a photo of her beyond-adorable-for-words daughter snuggling up underneath the quilt I made for her 2 1/2 years ago.
Seeing that photo reminded me that I haven’t done a blog post on this one yet. Stuart’s cousin has recently picked up quilting, being taught by her aunt (my mother-in-law). Her first project was a rag quilt that turned out beautifully and now that she has the itch she wants to make a quilt like the one I made for her daughter.
Because it’s a scrappy quilt, this project is another simple one that has a big impact. I think that scrappy quilts are some of the best one’s out there. There’s so much interest in them and they look traditional and loved. The engineer in my struggles with the process of creating scrappy quilts because I go out of my way to prevent inadvertent patterns, but once they’re completed I couldn’t be happier.
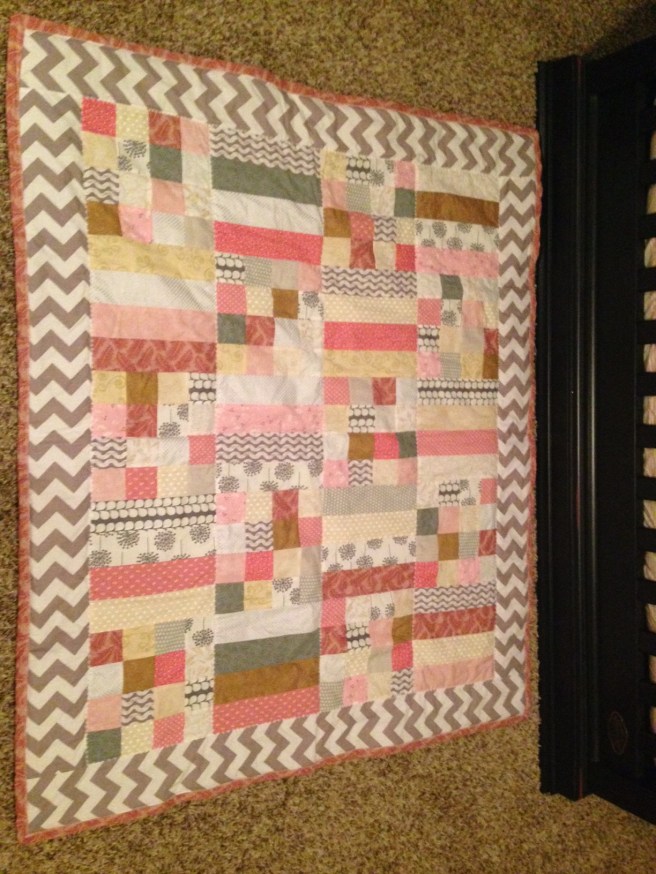
This quilt was made with a baby girl in mind so it’s all pink, white, and sparkly. Use any color profile you like, it’s bound to be a stunning quilt.
This quilt finishes to 39″ x 47″.
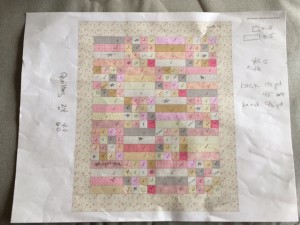
Here’s the How-To for my Scrappy Princess Tutorial:
From a variety of complimentary fabrics cut:
- 160 squares 2.5″ (from a total of 3/4 yd)
- 40 rectangles 2.5″ x 8.5″(from a total of 3/4 yd)
The amount of fabric needed for the borders is 1/2 yd. Cut 4″ strips.
The amount of fabric needed for the back is 1 1/2 yd. The same amount of fabric will be needed for the batting.
The amount of fabric needed for the binding is 5/8 yd.
Using a 1/4″ seam allowance:
- Assemble the 2.5″ squares into 10 different 16-patch blocks.
- From the 40 rectangles, assemble blocks of 4 strips each, making 10 blocks.
- Assemble the quilt by alternating the 16-patch and the block made from the rectangles. The quilt will have 5 rows of 4 blocks. (I opted to keep the blocks made from the rectangles horizontal, but you could easily make them vertical or even randomize their orientation throughout the quilt.)
The inside of the quilt will measure 32″ x 40″.
Trim the border strips to fit the quilt and attach to the quilt center.
Sandwich your quilt top and quilt back with the batting. Quilt and bind it to complete the project.


Love the colors!
Thanks! I don’t do pink but I still love it. B