
For The Year of the Snowman 2013 my mother-in-law and I made burlap snowman door hangers for the girls in the family. We found an example on Pinterest, but it led only to a photograph.
Luckily my mother-in-law is a genius when it comes to crafts! I have created for you a simple tutorial.
How-to make a Burlap Snowman Door Hanger
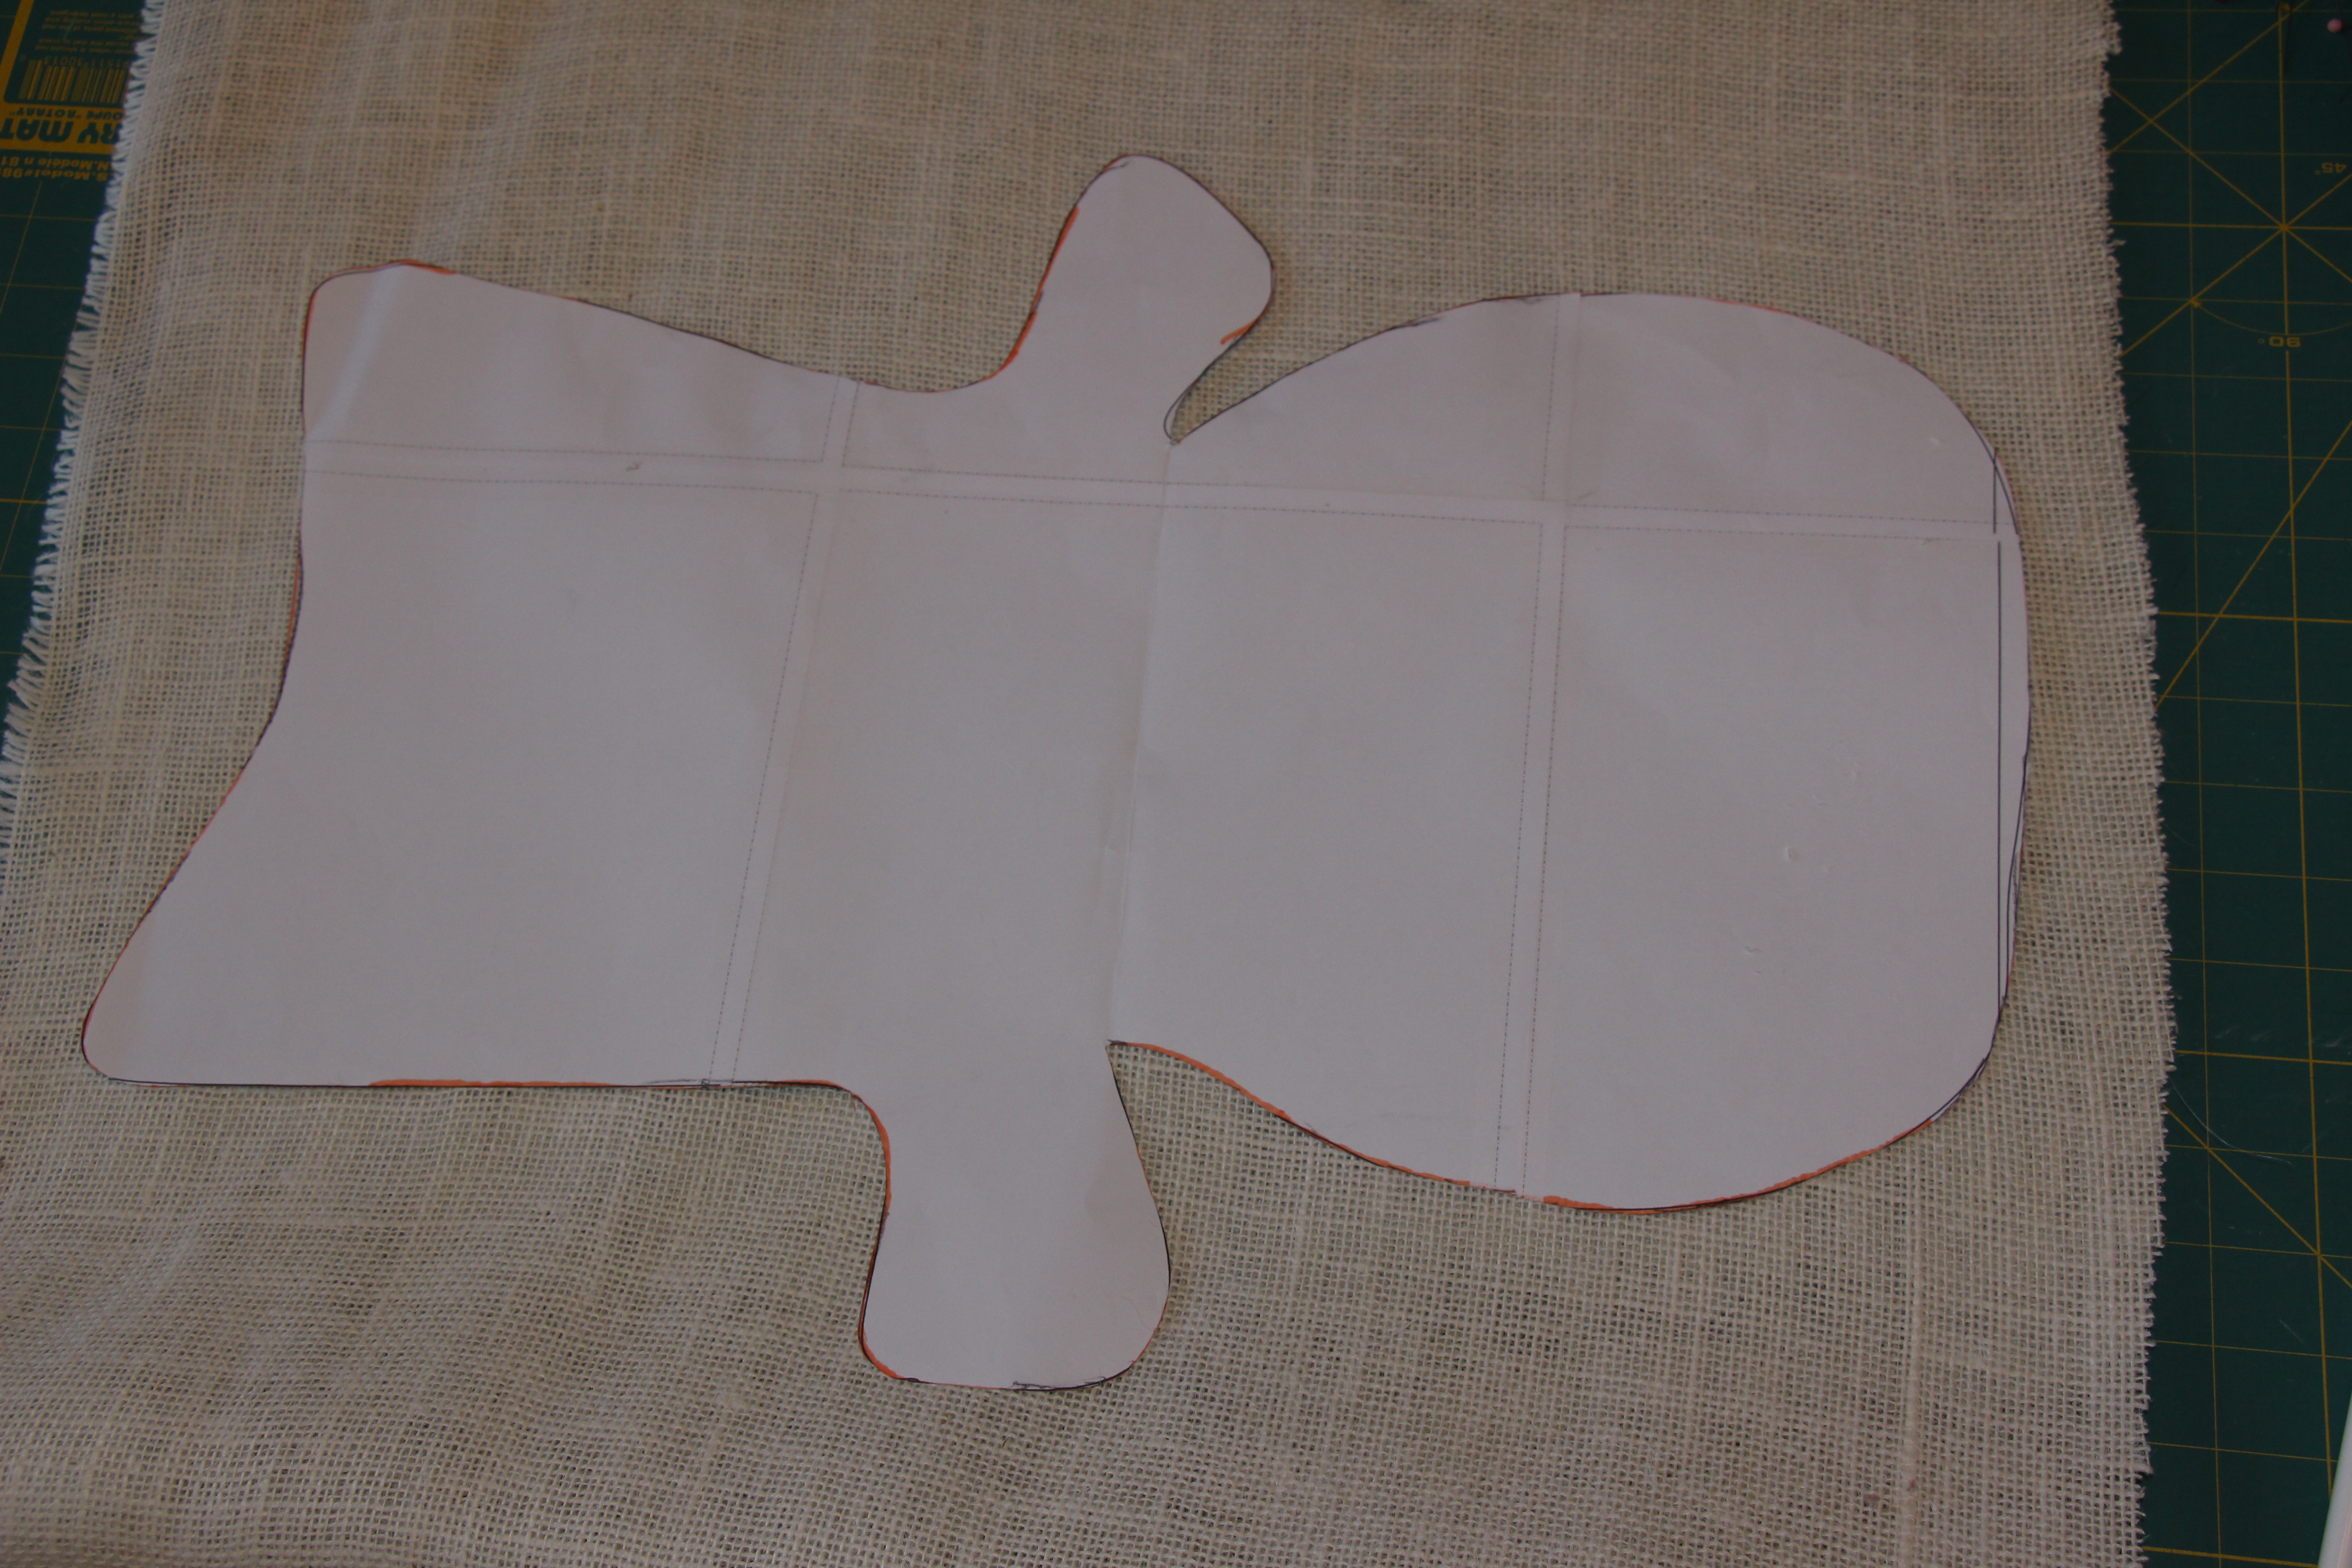
Start first with a template of your snowman (or whatever else you want to create!) and trace it onto folded burlap. Pin the two piece of burlap together.

Using a zig-zag stitch follow the outline of the snowman. (We used grey thread so it would show up in these photos. Make sure to use a thread that will easily be covered up with whatever paint you use.) At the bottom of the door hanger leave a 3″ gap, like you do with pillowcases.

Using pinking shears, cut just outside the seam. Lay out your door hanger on a trash bag or newspaper. It’s time to paint!

With the help from my father-in-law, holes were created at the top of the door hanger. A straw, cut to the width of the space between the holes was used to keep the door hanger sturdy. Thread your string/twine/jute through the holes and straw.


Stuff your door hanger with paper or plastic bags.


Using a thread to blend in with the paint, zig-zag stitch the door hanger closed. Garnish with a store bought accessory!


These were so much fun to make together and thank you for the beautiful compliment!
I really thought these were a pre-made craft that maybe you just sewed together…silly me! They are awesome!