Garbanzo Sweet Potato Mash

I had so much fun working with OXO Tot on their sippy cup campaign over the summer and was honored when asked to help them promote their newest products: Food Masher, Glass Baby Blocks, and Feeding Spoon Set with Soft Silicone.

img_3821
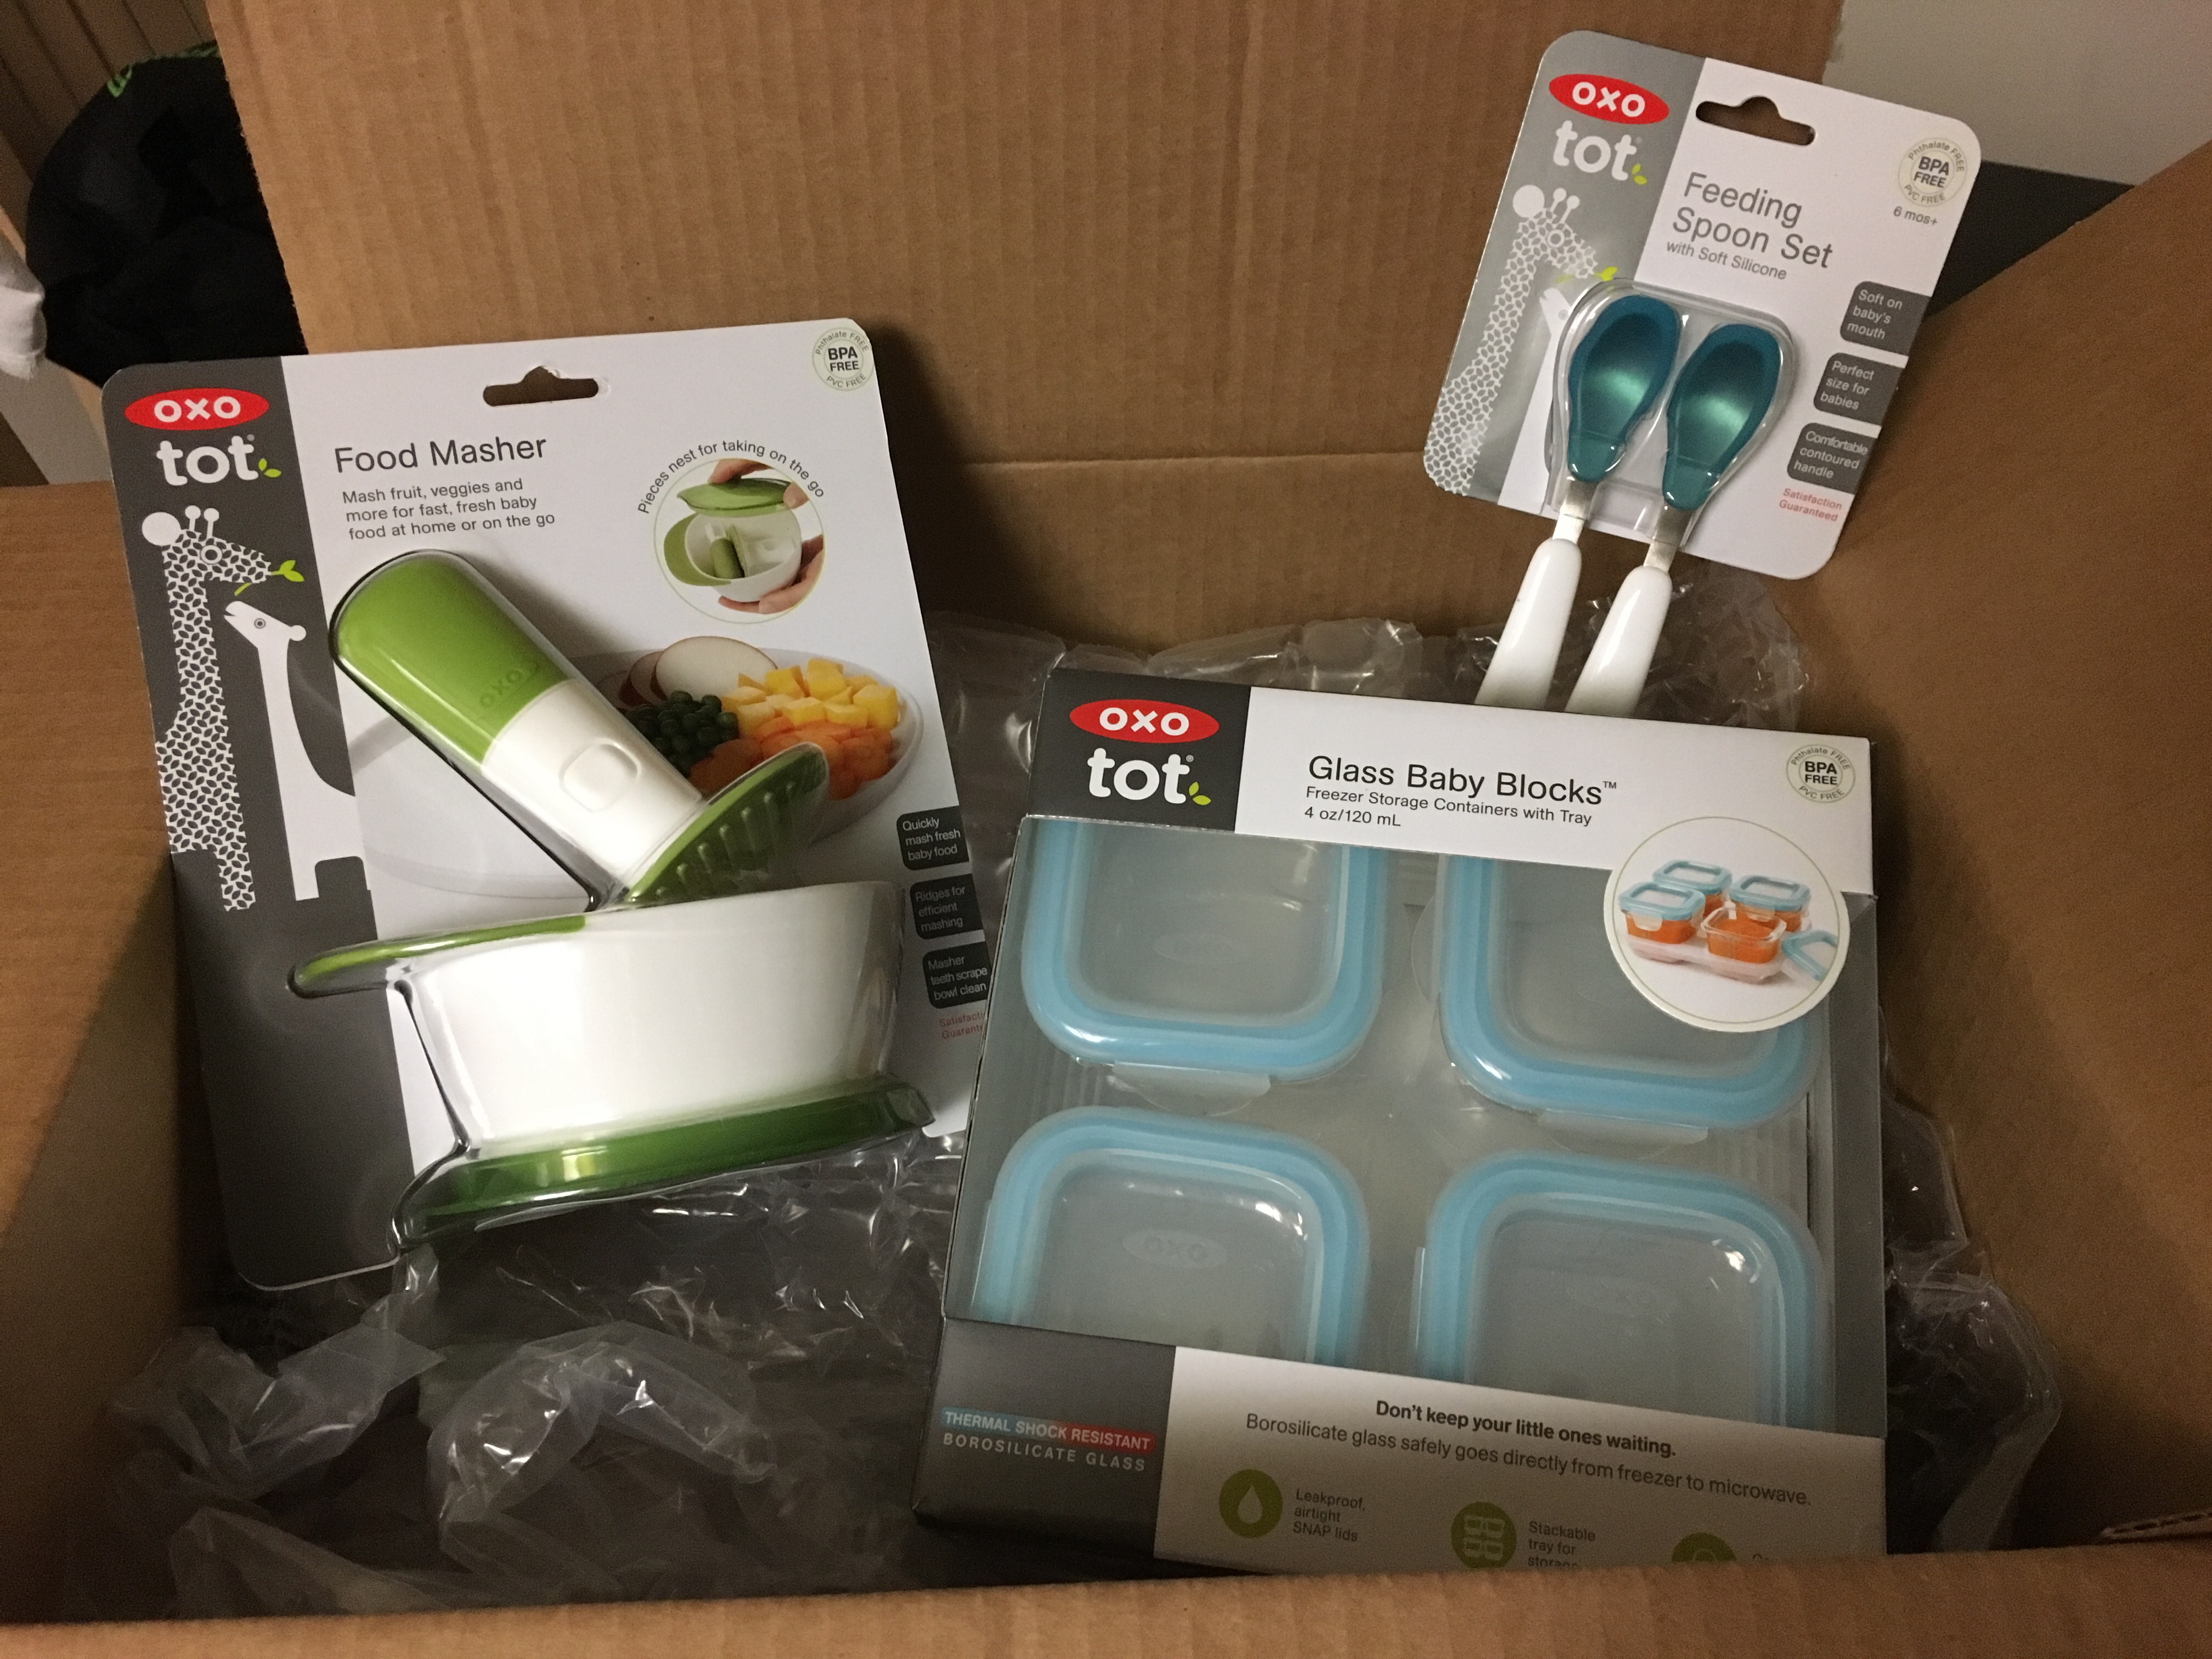
The food masher is a fun, easy to use product. It’s easier to clean than a food processor or blender, and more convenient, too, when working in smaller batches.

Both of my kids are veering away from the pureed food stage (unless we’re talking applesauce pouches) but I knew I could come up with a simple recipe that can be prepared using the food masher. My boys absolutely love beans, so that’s where my inspiration started.

This OXO Tot campaign is  titled “Do The Little Monster Mash with OXO Tot” and we were asked to create a seasonal recipe. It’s fall and that means pumpkin. Unfortunately a pumpkin allergy means no pumpkin. No pumpkin? No problem! I always use sweet potato in place of squash this time of year and it’s perfect.

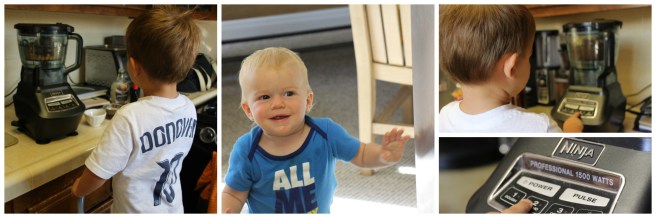
I mashed some canned garbanzo beans and cooked sweet potato. Mixed them together with salt, pepper, and some paprika pork rub. (I even recruited my 2 year old to help!)

My garbanzo sweet potato mash is easiest to spread when warmed a little bit, and that’s where the glass baby blocks come in handy – perfect portion size all ready for the microwave!

Hands down, my favorite item in the box are the glass food storage cubes. My husband has already claimed he’ll be “stealing” them to pack his lunches for work. These borosilicate glass containers are thermal shock resistant, so unlike your typical glass containers and dishes, there’s no need to bring them up to room temperature from the freezer before heating. For the busy (maybe forgetful?) mom or dad, that’s an incredible life saving feature; no need to worry if you forgot to pull the baby’s food out of the freezer and into the fridge the night before. Come to think of it, it can help prevent food waste, too!

The blocks come with a nice tray for keeping them together, and are also stackable for space efficient storage. They even have measurement lines on them so you never have to guess how much your baby is eating.

One of my favorite features is that the lid doesn’t go into the container meaning you can fill the block all the way to the top! The folks at OXO think of everything.

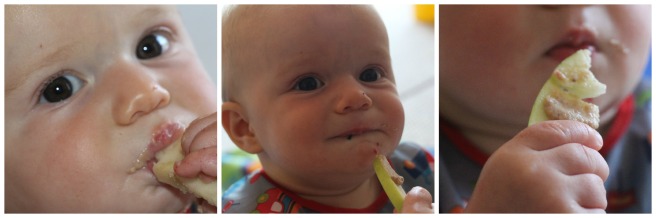
While my 1 year old tried the mash as is, my 2 year old wasn’t that interested. No problem! How do you get my picky eater to try just about anything? Put it on a “pizza”! I spread the mash onto a tortilla, topped it with leftover barbecue, and cheese. Baked in a 350 degree F oven for 5-10 minutes, and lunch is served!

Garbanzo Bean Sweet Potato Mash      

Ingredients:

  • 1 sweet potato
  • 1 can (15 oz) garbanzo beans, drained and loose skins removed
  • 1/2-1 tsp paprika pork seasoning

Steps:

  1. Poke sweet potato with a fork all over. Microwave 5 minutes. Flip. Microwave another 5 minutes. Allow potato to cool enough to touch. Remove the flesh from the skin and mash in the OXO Tot Food Masher, work in two batches if necessary. Transfer to a mixing bowl.
  2. Working in batches, mash the garbanzo beans in the OXO Tot Food Masher, add to the sweet potato.
  3.  Use the masher to help combine the two ingredients. Stir in paprika seasoning and S+P to taste.
  4. Serving options: spread on a toasted bagel, serve in a pita pocket with fresh veggies, or use as a pizza “sauce.”

Garbanzo Sweet Potato Mash | Sew You Think You Can Cook

What’s my next plan for these OXO Tot products? Mashing some fruit for mixing into my son’s morning Greek yogurt! Making my own “fruit on the bottom” yogurt for my guys will definitely helps save money!

Bottom line. Would I recommend these OXO Tot products to my friends? Yes. We were already satisfied OXO Tot customers and I’m happy to report that the love with their products has only increased after reviewing these items.

Disclaimer: I received these items from OXO in exchange for my honest review. All opinions and comments are my own.

#ChoctoberFest: Chickpea Cocoa Dip

#Choctoberfest

It’s hard to pick a favorite, but I think today’s offering might be my favorite recipe of my #ChoctoberFest menu.
Friends of ours brought this chocolate hummus dip to Firecracker’s birthday party and it was a huge hit. Kids and adults alike couldn’t get enough of it! I’d been dying to make it at the house and here was my perfect opportunity.
I was a little nervous that Firecracker wouldn’t go for it, as homemade hummus is not “real” hummus and he won’t touch it if it’s not out of a store bought container. However, as this dip doesn’t have tahini it’s not technically a hummus variation anyway, it’s simply a sweet bean dip.
I got him to help me in the kitchen and simply told him we were making chocolate. He couldn’t be more ecstatic. He absolutely loves to help in the kitchen and his current favorite phrase is “need any help?” almost to the point of annoyance, but I do want and need to encourage this helpful attitude!
I broke out the step stool and had him push the buttons on the food processor. (Treat looked on in anticipation.) He kept informing me it was ready in his impatience to eat some chocolate. He did a fabulous job waiting until after I took some photos before I handed him his own little snack kit of dip, pretzels, and apple slices.
chickpea-cocoa-dip-for-choctoberfest-so-easy-a-kid-can-make-it
chickpea-cocoa-dip-for-choctoberfest-kid-approved
If you’re looking for a guilt-free way to satisfy that chocolate craving, I encourage you to break out the food processor for this snack.
Chickpea Cocoa Dip
Ingredients:
  • 1 can (15 oz) garbanzo beans, drained and rinsed
  • 5 tbsp maple syrup
  • 2 tbsp cocoa powder
  • 1 tsp vanilla extract
Steps:
  1. Place garbanzo beans in a food process and pulse a few times. Add the remaining ingredients and puree until smooth, scraping down the sides of the bowl as needed.
  2. Enjoy with pretzels and fruit.
Chickpea Cocoa Dip for #ChoctoberFest from Sew You Think You Can Cook
Don’t forget to enter our giveaway and be sure to check out the other bloggers who posted more chocolate recipes today:

Berry Yummy Hummus

When I saw Strawberry Hummus on Facebook I was instantly intrigued. I wasn’t sure if we were talking a sweet dip chock full of garbanzo bean goodness or strawberries used in a savory application. Yes, the latter is possible. I’ve used strawberries with pork, with shrimp, and on pizza before to great success.

I vowed that the strawberry hummus would be made as soon as we’d polished off the regular hummus already in the fridge. And I did just that!

I made some adjustments to the recipe. 1) I’d forgotten to pick up lemons, so I decided to use the Meyer lemon olive oil. 2) I, as typical with an infant in the house, I used agave in place of honey. And 3) I broke open the bottle of raspberry balsamic vinegar for some extra berry flavor!

Firecracker has had a roller coaster relationship with hummus in his extensive 1.5 year solid food eating life. Currently, he loves it. As berries are probably his number one snack of choice I had high hopes for this dip. Unfortunately, putting his two favorite foods together does not yield a perfect snack. In fact, when I pulled out the hummus the following day to give him another taste he declared, “I want the real hummus.” By which he means the store bought plain hummus. I’m afraid he’ll never trust a homemade hummus again! The strawberries helped me achieve the smoothest hummus I’ve made to date, too. Sigh…

Berry Hummus (toddler)  Sew You Think You Can Cook

Treat and I quite enjoyed the hummus though! This unique hummus had an earthy, yet slightly fruity, taste perfect for pita chips, pretzels, and even apple slices. I’m sure cucumber sticks would compliment the dip well, too.

Berry Hummus (baby)  Sew You Think You Can Cook

Berry Yummy Hummus

Ingredients:

  • 8 oz strawberries, hulled
  • 1 can (15 oz) chickpeas, drained and rinsed
  • 1 clove garlic
  • 2 1/2 tbsp tahini
  • 1 tbsp Meyer lemon olive oil
  • 1 tsp agave
  • 1 tsp raspberry balsamic vinegar, plus more for serving
  • 1 tsp fresh basil

Steps:

  1. Place the strawberries in a food processor. Pulse until finely chopped, but not pureed. Remove to a bowl and set aside.
  2. Add the chickpeas, garlic, tahini, olive oil, agave, and balsamic in the food processor. Blend until smooth. Return the strawberries, reserving a couple of tablespoons for garnish, to the food processor along with the basil. Pulse until fully combined.
  3. Serve hummus with a drizzle of extra balsamic vinegar and the remaining strawberries.

*This recipe is modified from Danielle at http://www.fancymadesimple.com/recipes/appetizers/strawberry-hummus/*

Berry Yummy Hummus made with Strawberries and Raspberry Balsamic Vinegar makes for a fun take on Hummus | Sew You Think You Can Cook | sewyouthinkyoucancook.com

Three Bean Salad

You guys, I have a story to share.

And it has absolutely nothing to do with the side dish I’m sharing with you. A dish that’s perfect for potlucks and looks like summer.

Today was a rough day. Tempers were running both short and high. The day started 45 minutes too early (when you have two energetic little boys at home, that 45 minutes is precious!), the broken garage door (full story on that Sunday) was being uncooperative putting me in a bad mood I couldn’t snap out of, and naps were not taken. My 2 year old didn’t listen even a little bit at the playground, and I have a “three strikes you’re out” rule which cut our trip quite short.

IMG_2621

When we got home all he wanted to do was play in his Duck Pond Water Table patio. I told him he had to prove to me that he could listen. He was charged with going into his room, getting a book, and sitting still while I read to him. My kid came back with a Chick-fil-A kid’s meal board book – a 4 sentence novel! FullSizeRender (1)Seriously, is my child that smart or was it simply coincidental? After some time playing in the water the boys had their first shared bath. Firecracker asked for dinner, which he didn’t eat. Treat was fussy, so I assumed he was also hungry (he did eat). At 6:20pm both boys were asleep at the table. Thankfully my husband was on his way home and I didn’t have to figure out how I was going to wriggle us out of our position. (See photo. –>)

It’s now 9pm and the boys are still sleeping in their beds! I’m a little nervous for what that means my tomorrow will look like. But I’m grateful for the date my husband and I ended up getting. We cooked dinner together and ate it on the patio. We then shared the kitchen clean up, and watched non-cartoon television. Ah, the exciting life of parents of young children.

Firecracker ended up waking around 9:30. He needed to come upstairs for a cup of water and to watch his nighttime programming. He then snuggled in our bed for a little bit before asking to go lay down in his room. Treat stayed asleep until his typical midnight awakening, and 4, and both were up between 6-6:30.

Three Bean Salad

Ingredients:

  • 1/2 lb fresh green beans, cut in 1/2″ pieces
  • 1 can (15 oz) chickpeas, drained and rinsed
  • 1 can (15 oz) red kidney beans, drained and rinsed
  • 1 bell pepper, diced (I used a combination of orange and red)
  • 1/2 red onion, diced
  • 2 tbsp chopped fresh parsley (I used Gourmet Garden lightly dried parsley)
  • 1/4 C + 2 tbsp apple cider vinegar
  • 1/4 C canola oil
  • 3 tbsp agave

Steps: 

  1. Cook green beans in a pot of boiling salted water for 4 minutes, or until desired tenderness is achieved. Drain and place the beans in a bowl of cold water to stop the cooking process. Drain.
  2. Toss green beans, chickpeas, kidney beans, pepper, and parsley in a large bowl.
  3. In a measuring cup, whisk together the vinegar, oil, and agave. Season to taste with S+P. Dress bean salad with as much dressing as desired.

*This recipe is adapted from Marcie at http://flavorthemoments.com/fresh-and-easy-three-bean-salad/*

Three Bean Salad - Sew You Think You Can Cook

Disclaimer: This post contains affiliate links.

CIC: Chickpeas & Honey

CIC-header

This month’s Crazy Ingredient Challenge was to combine chickpeas aka garbanzo beans and honey. Two ingredients that were already in my pantry. How was I to turn down the challenge!?

I kept it really simple this month and added only a few more ingredients, cinnamon sugar and olive oil. The result was a snack that we devoured within the hour! Roasted chickpeas will become a new snack staple and I can’t wait to play around with some other flavor combinations.

These chickpeas would be beautiful atop a salad, too. Much like the one I shared yesterday!

Cinnamon and Honey Roasted Chickpeas

Ingredients:

  • 1 can (15 oz) chickpeas, drained
  • 1 tbsp olive oil
  • 1 tbsp honey
  • 2 tsp cinnamon sugar

Steps:

  1. Lay chickpeas out on a clean towel and pat dry. Remove any lose skins. Leave chickpeas out until completely dried, about 45 minutes.
  2. Preheat oven to 400 degrees F. Line a baking sheet with aluminum foil.
  3. Lay chickpeas out on the prepared baking sheet. Roast 40 minutes, or until crunchy.
  4. Toss roasted chickpeas in oil. Add the honey and cinnamon sugar. Place chickpeas back on the baking sheet and roast another 5 minutes.

*This recipe is adapted from Debbie at http://www.madefrompinterest.net/roasted-chickpeas-recipe/*

Cinnamon and Honey Roasted Chickepeas for Crazy Ingredient Challenge from Sew You Think You Can Cook

To see the other bloggers who participated in this month’s Crazy Ingredient Challenge click on the link below.

#EVOOChallenge: Winter Salad with Shallot Balsamic Vinaigrette

It’s day 2 of the #EVOOChallenge. This challenge, in which we make foods with the only cooking fat being olive oil, was issued by Spartan Olive Oil. The goal is to highlight the benefits of using olive oil over its less healthy counterparts, I’m looking at you butter and vegetable oil. Search the hashtag on social media to see more great recipes!

While both olive oil and vegetable oil have 120 Calories and 14 grams of fat per tbsp, olive oil has 10 grams of monounsaturated fat (the good fat) whereas vegetable oil has only 3 grams of monounsaturated fat. Monounsaturated fat is actually good for your health; it reduces bad cholesterol and provides vitamin E. (Source: American Heart Association)

This unfiltered extra-virgin olive oil is made from the olives of 700 year old trees in Sparta, Greece. The flavorful oil has a rich golden color and smooth texture. I wanted to highlight the nutty, fruity flavor of the oil in my recipes this week.

Shallot Confit for the #EVOOChallenge from Sew You Think You Can CookOne of the cookbooks I got for Christmas is The Chef Next Door by Amanda Freitag. While flipping through it for the first time we came across a recipe for Shallot Confit. I knew I just had to try it for this challenge! The recipe calls for a mix of olive and canola oils, but as that would go against the rules I omitted the canola oil. I was a little nervous about omitting the canola oil and didn’t think substituting was the right way to go either. I opted with using fewer shallots than called for. And it worked.

These shallots would be incredible as a pizza topping, would add a little something extra to a sandwich, and could even work well in an onion dip. I decided to add them to salad. And as a bonus I used some of the oil in a vinaigrette!

The shallots will keep up to two weeks in the oil.

Winter Salad with Shallot Balsamic Vinaigrette 

Ingredients:

  • 4 whole shallots, peeled and trimmed
  • 1 C + 1 tbsp olive oil, divided use
  • 1 tsp thyme
  • 1 tsp peppercorns
  • 1 can (15 oz) chickpeas, drained
  • 1 tsp garlic powder
  • 2 oz balsamic vinegar
  • 1/4 tsp Dijon mustard
  • mixed baby greens (I used spinach, swiss chard, and arugula)
  • crumbled Feta cheese
  • cooked, crumbled bacon
  • pear, sliced

Steps:

  1. Make shallot confit: Place shallots in a small saucepan with 1 C oil to cover. Add the thyme, peppercorns, and S+P. Bring to a simmer over medium heat, reduce heat to low and cook 25 minutes until shallots are easily pierced. Allow shallots to cool. Store in fridge, covered.
  2. Roast chickpeas: Lay chickpeas out on a clean towel and pat dry. Remove any lose skins. Leave chickpeas out until completely dried, about 45 minutes. Preheat oven to 400 degrees F. Line a baking sheet with aluminum foil. Lay chickpeas out on the prepared baking sheet. Roast 40 minutes, or until crunchy. Toss roasted chickpeas in 1 tbsp oil. Add the garlic powder and a little salt to taste.
  3. Make dressing: Put 3 oz of the shallot confit oil in a jar with the balsamic vinegar, Dijon, and S+P. Shake until combined.
  4. Assemble salad: Top greens with Feta, bacon, pears, chopped shallot confit, and roasted chickpeas. Drizzle with vinaigrette.

*The shallot recipe is adapted from The Chef Next Door*

*The chickpea recipe is adapted from Debbie at http://www.madefrompinterest.net/roasted-chickpeas-recipe/*

Winter Salad with Shallot Balsamic Vinaigrette for the #EVOOChallenge from Sew You Think You Can Cook

Disclaimer 1: By participating in this 5 day challenge I received a bottle and pouch of Spartan Olive Oil. 

Disclaimer 2: This post contains affiliate links.