Sweet Potato and Chorizo Hand Pies

After a month of quilting posts it’s time for the return of Mexican Monday.

This dinner was the first dinner I made after having my son. My mom was back for two weeks to help out and spend lots of time with her first grandchild, and then we had friends make dinner for us, and I had a couple freezer friendly slow cooker dishes prepared.

It may have been a little ambitious to tackle something this time consuming, but my husband was home and able to help keep our son satisfied. I was able to make the dough and get the sweet potatoes in the oven before needing to feed Wesley. And while he was napping I cooked up the chorizo. Later in the day, after the dough had chilled I started assembling the hand pies. I did have to swap out with Stuart so Wesley could eat – and I am thankful for his help in assembling!

The original recipe suggested using a 5-6″ round cookie cutter and folding the hand pies in half moons. I don’t have a round cookie cutter, so I used a glass – which I do with pierogi. But because there’s more filling in these hand pies than in my pierogi, I wasn’t able to fold them into half moons. So I created full circle hand pies by placing another circle of dough on top of the filling. (Good thing I doubled the recipe!)

Sweet Potato and Chorizo Hand Pies 1

Sweet Potato and Chorizo Hand Pies

Ingredients:

  • 2 1/2 C flour
  • 1 1/2 tsp salt, divided use
  • 2 sticks butter, cold and cubed
  • 1/2 C cold water
  • 2 sweet potatoes
  • 1 tsp cumin
  • 1/2 tsp cinnamon
  • 1/2 lb chorizo
  • 1/2 – 3/4 C shredded Mexican blend cheese
  • 1 egg

Steps:

  1. Make the pie crust: In a food processor pulse together the flour and 1 tsp salt. Add in the cubed, cold butter and pulse until it becomes crumbly. Stream in the cold water until the dough comes together around the blade. Remove, wrap in plastic, and chill in fridge at least 2 hours.
  2. Preheat oven to 400 degrees F.
  3. Poke holes with a fork in the sweet potatoes. Place in oven and bake 40-50 minutes, until soft. Remove and place in a bowl, cover with plastic wrap and set aside until cool enough to touch. Peel away the skin and mash potatoes. Stir in the cumin, cinnamon, and 1/2 tsp salt. Set aside.
  4. In a skillet over medium-high heat, brown chorizo. Breaking up with a wooden spoon. When cooked through, drain fat and set aside.
  5. Make egg wash by beating the egg with 1 tsp water.
  6. Roll out dough on a clean, floured surface to 1/8″ thickness. Using a cookie cutter or glass cut out circles. Top dough with sweet potato, chorizo, and shredded cheese. Rub egg wash around the edge of the dough and either fold into half moon or top with another circle of dough. Press hand pie closed with a fork. Cut a slit in the top of the hand pie, brush with egg wash, and sprinkle lightly with salt. Place on a parchment paper lined baking sheet.
  7. Bake at 400 degrees F for 15-20 minutes, until lightly golden.

*This recipe is adapted from Kelley at http://www.mountainmamacooks.com/2014/03/sweet-potato-and-chorizo-hand-pies/*

Sweet Potato and Chorizo Hand Pies 2

Shirley Temple Cupcakes

In the world of sweets, cupcakes have been the dominating dessert for quite some time now. And one of the popular trends is to turn a favorite beverage into a cupcake flavor. There are countless margarita cupcakes, Guinness cupcakes, and cupcakes using soda.

Kate and I decided to take our favorite mocktail and turn it into a cupcake. It’s such a fun cupcake and would be adorable to use in February for Valentine’s Day, for a summer party, or any little girl’s birthday.

Shirley Temple Cupcakes

Ingredients for the cupcakes:

  • 1 1/2 C plus 1 tbsp flour
  • 1 tsp baking powder
  • 1/2 tsp salt
  • 1 stick unsalted butter, at room temperature
  • 2 eggs, at room temperature
  • 1/2 C cherry 7-up, at room temperature
  • 1/2 tsp vanilla extract
  • 1/2 tsp almond extract
  • 1 tbsp maraschino cherry juice
  • red food coloring (optional)

Ingredients for the frosting:

  • 1 stick unsalted butter, at room temperature
  • 2 1/2 C powdered sugar
  • pinch of salt
  • 1/4 tsp vanilla extract
  • 1/4 tsp almond extract
  • 1 tsp lemon juice
  • 1 tbsp maraschino cherry juice

Steps:

  1. Preheat oven to 350 degrees F. Line cupcake tray with paper liners.
  2. In a bowl, 1 1/2 C flour, baking powder, and salt.
  3. In the bowl of a stand mixer, cream together the butter and sugar until fluffy. Add the eggs, one at a time until incorporated.
  4. Add one third of the dry ingredients and mix until combined. Add half of the cherry 7-up. Repeat until dry ingredients and soda are used (ending with the dry).
  5. Add the vanilla and almond extracts.
  6. In a small bowl, mix 3/4 C of the cake batter with the remaining 1 tbsp flour, maraschino cherry juice, and food coloring.
  7. Distribute the red cake batter between 12 cupcakes. Top with remaining batter – do not mix.
  8. Bake for 15-20 minutes, or until a toothpick comes out clean. Allow to cool.
  9. Meanwhile, make the frosting: In the bowl of a stand mixer, beat the butter until fluffy. Add the powdered sugar and pinch of salt. Add the vanilla and almond extracts, the lemon juice, and maraschino cherry juice. Frost cupcakes.
  10. Garnish with maraschino cherries and a a straw!

*This recipe is adapted from Shanon at http://www.thecurvycarrot.com/2011/06/26/shirley-temple-cupcakes/*

Shirley Temple Cupcakes

Thursday Thoughts #6

Thursday Thoughts

Part of being in the military means relocating every four years or so.
Our “four years or so” has finally arrived.
We are leaving the Florida panhandle for the Miami Valley of Ohio. That means this Chicago-born Florida girl is returning to the Midwest after 18 years. (And University of Michigan fan will be causing trouble in Buckeye country.) It also means that my Alabama-native husband will be leaving the South for the first time (to live). For both of us, this upcoming winter will be…. interesting.

I thought I would do a quick recap of our favorite things over the past four years here. While my favorite memories were created at friends’ homes and our home we would occasionally venture out for a date night. And having been pregnant at the end of our stay here, the desire to try out the touristy things ended up going un-quenched.

Eglin AFB

Favorite restaurant
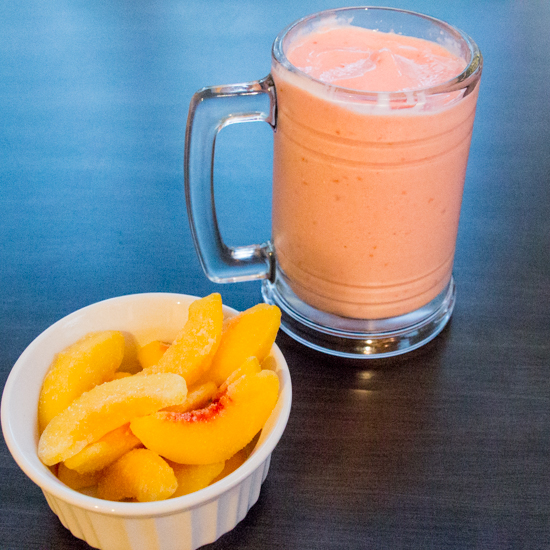
Cafe Bienville in Niceville, FL is a cute little restaurant along Bay Shore Drive. Stuart discovered this gem on a run back in 2011. They feature local foods and everything is made in house. Their special of spanakopita finally drew me in and an obsession grew. We ended up frequenting the cafe weekly, depending on the daily special. My favorites are the spanakopita, Cuban sandwich, and Margherita pizza. Any fish special they do is always beautifully prepared and perfect for a light lunch. Their most popular is their pulled pork Caribbean sweet potato. One of Stuart’s favorite things is the side order of sweet potato chips – they are dusted with a secret seasoning that makes the plate of chips addicting. Another special feature of the cafe is the daily beverage – either a coffee and/or homemade soda. There is also a scone of the day. While the chocolate chip pecan is the most popular, and Stuart’s favorite, I hold out until the apple cinnamon is on the menu. On the weekends you can also order beignets or sweet potato muffins. They also have homemade gelato and Stuart and I once ordered some to go and watched the sunset at a nearby park.

Favorite sushi
Red GingerSushi gets it’s own category because finding great sushi is a very important task. There is a sushi place in Auburn, Fuji, that was the best sushi we’d (this is a collective we between our families) ever had – Beating out Naples, Huntsville, Birmingham, and Atlanta! And then we found Red Ginger in Niceville. The sushi chefs take great pride in their work and we’ve never been served a boring plate of food. The artistry these men have match their skill in creating perfectly balanced rolls. My favorite is the Black Dragon and Stuart’s the Sexy Girl. And don’t forget to order the Kani Salad. Their hibachi is fantastic too and actually find it to be more flavorful than what you find at the showy hibachi restaurants. Their menu also features Chinese selections. (If anyone has suggestions for fantastic sushi/hibachi in Dayton, OH leave me a comment below!)

Favorite bar
The Salty Duck came into our knowledge base way too late. I was pregnant when Stuart discovered this place and said I would have loved it, but it was too smokey for me to go. Stuart went there for a guy’s night while I was at a scrapbooking event. The Salty Duck has games – I’m talking mega size Jenga and Connect Four! I’m not a big drinker so the bar/club scene really isn’t my style, but playing games is my favorite thing to do with friends! (As a separate note: my favorite drink is the Fresh Apple Martini at Bonefish Grill, which is only available during the fall months.)

Favorite shopping
The largest outlet mall in Florida happens to be in Sandestin and we have frequented it many times. I would often go simply to get in a good walk…broken up with air conditioning and spending money. The athletic stores always draw Stuart in (Reebok, Nike, Underarmour) and I am addicted to Coach. My advice: avoid the mall on a rainy day, especially during the spring. As you would expect, it’s the beaches that draw people to Destin and when it’s raining those beach goers become shoppers and even with 110+ stores the sidewalk gets very crowded. There is also a playground on site for kids to let out their energy.
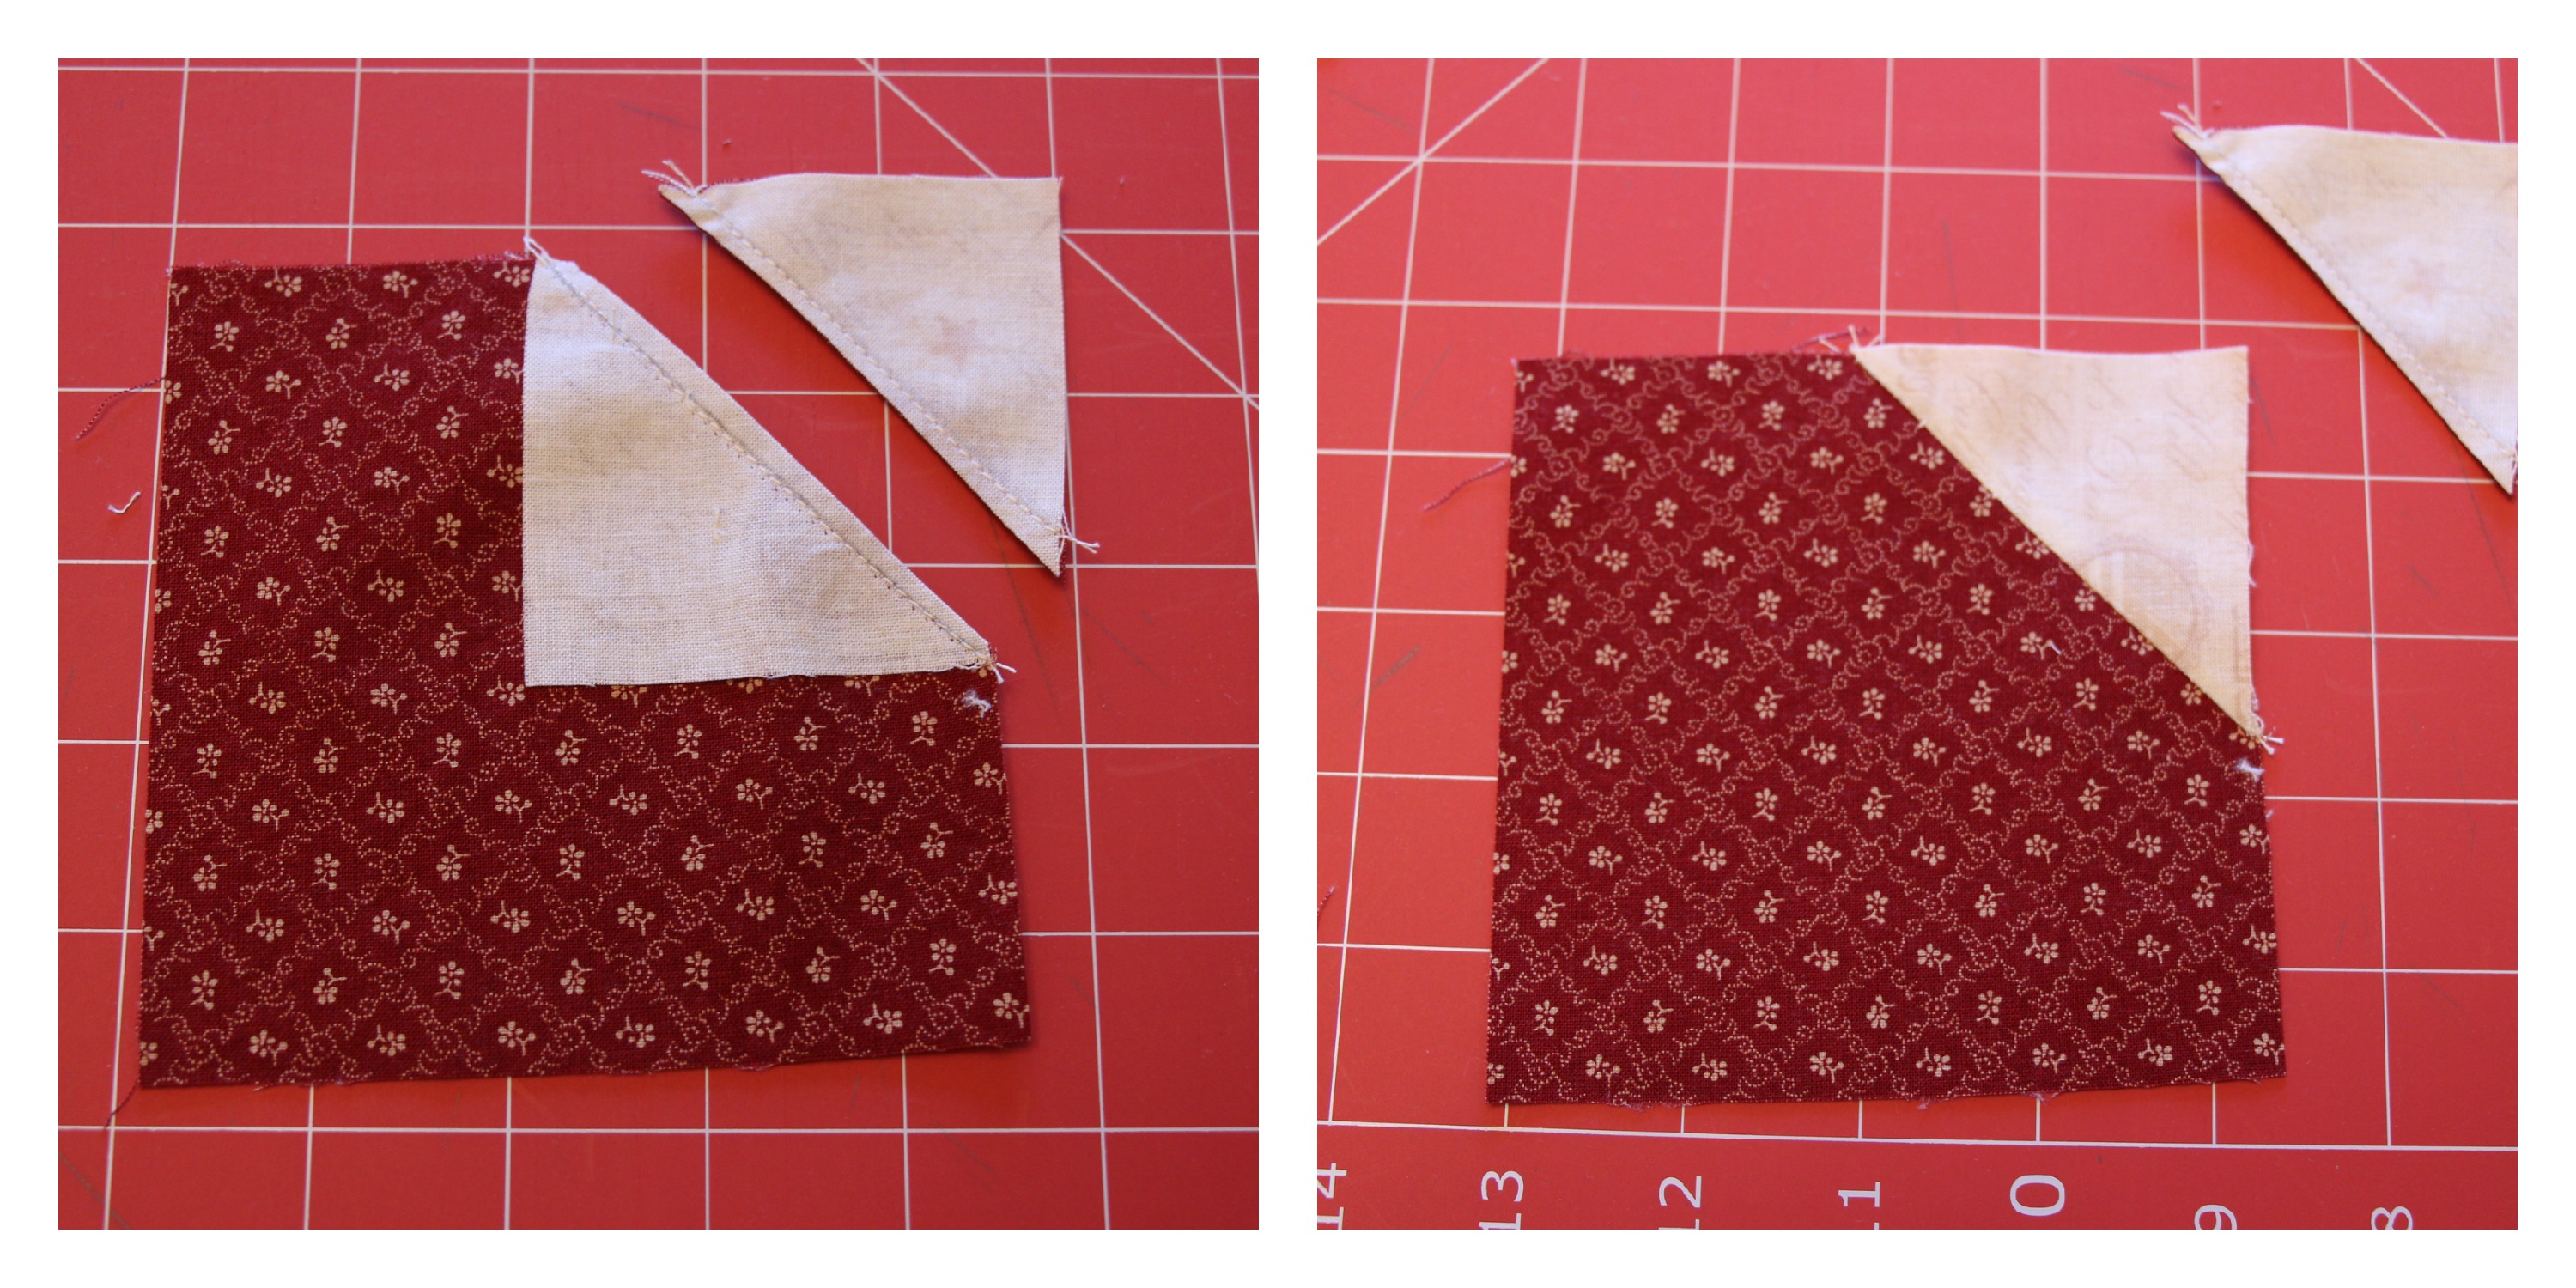
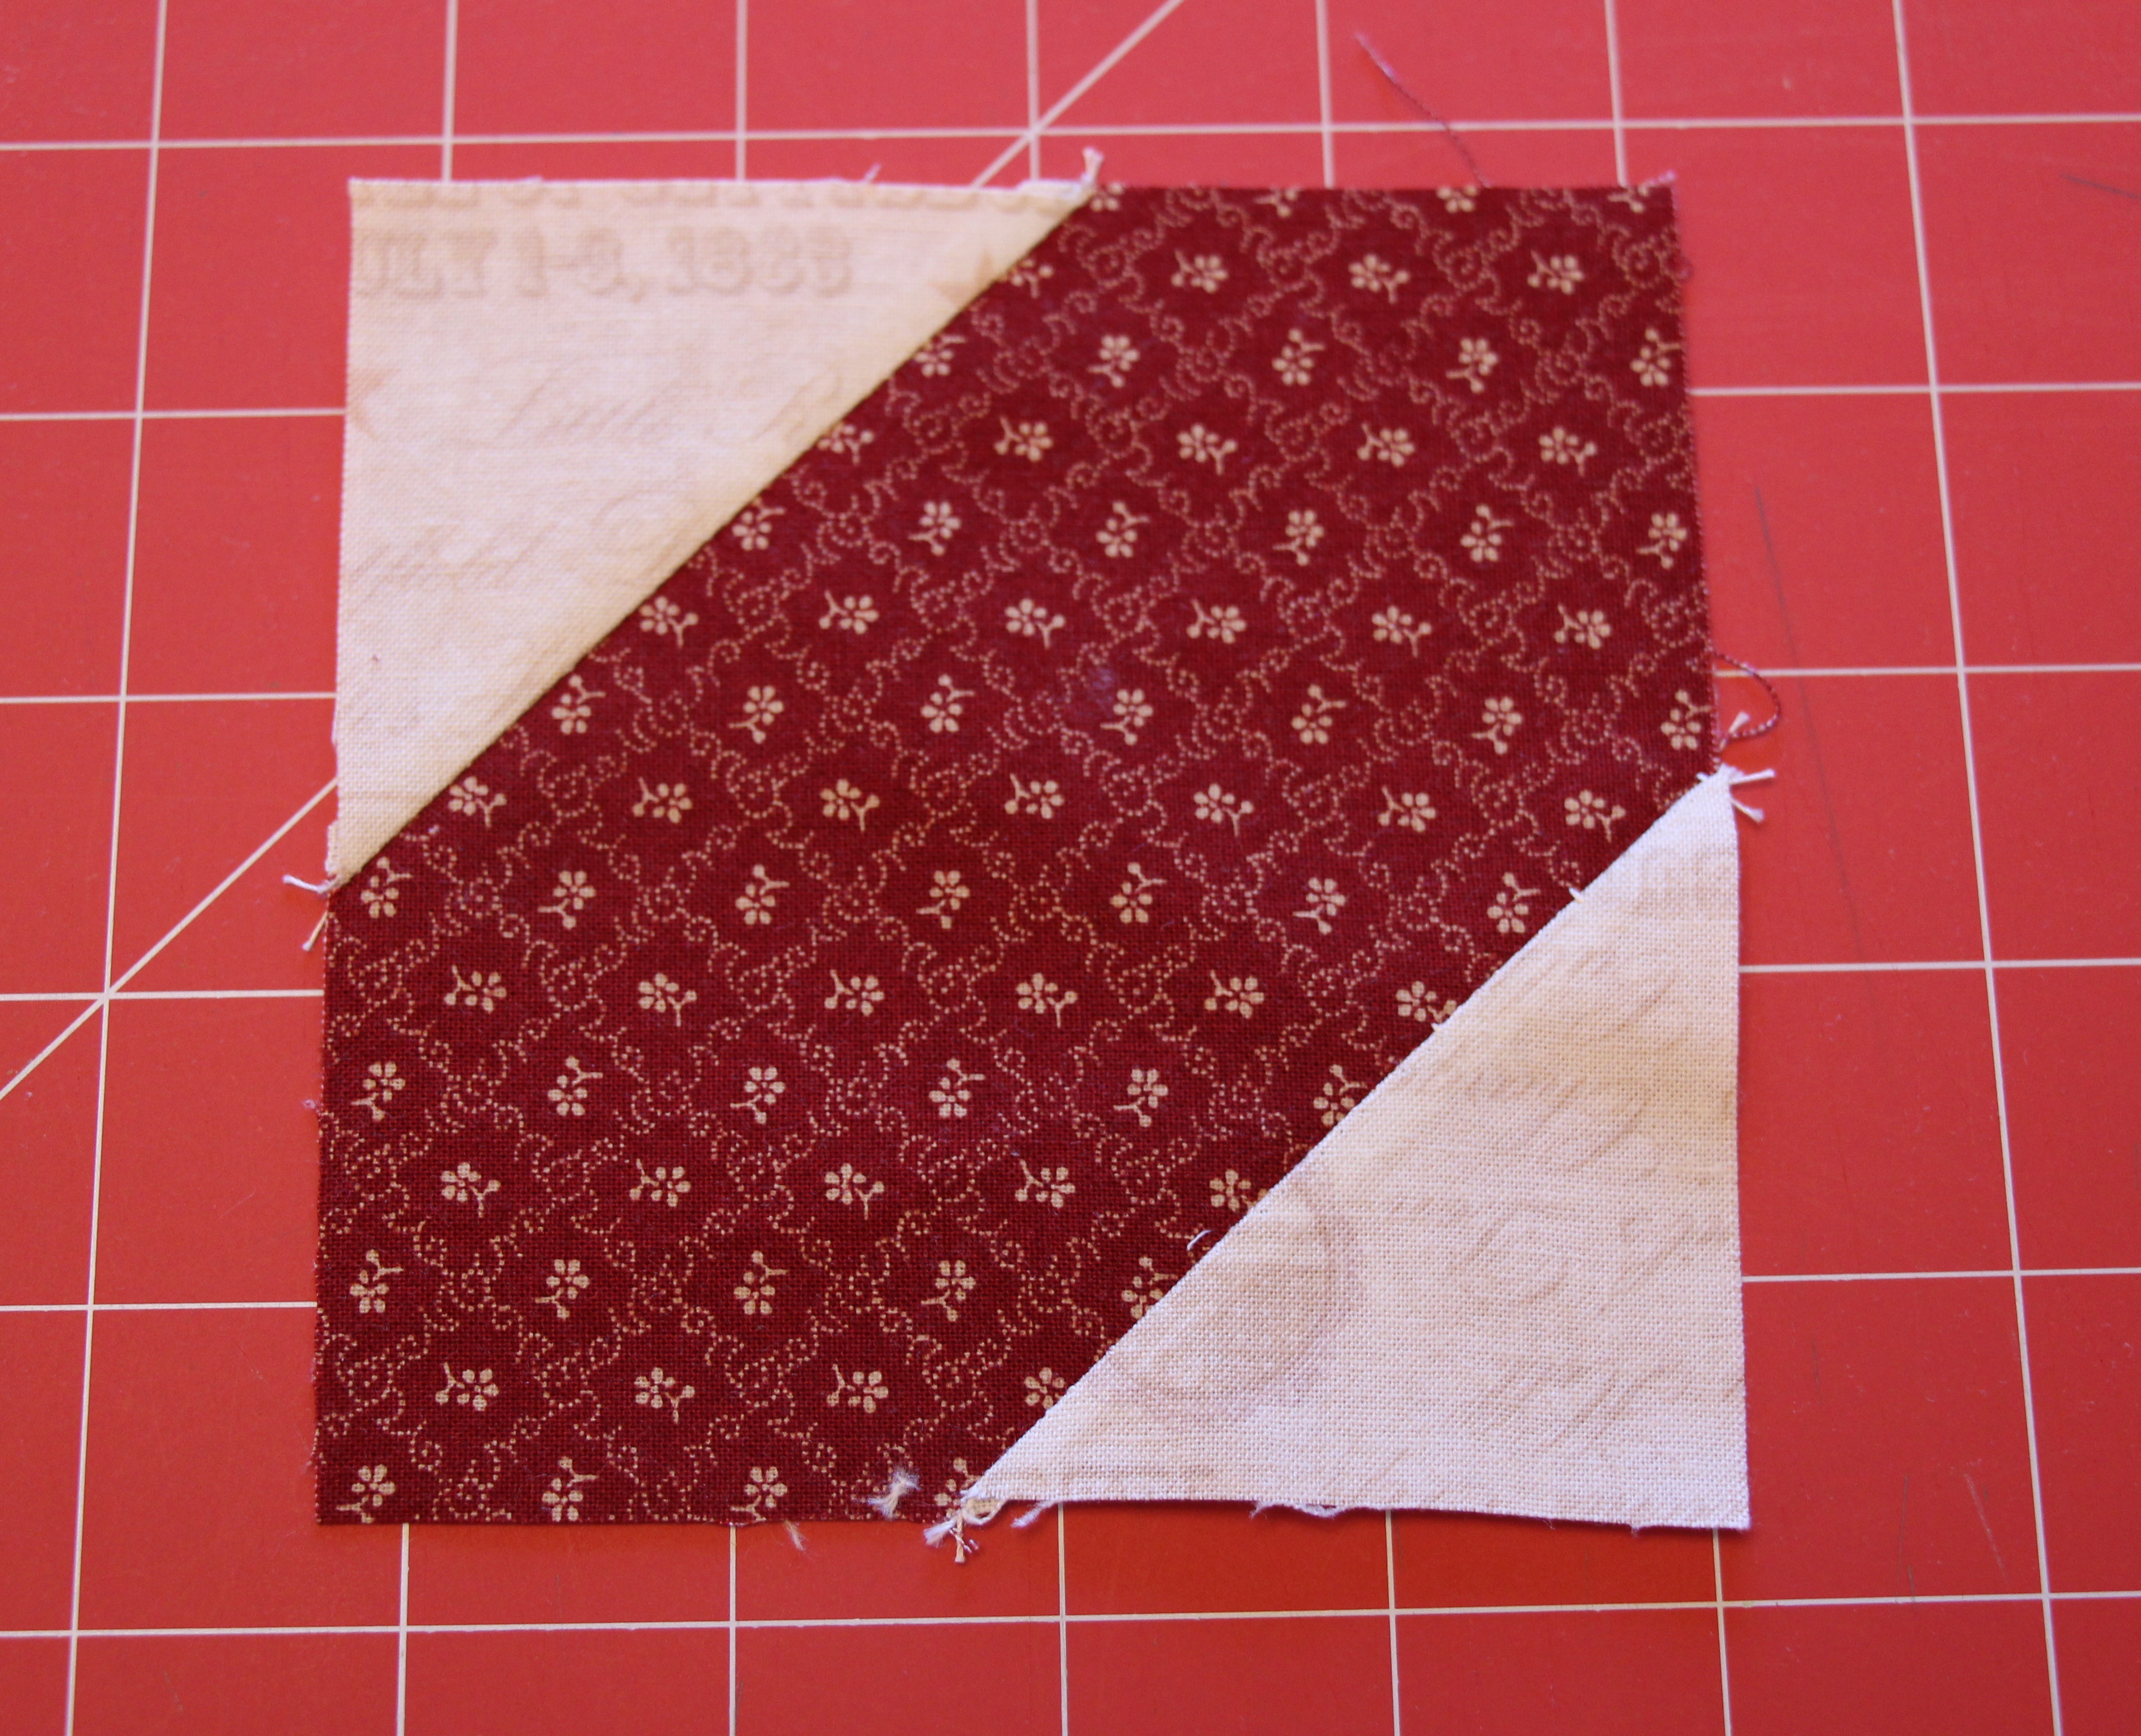
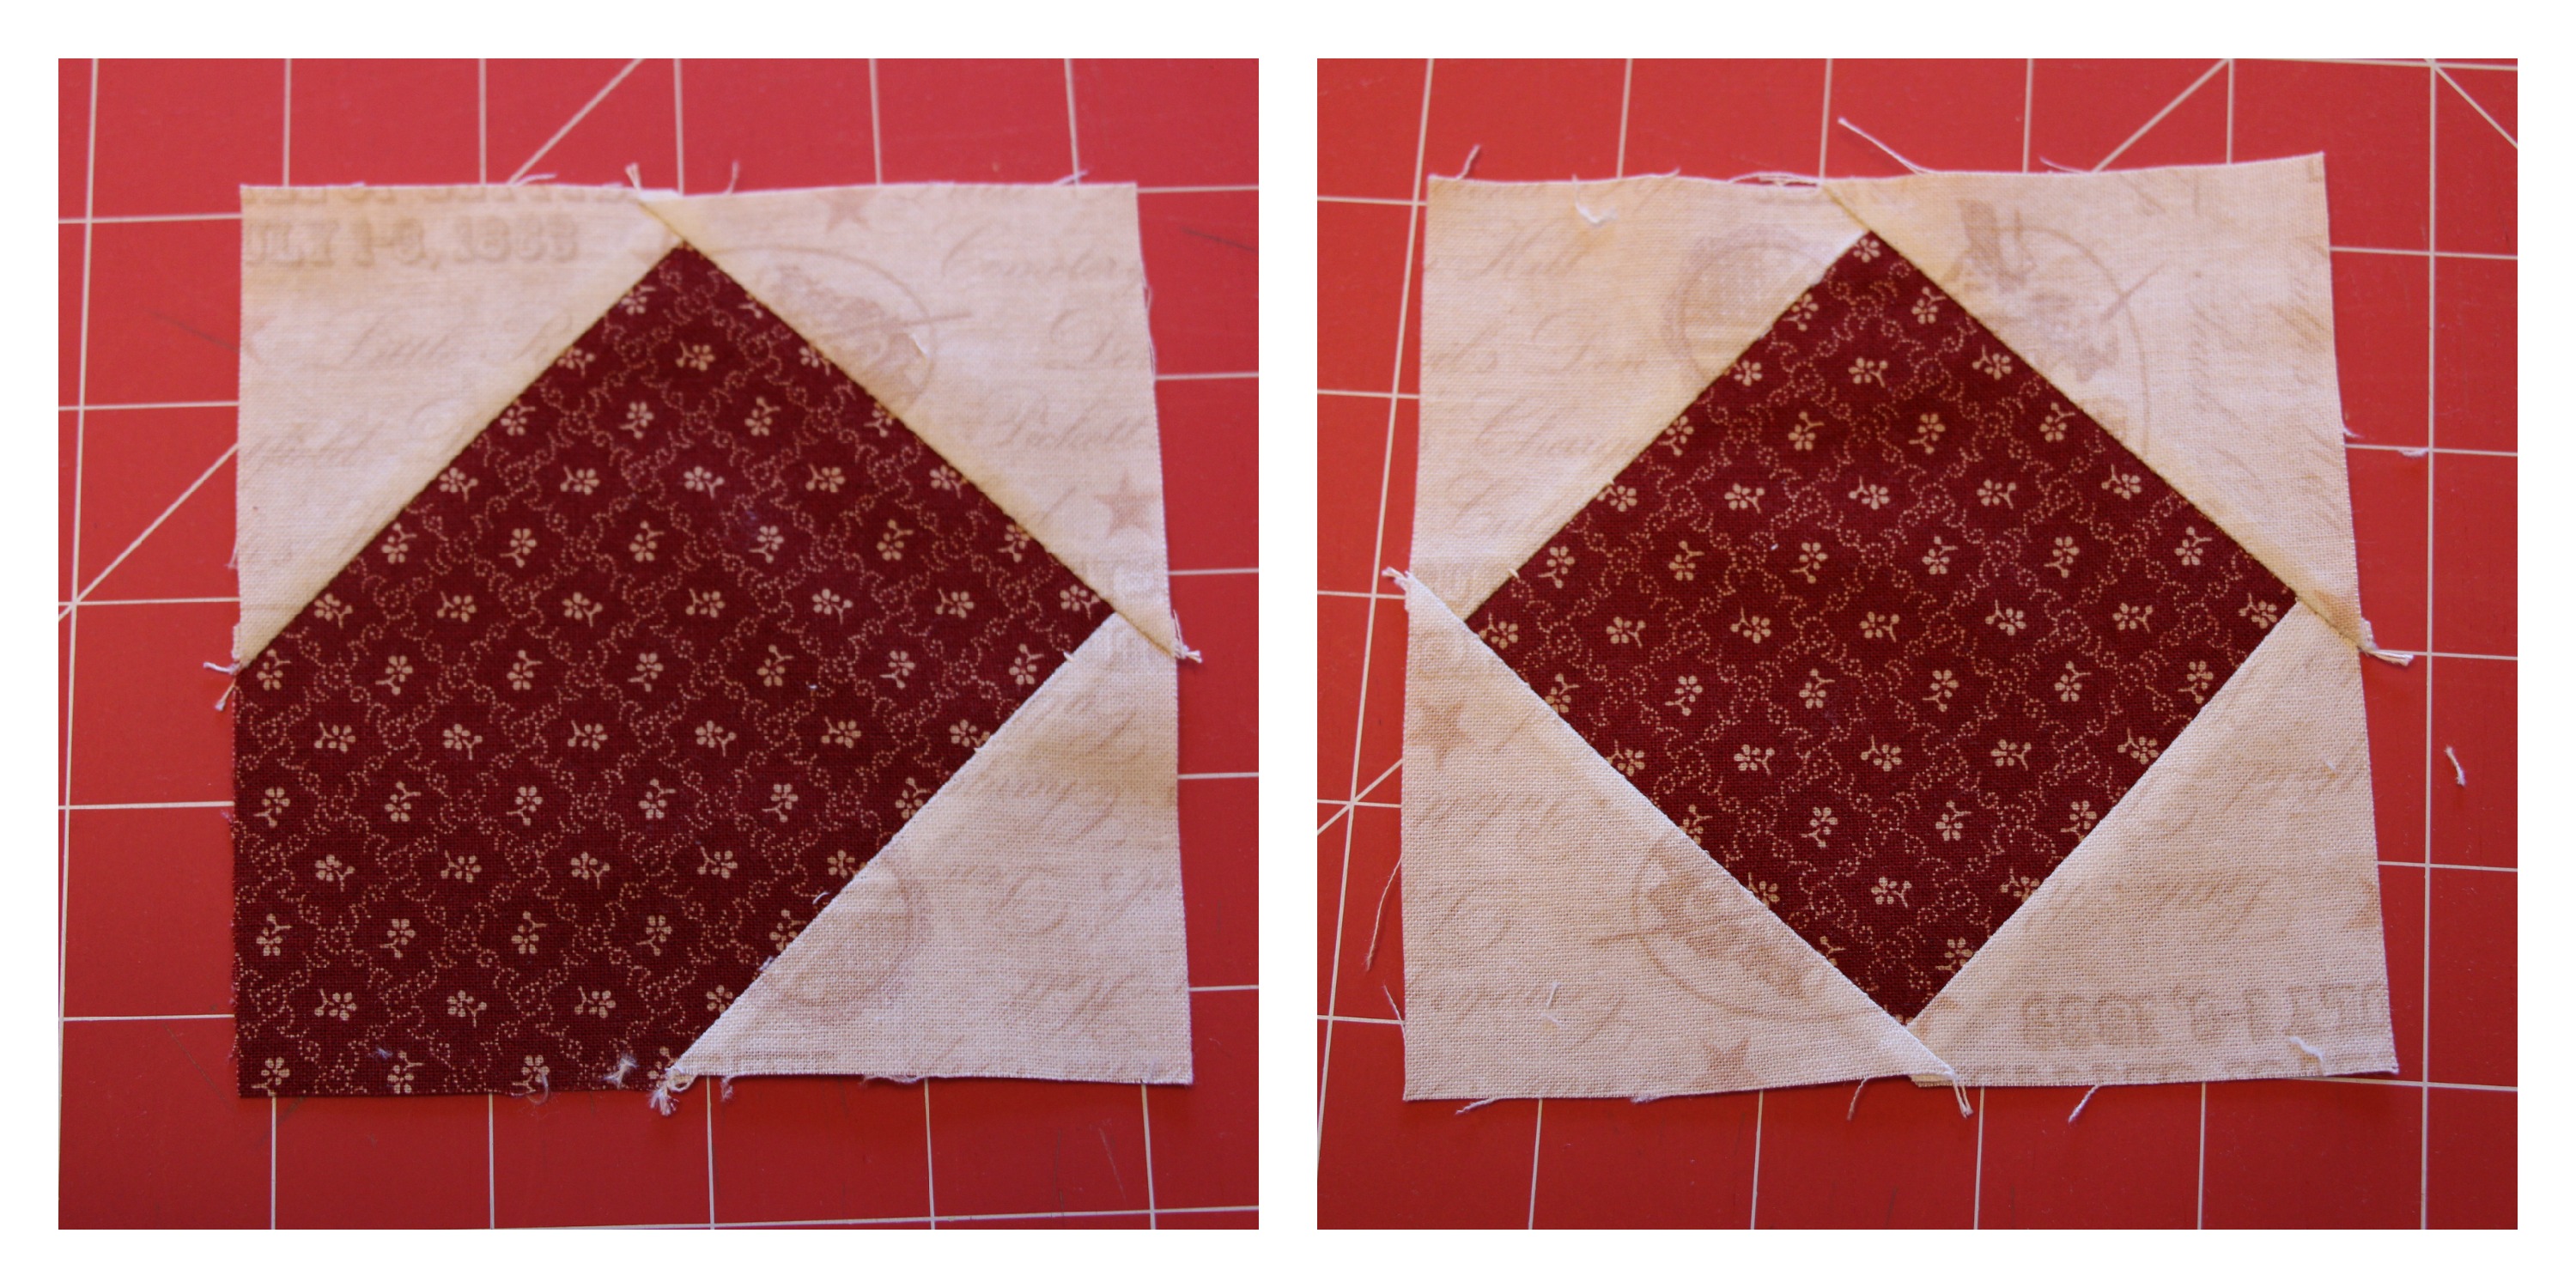
Favorite quilt shop
There are three quilt shops in the area, two in Fort Walton and one in Crestview. Depending on what type of fabric I’m looking for (batik or novelty) will usually indicate which store I’ll go to. But Lynn’s Sewing Center is my favorite. Their collection of batiks is large and their patterned fabrics unique. If I had an unlimited budget I’d buy a little bit of just about every fabric. And their seasonal fabrics are always one of a kind. The staff is always friendly, never pushy, and they remember what project I was working on last and ask how it’s going – I’ll usually have a photo on my phone to show them.

Favorite athletic store
With all of the adventure racing and Tough Mudders my husband has done I had to mention his favorite shoe store Run With It. The staff at Run With It in Fort Walton Beach are very knowledgable and patient. Before you even pick a shoe to try from the wall they’ll ask you your goals and on what surface you’ll be running. They then watch you walk and determine what type of shoe you need. We have purchased at least 5 pairs of shoes from them in the past two years! They have a running club too.

Favorite seasonal vendor
Pumpkin PatchThis category might seem odd but I really wanted to mention this spot! The United Methodist Church in Niceville is the largest and most popular church in the area. They have sports leagues and many events for kids. In October, they set up the cutest pumpkin patch, complete with petting zoo. We have purchased our carving pumpkins from them every year. In December they sell live Christmas trees.

Favorite golf course
The local high school sells a coupon book as a fundraiser and we purchase a booklet every year. In it are coupons for restaurants and golf courses. There are a lot of beautiful golf courses in Destin, but they’re not cheap to play. Thanks to the coupon book, we can play some of these courses at a 2-for-1 rate! My favorite course is The Raven. It is a difficult and narrow course (I tend to shoot better on harder courses, always have) that is beautifully maintained. But, the best course for the price is the Eglin AFB course, which is open to the public.

Favorite beach
The BoardwalkI’ll admit it, I am not a beach person. I absolutely love the waves and the views but when it comes to going to the beach you can count me out. I prefer the walk-along-the-beach experience to the lay-out-and-tan one. It doesn’t really matter to me which beach we would go to, and for just a walk we’d pop off at one of the public beach access point off of Old 98 in Destin. But that’s not what I’m putting on this list. I am listing one of the most popular tourist beaches on Okaloosa Island, the boardwalk. Here there are restaurants and a little  bit of shopping. But the reason for this beach making the list is for its volleyball nets. Beach volleyball is definitely a favorite beach activity and we’d like to get a group together to play.

#FoodieExtravaganza: Peaches

Foodie Extravaganza

I recently joined yet another food blog linky party. This one, the Foodie Extravaganza is a monthly party hosted by bloggers who love food! Each month we incorporate one main ingredient into recipes to share with you and this month, our host Kaylin of Keep it Simple, Sweetie, chose peaches as the star ingredient.

I admitted in last month’s stone fruit #bundtbakers post that I don’t like peaches. But my husband does! I didn’t want to sit out my very first month as a member of this fun group of bloggers so I “forced” him to actually measure out the ingredients in his morning smoothie so that I could write up an official recipe. 😉

Raspberry Peach Smoothie

Ingredients:

  • 2 C frozen peach slices
  • 1/2 C frozen raspberries
  • 4 tbsp vanilla honey (or honey)
  • 1/2 C vanilla yogurt
  • 1 1/2 C milk

Steps:

  1. Place all ingredients in a blender and blend until smooth.

Raspberry Peach Smoothie

Be sure to check out the rest of these perfect peach recipes:

Peach & Blue Cheese Prosciutto Bruschetta by Keep it Simple, Sweetie

Old-Fashioned Peach Cobbler by From Gate to Plate

Peach Mousse by Love in the Kitchen

Peach Orange Banana Smoothie by We Like to Learn as We Go

Peach Almond Cake by My Creative Days

Peach Donuts by Rae Gun Ramblings

Peaches & Cream Dessert Bars by The Freshman Cook

Fresh Peach Salsa by Rhubarb and Honey

Skinny Vegan Peach Coffee Cake by Baking in Pyjamas

Pistachio Peach Pie Pops by Pantry Friendly Cooking

Perfect Peach Treats

We hope you all enjoyed our delicious peach packed foods this month and don’t forget to stop by to see what next month’s ingredient is!

If you would like to join our group and blog along with us, come join our Facebook page Foodie Extravaganza. We would love to have you!

recreatedbysrc

Egg-Free Chocolate Chip Ice Cream

Making homemade ice cream can be an intimidating project to tackle. There is always that fear of scrambling the eggs when making the custard and having to start all over. But it’s the eggs that create that creamy texture we all know and love.

Or so I thought.

When I saw this recipe for ice cream, and noticed the ingredient list did not include eggs I was skeptical. But I was also anxious to give it a shot! It looked very simple to make and should be fail proof.

The base of this ice cream could be used for multiple applications – add whatever “toppings” you want! I went with classic chocolate chips. The recipe makes the perfect amount to serve 4 people.

Egg-Free Chocolate Chip Ice Cream

Ingredients:

  • 1/2 C sugar
  • 1 C milk
  • 1 C heavy cream
  • 1 tbsp vanilla extract
  • 1/2 C mini chocolate chips

Steps:

  1. In a saucepan over low heat, dissolve sugar in milk. Add in the cream and vanilla. Remove from heat and allow to cool.
  2. Follow the instructions for your ice cream maker. Towards the end of churning, add in the chocolate chips. Freeze until ready to serve.

*This recipe is adapted from Amber at http://www.sprinklewithflour.com/2012/08/homemade-chocolate-chip-caramel-swirl.html*

Choc Chip Ice Cream

8-Grid Chain Variation

There are many variations of the 8-Grid Chain Quilt Block. Simply google it! There are endless possibilities with using different fabrics too. This is the variation I used in my Fourth of July quilt  Old Glory.

8-Grid Chain Variation Quilt Block Tutorial

Here’s the how-to for this 8-Grid Chain Variation Quilt Block

Cut fabric:

  • 12 squares 1 1/2″ red
  • 8 squares 1 1/2″ white
  • 4 rectangles 2 1/2″ x 4 1/2″ white
  • 4 rectangles 1 1/2″ x 2 1/2″ white
  • 1 square 2 1/2″ red

Lay out fabric squares into the 8-Grid Chain Variation:

8-Grid Chain Variation Quilt Block Tutorial


Sew together the four 4-patch blocks in the corner. Also, sew together the 9-patch block in the center:

8-Grid Chain Variation Quilt Block Tutorial

The 8-Grid Chain Variation is now a simple 9-patch. Complete the three rows before sewing the rows together:

8-Grid Chain Variation Quilt Block Tutorial

Grecian Square

I used the Grecian Square quilt block before. It is also known as the Monkey Wrench. I used it in the quilt I made in honor of my grandmother. But this tutorial will look a little different. Simply reversing the neutral and color creates a very different look.

Grecian Square Quilt Block Tutorial

Here is the how-to for the Grecian Square Quilt Block:

Note: These measurements are for an 8″ block. Sew using a 1/4″ seam allowance.

Cut fabric:

  • 2 squares 3 7/8″ red
  • 2 squares 3 7/8″ white
  • 4 rectangles 1 7/8″ x 3 1/8″ red
  • 4 rectangles 1 7/8″ x 3 1/8″ white
  • 1 square 3 1/8″ red

Use the 2 squares of 3 7/8″ red and white to create 4 Half Square Triangles (HSTs) trimmed down to 3 1/8″. Click here for my tutorial on how to make Half Square Triangles.

Lay out the Grecian Square Quilt Block:

Grecian Square Quilt Block Tutorial

Sew the red and white rectangles together:

Grecian Square Quilt Block Tutorial

Now the Grecian Square is simply a 9-patch.

Bear’s Paw

The Bear’s Paw is a classic quilt block. While not the most difficult block in my Fourth of July quilt Old Glory, it requires a lot of baby steps.

Bear's Paw Quilt Block Tutorial

Here is the how-to for a Bear’s Paw Quilt Block

Note: These measurements are for an 8″ block. Sew using a scant 1/4″ seam allowance.

Cut fabric:

  • 8 squares 2 1/4″ white
  • 8 squares 2 1/4″ red
  • 4 squares 1 5/8″ white
  • 1 square 1 5/8″ red
  • 4 rectangles 1 5/8″ x 3 7/8″ white
  • 4 squares 2 3/4″ red

Use the 8 squares of 2 1/4″ red and white to create 16 Half Square Triangles (HSTs) trimmed down to 1 5/8″. Click here for my tutorial on how to make Half Square Triangles. If you’ve been following my previous tutorials you’ll now know why I went through the time to create bonus HSTs from Flying Geese and Square in a Square!

Lay out your HSTs and remaining pieces of fabric into the Bear’s Paw:

Bear's Paw Quilt Block Tutorial

Looking at one paw print at a time, sew the two horizontal HSTs together and sew the vertical HSTs to the white square:

Bears Paw Quilt Block Tutorial

Then sew the horizontal HSTs to the red square before sewing the vertical to the paw print:

Bears Paw Quilt Block Tutorial

Complete the remaining three paw prints and then follow my tutorial for sashing to complete the block:

Bear's Paw Quilt Block Tutorial

Square in a Square

Square in a SquareThe Square in a Square block is essentially a diamond. Diamonds can be made by 4 Half Square Triangles (HSTs) or you can follow this latest tutorial for a Square in a Square. Using this method will create a cleaner diamond. As it is very similar to my previous tutorial covering Flying Geese bonus small HSTs can come from the Square in a Square! The block I used in Old Glory is comprised of 4 Square in a Squares.

Here is the how-to for a Square in a Square:

Your first step will be to determine what size block you’ll be working with. This diamond simply replaces a square! Take the size of that square and add your 1/4″ seam allowance. That value will be the base. You will also need four squares cut to 1/2 of the base square plus the 1/4″ seam allowance. Example: 4″ x 4″ finished Square in a Square will require one 4 1/2″ x 4 1/2″ square and four 2 1/2″ squares. Don’t forget to ALWAYS make a practice block with scrap fabric before committing.

Draw on the diagonal of each square and if you want the bonus HST draw a line 1/4″ off center in one direction. Place one small square face down in one corner of the base. If making a HST that bonus 1/4″ line needs to be on the side of the block towards the corner:

Square in a Square Block Tutorial

Sew on both drawn lines, cut between the seams, and iron open:

Square in a Square Block Tutorial

Repeat on the opposite corner:

Square in a Square Block Tutorial

Now do the last two corners. (The white squares will overlap in the center, but that will be taken care of in the seam allowance.):

Square in a Square Block Tutorial

Flying Geese

Flying Geese Block

Flying Geese, just like Half Square Triangles (HSTs) are very versatile. Some people create entire quilts of Flying Geese, they look great strung together and used as the border of a project, and they can be arranged in an endless amount of combinations to make individual blocks.

An added benefit of making Flying Geese is that each “goose” creates two bonus HSTs! The size of your Flying Geese might influence your decision in if you want to take the extra steps to get that bonus block. Because I made small 4″ finished Flying Geese for my 8″ finished block within Old Glory I knew that very small HSTs would come in handy with other blocks in the sampler quilt!

Here is the how-to for Flying Geese:

Your first step will be to determine what size block you’ll be working with. Think of the Flying Geese as simply replacing a solid rectangle. Take the size of that rectangle and add your 1/4″ seam allowance. That value will be the base. You will also need two squares cut to 1/2 of the rectangle plus the 1/4″ seam allowance. Example: 2″ x 4″ finished Flying Geese will require one 2 1/2″ x 4 1/2″ rectangle and two 2 1/2″ squares. Don’t forget to ALWAYS make a practice block with scrap fabric before committing.

Cut your fabric:

Flying Geese tutorial

Draw on the diagonal of each square and if you want the bonus HST draw a line 1/4″ off center in one direction:

Flying Geese tutorial

Place one square on the rectangle, corner to corner. The diagonal line needs to run from corner to center of the rectangle. If making a HST that bonus 1/4″ line needs to be on the side of the block towards the corner:

Flying Geese tutorial

Sew on both drawn lines, cut between the seams, and iron open:

Flying Geese tutorial

Repeat with the other square. (It will overlap the center of the rectangle, but that will be taken care of in the seam allowance.):

Flying Geese tutorial

Again, sew on the diagonal and the bonus HST seam if using. Cut between the seams and iron open:

Flying Geese tutorial