It’s that time of month for me to share a bundt cake with you alongside #BundtBakers. #BundtBakers is a group of bundt loving bakers who get together once a month to bake bundts with a common ingredient or theme. We take turns hosting each month and choosing the theme or ingredient. This month Teri of The Freshman Cook is hosting and selected the theme “Happy Fall,” leaving it wide open for us to celebrate the season any way we desire – as long as it’s in bundt form, of course!
We have found a great church here in California and are starting to call it home. It’s a smaller congregation than the church we attended in Ohio and we’re slowly becoming a part of this church family.
Being far from family, we don’t get the opportunity to go on regular date nights and are never without the boys. One day we’ll trust someone other than grandparents to watch them, but for now, we’re not ready. Church is our opportunity to give us and the kids some time away. The first time we dropped them off at the nursery was a near disaster. Firecracker had a major meltdown and we were called to return and comfort him. The second visit was a complete 180 as he was calm enough to realize they had a train table and countless trains and cars to play with. Now, he runs in the door and doesn’t look back – he even asks to go to church throughout the week. Treat followed the same pattern, and while he still tries to follow me out the door, I haven’t gotten the message “the baby is crying” (a message they’ll only send if 10 minutes of consoling doesn’t do the trick) in weeks!
One of my favorite things about this church is their dedication to the community. Each Wednesday they provide dinner for the hungry and homeless and anyone who shows up. They feed over 100 people each week! I’d noticed a request for desserts in the bulletin and knew I had to help out. Physically volunteering hasn’t been possible with my husband away (see the no baby sitter scenario above), but baking I can do! Once our family is whole again we’re going to figure out how we can do more to help out while one of us stays home with the boys.
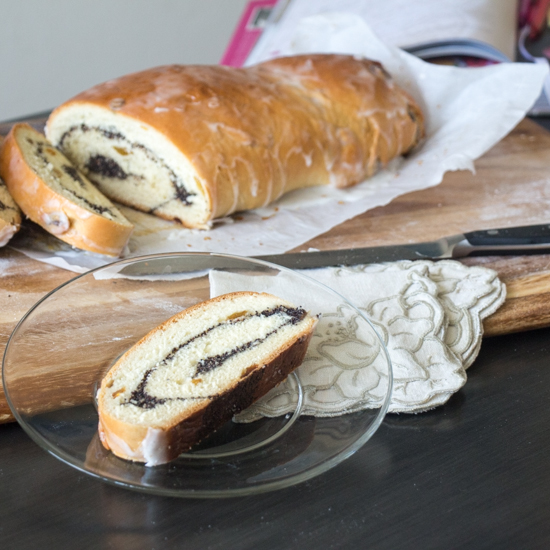
 This week was my first week delivering dessert. To provide individually wrapped desserts I thought it’d be best to use my Garland Bundt Pan and my Bundt Duet Pan. Unfortunately, the 6 smaller cakes all stuck! So, while my donation of 15 slices from the duet pan wasn’t what I’d hoped to be delivering, it was a start.
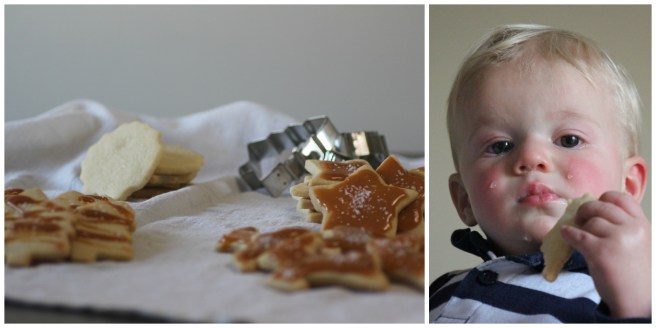
The “broken” cakes didn’t go to waste though! I scraped the pan clean and have been eating it by the handful. Hey, crumbs don’t count, right? Firecracker enjoyed the cake, too. He listened to me when I told him he couldn’t touch the larger cakes, that we had to eat the broken cake. His response, was to bring a chair from his toddler table into the kitchen, climb up it, and eat the broken cake, declaring “I love broken cake!”
Poached Pear and Cranberry Bundt with Maple Marscapone Frosting
Ingredients for cake:
- 2 C sugar, divided use
- 2 cinnamon sticks
- 3 pears, peeled
- 1 pkg (5 oz) dried cranberries
- 1 stick softened butter
- 1/2 C vegetable oil
- 1 C brown sugar
- 3 eggs
- 3 C flour
- 1 tsp baking soda
- 1 tsp salt
- 1 tsp cinnamon
- 1 tsp cardamom
- 1/4 tsp cloves
Ingredients for frosting:
- 1/2 stick softened butter
- 1/4 C softened marscapone cheese
- 1 C powdered sugar
- 2-3 tbsp real maple syrup
Steps:
- Poach the pears: Bring 4 C water, 1 C sugar, and the cinnamon stick to a boil. Add the whole pears and simmer 15 minutes, or until tender. Remove pears from poaching liquid, core them, and chop. Set aside. Reserve 1/4 of the liquid before discarding.
- Reconstitute the cranberries: Bring 1 1/2 C water to a boil. Add the cranberries. Remove from heat and allow cranberries to plump up, about 10 minutes. Drain and set aside.
- Preheat oven to 350 degrees F. Heavily grease bundt pan(s).
- In the bowl of a stand mixer fitted with the paddle attachment, cream together the butter, oil, brown sugar, and remaining 1 C of white sugar. Add the eggs one at a time.
- In a large bowl, sift together the flour, baking soda, salt, cinnamon, cardamom, and cloves.
- Add the dry ingredients to the stand mixer, alternating with the reserved poaching liquid.
- Fold in the chopped pears and cranberries.
- Pour batter into prepared bundt pan(s). Bake 35-55 minutes depending on the size of your pan.
*This recipe is adapted from Tessa at http://thecakeblog.com/2013/11/pear-cranberry-cake.html*

You can see all our of lovely Bundts by following our Pinterest board. Updated links for all of our past events and more information about #BundtBakers, can be found on our home page.
And don’t forget to take a peek at what other talented bakers have baked this month:
Apple, Pear and Honey Cider Bundt Cake by All That’s Left Are the Crumbs
Apple Pumpkin Bundt Cake with Salted Caramel Drizzle by Cookaholic Wife
Bundt Cake de Chocolate Blanco y Moras by La Mejor Manera de hacer
Chestnut Cream Marbled Bundt Cake by I Love Bundt Cakes
Chocolate Caramel Apple Cake by The Freshman Cook
Ginger and Cinnamon Bundt Cake by Los Chatos Chefs
Impossible Pumpkin Pie Bundt by Faith, Hope, Love, and Luck Survive Despite a Whiskered Accomplice
Jack O’Lantern Cake by Palatable Pastime
Persimmon Apple Bundt by Tea and Scones
Pumpkin Chocolate Chip Bundt Cake by Patty’s Cake
Pumpkin Pie Bundt by Jane’s Adventures in Dinner
Pumpkin Spice Cake with Caramel Drizzle by Living the Gourmet
Robert E. Lee Bundt Cakeby The Queen of Scones
Spiced Rum Pumpkin Bundt by A Day in the Life on the Farm
Sticky Pecan Pie Bundt by Food Lust People Love
Disclaimer: This post contains affiliate links.

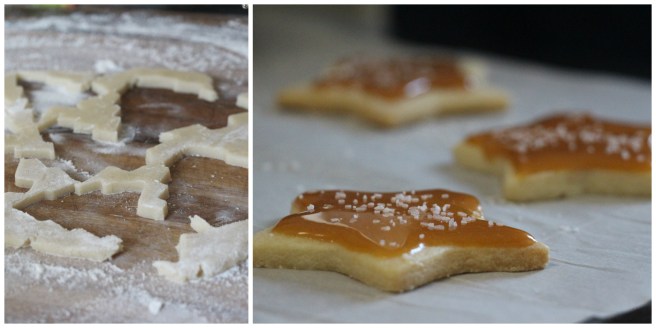
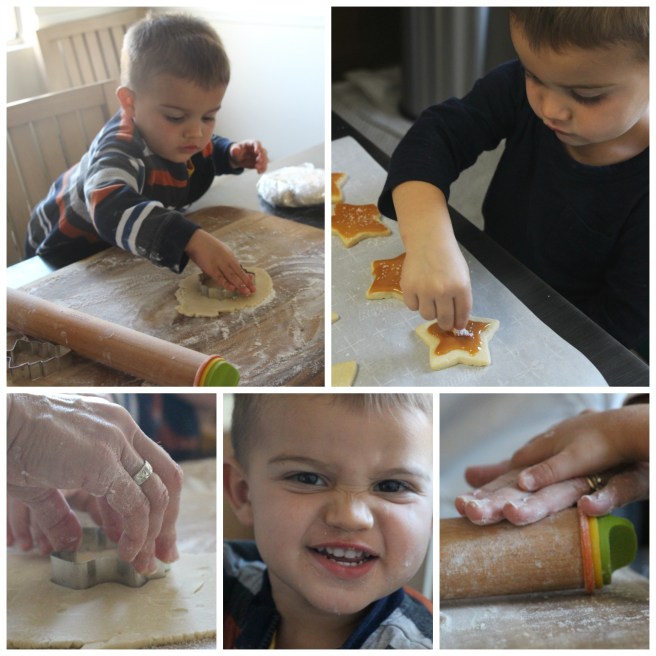


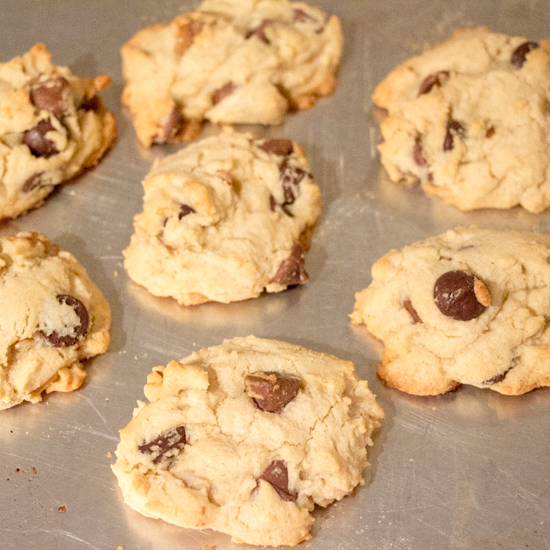


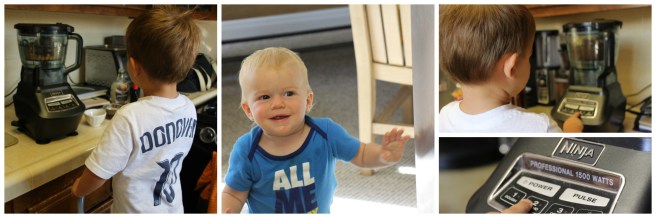
 My sister-in-law came down from Northern California to spend a day with the boys and I put her and Firecracker to work baking!

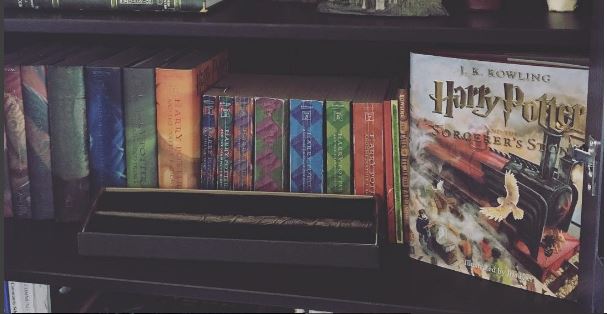
 During that birthday trip I was chosen by Ollivander to get my own personal wand. (Minute 1:20 of this