#MuffinMonday is a group of muffin loving bakers who get together once a month to bake muffins to brighten their Mondays. There isn’t a theme to #MuffinMonday posts so anything goes, as long as it’s a muffin!
You can see all our of lovely muffins by following our Pinterest board. Updated links for all of our past events and more information about Muffin Monday can be found on our home page.
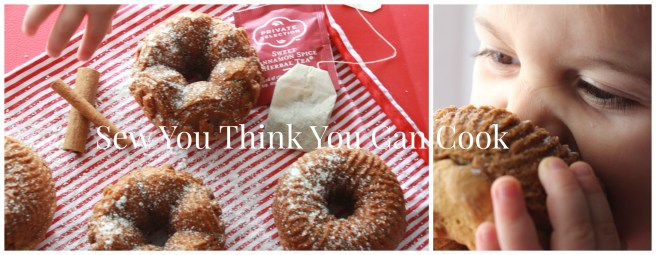
For Christmas, my uncle got Firecracker an adorable cook’s outfit complete with chef’s hat, apron, potholder, and oven mitt. It’s a little big (okay, a lot big) but that makes it even cuter! The chef’s hat, on the other hand, is a perfect fit! (My kid has a 90th percentile sized head…) In addition to the attire he gave us a “Cook It in a Cup!” kit . The kit includes a cookbook and 6 silicone cupcake liners.
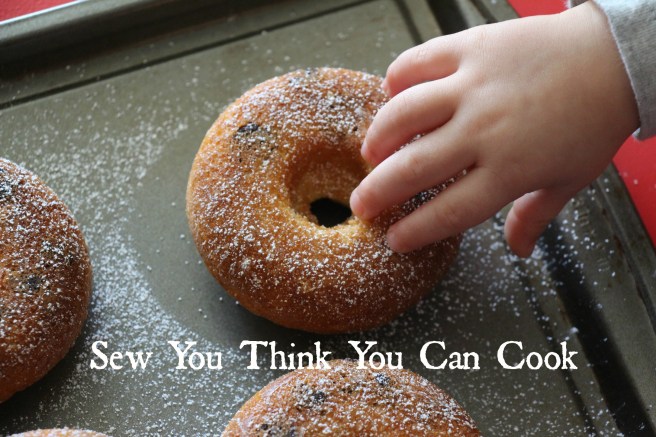
On a rare occurrence there were two sad looking bananas sitting on my counter and I thought it’d be fun to let my son in the kitchen with me and break out his gifts. He loves to mix and pinch salt. I am amazed at how few of the ingredients ended up on the floor, don’t get me wrong, there was a mess to clean up, but it was well worth it!

The banana muffins from this book were a big hit. And how could they not be? There was a lot of sugar involved! These were not a snack to be enjoyed by a toddler in the afternoon. We opted to leave the chocolate chips out of the recipe due to the amount of sugar. Now, I know the recipes are written to be completed by children, but mixing softened butter and sugar with a fork would never, ever, become creamy and smooth. I broke out my hand mixer for the job.

This recipe makes 12 muffins.
Nutmeg Banana Muffins
Ingredients:
- 1 1/2 C flour
- 1 tsp baking soda
- 1/2 tsp nutmeg
- 1/2 tsp cinnamon
- 1 stick butter, softened
- 1 C sugar
- 2 ripe bananas, mashed
- 1 egg
- 1 tsp vanilla extract
Steps:
- Preheat oven to 350 degrees F. Line a muffin tin with paper liners, or use silicone molds.
- In a large bowl whisk together the flour, baking soda, nutmeg, cinnamon, and a pinch of salt.
- In another bowl, use a hand mixer to combine the butter and sugar until smooth. Mix in the bananas, egg, and vanilla.
- Add the dry ingredients to the wet and stir until combined. Evenly distribute the batter between 12 muffin cups.
- Bake 20 minutes, or until a toothpick inserted comes out cleanly. Allow muffins to cool 5 minutes before removing from the mold to cool completely.
*This recipe is adapted from Cook it in a Cup!*

And don’t forget to check out these other muffin recipes:
Blueberry Oatmeal Muffins from A Day in the Life on the Farm
Chocolate Chip Muffins from Karen’s Kitchen Stories
Cinnamon Pear Muffins from Making Miracles
Coconut Lime Mango Muffins from The Spiced Life
Glazed Orange Poppyseed Muffins from Farm Fresh Feasts
Gouda Herb Muffins from Food Lust People Love
Orange Muffins from Passion Kneaded
Disclaimer: This post contains affiliate links.


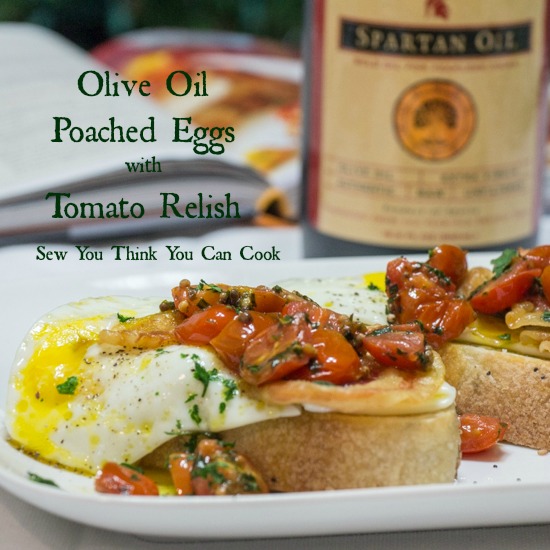
 I love finding new ways to use ricotta cheese. I almost always have leftover ricotta cheese whenever I cook with it, and that tub makes its way to the back of the fridge to be completely forgotten. Instead of letting that ricotta go to waste I add it to the weekend’s breakfast menu!
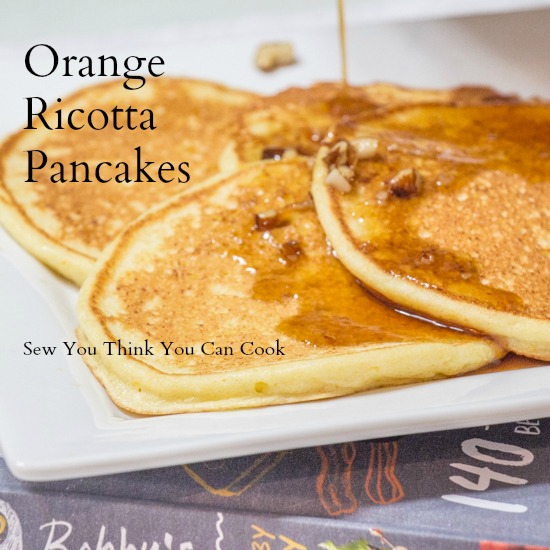


 The main difference: a tortilla is essentially a thick omelet with potatoes and is flipped to be cooked on both sides whereas a frittata is started on the stove and finished in the oven to cook all the way through. There wasn’t any way on this green earth that we were going to be able to flip the eggs in a clean manner, so we ran to the oven to cook the eggs all the way through. The result was still an amazing combination of flavors that even this egg-hating girl enjoyed! The key was the jalapeno pesto that really tied everything together.