#SundaySupper: National Grandparents Day

Today is National Grandparents Day and to celebrate the Sunday Supper family is bringing together a table full of hand-me-down recipes. Thank you to the Sunday Supper Movement for hosting today’s event.

Granparents Day

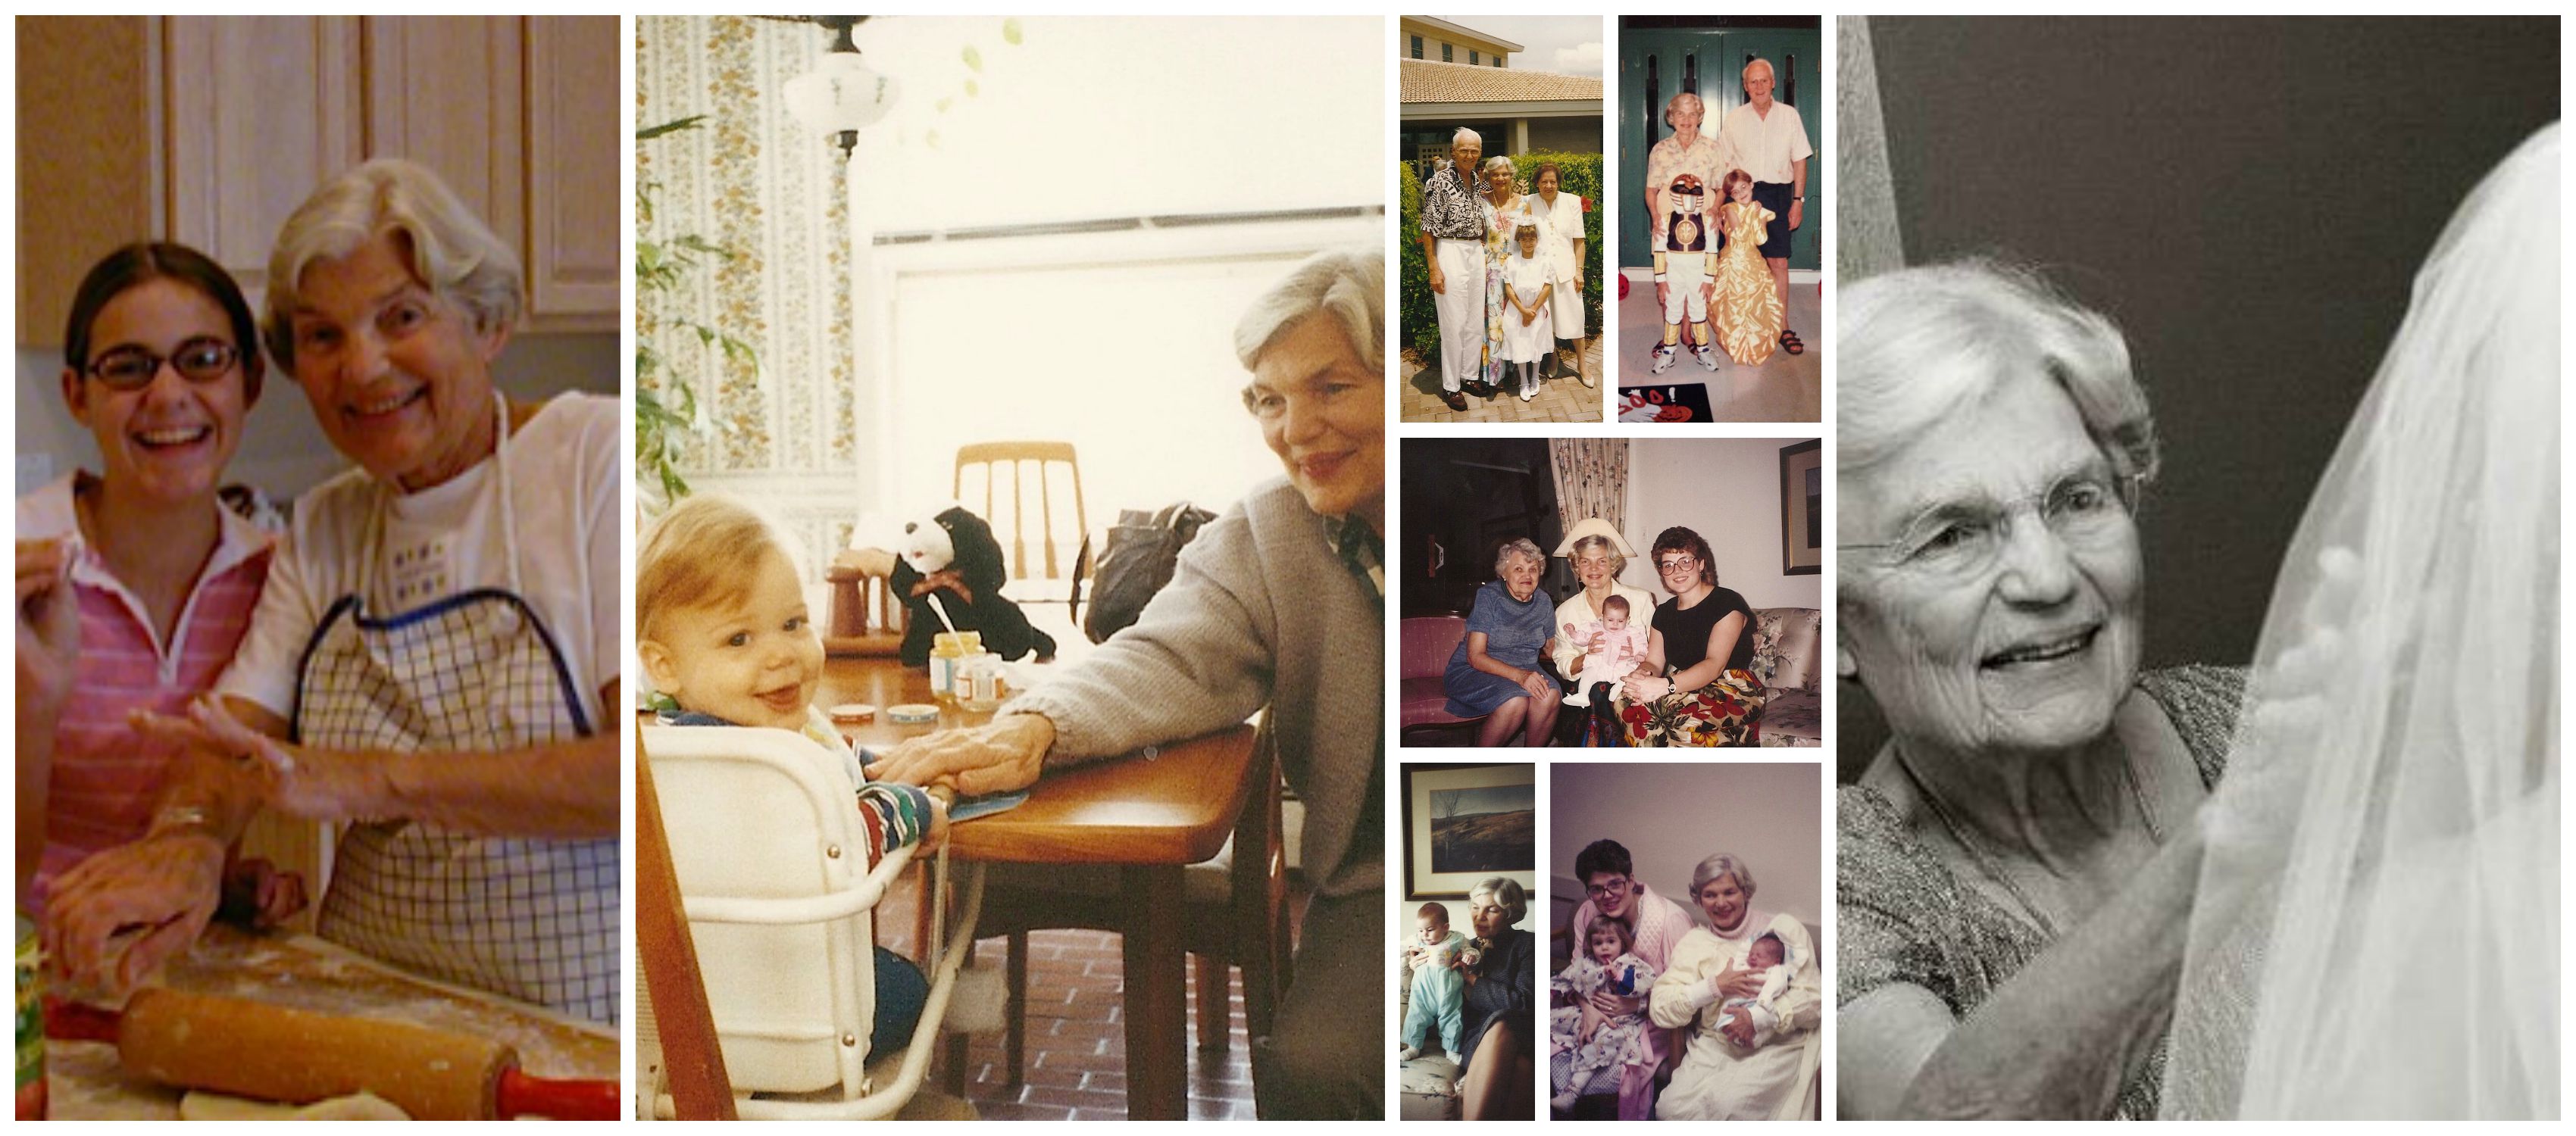
When it comes to my love of cooking I have my mom’s mom, Busia, to thank. While I don’t recall her ever sitting me down and teaching me a recipe or even how to cook, I have fond memories of her welcoming me into her kitchen to help prepare a meal. I would often be given the “prep cook” jobs of peeling carrots or potatoes, and eventually cutting veggies. I think that’s why, to this day, I quite enjoy those simple tasks.

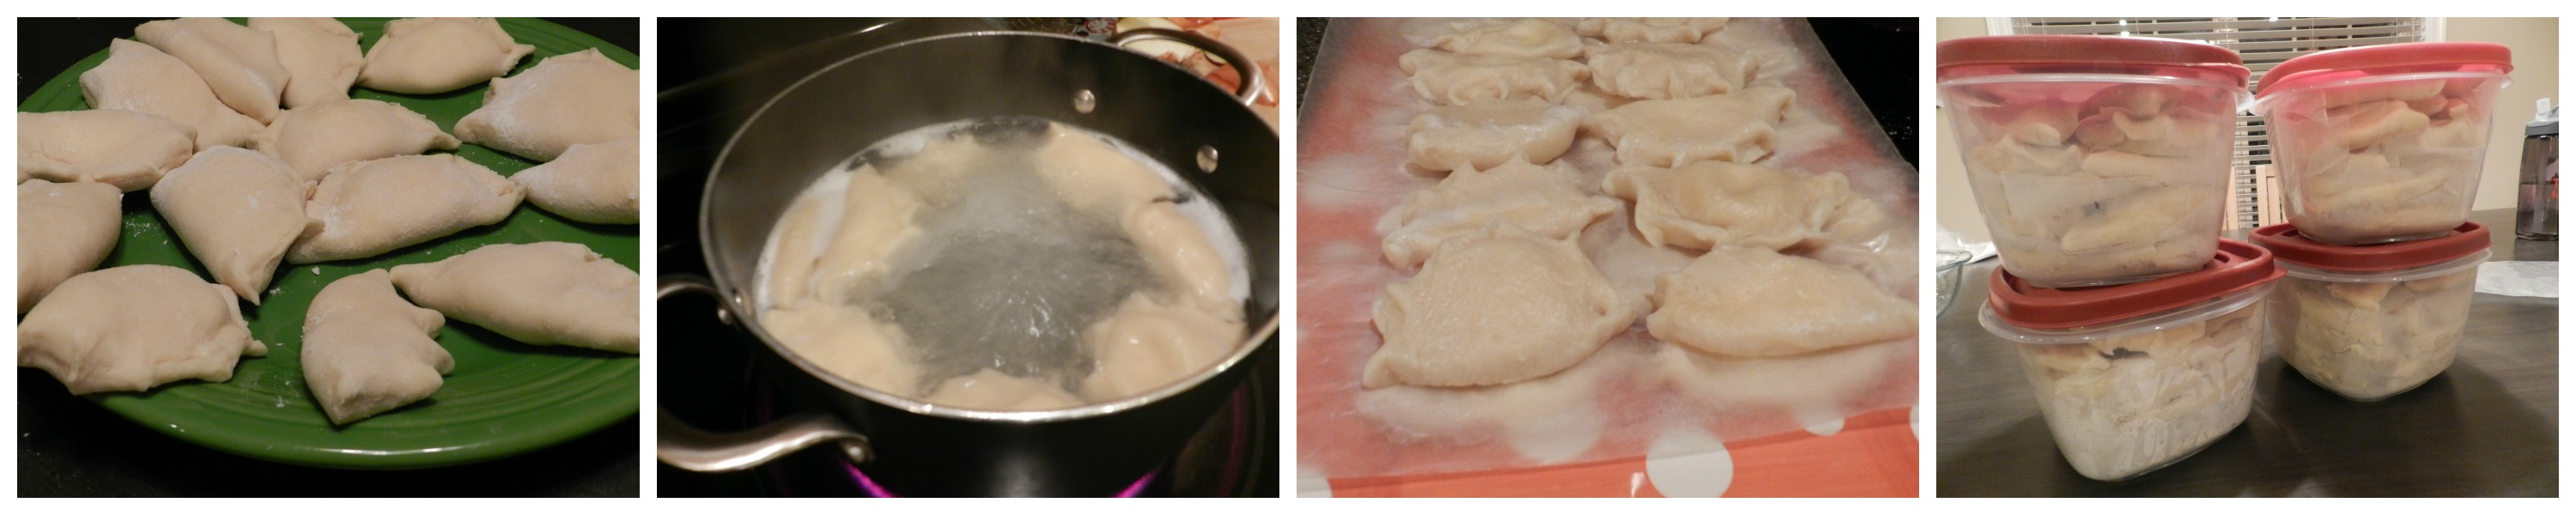
I’ve shared quite a few of my Busia’s recipes on the blog including: Busia’s Cheese Soup, Pierogi, and Busy Day Chocolate Cake. Two of my #BundtBakers posts have been from her recipes, too (Fresh Apple Cake and Easter Pound Cake).

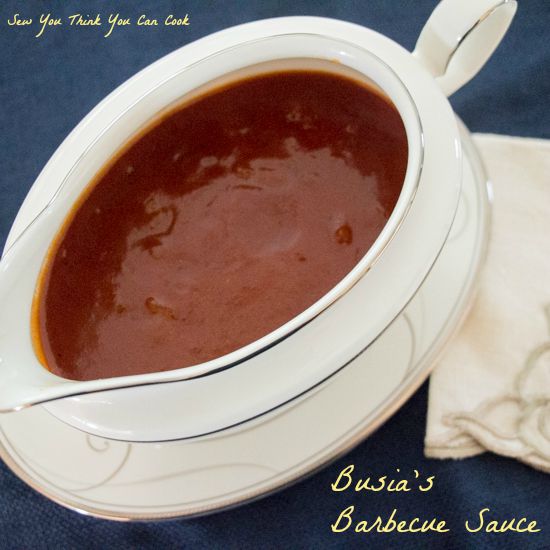
Today I am sharing her barbecue sauce. This sauce is probably my favorite thing my grandmother made. We all said she should bottle it! The very first time I made this sauce my husband wasn’t a fan (gasp!), stating that it wasn’t thick enough. When Busia made it it wasn’t ever a very thick sauce, but since then I’ve allowed it to cook a little longer and now my husband enjoys it too. Honestly, my favorite way to eat Busia’s barbecue sauce is with cheese and crackers – sounds strange, but it’s perfect! It is also great paired with pork and mashed potatoes. This barbecue sauce is tangier than most and has pieces of onion swimming through it.

Busia’s Barbecue Sauce

Ingredients:

  • 2 tbsp butter
  • 1/2 sweet onion, diced
  • 1 C ketchup
  • 1/2 C water
  • juice of 1-2 lemons, to taste
  • 2 tbsp brown sugar
  • 1 tbsp apple cider vinegar
  • 1/2 tsp Worcestershire sauce
  • 1/4 tsp chili powder

Steps:

  1. In a saucepan, melt butter and cook onions until tender. Season with S+P. Add the remaining ingredients, whisk, and bring to a gentle boil. Reduce the heat and cook until desired consistency is reached. Add more S+P, to taste.

Busia's Barbecue Sauce for #SundaySupper from Sew You Think You Can Cook

Savory Meals with Special Memories

Sweets that are the Sweetest

8387592742_f6164fd5a8_oJoin the #SundaySupper conversation on twitter on Sunday! We tweet throughout the day and share recipes from all over the world. Our weekly chat starts at 7:00 pm ET. Follow the#SundaySupper hashtag and remember to include it in your tweets to join in the chat. To get more great Sunday Supper Recipes, visit our website or check out our Pinterest board.

Would you like to join the Sunday Supper Movement? It’s easy. You can sign up by clicking here: Sunday Supper Movement.

Thursday Thoughts: Thanksgiving Edition

Thursday Thoughts

Happy Thanksgiving everybody! I hope you are enjoying the day spending it with family and friends, being thankful for all your blessings, and making memories that will last.

Whenever family gets together there are always stories to be created and memories to be shared. And there’s always something that doesn’t go as planned.

I want to share with you a Thanksgiving that I will never forget. Thanksgiving 2012. Or better known as the Thanksgiving of Plan B.

Family arrived at my house on Wednesday. Wednesday is the day a lot of casseroles are prepared, prep is done, and pies are baked. Before everyone arrived I’d baked the sweet potatoes for Papa’s Sweet Potato Casserole (SPC) and got that filling underway. What I failed to notice was that some delicious sweet potato leaked out of the potato and onto the heating element of the oven. (Lesson learned: I always put a sheet of aluminum foil on the rack below sweet potatoes when I bake them.)

Stuart’s sister arrived and was ready to get going on the pumpkin pie. She prebaked the pie crust before adding the filling and during that time the heating element cracked from the heat of the sweet potato deliciousness directly on the heating element, and a fire ensued. (A small fire, not the grease fire we created during the Bacon Wrapped Dates fiasco.) The moment of the night was my mother-in-law announcing, surprisingly calmly, “There’s a fire in your oven.”

At 8:40pm on Wednesday night we found ourselves calling all of the home improvement stores to see if they had the heating element part in stock – there’d be no way to get it Thanksgiving morning! We were out of luck. And we had to come up with a Plan B.

The pumpkin pie was finished in the toaster oven and the Pecan Pie was also made in the toaster oven Wednesday night. That toaster oven came in handy for crescent rolls on Thursday too.

A 22 pound stuffed turkey was not going to fit in the toaster oven. Luckily it fit in the grill – barely. We heated the grill to 350 degrees and treated it like an oven. The turkey was still in the roasting bag in the roasting pan. My brother elected himself as turkey-sitter. He kept running out into the chilly fall weather to ensure that the grill temperature stayed at 350.

622237_10101070002598081_2092901423_o

While the turkey rested, out of the way in the oven! The casseroles went into the grill. All except for the SPC which wouldn’t fit. That had to be cooked in the microwave.

When we carved the turkey we realized that the half of the turkey towards the outside of the grill didn’t cook through all the way, but the half towards the inside of the grill was perfect. So half of the turkey was served with dinner while the rest returned to the grill for some more cooking.

Our Plan B Thanksgiving was a complete success and a cooking adventure I’ll never forget.

894455_10200277843406983_844405414_o

And the oven was fixed on Friday!

Pierogi

Image

Every Christmas Eve we have the traditional Polish meal of Pierogi. I have so many memories of helping my mom and grandma (Busia) assemble the pierogis. Busia would always make the dough and together the three of us would fill, pinch, boil, and fry. Eventually my mom took over the intimidating process of making the dough. And last year, it was my turn.

I followed tradition and made the dumplings about a week or two early and stored them in the freezer. Doing so takes off the stress during Christmas week. Making pierogi is an all day job! Because they freeze well, you don’t have to limit these to Christmas Eve. Make a batch and you have a great homemade freezer meal throughout the year.

Last year I recruited the help of Kate. I turn to Kate whenever I have baking to do, and making a dough is close enough! It’s also great to have extra hands when it’s time to assemble. This year, family friends helped Mom make hers two weeks ago.

The most common pierogi filling known to Americans is potato. But honestly, I’ve never had a potato pierogi. We fill ours with different canned fruits, cheese, and sauerkraut. And we serve them with salt and melted butter. Stuart actually broke the mold and used maple syrup!

Pierogi Dough 1 Pierogi Dough 2Cooked Pierogi 2 Cooked Pierogi 2

Pierogi

Ingredients for dough:

  • 1 1/2 C skim milk
  • 3/4 C fat free half-and-half
  • 5 C flour, divided plus more for rolling
  • 1 tbsp butter
  • 1 tsp salt
  • 1 XL egg
  • 3 L egg yolks

Ingredients for filling:

  • Cheese: 8 oz soft farmers cheese, 3 oz cream cheese, 1/4 – 1/3 tsp salt
  • Fruit options: canned peaches, canned cherries (not pie filling), canned blueberries (not pie filling), canned strawberries (not pie filling), plums, figs
  • Sauerkraut: cook 1 can drained, chopped onion, chopped cooked bacon, caraway seeds, water, little bit of flour to thicken if needed, 1 tbsp brown sugar (This can be made ahead of time and frozen)

Steps:

  1. Spray the bottom of a large pot. (I used my dutch oven)
  2. Over medium heat, bring milk and half-and-half almost to boiling point.
  3. Whisk in 1 C flour. Switch to a flat bottomed wooden spoon and stir often for 20 minutes over low heat until almost smooth.
  4. Remove from heat and add butter and 1 tsp salt. Let stand, partially covered, for 1+ hour.
  5. In a small bowl, gently whisk egg and egg yolks.
  6. Add eggs to dough along with 1 C flour. Stir until combined. Add another 1 C flour. Stir until combined. Add another 1 C flour. Stir until combined.
  7. Turn dough out onto a clean table or cutting board and knead in the last 1 C of flour.
  8. Refrigerate dough for 1+ hour.
  9. In batches roll out dough to 1/4″ thickness. (Leave dough in fridge) Flour the board, dough, and rolling pin as needed.
  10. Place filling on dough and fold over. Cut pierogi with a round glass. Squeeze dough shut and pinch the rims. They’ll look like half suns!
  11. Cook pierogi in boiling salted water for 10-12 minutes. They will float to the top. Remove with a slotted spoon and set aside. Refrigerate. At this point you can freeze the pierogi once cooled.
  12. Fry pierogi in butter before serving.

Final Pierogi

 recreatedbysrc