Last weekend we had a wonderful Korean-style supper at our good friends’ house. Tara is the host of Tara’s Multicultural Table and my blogging mentor. She told me about this new blogging-world challenge. It’s a challenge where you mix two ingredients that wouldn’t normally be paired together and create a recipe that encompasses both of them. Almost like Chopped! This month’s challenge is Avocado and Caramel.
I was surprised at how quickly an idea came to me! I had just watched a Giada at Home episode where she stuffed peanut butter cupcakes with caramel. That fulfills requirement number 2. But what about requirement number 1? I’ve seen many vegan/vegetarian recipes that substitute avocado for eggs in baking, so here we have it! We stopped at Publix on the way home and the next morning I was making these!
I know my blog isn’t exactly vegan friendly, but here’s a recipe you could (dissect and) serve to your meat-free guests! I substituted cow’s milk, but you could switch it back to soy milk! However, Stuffing these chocolate beauties with caramel and topping them with frosting voids the vegan requirements…
Stuart was not excited about this avocado cupcake idea. But I had him taste the batter (that’s the best part about vegetarian/vegan cupcakes! No eggs means you can lick that spoon clean without any guilt), and he conceded to the avocado cupcake. He was even disappointed that this recipe only made 12 cupcakes!
Avocado is changing the baking world one cupcake at a time. A coworker even told me that this was the best cupcake he’s ever had, and I had a request from another for the recipe because his daughter is allergic to eggs.


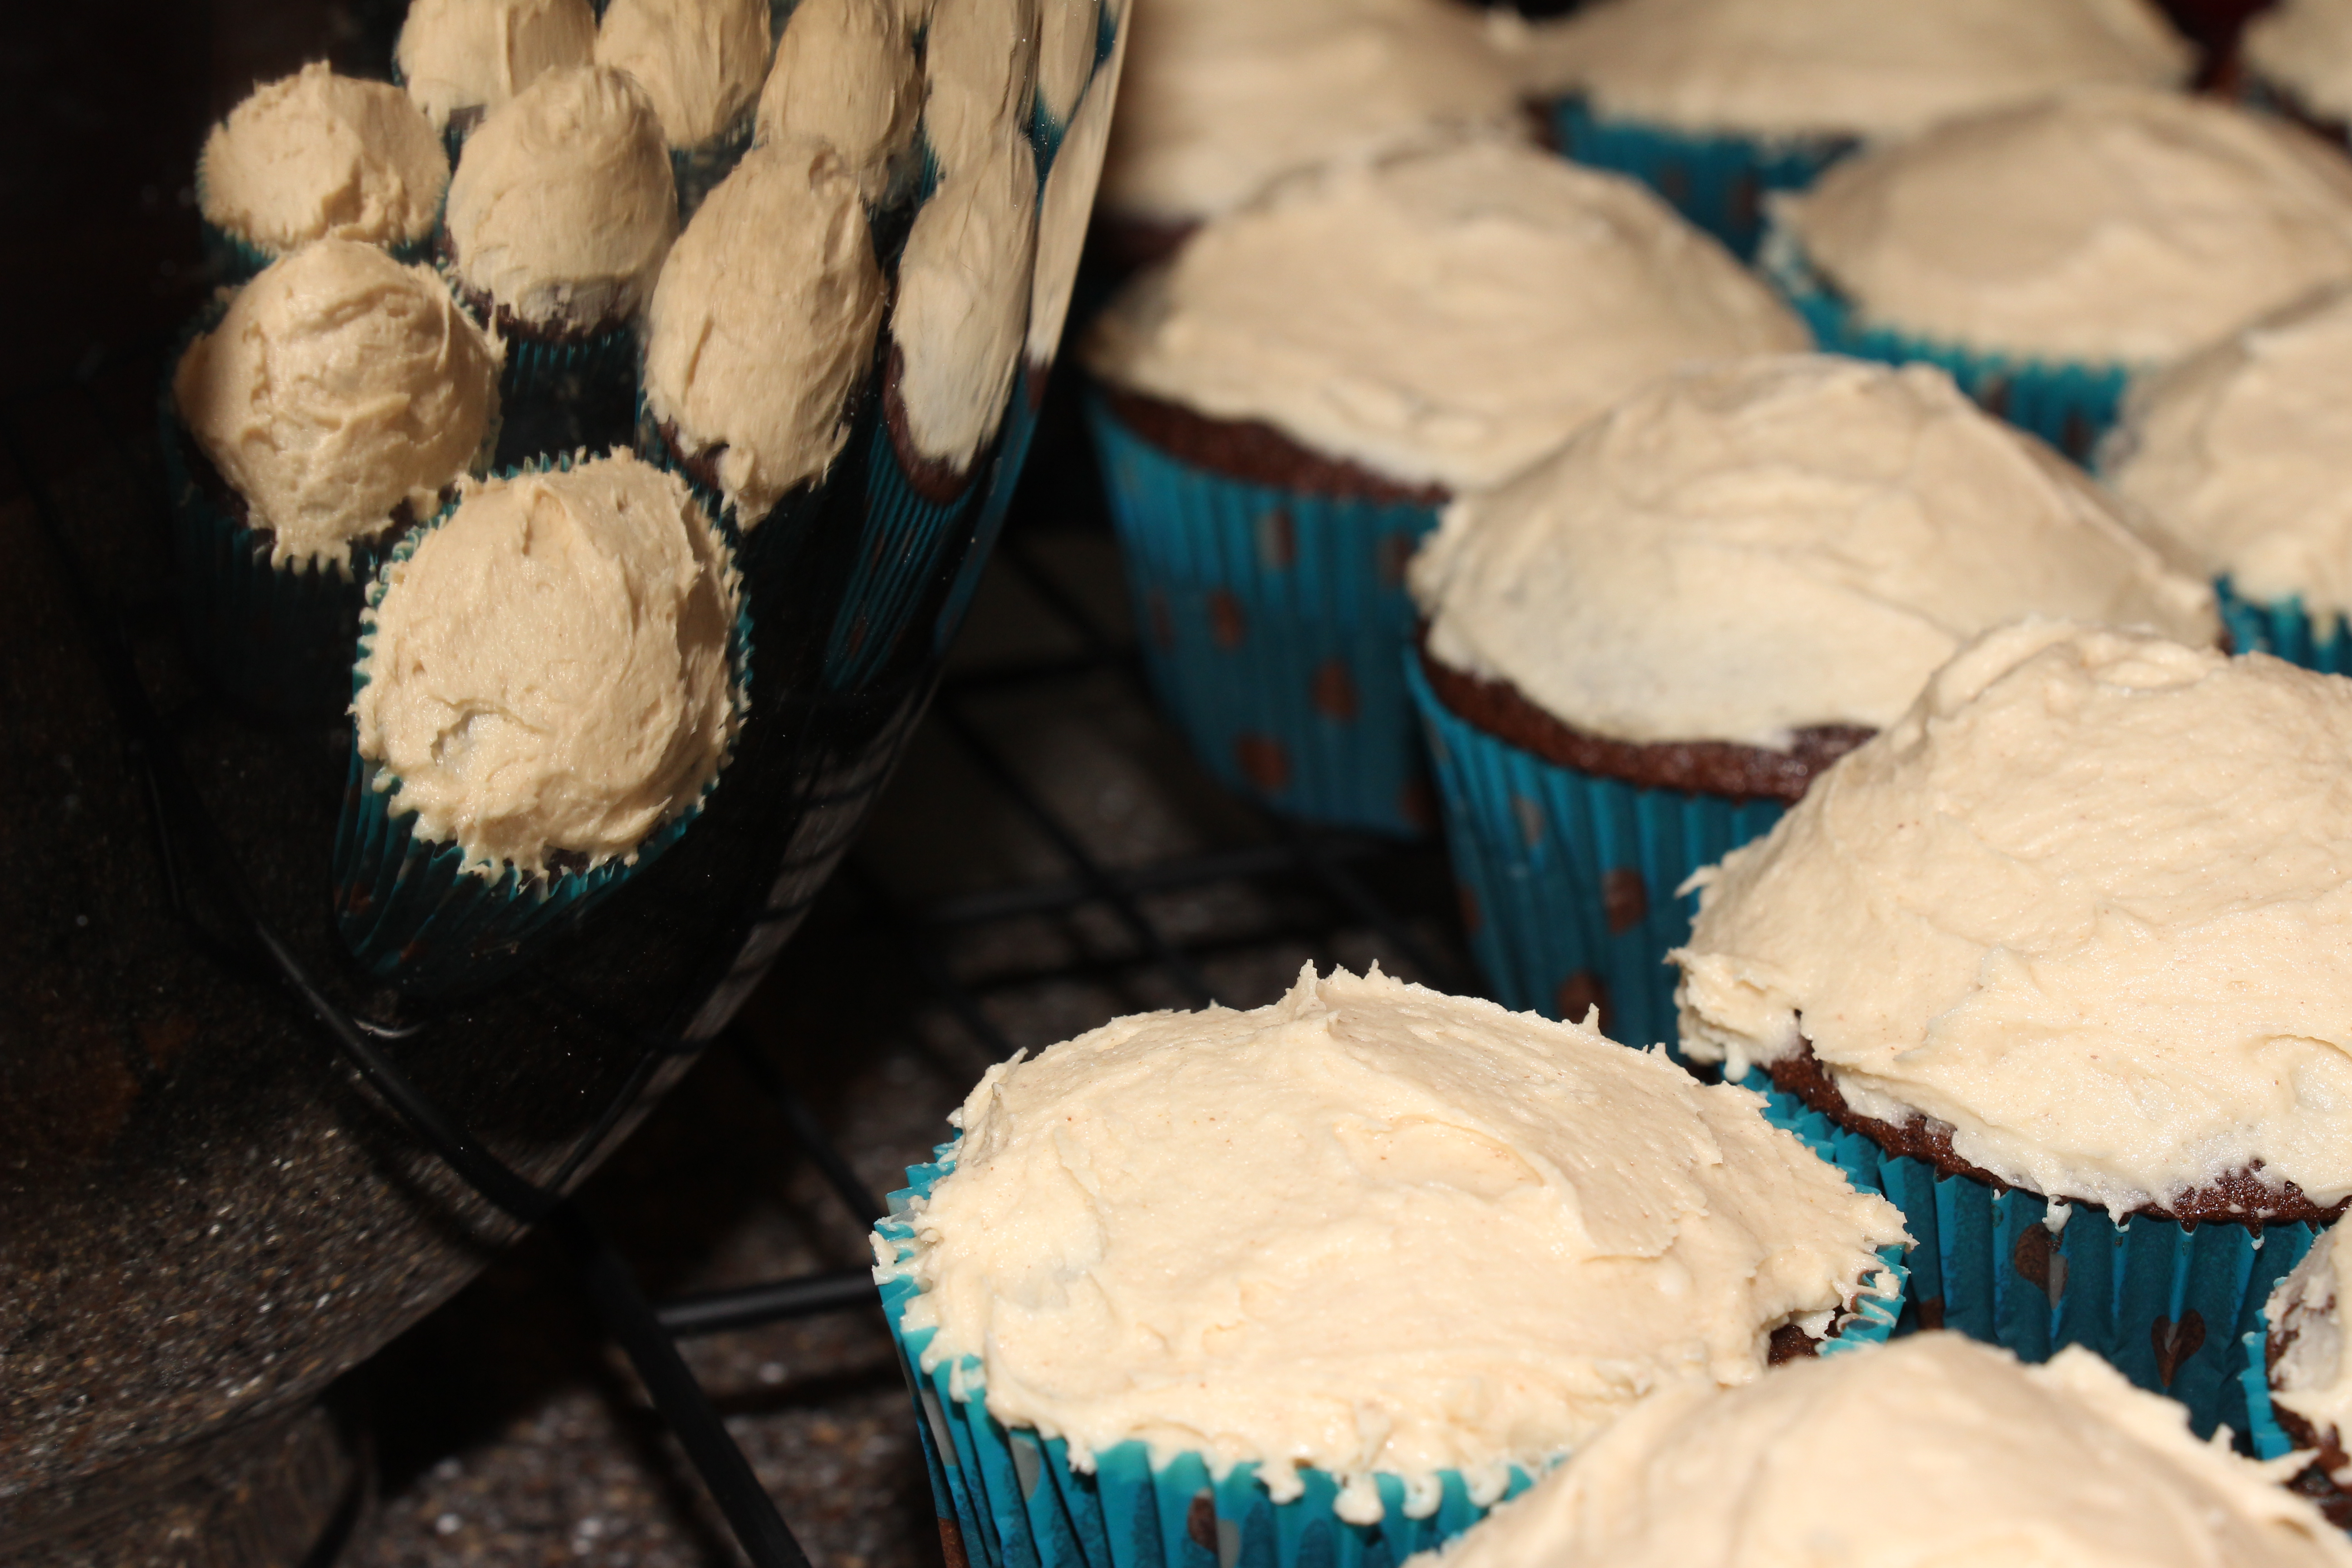
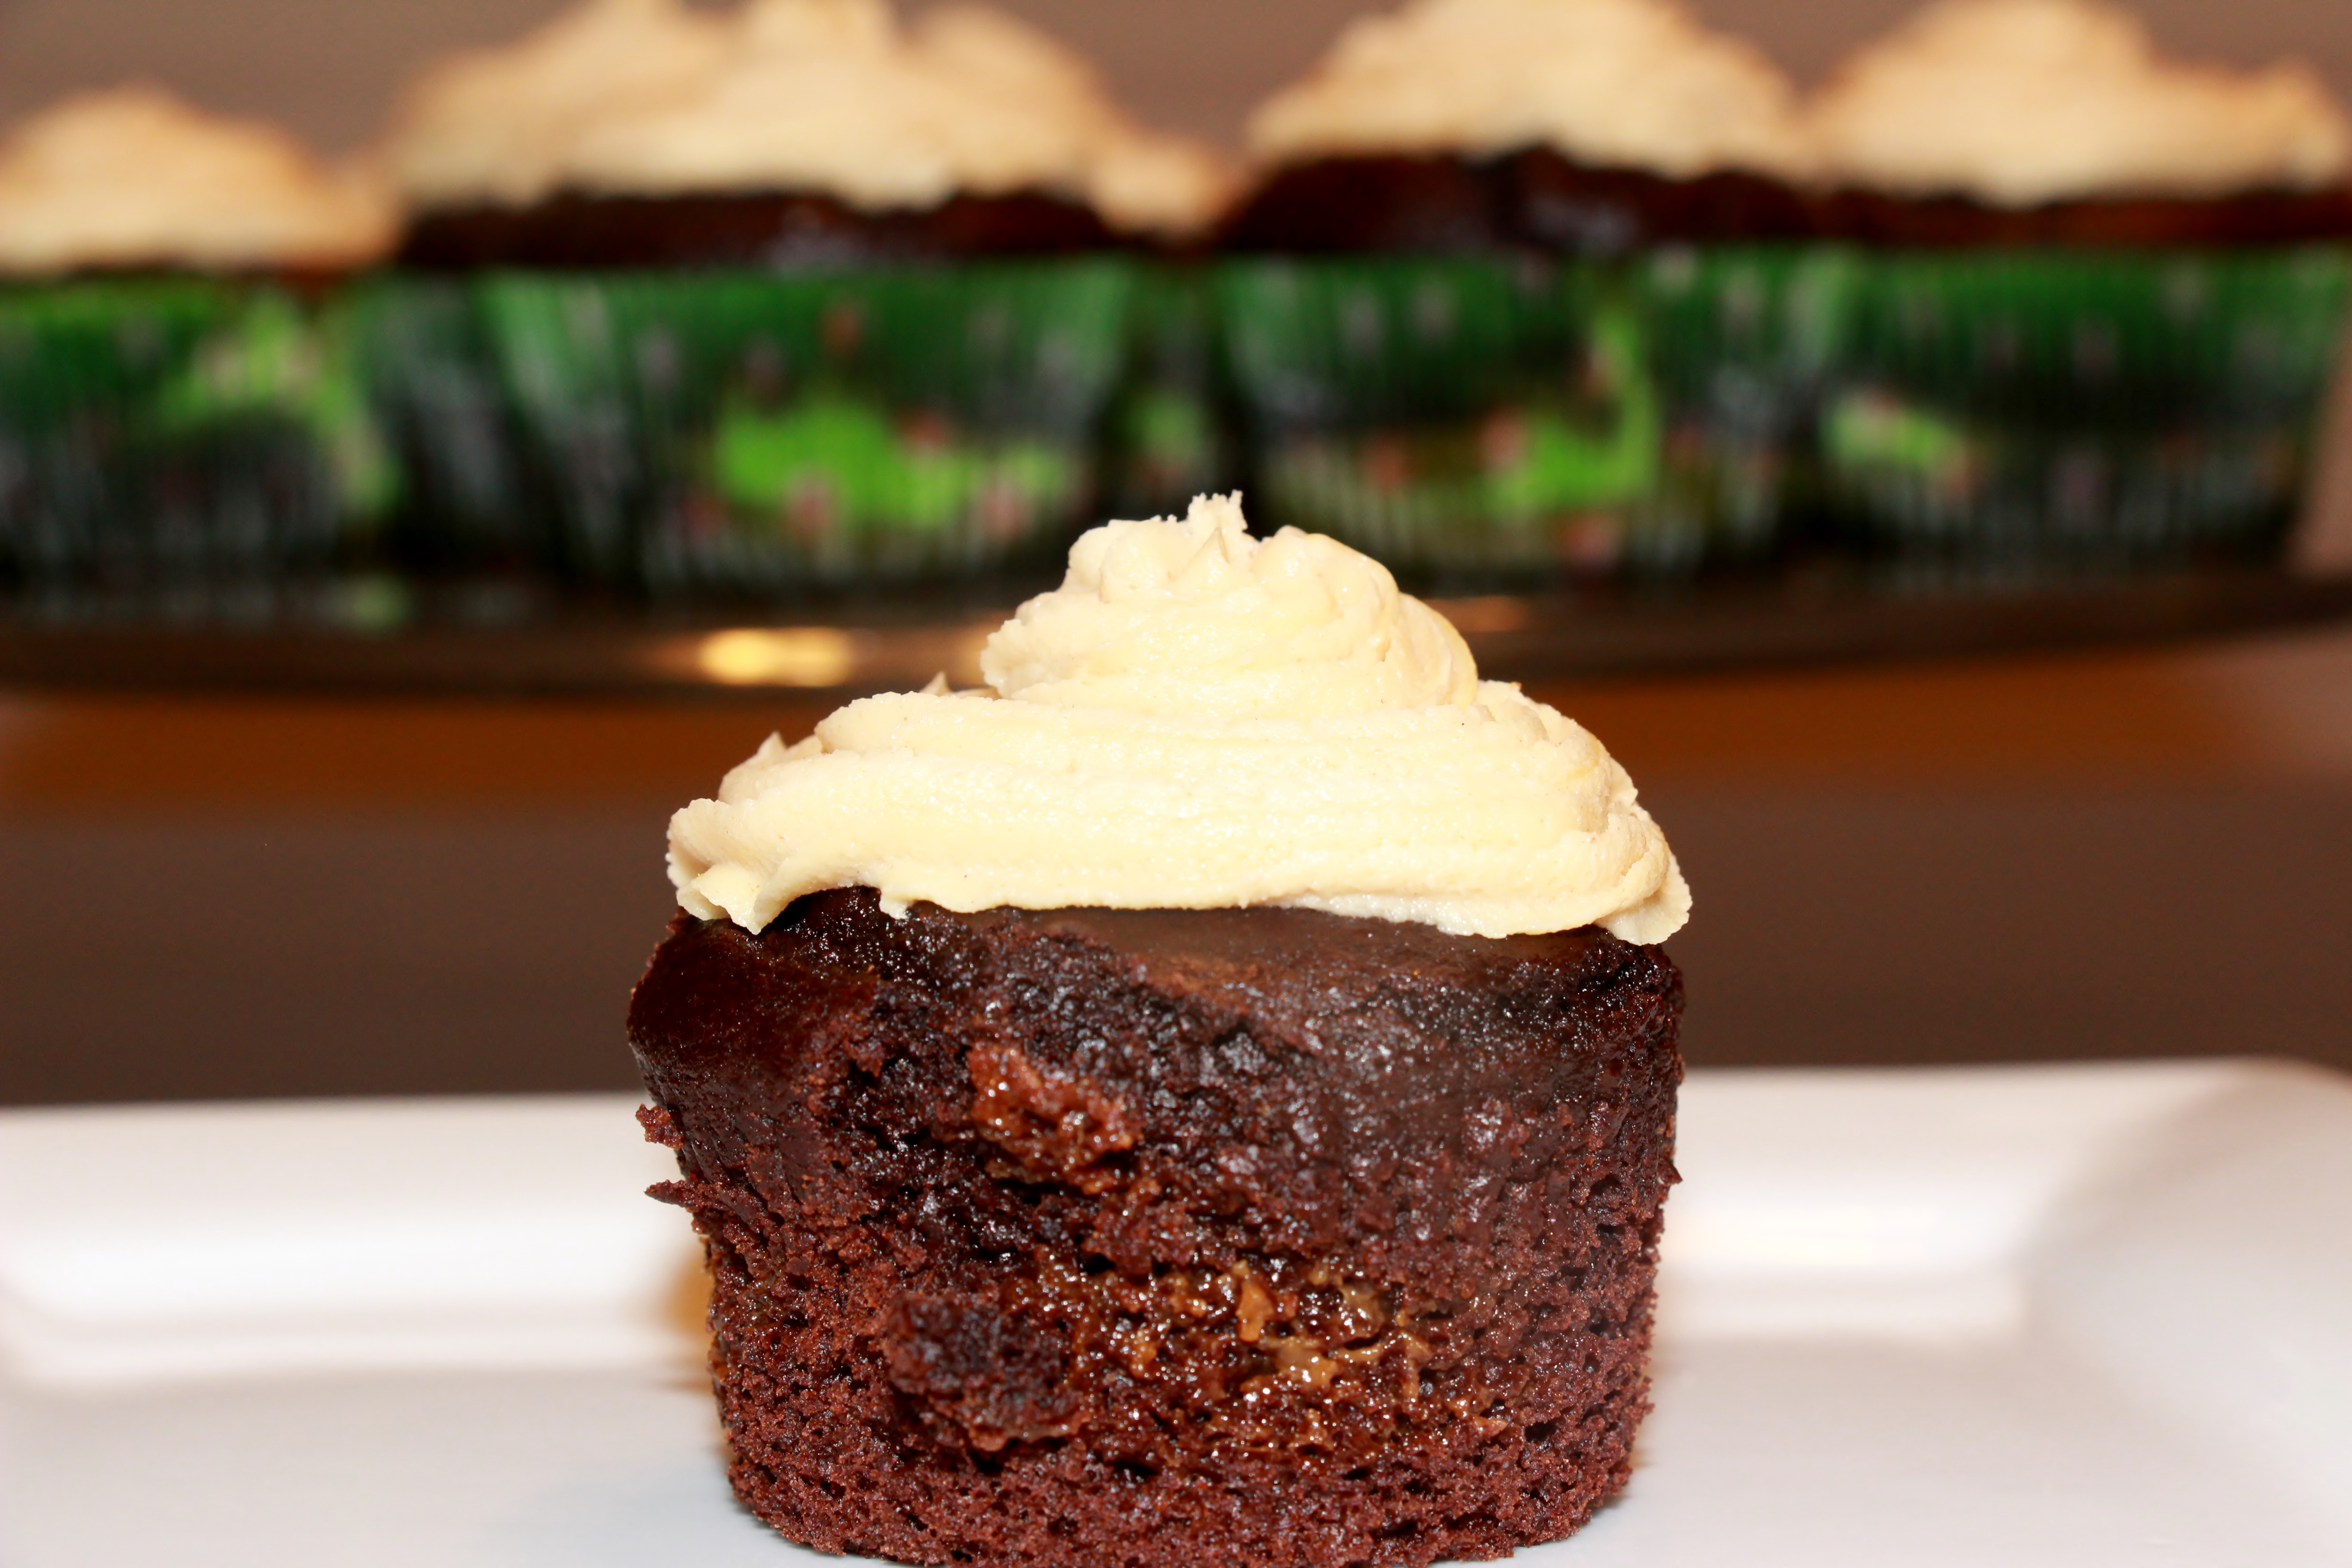
Caramel Filled Chocolate Avocado Cupcakes with Peanut Butter Caramel Frosting
Ingredients for Cupcakes:
- 25 caramel squares
- 1/2 C heavy cream
- 1 avocado
- 1 C pure maple syrup
- 3/4 C milk
- 1/3 C canola oil
- 2 tsp vanilla extract
- 1 1/2 C flour
- 3/4 C unsweetened cocoa powder
- 1 tsp baking powder
- 3/4 tsp baking soda
- 3/4 tsp salt
Ingredients for Frosting:
- 1/2 stick unsalted butter, at room temperature
- 2 C powdered sugar
- 1/8 C + 1 tsp milk
- 1/4 C peanut butter
- 1-2 tbsp caramel
Steps
- In a saucepan over low heat melt caramel into the heavy cream. Stir occasionally.
- Preheat oven to 350 degrees F.
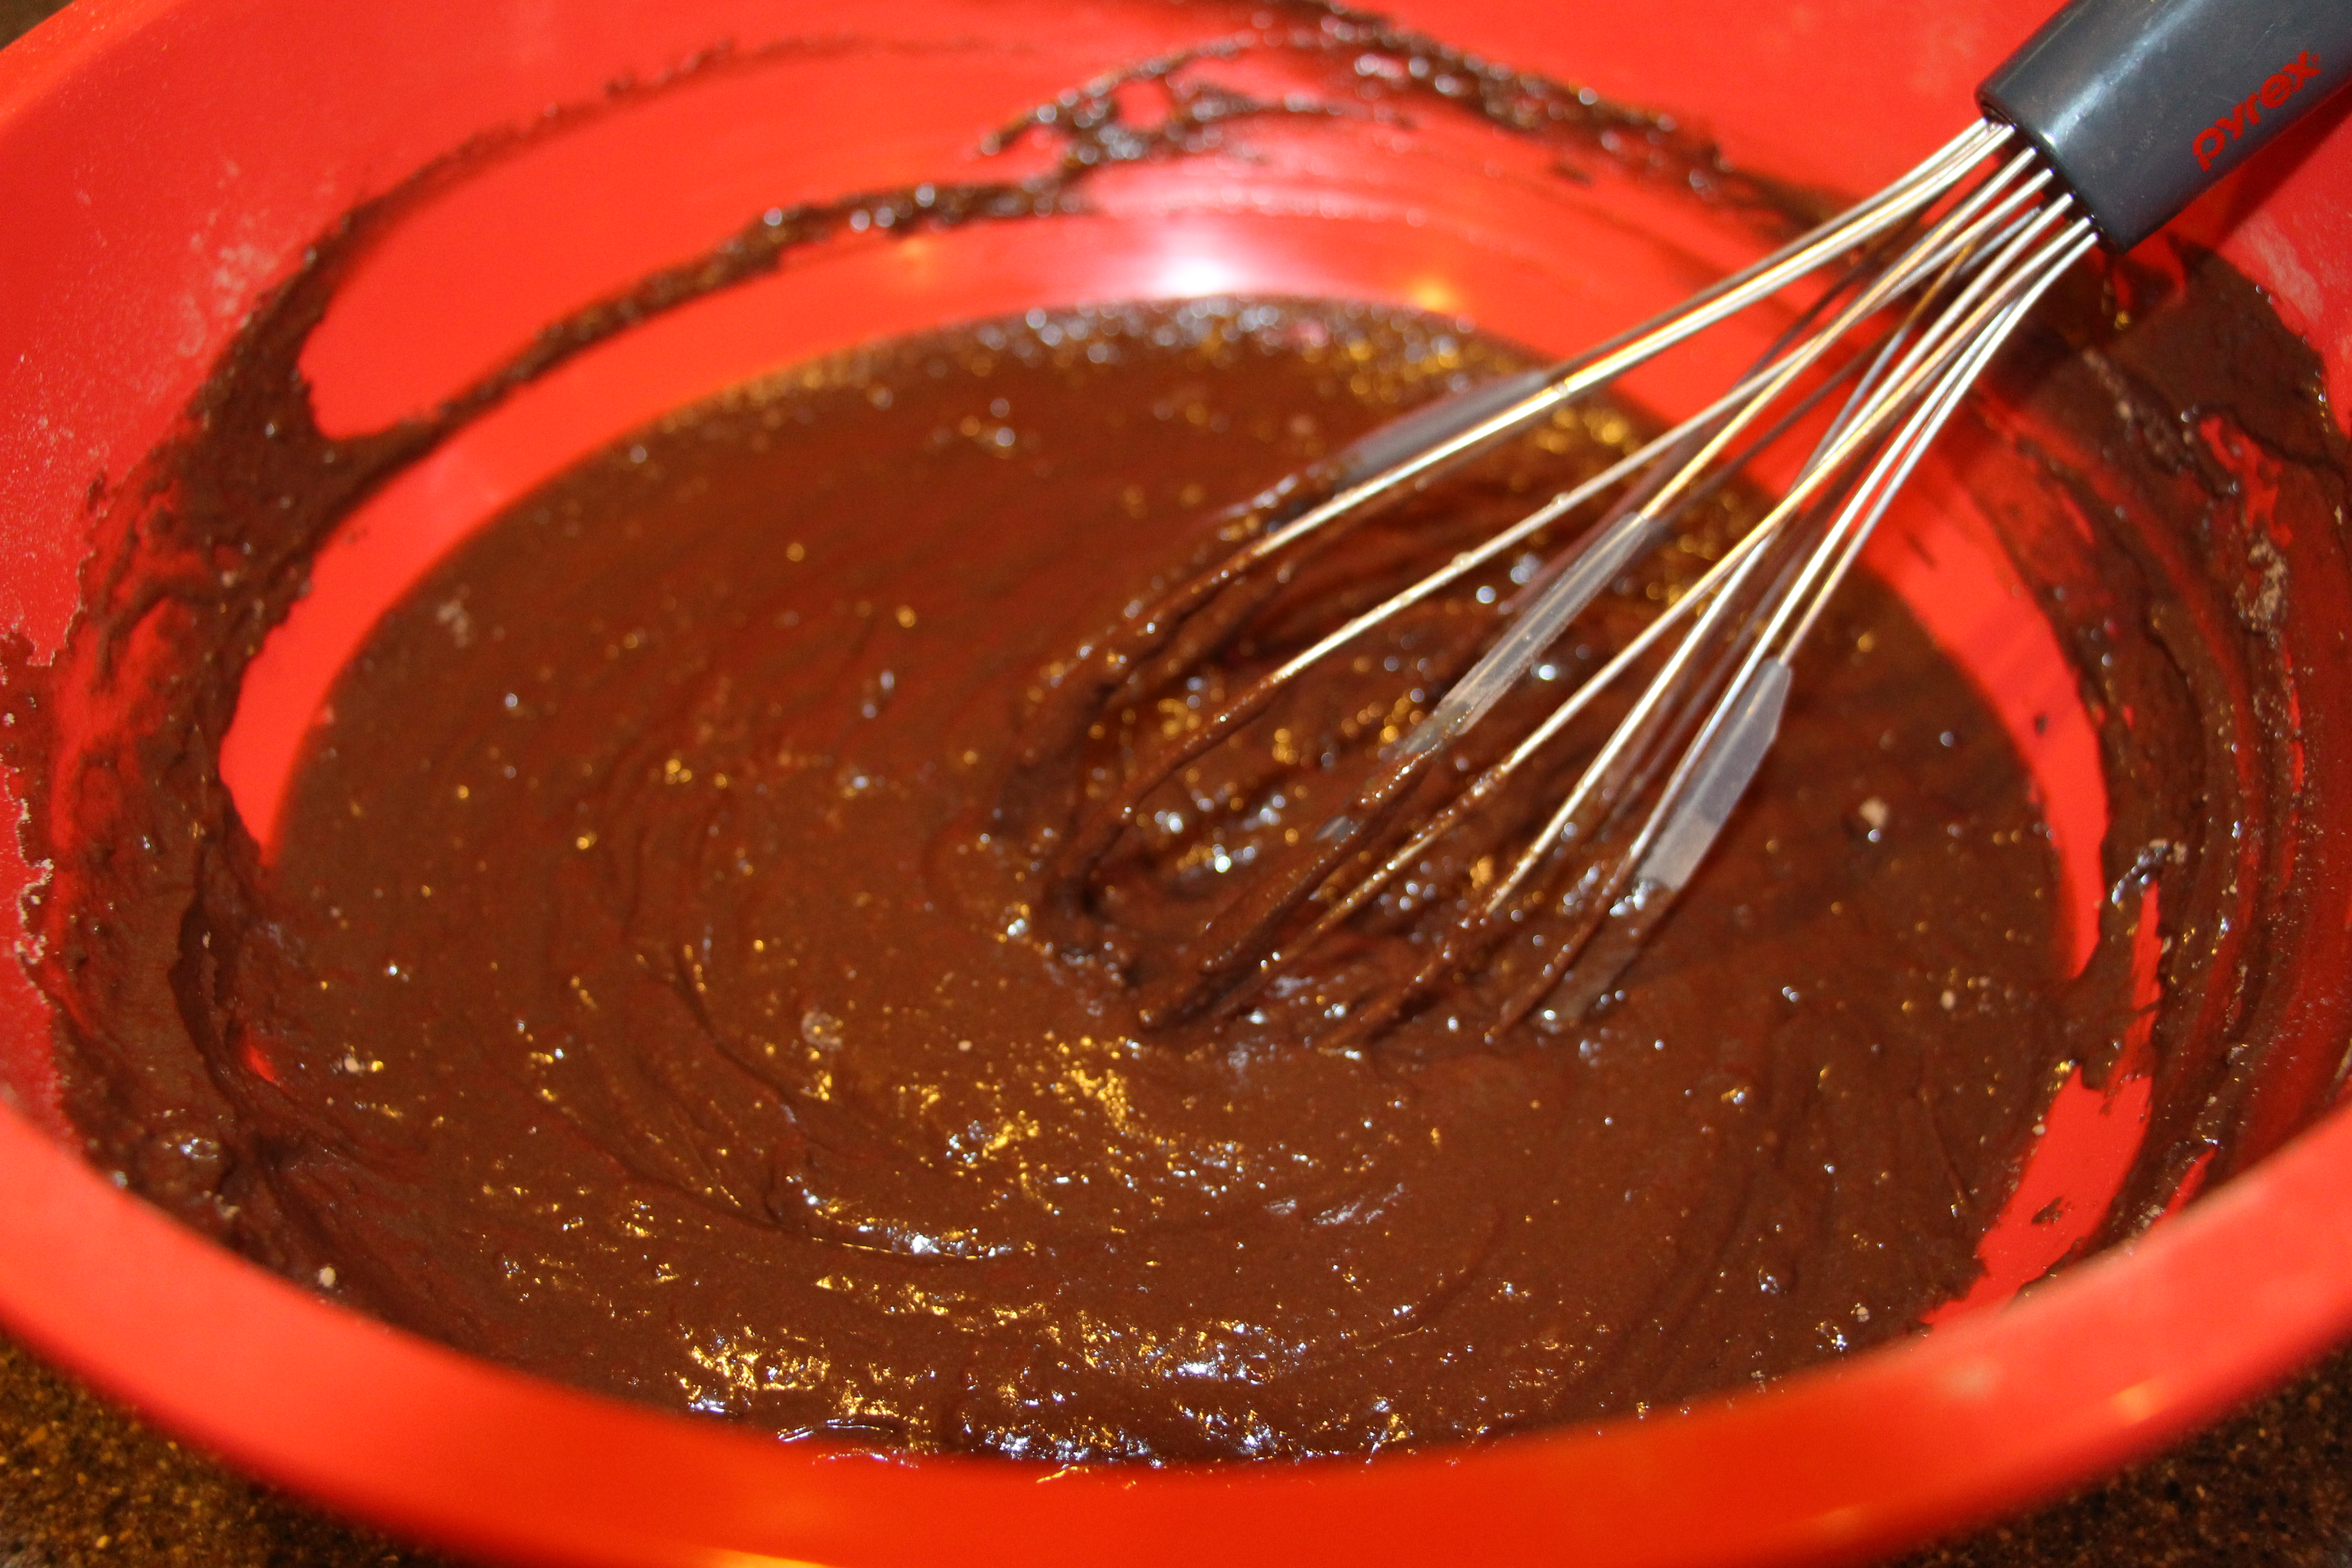
- In a food processor, puree avocado, syrup, milk, oil, and vanilla until smooth.
- Whisk together the remaining dry ingredients. Add wet ingredients to the dry.
- Assemble cupcakes: put a spoonful of batter, a spoonful of caramel, and another spoonful of batter into paper lined cupcake tins. Bake for 25 minutes.
- Make the frosting: In a stand mixer beat together sugar, butter, and milk. When combined fully add in the peanut butter. Using a spoon, swirl in the caramel. Pipe frosting on top of cupcakes and drizzle with extra caramel sauce if desired.
*The cupcake recipe was adapted from http://www.vegetariantimes.com/recipe/glazed-chocolate-avocado-cupcakes/. The frosting and filling were adapted from Giada deLaurentiis at http://www.foodnetwork.com/recipes/giada-de-laurentiis/stuffed-peanut-butter-cupcakes-with-swirled-peanut-butter-frosting-recipe/index.html*
 I have to admit, I was disappointed when I cut into a cupcake and wasn’t met with lava flowing caramel. The photo of Food Network’s page is very misleading; however, my results mimicked those aired on the “Stuff It” episode. (The last photo is a “cheat” 😉 )Stuart’s advice: If you think you put enough caramel in the cupcake, add a little bit more.


 Here are the other blogs that participated in this month’s Crazy Ingredient Challenge.